Let's be honest, there's something undeniably satisfying about a perfectly roasted beef. The succulent, juicy meat, the rich, savory gravy, the comforting aroma that fills the entire house – it's the kind of meal that makes you feel warm and fuzzy inside, a culinary triumph that elevates a Sunday lunch into something truly special.
But I'll confess, when I first started cooking, tackling a roast felt like something only seasoned chefs could handle. It seemed like a complicated ritual shrouded in mystery. But the truth is, it's not rocket science, and with a little knowledge and a whole lot of confidence, anyone can cook a perfect roast beef.
This is my guide to creating that masterpiece, a step-by-step journey that demystifies the process, from choosing the right cut to carving it like a pro. I'll share my tips and tricks, those little secrets I've learned over the years, so by the end of this, you'll be ready to impress your family and friends with a roast that's truly unforgettable.
(Part 1) Choosing Your Weapon: The Cut

Picking the Perfect Cut
The first step is to choose the cut of beef. Now, there's a whole spectrum of choices out there, but for a classic roast, you want something that's going to be tender, juicy, and flavorful. My personal favorite is a sirloin roast. It's a lean cut with a good marbling of fat, which means it’s going to be incredibly juicy and flavorful.
If you're looking for other options, here are a few popular choices:
- rib roast: This is a more luxurious option, with a beautiful marbling of fat and a slightly richer flavor. It's perfect for special occasions.
- top round roast: A leaner option that’s great for large gatherings, as it's known for holding its shape well.
- Tenderloin roast: This is the most tender cut, but it's also the most expensive. It's best for smaller gatherings or if you want a truly luxurious experience.
Sizing Up Your Roast
When it comes to size, I usually go for a roast that’s about 3-4 pounds. That's enough to feed a decent-sized family or a small group of friends. But if you’re cooking for a larger crowd, you can always go bigger.
Finding the Right Meat
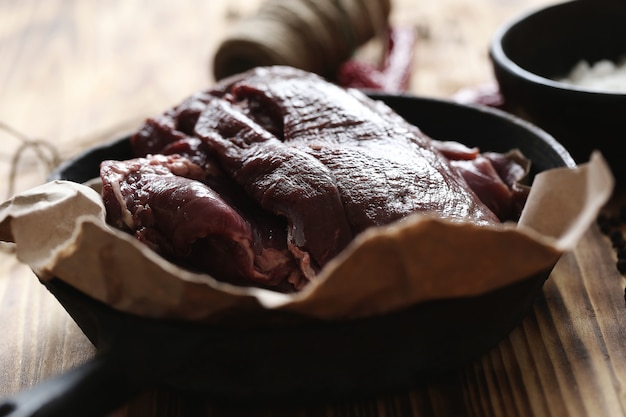
Once you've chosen your cut, it's time to find the best meat. Look for a roast that’s brightly colored, with good marbling, and firm to the touch. This indicates that the meat is fresh and of good quality. Also, make sure the roast is well-wrapped and stored at the right temperature.
(Part 2) Getting Ready for Battle: Prepping Your Roast

Patting It Dry
Right, you've got your roast, and now it's time to get it ready to cook. The first step is to pat it dry with paper towels. This helps to ensure that the roast browns evenly and doesn't steam in the oven.
Seasoning with Love
Next comes the seasoning. I'm a firm believer in keeping things simple. Salt and pepper are all you really need to enhance the natural flavors of the beef. But if you’re feeling adventurous, try adding other spices like garlic powder, onion powder, or paprika. Just remember, a little goes a long way, so start with a light dusting and adjust to taste.
The Art of Roasting
Here’s where the real magic happens. Preheating your oven to 450°F is crucial. This high heat creates a crispy, flavorful crust on the outside of the roast. Once it’s preheated, place the roast on a roasting rack set in a roasting pan. This allows air to circulate around the roast, ensuring it cooks evenly and doesn't end up soggy.
(Part 3) The Long and Winding Road: Cooking the Roast

High Heat, Then Low and Slow
Now, for the cooking process. It's important to remember that the cooking time will depend on the size of your roast. For a 3-4 pound roast, start by cooking it at 450°F for 15 minutes. This initial high-heat sear is what gives you that beautiful crust.
Turning Down the Heat
After those 15 minutes, reduce the oven temperature to 325°F and continue cooking. Here's the general rule of thumb for cooking times:
- Medium-rare: Cook for 15 minutes per pound.
- Medium: Cook for 18 minutes per pound.
- Well-done: Cook for 20 minutes per pound.
It's important to remember that these are just guidelines, and the cooking time can vary depending on the specific cut and thickness of your roast.
(Part 4) The Wait is Over: Resting Your Hero
A Moment of Patience
This is the hardest part for some, but trust me, it's absolutely crucial. After the roast is done cooking, let it rest for 15-20 minutes before carving. This allows the juices to redistribute throughout the meat, resulting in a more tender and flavorful roast.
(Part 5) The Moment of Truth: Carving the Roast
Gather Your Tools
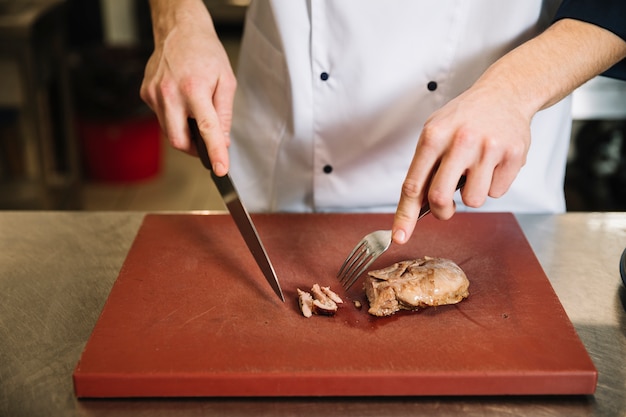
Grab a carving knife, a carving fork, and a cutting board. A sharp carving knife is essential for clean, even cuts. The fork is used to hold the roast in place while you carve.
Slice and Dice
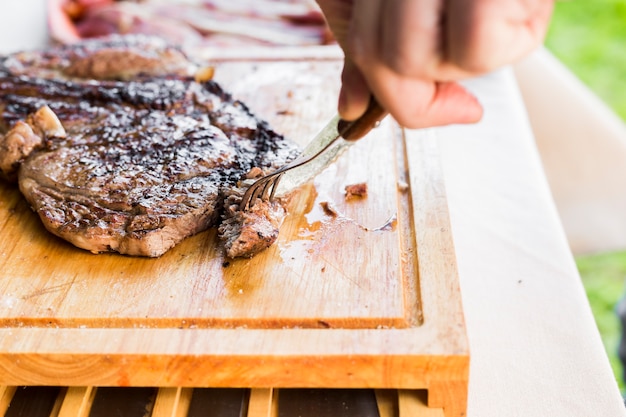
Now, place the roast on the cutting board and begin carving. Start by making slices against the grain. This means cutting the meat perpendicular to the direction of the muscle fibers, resulting in tender slices that melt in your mouth.
(Part 6) A Feast for the Eyes: The Presentation
Plating Up
You've got your perfectly cooked roast, now it's time to make it look as good as it tastes. Arrange the slices on a platter, and add any trimmings around the sides for a visually appealing presentation. For a bit of extra flair, you can use a sprig of rosemary or thyme.
The Great Unveiling
Now, the moment of truth. Bring the platter to the table and admire your work. It's a culinary masterpiece, isn't it?
(Part 7) The Sidekicks: Accompanying Your Roast
Choosing the Perfect Pairings
No roast beef is complete without some delicious sides. There are countless options, but here are a few classic choices that always complement the main event:
- Roasted potatoes: Creamy on the inside, crispy on the outside, roasted potatoes are a must-have. They soak up the delicious juices from the roast and add a satisfying texture contrast.
- Yorkshire pudding: A fluffy, airy, and savory side dish, Yorkshire pudding is a staple of British cuisine and a perfect vessel for gravy. It's a bit of a culinary challenge, but the reward is worth it.
- green beans: A simple but effective side dish, green beans add a touch of freshness and a vibrant green color to the plate.
- Gravy: This rich and flavorful sauce is the perfect way to tie everything together, adding moisture and intensifying the flavors. It’s a must-have for any roast beef!
Creating a Symphony of Flavors
When choosing your sides, think about creating a balance of flavors and textures. For example, you could pair the rich and savory roast beef with creamy mashed potatoes and crunchy roasted vegetables.
(Part 8) The Final Touch: Gravy
The Secret Ingredient
Gravy is the star of the show, and it's easier to make than you might think. Here's my foolproof method:
- Deglaze the pan: After removing the roast, pour a little bit of wine or broth into the roasting pan and scrape up all the delicious bits that are stuck to the bottom. These bits are packed with flavor, and you want to capture them all.
- Thicken it up: Stir in a tablespoon or two of flour and cook for a few minutes, stirring constantly. This will create a luscious, velvety gravy.
- Add some flavor: Season the gravy with salt, pepper, and any other herbs or spices you like. A splash of Worcestershire sauce adds a deeper, umami richness.
- Serve it up: Pour the gravy over the roast beef and enjoy! It’s the perfect way to bring all the flavors together.
(Part 9) The Master's Tips: Secrets to Success
Don't Be Afraid to Experiment
Remember, cooking is about having fun and trying new things. Don't be afraid to experiment with different seasonings, sides, and techniques. If you're not sure about something, ask a friend or family member for their advice. There's always something new to learn in the kitchen.
Practice Makes Perfect
Like anything else, the more you cook, the more confident you'll become. Don't be discouraged if your first roast isn't perfect. It takes time to develop those skills. Keep practicing, and you'll be amazed at how much you improve.
Take Notes
It's always helpful to keep a notebook of your recipes and cooking tips. This way, you can refer back to it whenever you need to. Add notes about what worked and what didn't so you can learn from your experiences and refine your techniques over time.
(Part 10) The Legacy of the Roast: Enjoying the Fruits of Your Labor
A Culinary Triumph
Now that your roast beef is cooked, it's time to enjoy the fruits of your labor. Gather your family and friends around the table and share this delicious meal. Let the warmth and comfort of the roast bring everyone together.
A Moment of Gratitude
Take a moment to appreciate the time and effort you put into preparing this dish. You've created something special, something that will be remembered and cherished for years to come. It's a testament to your culinary skills and a reminder that even the most daunting tasks can be achieved with passion and a bit of know-how.
FAQs
1. What temperature should the roast beef be cooked to?
The internal temperature of your roast beef will depend on how you like it cooked:
| Doneness | Internal Temperature (°F) |
|---|---|
| Rare | 125-130 |
| Medium-rare | 130-135 |
| Medium | 135-140 |
| Medium-well | 140-145 |
| Well-done | 145-150 |
2. How do I know when the roast is done?
You can use a meat thermometer to check the internal temperature of the roast. This is the most accurate way to ensure it’s cooked to your liking. If you don’t have a thermometer, you can use the “finger test”:
Rare: The roast will feel soft and jiggly, like the fleshy part of your palm.
Medium-rare: The roast will feel firm but still slightly springy, like the fleshy part of your thumb.
Medium: The roast will feel firm and bouncy, like the fleshy part of your index finger.
Medium-well: The roast will feel firm and almost solid, like the fleshy part of your middle finger.
Well-done: The roast will feel very firm and solid, like the fleshy part of your pinky finger.
3. What if my roast is overcooked?
Don't worry, it happens to the best of us. If your roast is overcooked, it might be a little dry, but it's still edible. You can try adding a little bit of gravy or broth to help rehydrate the meat.
4. Can I roast beef in a slow cooker?
Yes, you can! A slow cooker is a great option for cooking a roast beef because it produces a very tender and flavorful result. Just make sure to choose a slow cooker that's large enough to accommodate your roast.
5. Can I freeze roast beef?
Yes, you can freeze cooked roast beef for up to 3 months. Just make sure to wrap it tightly in plastic wrap and aluminum foil to prevent freezer burn.
Everyone is watching

How to Cook Frozen Lobster Tails Perfectly: A Step-by-Step Guide
RecipesLobster. Just the word conjures up images of lavish meals, special occasions, and a taste of luxury. But let's...

Pigs in a Blanket Cooking Time: How Long to Bake for Perfect Results
RecipesAh, pigs in a blanket. Just the name conjures up images of those delightful little parcels of crispy pastry en...

Pork Fillet Cooking Time: How Long to Cook It Perfectly
RecipesPork fillet, or tenderloin as it's sometimes called, is a real favourite in our house. It's so versatile, and...

The Ultimate Guide to Tender, Juicy Pulled Pork
RecipesRight, let's talk pulled pork. It's one of those dishes that just screams "comfort food," doesn't it? I mean...

The Ultimate Guide to Cooking Sweet Potatoes: From Roasting to Mashing
RecipesSweet potatoes. Just the name conjures up images of warm, comforting dishes, bursts of vibrant color, and a to...
