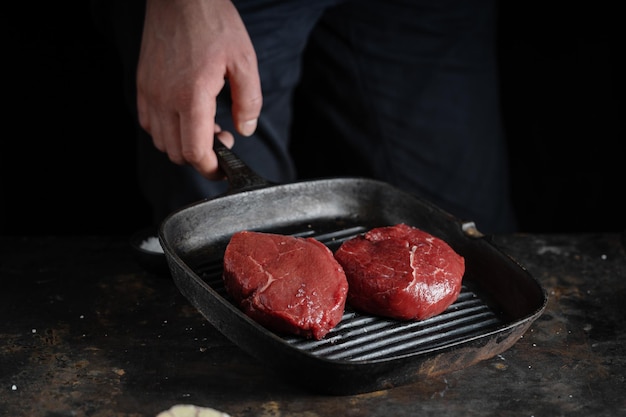
Let's be honest, there's something primal and satisfying about grilling a T-bone steak. The sizzle, the aroma, the anticipation… it's a sensory experience that's hard to beat. But to get that perfect, juicy, flavour-packed steak, it takes a bit more than just tossing a piece of meat on the grill and hoping for the best. This is a journey, a culinary adventure, and I'm here to be your guide.
(Part 1) choosing the right steak: The Foundation of a Great Meal

First things first: the steak. You can't just grab any old slab of beef and expect it to turn into a masterpiece. A good T-bone is the foundation, the starting point, for a truly unforgettable meal.
Identifying the T-Bone: Not Just Any Steak with a Bone
Let's get one thing straight: a T-bone is a T-bone, not just any steak with a bone. You'll know it by the distinctive bone shape that resembles the letter "T." Look for a good, thick cut, not a flimsy, thin one. This thickness is key for even cooking and a juicy result.
Understanding the Different Grades: Marbling for Juiciness
You'll often see different grades of beef, like "Select", "Choice", and "Prime." These grades refer to the amount of marbling – the fat that's interspersed throughout the muscle. The more marbling, the juicier and more flavourful the steak will be.
Select: The least expensive grade with the least amount of marbling.
Choice: A good middle ground, offering a decent balance of flavour and affordability.
Prime: The best quality, with the most marbling, but also the most expensive.
Choosing the Right Size: Thickness Matters
Now, for the size. A good T-bone should be between 1.5 and 2 inches thick. This allows for even cooking and prevents it from getting overcooked on the outside while the inside remains raw. Too thin, and you'll end up with a dry, tough steak. Too thick, and it'll take ages to cook, potentially getting dry and overcooked before the centre is done. Aim for that Goldilocks zone of thickness.
(Part 2) Preparing the Steak: Setting the Stage for Flavour

Alright, you've got your perfect T-bone. Now, it's time to prep it for grilling. This isn't just about a quick rinse, folks; it's about setting the stage for steak-grilling glory.
Seasoning the Steak: Simplicity is Key
I'm a firm believer in simplicity when it comes to seasoning. Salt and pepper are all you really need. They enhance the natural flavour of the meat without overwhelming it. But, if you want to add a little something extra, just a pinch of garlic powder or a bit of dried herbs can add a subtle dimension.
Getting the Steak Ready for the Grill: A Little Massage
Next, we're going to give our steak a little bit of a massage. This isn't about pampering, it's about getting those flavours to really sink in. Pat the steak dry with paper towels, then rub the seasoning all over it, making sure to get into all the nooks and crannies.
Resting the Steak: Patience, Young Padawan
Now, this is where patience comes in. Let the seasoned steak rest at room temperature for 30 minutes. This allows the steak to come to room temperature, preventing it from getting cold shock when you throw it on the grill. This helps it cook more evenly and prevents it from getting tough. It's a small step, but it makes a big difference.
(Part 3) Firing Up the Grill: The Heart of the Operation

Okay, the anticipation is building. It's time to fire up the grill and get those coals blazing.
The Power of Charcoal: The Classic Approach
I'm a purist when it comes to grilling. Charcoal, baby! It gives the steak that smoky flavour you just can't get with gas. Plus, you can adjust the heat levels by adding more coals or spreading them out, giving you more control over the cooking process.
Building the Perfect Fire: Hot and Ready
When it comes to grilling, you need a hot, even fire. The coals should be white-hot and ready to go. Think of it like a poker game - you need to be all in, ready to play. This intense heat is what creates the perfect sear, locking in the juices and developing that delicious crust.
Using a Grill: Gas, Smoker, or Whatever
Of course, if you’re not into the charcoal thing, you can use a gas grill. Just make sure you can reach a high heat, like 500 degrees Fahrenheit, for searing. Or, if you're feeling adventurous, a smoker can give you an incredible depth of flavour, but be prepared for a longer cooking time.
(Part 4) Grilling the Steak: The Art of the Sizzle
Okay, we’ve got our steak, we’ve got our fire, now it’s time for the show! Get ready for the sizzle, the aroma, and the anticipation of perfection.
The First Sear: Setting the Stage
This is the magic trick. We're going to sear the steak for a minute on each side. This intense heat creates a beautiful, crusty exterior, locks in the juices, and adds a wonderful smoky flavour.
The Flip: Flipping Like a Pro
After the initial sear, we’re going to flip the steak and repeat the process on the other side. This is where you need to watch closely and make sure the steak gets an even sear. Remember, we're not just cooking, we're creating a masterpiece here.
The Middle Ground: Cooking to Perfection
Now that we’ve got those beautiful sears, it’s time to bring the temperature down a notch. Move the steak to a cooler part of the grill and let it cook for another 5-7 minutes per side, depending on your desired level of doneness. This is where you really have to pay attention, as the steak will cook more slowly now.
(Part 5) Checking for Doneness: The Inside Scoop
Everyone has their preferences, but here's what you need to know about different levels of doneness. It’s important to understand that every steak cooks differently, so use the following as guidelines, but always trust your instincts.
Knowing Your Doneness: Rare, Medium, and Well
Rare: The centre will be red, with a cool, slightly firm texture. The steak will be juicy and tender, with a strong, almost metallic flavour.
Medium-Rare: The centre will be pink and slightly firm. The steak will be juicy and tender, with a balance of flavour and texture.
Medium: The centre will be pink, but it will be firm to the touch. The steak will have a more cooked texture, with less of a raw flavour.
Medium-Well: The centre will be light pink and very firm. The steak will have a more cooked texture, with a more pronounced beefy flavour.
Well-Done: The centre will be grey or brown and very firm. The steak will be cooked through, with a strong beefy flavour and a dry texture.
Using a Thermometer: Getting Scientific
For the most accurate measure of doneness, you can use a meat thermometer. You want to make sure the internal temperature of the steak reaches the following temperatures:
| Doneness | Internal Temperature (°F) |
|---------------|---------------------------|
| Rare | 125-130 |
| Medium-Rare | 130-135 |
| Medium | 135-140 |
| Medium-Well | 140-145 |
| Well-Done | 145-150 |
(Part 6) Resting the Steak: Time to Relax
Finally, the moment of truth. After grilling, let the steak rest for 10 minutes. This is crucial for letting the juices redistribute evenly throughout the steak, making it even more tender and juicy.
The Science Behind Resting
When you cook a steak, the juices get trapped inside. When you cut into it immediately, the juices rush out, leaving you with a dry steak. But when you rest the steak, the juices have time to redistribute, resulting in a more tender and flavorful steak.
How to Rest a Steak Properly
Cover the steak loosely with foil to keep it warm while it rests. Don’t be tempted to cut into it too soon. The longer you let it rest, the better it will be. This step is often overlooked, but it's the key to unlocking that perfect, juicy bite.
(Part 7) Slicing and Serving: The Final Touch
Now for the grand finale. You’ve grilled the perfect steak, you’ve let it rest, and now it’s time to slice and serve.
Slicing Techniques: The Right Way to Cut
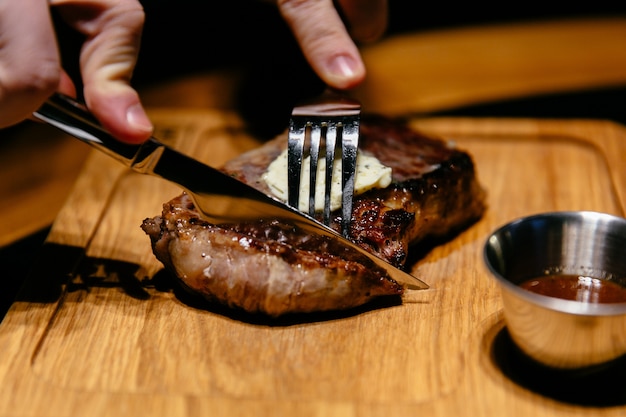
Slice the steak against the grain. This means cutting across the muscle fibres, which will make the steak more tender and easier to chew. If you want to show off, you can slice the steak thinly, creating beautiful, juicy slices.
Serving Suggestions: What Goes with Steak
T-bone steak is a delicious centerpiece for any meal. Here are a few ideas:
grilled vegetables: grilled asparagus, peppers, onions, and mushrooms are all great sides for a T-bone.
potato salad: Classic potato salad is a simple and satisfying side dish.
Macaroni and cheese: creamy mac and cheese is always a crowd-pleaser.
baked potato: A loaded baked potato with cheese, sour cream, and chives is a classic pairing.
Salads: A fresh, crisp salad with a vinaigrette dressing will complement the rich flavour of the steak.
(Part 8) FAQs: Getting Your Questions Answered
Let's be honest, we all have our grilling anxieties, so I've compiled some of the most common questions and their answers:
1. What if My Steak Is Overcooked?
Don't panic! It’s a common issue, but it's not a total disaster. Overcooked steak can be tough and dry, but it can still be salvaged. You can try slicing it thin and using it in a sandwich, stir-fry, or pasta dish. The key is to find a way to rehydrate the steak and add moisture back into it.
2. How Do I Tell if My Steak Is Done?
The best way to tell if your steak is done is to use a meat thermometer. However, there are other methods, such as the “finger test” (press the steak and compare the firmness to your hand). But these methods are less reliable, so I always recommend a meat thermometer.
3. What If My Steak Is Undercooked?
If you’re concerned about safety, you can always cook the steak a little longer. But I'd rather err on the side of caution. If you're feeling adventurous, you can try a reverse sear technique. This involves cooking the steak slowly over low heat until it reaches your desired internal temperature, then searing it quickly on high heat to create a crust. This method allows for a more evenly cooked steak with a beautiful crust.
4. How Long Should I Marinate a Steak?
There’s no hard and fast rule, but I usually marinate steaks for at least 30 minutes, up to 24 hours. But I'm not a big fan of marinades for T-bone steaks. That beautiful marbling and natural flavour don’t need a lot of extra help. A simple salt and pepper seasoning allows the steak to shine.
5. What Kind of Wood Should I Use for Smoking?
If you’re smoking your steak, you can use a variety of wood chips, like hickory, pecan, or cherry. These woods will add a smoky flavour to your steak. But again, I prefer the simplicity of a good charcoal grill for a classic steak flavour. Smoking is a great option, but for a traditional T-bone, charcoal grilling delivers the perfect combination of flavour and simplicity.
Conclusion: The Triumph of the T-bone
So there you have it, my guide to grilling the perfect T-bone steak. It’s all about choosing the right steak, prepping it properly, cooking it with precision, and letting it rest. Get your grill going, get those coals blazing, and enjoy a truly delicious steak that will have everyone around the table saying, "That was the best steak I've ever had!"
Remember, it's about the journey, the anticipation, and the experience. The perfect T-bone steak is a testament to the art of grilling, and with a little practice, you can master it, too. Now, go forth and conquer!
Everyone is watching

How to Cook Frozen Lobster Tails Perfectly: A Step-by-Step Guide
RecipesLobster. Just the word conjures up images of lavish meals, special occasions, and a taste of luxury. But let's...

Pigs in a Blanket Cooking Time: How Long to Bake for Perfect Results
RecipesAh, pigs in a blanket. Just the name conjures up images of those delightful little parcels of crispy pastry en...

Pork Fillet Cooking Time: How Long to Cook It Perfectly
RecipesPork fillet, or tenderloin as it's sometimes called, is a real favourite in our house. It's so versatile, and...

The Ultimate Guide to Tender, Juicy Pulled Pork
RecipesRight, let's talk pulled pork. It's one of those dishes that just screams "comfort food," doesn't it? I mean...

The Ultimate Guide to Cooking Sweet Potatoes: From Roasting to Mashing
RecipesSweet potatoes. Just the name conjures up images of warm, comforting dishes, bursts of vibrant color, and a to...
