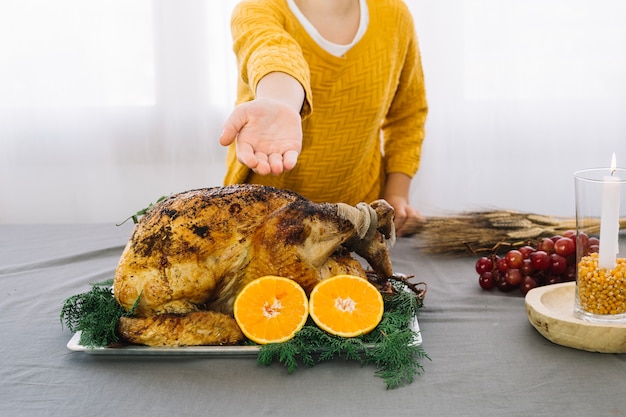
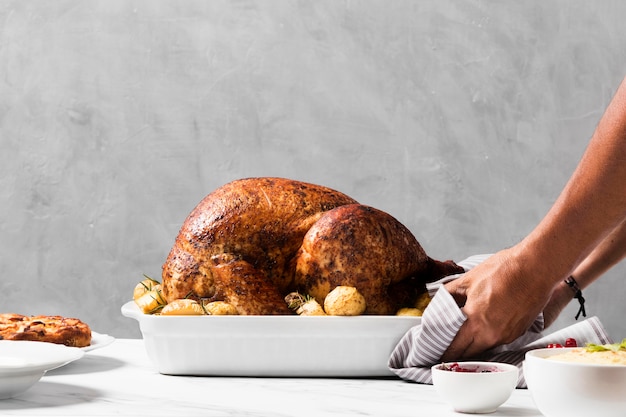
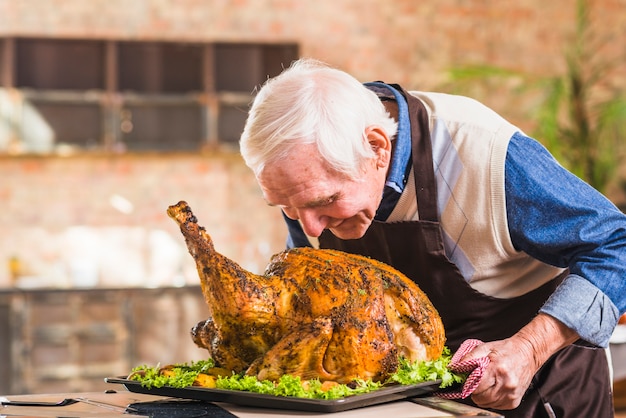
Let's face it, folks. roasting a turkey is a bit of a culinary rite of passage, isn't it? It's a dish that evokes memories of family gatherings, festive celebrations, and, of course, the joy of sharing a delicious meal with loved ones. But let's be honest, the pressure can be real! That's why I'm here to share my tried-and-true tips and tricks, seasoned with a dash of personal experience and a healthy dose of humour, to help you conquer this culinary challenge and create a turkey that's not only cooked to perfection but also leaves your guests raving.
(Part 1) Choosing the Right Turkey: The Foundation of a Delicious Feast

First things first, you can't expect a masterpiece without the right ingredients, can you? Choosing the perfect turkey is like selecting a good wine – it's all about knowing what you're looking for and understanding what will work best for your needs.
Size Matters: A Turkey for Every Table
One of the first things to consider is how many people you're planning to feed. No one wants to be stuck with a turkey the size of a small car (trust me, I've been there!), or worse, a tiny bird that leaves everyone peckish. A good rule of thumb is to allow about 1lb of turkey per person. For a family of four, a 4-5lb turkey should be just right.
Fresh or Frozen? A Matter of Preference
Now, this is a topic that often sparks debate. Personally, I'm a firm believer in fresh turkeys. They have this incredible flavour and juiciness that frozen turkeys just can't quite match. But if you're planning ahead, frozen turkeys are perfectly acceptable. Just make sure to give them plenty of time to defrost in the fridge, about 24 hours for every 5lb of turkey.
Free-Range or Not? The Taste of Freedom
This is a matter of personal preference and budget. Free-range turkeys are often more expensive, but they are generally considered to be more flavourful and have a better texture. It's a bit like comparing a store-bought tomato to one you've grown in your own garden – there's a noticeable difference in taste and quality.
Other Considerations: A Final Look Before You Buy
When you're choosing your turkey, take a moment to look for a bird with plump breasts and drumsticks. The skin should be intact, free of any tears or bruising, and the overall appearance should be healthy and vibrant. Remember, a happy turkey makes for a happy roast!
(Part 2) Getting Ready for the Roast: Setting the Stage for Success

Now that you've got your chosen turkey, it's time to set the stage for a culinary masterpiece. This is where the magic happens, folks!
The Brine: A Secret Weapon for Juicy, Flavorful Turkey
Brining is like a secret weapon, a bit of culinary magic that transforms a simple turkey into a succulent, flavourful masterpiece. It's a simple process of soaking the turkey in a salty solution for a few hours, which helps retain moisture and prevent dryness. You can even add a bit of lemon juice, herbs, and spices to your brine for an extra burst of flavour. My personal favourite? A simple mix of fresh rosemary, thyme, and bay leaves.
What You’ll Need: Gathering Your culinary arsenal
Gather your trusty roasting pan, a meat thermometer (your trusty sidekick in this adventure), a basting brush, and a sharp knife. Don't forget the essential ingredients like olive oil, salt, pepper, and any other herbs and spices that tickle your fancy.
Prepping the Turkey: A Hands-On Approach
This is where things get a bit more hands-on. First, give your turkey a good rinse inside and out. Then, pat it dry with paper towels. Next, carefully remove the giblets (those little bits and bobs tucked inside the turkey) and set them aside for making gravy later. Now, here's where you have a choice: stuff your turkey with your favourite stuffing or cook it separately. I personally prefer to cook my stuffing separately, as it tends to cook more evenly and prevents any potential issues with the turkey's internal temperature.
(Part 3) The Big Roast: Bringing the Turkey to Life

It's showtime! Get your roasting pan ready, preheat your oven, and let's bring that turkey to life!
Preheating is Key: Ensuring Even Cooking
Make sure your oven is preheated to 350°F (175°C) before you pop the turkey in. This helps to ensure even cooking and prevents the turkey from getting cold in the oven.
Seasoning and Roasting: A Symphony of Flavors
Now, it's time to season your turkey like a pro. I like to rub the skin with olive oil, which helps create a lovely golden-brown colour, and then generously season it with salt and pepper. You can also add other spices like garlic powder, paprika, or onion powder, depending on your taste.
Basting is Your Friend: Keeping the Turkey Moist and Delicious
Once the turkey is in the oven, it's time for basting. This helps to keep the turkey moist, giving it a beautiful golden-brown colour and adding another layer of flavour. I usually start basting after about 30 minutes of cooking, making sure to baste every 30-45 minutes or so throughout the cooking process.
cooking time: A Rough Guide for Perfection
The cooking time will vary depending on the size of your turkey, but a good rule of thumb is to allow about 15 minutes per pound of turkey. For a 4-5lb turkey, you're looking at about 1 hour and 15 minutes to 1 hour and 30 minutes of cooking time.
The Thermometer Test: Ensuring It's Cooked Through
The most important thing is to make sure the turkey is cooked through. Use a meat thermometer to check the internal temperature in the thickest part of the thigh. It should reach 165°F (74°C). If you're using a digital thermometer, ensure it's calibrated properly to avoid inaccuracies.
(Part 4) Resting is the Key: Letting the Turkey Relax and Rejuvenate
Once the turkey is cooked through, it's important to let it rest for at least 15 minutes before carving. This allows the juices to redistribute, resulting in a much more succulent and flavorful bird.
Cover it Up: Keeping the Turkey Warm and Moist
While the turkey rests, cover it with a loose piece of foil to keep it warm and prevent it from drying out. This helps create a steamy environment that allows the juices to redistribute evenly throughout the meat.
(Part 5) Carving like a Pro: Unlocking the Turkey's Secrets
Now comes the fun part – carving the turkey. This might seem intimidating, but with a little practice, you'll be carving like a pro in no time.
Tools of the Trade: Your Carving Companions
You'll need a sharp carving knife, a cutting board, and a carving fork, which is helpful for holding the turkey steady while you carve. Invest in a good quality carving knife with a long, sharp blade. It makes a world of difference!
Start with the Breast: A Gentle Approach
Begin by carving the breast meat from the turkey, cutting along the bone. You can then slice the breast meat into thin, even slices. If you're carving for a crowd, carve the breast into individual portions, making it easier for your guests to serve themselves.
Legs and Thighs: Revealing the Hidden Flavors
Next, cut the legs and thighs from the turkey. You can then carve the meat off the bone, or leave it on the bone if you prefer. If you're leaving the meat on the bone, cut the leg and thigh into smaller portions for easier serving.
Gravy Time: The Perfect Finishing Touch
Once you've carved the turkey, it's time to make your gravy. This is a classic part of a Christmas dinner, a rich and flavorful sauce that ties the entire meal together.
(Part 6) Gravy Goodness: Creating a Smooth and Flavorful Sauce
Here's my secret to making gravy that's smoother than a baby's bottom and packed with flavour:
The Giblet Secret: Adding Depth and Richness
Use the giblets from the turkey to add extra flavour to your gravy. Simmer them in a pan with some water and vegetable broth for about 30 minutes. This will extract all the delicious flavour from the giblets, creating a rich and complex base for your gravy.
Strain and Thicken: The Art of Perfect Consistency
Strain the giblet mixture into a saucepan and add a tablespoon of butter and a tablespoon of flour. Whisk until smooth and then gradually whisk in your broth, making sure to stir continuously to prevent lumps. Simmer until the gravy thickens, reaching the desired consistency. For a richer gravy, you can add a splash of red wine or port.
(Part 7) Leftover Magic: Transforming Leftovers into Delicious Dishes
Now, let's talk about leftovers. Everyone loves a good turkey sandwich, right? But there are so many other ways to make the most of your leftover turkey, transforming them into exciting and delicious meals.
turkey soup: A Classic comfort food
A classic and comforting meal, turkey soup is perfect for using up leftover turkey, broth, and vegetables. Simply simmer the turkey, broth, and your favourite vegetables in a pot until the vegetables are tender. You can add noodles, rice, or even a sprinkle of pasta for a heartier meal.
Turkey Curry: A Spicy Twist on a Classic
Add a bit of spice to your leftovers with a delicious turkey curry. You can use a store-bought curry paste or make your own from scratch. Combine shredded turkey, chopped vegetables, and your chosen curry paste in a pan with coconut milk or broth. Simmer until the turkey is cooked through and the sauce thickens.
turkey salad Sandwiches: A Quick and Easy Lunch
A simple and satisfying lunch, turkey salad sandwiches are made with shredded turkey, mayonnaise, celery, and onions. You can add other ingredients like cranberries, walnuts, or grapes for a more decadent flavour.
Turkey Pasta Salad: A Flavorful and Colorful Option
This is a great way to use up leftover turkey and pasta. Combine cooked pasta, shredded turkey, vegetables, and your favourite dressing for a quick and easy meal. For a bit of added flavour, you can toss in some herbs or a sprinkle of cheese.
(Part 8) Turkey Tales: Personal Experiences and Culinary Mishaps
Oh, the stories I could tell you! From turkeys escaping the oven to disastrous stuffing mishaps, I've seen it all. One year, I even managed to carve the turkey completely upside down. But hey, that's part of the fun, isn't it?
The First Time: A culinary journey Begins
I remember my first attempt at roasting a turkey. I was so nervous, I almost forgot to season it! Thankfully, my mum stepped in to save the day. She showed me the ropes, and ever since, I've been hooked on the art of roasting a turkey.
A Culinary Challenge: Embracing the Learning Curve
Over the years, I've tried different recipes and techniques, and I've learned a lot about what works and what doesn't. It's a bit of a culinary challenge, but it's one that I love to take on.
A Festive Tradition: Bringing People Together
Roasting a turkey has become a tradition for my family. It's something we all look forward to, and it's always a great opportunity to come together and celebrate. It's more than just a meal, it's a shared experience that creates lasting memories.
(Part 9) FAQs: Answers to Your Most Burning Questions
1. What if my turkey is dry?
Don't panic! You can help to moisten a dry turkey by basting it regularly during cooking. And remember, letting the turkey rest after cooking will help the juices redistribute. You can also try adding a bit of broth to the bottom of the roasting pan to create a steamy environment that helps keep the turkey moist.
2. Can I cook stuffing inside the turkey?
You can, but it's not recommended. Stuffing cooks more evenly and safely when cooked separately in a casserole dish. The reason for this is that stuffing cooked inside the turkey doesn't always reach the safe internal temperature of 165°F (74°C), potentially leading to foodborne illness.
3. How do I know if my turkey is done?
Use a meat thermometer to check the internal temperature of the turkey in the thickest part of the thigh. It should reach 165°F (74°C). Make sure to insert the thermometer into the thickest part of the thigh, avoiding any bone, to get an accurate reading.
4. What if my turkey is overcooked?
An overcooked turkey will be dry and tough. There's not much you can do to salvage it, but you can try to make it more palatable by adding a sauce or gravy. You can also try slicing the turkey thinly and serving it on a bed of mashed potatoes or rice to make it more appealing.
5. Can I freeze leftover turkey?
Yes, you can freeze leftover turkey for up to 3 months. Just wrap it tightly in plastic wrap and aluminum foil. You can also freeze turkey broth and use it for soups or stews later.
Well, there you have it! My ultimate guide to roasting a turkey to perfection. Remember, practice makes perfect, so don't be afraid to experiment and find what works best for you. Happy cooking!
Everyone is watching

Prime Rib Roast Cooking Time Chart: Per Pound Guide
Cooking TipsPrime rib roast. Just the name conjures images of lavish dinners, crackling fires, and hearty laughter. It’s ...

How Long to Bake Potatoes in the Oven (Perfect Every Time)
Cooking TipsBaked potatoes are a staple in my kitchen. They're incredibly versatile, delicious, and surprisingly easy to m...

Perfect Rice Every Time: The Ultimate Guide to Cooking Rice
Cooking TipsAs a self-proclaimed foodie, I've always been a bit obsessed with rice. It's the foundation of countless cuisi...

The Ultimate Guide to Cooking Asparagus: Tips, Techniques, and Recipes
Cooking TipsAsparagus. The mere mention of this spring delicacy conjures up images of vibrant green spears, crisp and burs...

Ultimate Guide to Cooking the Perfect Thanksgiving Turkey
Cooking TipsThanksgiving. Just the word conjures up images of overflowing tables laden with delicious food, the scent of r...
