Let's face it, a juicy, perfectly roasted turkey breast is a crowd-pleaser. But even for those of us who love to cook, there's always a touch of anxiety when it comes to tackling that bird, especially when trying to get the cooking time just right. Those big, whole turkeys can be intimidating, especially when you're trying to navigate the intricacies of ensuring it's cooked through without drying it out. But I'm here to tell you, a bone-in turkey breast is a much more manageable option, perfect for smaller gatherings or simply for a delicious turkey dinner without the fuss.
I've been there, standing in the kitchen with a turkey breast in my hand, a mix of excitement and trepidation bubbling inside. I've had moments of triumph and a few mishaps where the turkey ended up a bit dry or even a little too well done. But through those trials, I've honed my techniques, and now I'm happy to share my secrets for achieving a flawless oven-roasted bone-in turkey breast.
(Part 1) Choosing the Right Turkey Breast: Finding Your Perfect Bird
The first step on your turkey journey is finding the right bird. And I can't stress this enough: always opt for a bone-in turkey breast. It's simply more flavourful, and the bone helps to keep the meat moist during cooking. It also adds a certain "wow" factor to the presentation, reminding everyone that this isn't just any ordinary meal.
You'll find a range of sizes in the supermarket, so choose one that's suitable for your guest list. A 3-4 lb turkey breast is a perfect size for 4-6 people, but feel free to go bigger if you're hosting a larger crowd.
Tips for choosing a turkey Breast
- Fresh is Best: Check the packaging date and make sure your turkey breast is fresh. It should be free of any discoloration or unpleasant odors.
- Plump and Proud: Look for a turkey breast that's nicely plump, not shrunken or dried out. It should be well-shaped and have a firm, springy texture.
- The Feel Test: Don't be afraid to give your turkey breast a gentle squeeze. It should feel firm to the touch, not squishy or soft. This indicates that it's well-hydrated and hasn't been sitting around for too long.
(Part 2) Preparing the Turkey Breast: A Symphony of Flavor
Now that you've got your perfect turkey breast, it's time to get it ready for its oven adventure. This is where you can unleash your culinary creativity and add your own personal touch.
Brining the Turkey Breast: A Secret Weapon for Juicy Meat
Brining is an optional step, but it's a real game-changer for creating incredibly juicy and flavorful turkey. It involves soaking the turkey in a salt and sugar solution, which helps to draw moisture into the meat and tenderize it. A simple brine made with water, salt, and sugar is all you need, but you can experiment with adding herbs and spices like rosemary, thyme, or bay leaves for an extra kick of flavor.
To brine your turkey breast, simply submerge it in the brine for a few hours, or even overnight, in the refrigerator. Just make sure the brine completely covers the turkey breast. The longer you brine it, the more flavorful it will be. But even a few hours of brining can make a significant difference.
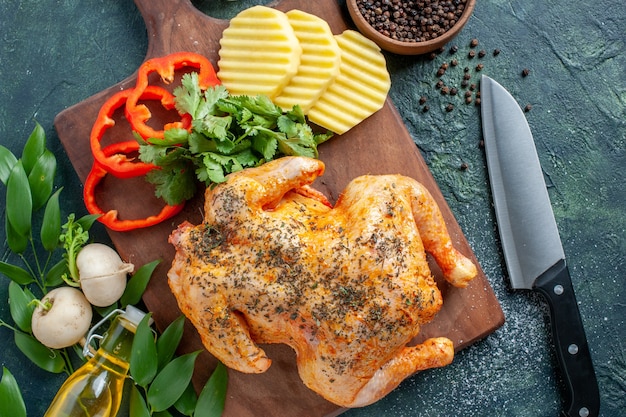
Seasoning the Turkey Breast: A Flavorful Rub
A good seasoning is essential for a delicious roast turkey breast. I'm a firm believer in the power of simplicity, but you can definitely customize your seasoning to your liking. A simple rub of salt, pepper, garlic powder, and paprika is a classic combination that never fails.
But if you're feeling adventurous, there's a whole world of flavors waiting to be explored. Here are a few ideas to get your taste buds tingling:
- Herb Garden Delight: Rosemary, thyme, sage, oregano, parsley – the list goes on and on! Experiment with different combinations to find your perfect blend.
- Citrus Zing: A touch of lemon, orange, or lime zest adds a refreshing brightness to your turkey breast.
- Garlic and Onion Power: Garlic and onion powder lend a savory depth of flavor that's hard to resist.
- A Pinch of Spice: Dry mustard, brown sugar, or even a touch of cayenne pepper can add an unexpected kick.
(Part 3) Cooking the Turkey Breast: A Symphony of Heat
Finally, it's time to roast that turkey breast! This is the moment you've been waiting for, and with a bit of patience and the right techniques, you'll be rewarded with a masterpiece.
Preheating the Oven: Setting the Stage for Success
Preheat your oven to 325°F (160°C). A preheated oven is crucial for ensuring even cooking and helping your turkey breast cook consistently.
Roasting the Turkey Breast: The Art of slow cooking
Place your seasoned turkey breast in a roasting pan. I like to add a little bit of water to the bottom of the pan to help keep it moist during cooking, but it's not essential. Roast the turkey breast for approximately 15-20 minutes per pound. Remember, slow and steady wins the race when it comes to roasting a turkey breast.
Checking for Doneness: A Matter of Timing
The key to a perfect turkey breast is knowing when it's cooked through. The internal temperature should reach 165°F (74°C) at the thickest part of the thigh, and the juices should run clear when you cut into it. There are a few methods you can use to check for doneness:
- meat thermometer: This is the most reliable method. Insert a meat thermometer into the thickest part of the thigh, making sure it doesn't touch any bone. The thermometer should read 165°F (74°C).
- The Touch Test: Press the thickest part of the thigh with your finger. If it feels firm and springy, it's done. If it feels soft and squishy, it needs more time.
- The Cut Test: Make a small incision in the thickest part of the thigh. If the juices run clear, it's cooked. If they're pink or bloody, it needs more time.
Resting the Turkey Breast: The Key to Tenderness
Once your turkey breast is cooked, let it rest for 10-15 minutes before carving. This crucial step allows the juices to redistribute throughout the meat, resulting in a more tender and flavorful turkey. Cover it loosely with foil to keep it warm while it rests.
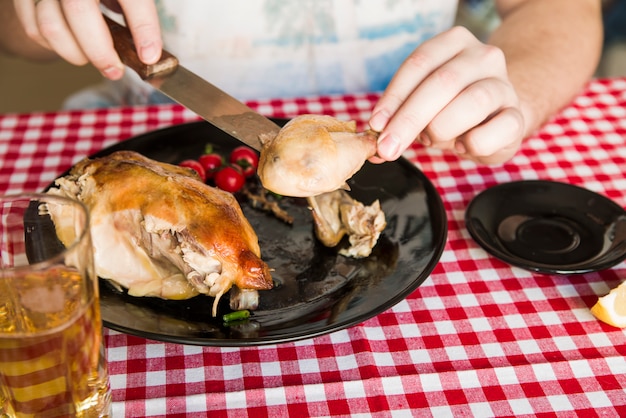
(Part 4) Carving the Turkey Breast: A Master Class in Presentation
The moment of truth is here! It's time to carve that gorgeous turkey breast. It might seem intimidating, but it's actually quite simple, especially with the right tools and techniques.
Carving Tools: The Essential Equipment
You'll need a sharp carving knife and a carving fork to do the job right. A cutting board is also essential for keeping your workspace clean and tidy.
Carving Steps: A Step-by-Step Guide
- Removing the Breast Bone: Start by removing the breast bone. This is a simple step, but it makes carving the meat much easier. You can discard the bone or use it for making stock later.
- Slicing the Breast: Cut the breast meat into thin slices, working from the thickest part towards the thinner end. Try to avoid cutting across the grain of the meat, as this will result in tougher slices.
- Removing the Dark Meat: The dark meat, or thigh and leg, is typically more flavorful than the breast meat. Cut it away from the breast bone and slice it into chunks.
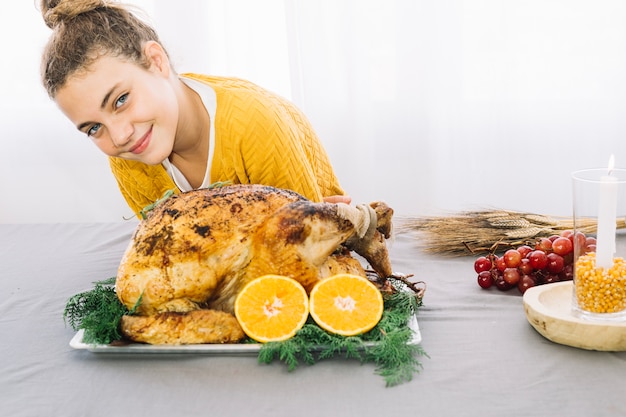
(Part 5) Serving Your Masterpiece: A Symphony of Flavor
Your oven-roasted turkey breast is ready to be devoured! You can serve it hot, warm, or even cold. It's incredibly versatile and can be enjoyed in a variety of ways.
Serving Suggestions: A Feast for the Senses
- Gravy: A rich and flavorful gravy is a classic accompaniment for turkey. You can make gravy from the pan drippings, or use store-bought gravy.
- Stuffing: A fluffy and flavorful stuffing is another traditional favorite. It's a delicious way to add a comforting touch to your meal.
- Cranberry Sauce: A tart and tangy cranberry sauce adds a nice contrast to the richness of the turkey.
- mashed potatoes: creamy mashed potatoes are a comforting and delicious side dish.
- Vegetables: Roasted vegetables, like Brussels sprouts, asparagus, or green beans, add a burst of color and flavor to your meal.
(Part 6) Storing Leftovers: Turkey Transformation
Let's be honest, there's a good chance you'll have some leftovers, especially if you made a big turkey breast. But don't worry, there's no need to waste them. Leftover turkey is perfect for creating a variety of delicious dishes.
Storing Leftovers: Keeping it Fresh
- Refrigerator: Store leftover turkey breast in an airtight container in the refrigerator for up to 4 days.
- Freezer: You can also freeze leftover turkey breast for up to 2 months.
Using Leftovers: A culinary adventure
Here are a few ideas for using up your leftover turkey:
- turkey sandwiches: A classic use for leftover turkey.
- turkey salad: Chop leftover turkey and mix it with mayonnaise, celery, and onions for a delicious and refreshing salad.
- turkey soup: Shred leftover turkey and add it to your favorite soup recipe.
- turkey pot pie: Make a hearty and satisfying pot pie with leftover turkey and vegetables.
- Turkey Enchiladas: Turn leftover turkey into flavorful and easy-to-make enchiladas.
(Part 7) Recipe Variations: Get Creative in the Kitchen
Now, if you're feeling a little adventurous, let's explore some fun variations on the classic oven-roasted turkey breast. It's a great canvas for creativity, and you can experiment with different flavors and seasonings to create your own signature dish.
Herb-Roasted Turkey Breast
Add a fresh, aromatic touch to your turkey breast by rubbing it with a blend of herbs like rosemary, thyme, sage, and parsley. This simple technique will transform your turkey into a fragrant and flavorful masterpiece.
Citrus-Roasted Turkey Breast
Bring out the bright flavors of citrus by zesting lemon, orange, or lime over your turkey breast before roasting. The citrus zest will add a refreshing zing to your dish and elevate it to a whole new level of deliciousness.
Spiced Turkey Breast
For a bolder flavor, add a sprinkle of spices like paprika, cumin, coriander, or chili powder to your turkey breast. Experiment with different spice combinations to create your own unique flavor profile.
(Part 8) FAQs: Turkey Truth
Let's clear up some common questions about oven-roasted turkey breasts. It's always good to have a few key pieces of information on hand, especially when dealing with something as important as your holiday feast.
FAQs
| Question | Answer |
|---|---|
| How long does it take to cook a bone-in turkey breast? | It generally takes about 15-20 minutes per pound to cook a bone-in turkey breast at 325°F (160°C). |
| What is the best way to check if a turkey breast is cooked? | The best way to check is with a meat thermometer. Insert it into the thickest part of the thigh, making sure it doesn't touch any bone. The internal temperature should reach 165°F (74°C). |
| What should I do if my turkey breast is overcooked? | Don't worry, it's not the end of the world! Overcooked turkey will be a bit dry, but it's still safe to eat. You can add a bit of gravy or sauce to help moisten it. |
| What can I do with leftover turkey breast? | You can use leftover turkey breast in sandwiches, salads, soups, pot pies, enchiladas, and more! It's a versatile ingredient that can be used in a variety of dishes. |
| Can I freeze a turkey breast? | Yes, you can freeze a turkey breast for up to 2 months. Wrap it tightly in plastic wrap or aluminum foil and store it in the freezer. |
(Part 9) Conclusion: Turkey Triumph
So there you have it, my comprehensive guide to roasting a bone-in turkey breast. It's a delicious and rewarding dish that's sure to impress your guests. It might seem a bit daunting at first, but trust me, it's easier than you think. With a little patience and a dash of confidence, you'll be serving up a delicious and impressive turkey breast in no time. Remember, don't be afraid to experiment and add your own personal touch. Happy cooking!
Everyone is watching

Prime Rib Roast Cooking Time Chart: Per Pound Guide
Cooking TipsPrime rib roast. Just the name conjures images of lavish dinners, crackling fires, and hearty laughter. It’s ...

How Long to Bake Potatoes in the Oven (Perfect Every Time)
Cooking TipsBaked potatoes are a staple in my kitchen. They're incredibly versatile, delicious, and surprisingly easy to m...

Perfect Rice Every Time: The Ultimate Guide to Cooking Rice
Cooking TipsAs a self-proclaimed foodie, I've always been a bit obsessed with rice. It's the foundation of countless cuisi...

The Ultimate Guide to Cooking Asparagus: Tips, Techniques, and Recipes
Cooking TipsAsparagus. The mere mention of this spring delicacy conjures up images of vibrant green spears, crisp and burs...

Ultimate Guide to Cooking the Perfect Thanksgiving Turkey
Cooking TipsThanksgiving. Just the word conjures up images of overflowing tables laden with delicious food, the scent of r...