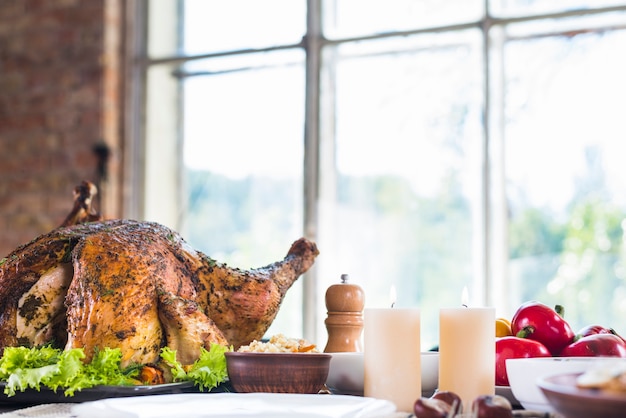
There's something undeniably comforting about a perfectly roasted chicken. The crispy skin, the succulent meat, the irresistible aroma that fills your kitchen – it's a culinary experience that never fails to impress. But mastering the art of roasting a chicken can feel like a daunting task, especially when you're faced with the question: "How long do I cook this thing?" Trust me, I've been there. It's a question I've grappled with for years, a culinary puzzle that requires a touch of intuition, a dash of experience, and a whole lot of trial and error. But fret not, my fellow foodie, I'm here to share my wisdom, the good, the bad, and the crispy-skinned, juicy-meat secrets I've learned over the years. Let's embark on this roasting journey together!
(Part 1) The Chicken: Your Culinary Canvas
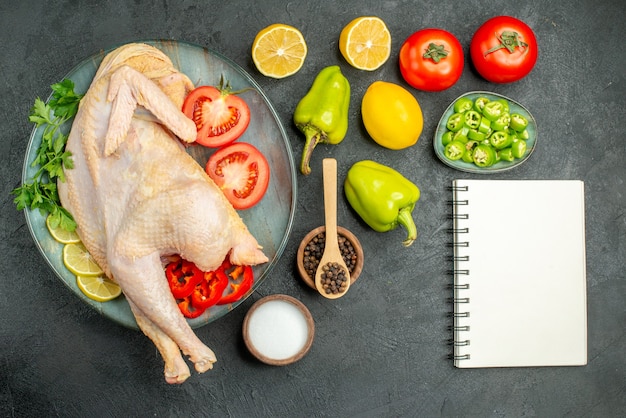
The first step in this delicious adventure is understanding your main ingredient: the chicken. It's like choosing the right canvas for your masterpiece. And in this case, we're talking about size, my friend. That plump, juicy bird in your fridge is the star of the show, and its weight is our key guide in figuring out the roasting time. A petite chicken won't need as long in the oven as a hefty, impressive specimen.
What Size Chicken Works Best?
I've found that chickens weighing around 1.5 kg (3.3 lbs) are a perfect size for a family meal. They provide enough meat for everyone to enjoy without being too overwhelming. You can, of course, find smaller chickens, maybe around 1 kg (2.2 lbs), or go for a real showstopper that weighs 2 kg (4.4 lbs) or more. Each size has its own charm, but for our purposes, let's focus on the standard 1.5 kg chicken for a clear and concise guide.
(Part 2) The Oven: Your Faithful Sidekick
Our next stop is the oven, our faithful sidekick in this roasting journey. We need to set it at a temperature that's hot enough to cook the chicken through and through, but not so hot that it ends up dry and burnt. Think of it as finding the perfect balance, a sweet spot that gives the chicken a lovely golden colour while ensuring it cooks evenly. My go-to temperature is 180°C (350°F), a temperature I've found works like a charm, consistently delivering a satisfyingly cooked bird.
(Part 3) The Roasting Time: A Balancing Act
Now, here's the crucial part: the roasting time. It's not a precise science, folks. It's more like a delicate dance, influenced by factors like your oven's temperament and the chicken's thickness. But don't worry, I've got your back. Here's a general guide that's worked wonders for me over the years, a starting point for your own culinary masterpiece.
General Roasting Time for a 1.5 kg Chicken
For a standard 1.5 kg chicken, you're looking at a roasting time of around 1 hour and 30 minutes to 1 hour and 45 minutes.
Keep in mind that these are just ballpark figures, a starting point for your journey. You'll want to check the chicken for doneness using a meat thermometer, our trusty guide in this culinary adventure. Stick it into the thickest part of the thigh, making sure to avoid the bone. The internal temperature should be 74°C (165°F). This ensures that the chicken is cooked through and safe to eat, a crucial point for any cook.
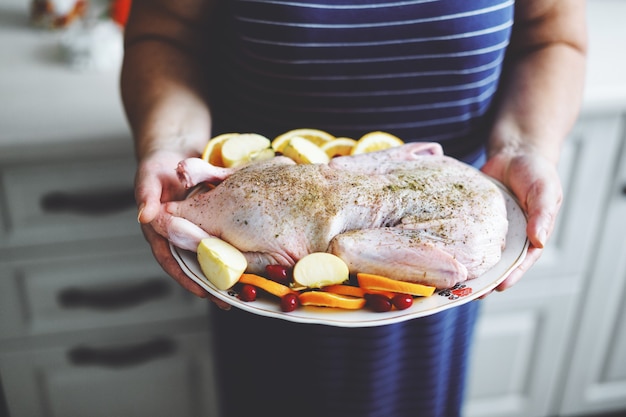
(Part 4) The Art of Preparation: Transforming Your Chicken
Before we send the chicken to the oven, let's give it a little TLC. Preparation is key, a step that elevates your roast chicken from good to great. First, pat it dry with kitchen paper, a simple but crucial step that helps the skin crisp up beautifully. Next, rub the whole bird with a generous amount of salt and pepper. This is the foundation of your flavour profile, a base that you can build upon with additional seasonings, such as paprika, garlic powder, or herbs. Feel free to experiment and find your own unique flavour combinations.
Stuffing the Cavity: A Flavorful Option
Now, we come to a personal choice: stuffing or no stuffing? I'm a big fan of stuffing, but it's not essential. It adds a delicious touch, but it's a matter of preference. If you're going the stuffing route, make sure it's cooked before you stuff the chicken. I usually make a simple stuffing with bread, herbs, and some chopped vegetables, a classic combination that never disappoints. Don't overstuff the cavity, or the stuffing won't cook properly, potentially leading to undercooked stuffing, a culinary faux pas we want to avoid.
(Part 5) The Resting Period: Allowing the Juices to Redistribute
After you've taken the chicken out of the oven, don't rush to carve it. Let it rest for about 10 minutes before carving. This might seem like a trivial detail, but it's essential. This brief resting period allows the juices to redistribute throughout the meat, resulting in incredibly tender, flavorful chicken. Think of it as a short pause for the chicken to recover and achieve its full potential, a crucial step in the journey towards a perfect roast.
(Part 6) The Meat Thermometer: Your Culinary Compass
I know, I know, a meat thermometer might seem like an extra step, an unnecessary tool. But trust me, it's your best friend in this roasting adventure, your culinary compass that takes the guesswork out of knowing when the chicken is cooked perfectly. It's a small investment that pays off with peace of mind and consistently delicious results.
Different Thermometer Types: Finding the Right Tool
There are a few different types of thermometers you can use, each offering unique benefits:
- Instant-read thermometers: These are quick and easy to use. You simply insert them into the meat and get a reading within seconds, a convenient option for a quick check.
- Probe thermometers: These are perfect if you want to monitor the temperature of the chicken throughout the cooking process, offering continuous feedback for precision cooking. You insert the probe into the chicken and leave it in place, letting you keep a watchful eye on the internal temperature, ensuring a perfectly cooked bird every time.
What Temperature to Aim For: The Key to a Safe and Delicious Meal
As mentioned before, the internal temperature of the chicken should be 74°C (165°F). This is the magic number, a benchmark that ensures the chicken is cooked through and safe to eat. Don't settle for anything less.
(Part 7) Visual Cues for Doneness: If You Don't Have a Thermometer
If you're not using a thermometer, you can still tell if the chicken is done by checking for a few visual cues, a valuable fallback if you find yourself without your trusty thermometer.
The Leg Joints: A Sign of Tenderness
Move the leg at the joint where it meets the body. If it moves easily, the chicken is likely cooked through. If it's still stiff, it needs more time in the oven. Think of it as a simple test for tenderness.
The Skin: A Golden Brown Indicator
The skin should be a lovely golden brown colour and crispy, a sign that the chicken has been cooked to perfection.
The Juices: A Clear Sign of Doneness
If you poke the chicken with a knife, the juices should run clear, not pink. This is a vital indicator that the chicken is cooked through and safe to eat.
(Part 8) Tips for perfect roast chicken: Elevating Your Game
Here are a few extra tips to help you create a roast chicken that's truly spectacular, elevating your culinary skills to the next level.
Basting: Adding Moistness and Flavor
During the roasting process, you can baste the chicken with its own juices or with melted butter or oil. This simple act helps keep the skin moist and adds a delicious flavour, enriching the overall experience.
Elevating the Chicken: For Crisp Skin and Even Cooking
Try placing the chicken on a rack in the roasting pan. This allows air to circulate around the chicken, helping it cook more evenly and making the skin extra crispy, a satisfying textural contrast that enhances the overall enjoyment.
Avoiding Burnt Skin: Maintaining a Perfect Golden Brown
If you find that the skin is browning too quickly, you can tent the chicken with foil for the last part of the cooking time. This simple trick helps prevent it from burning while the rest of the chicken finishes cooking, ensuring a perfectly cooked bird with a beautiful golden brown colour.
(Part 9) Making Gravy from Roast Chicken Drippings: Transforming Leftovers into a Delicious Sauce
Once the chicken is cooked, don't throw away those delicious drippings! They're the key ingredient to making a heavenly gravy, a simple but transformative way to elevate your meal.
The Gravy-Making Process: A Simple Yet Delicious Transformation
Remove the chicken from the pan and set it aside. Pour off any excess fat from the drippings, leaving behind the flavorful essence. Add a couple of tablespoons of flour to the pan and stir it into the drippings, creating a base for your gravy. Gradually whisk in some chicken stock or water until you have the desired gravy consistency. Bring it to a simmer and cook until thickened, creating a smooth, rich sauce. Season with salt and pepper to taste, and you have a perfect accompaniment to your roast chicken.
(Part 10) Serving and Enjoying Your Masterpiece: A Culinary Celebration
Now, for the grand finale! Carve the chicken, arrange it on a platter, and serve with all your favourite sides. I love to pair roast chicken with roast potatoes, steamed green beans, and a dollop of gravy, a classic combination that never disappoints.
Leftover Chicken Options: Making the Most of Your Culinary Creation
And don't worry if you have leftovers. They're just as delicious the next day, a culinary treasure to be savored. Use them in salads, sandwiches, or soup, extending the enjoyment of your roast chicken beyond the initial meal.
(Part 11) Frequently Asked Questions: Addressing Common Concerns
Q1: Can I use a frozen chicken for roasting?
Yes, you can, but you'll need to defrost it completely before roasting. It's best to thaw the chicken in the refrigerator overnight, a slow and safe thawing method.
Q2: How long should I roast a chicken that's smaller than 1.5 kg?
If you're using a smaller chicken, you'll need to adjust the roasting time accordingly. For a 1 kg chicken, I'd recommend 1 hour to 1 hour and 15 minutes, a shorter roasting time due to the smaller size.
Q3: What happens if I overcook the chicken?
If you overcook the chicken, it will become dry and tough, a culinary tragedy. The skin might also burn, leaving behind a bitter, unpleasant taste.
Q4: Is it okay to stuff the chicken with raw stuffing?
No, it's not safe to stuff the chicken with raw stuffing. The stuffing won't cook through properly, and there's a risk of food poisoning, a serious concern that we want to avoid.
Q5: Can I roast a chicken in a slow cooker?
You can, but it's not ideal. The chicken won't get that crispy skin that you get from oven roasting, a tradeoff you need to consider. However, if you're looking for a hands-off way to cook a chicken, the slow cooker can work. Just be sure to use a meat thermometer to check the internal temperature, ensuring safety and doneness.
(Part 12) Final Thoughts: Embrace the Journey, Enjoy the Results
So there you have it, my roast chicken wisdom, a culmination of years of experience and experimentation. I hope this guide has been helpful, providing you with the knowledge and confidence to create a perfect roast chicken that will impress your family and friends. Remember, the key to a perfect roast chicken is to cook it evenly and to let it rest before carving, ensuring tender, juicy meat. And don't be afraid to experiment with different seasonings and stuffing recipes. The possibilities are endless! Now go forth, my friend, and roast a chicken that will make your taste buds sing. Happy cooking!
Finally, remember that roasting a whole chicken is a journey, not a race. Take your time, enjoy the process, and savor the delicious results. Happy cooking!
Everyone is watching

Prime Rib Roast Cooking Time Chart: Per Pound Guide
Cooking TipsPrime rib roast. Just the name conjures images of lavish dinners, crackling fires, and hearty laughter. It’s ...

How Long to Bake Potatoes in the Oven (Perfect Every Time)
Cooking TipsBaked potatoes are a staple in my kitchen. They're incredibly versatile, delicious, and surprisingly easy to m...

Perfect Rice Every Time: The Ultimate Guide to Cooking Rice
Cooking TipsAs a self-proclaimed foodie, I've always been a bit obsessed with rice. It's the foundation of countless cuisi...

The Ultimate Guide to Cooking Asparagus: Tips, Techniques, and Recipes
Cooking TipsAsparagus. The mere mention of this spring delicacy conjures up images of vibrant green spears, crisp and burs...

Ultimate Guide to Cooking the Perfect Thanksgiving Turkey
Cooking TipsThanksgiving. Just the word conjures up images of overflowing tables laden with delicious food, the scent of r...