You've got your Traeger fired up, a beautiful piece of chicken waiting, and you're ready for that smoky, delicious flavour we all crave. But cooking chicken on a Traeger at 350 degrees can be a bit of a dance, especially for beginners. You want to make sure it's cooked through without drying out, and that golden-brown skin is the ultimate finishing touch.
I've been a Traeger enthusiast for years, and I've cooked my fair share of chicken. From juicy roasts to crispy thighs, I've seen it all. So, let's embark on this journey of flavour, exploring the best ways to cook chicken on your Traeger at 350 degrees. I'm going to share all my tips and tricks to help you achieve delicious, smoky perfection.
(Part 1) Understanding the Fundamentals: Heat, Time, and Temperature
Cooking chicken on a Traeger at 350 degrees is a beautiful balance of heat and time. You want to ensure the internal temperature reaches 165 degrees Fahrenheit for safe and delicious results. This ensures it's cooked through and safe to eat.
But here's the tricky part: every piece of chicken is unique. The size and thickness of the breasts, the weight of the thighs - it all makes a difference. Simply setting a timer for a specific time won't always cut it.
The Importance of a meat thermometer: Your Essential Ally
That's where a trusty meat thermometer steps in. It's your best friend in the kitchen, especially when dealing with chicken. Stick it into the thickest part of the chicken, ensuring it's cooked to perfection. No more guessing, no more worries about undercooked poultry. It's a game-changer!
Time Estimates for Different Cuts: A Starting Point for Your Journey
While a meat thermometer is crucial, having some rough time estimates is helpful. Here's a general guideline for different chicken parts cooked at 350 degrees on a Traeger:
- chicken breast: 30-40 minutes. Remember, thinner breasts will cook faster than thicker ones.
- chicken thighs: 45-60 minutes. These beauties take a bit longer due to their higher fat content, which contributes to their juiciness.
- Chicken Legs: 50-70 minutes. These need a little more time to ensure the drumstick is cooked through.
- whole chicken: 1 hour 30 minutes to 2 hours. This depends on the size of the bird. Always aim for an internal temperature of 165 degrees Fahrenheit in the thickest part of the thigh.
Remember, these are just estimates. You'll want to use your trusty meat thermometer to confirm the internal temperature reaches 165 degrees Fahrenheit for perfect and safe results.
(Part 2) The Art of Prepping Your Chicken: Unleashing Flavour
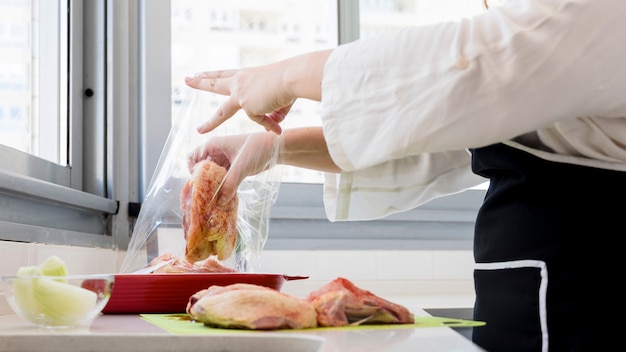
Your chicken is ready, your Traeger's fired up, and your thermometer is at the ready. Now it's time to prep your chicken for its smoky adventure.
Seasoning with Savour: A Symphony of Flavours
Let's talk seasoning. This is your chance to bring out the flavours and make your chicken sing. I'm a fan of simple seasoning blends, and for chicken, I usually go for a mix of salt, pepper, garlic powder, and onion powder. It's a classic combination that always delivers.
You can also get creative and add paprika, thyme, or rosemary for a more robust flavour. Don't be afraid to experiment and find your perfect blend.
The Magic of Brining: Unlocking Tenderness and Juiciness
For an extra layer of juiciness, I highly recommend brining your chicken. Brining is simply soaking the chicken in a salt-water solution. This helps retain moisture, creating a tender, flavourful result. You can use a simple salt and water solution, or add herbs and spices for an extra kick.
For example, I love using a lemon and herb brine. It adds a bright citrus flavour to the chicken. Just mix together a cup of salt, 2 cups of sugar, and 12 cups of water. Add some lemon zest, fresh thyme, and rosemary, and let your chicken soak for a few hours (or overnight for maximum flavour).
A Quick Tip for crispy skin: Achieving Golden Perfection
To achieve that gloriously crispy skin, pat your chicken dry before placing it on the Traeger. This helps the skin crisp up beautifully as it cooks.
(Part 3) Placing Your Chicken on the Traeger: Optimizing the Cook
Your chicken is prepped and seasoned to perfection. Now, it's time to place it on the Traeger. This is where the layout matters, especially if you're cooking multiple pieces.
The Best Way to Arrange Your Chicken: For Even Cooking and Crispy Skin
If you're cooking chicken breasts, lay them out in a single layer, ensuring they're not crowded together. This allows for even cooking and prevents steam from building up, which can lead to soggy skin.
For thighs and legs, you can place them skin-side up on the grill. Or, try grilling them skin-side down first to get that beautiful crispy skin. Just be sure to flip them over after a while to ensure even cooking.
When cooking a whole chicken, you can place it on the grill with the breast side facing up. Alternatively, you can spatchcock it for faster cooking. Spatchcocking involves removing the backbone and flattening the chicken, allowing for more even heat distribution.
(Part 4) Monitoring Your Chicken and Adjusting the Heat: A Dance of Flavour
Your chicken is on the Traeger, and the aroma of smoke is filling the air. But don't let it cook unattended. Keep a close eye on it and be ready to make adjustments as needed.
Using Your Meat Thermometer: Your Guide to Perfection
Your meat thermometer is your best friend during this stage. Check the internal temperature every 15-20 minutes, especially towards the end of the cooking time. Make sure the thickest part of the chicken reaches 165 degrees Fahrenheit.
Adjusting the Heat for Even Cooking: Finding That Sweet Spot
If you notice the skin browning too quickly before the internal temperature is reached, try lowering the temperature slightly. Conversely, if the skin seems to be taking too long to crisp up, increase the heat a bit. It's about finding that perfect balance for your specific Traeger and your preferred level of doneness.
(Part 5) Resting Your Chicken for Ultimate Juiciness: Letting the Flavours Settle
Once your chicken reaches the desired internal temperature, don't rush to slice it open. Let it rest for 10-15 minutes before serving. This allows the juices to redistribute throughout the meat, resulting in a more tender and juicy chicken.
While you're waiting, you can prepare your favourite sides. I often pair my Traeger chicken with roasted vegetables, creamy mashed potatoes, or a refreshing salad. The smoky flavour of the chicken goes beautifully with so many options.
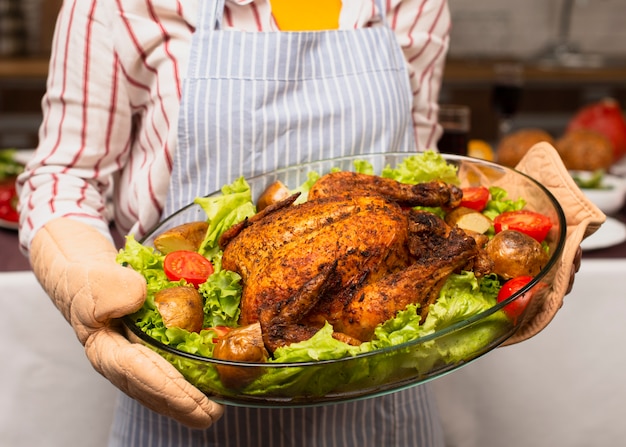
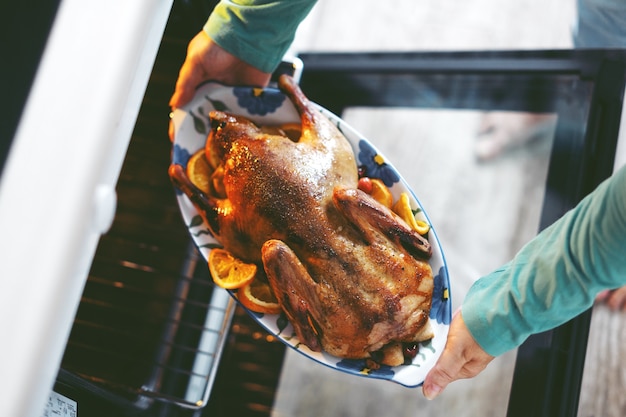
(Part 6) Achieving that Perfect Golden-Brown Skin: The Finishing Touch
Now, let's talk about that golden-brown skin, the epitome of deliciousness. Achieving that perfect crisp is all about the heat and a little bit of patience.
The Importance of High Heat for Crispy Skin: Amping Up the Flavour
Towards the end of the cooking process, you can crank up the heat to about 375 degrees Fahrenheit for the last 10-15 minutes. This will help to crisp up the skin and create that beautiful golden-brown hue. But be careful not to overdo it, or you risk burning the skin.
Using a Basting Brush: Adding Moisture and Shine
Another trick for achieving crispy skin is to use a basting brush. You can brush the chicken with melted butter, olive oil, or even a simple mixture of water and vinegar. This will help to create a barrier between the chicken and the heat, preventing the skin from drying out too quickly. It also adds a lovely sheen to the skin.
(Part 7) Serving Your Traeger Chicken: Time to Enjoy
Your chicken is cooked to perfection, rested, and ready to be enjoyed. But before you dig in, let it cool slightly to avoid burning your mouth.
Making the Most of Your Chicken: Creative Serving Ideas
You can serve your chicken whole, sliced, or pulled. I often like to pull the chicken apart and serve it on a bed of rice or quinoa, topped with a creamy sauce. The options are truly endless!
Saving Leftovers for Delicious Meals: Expanding the Flavour
If you have any leftover chicken, don't despair! It's delicious in salads, wraps, or even just on a simple sandwich. You can also shred it and add it to soups or stews. The possibilities are endless!
(Part 8) Traeger Chicken Cooking at 350 Degrees: A Summary
So, there you have it, my guide to cooking chicken on your Traeger at 350 degrees. It's all about understanding the fundamentals, prepping your chicken properly, and paying attention to the cooking process. Remember, a meat thermometer is your best friend, and don't be afraid to adjust the heat as needed.
Now, go forth and cook some delicious, smoky chicken. Enjoy the process and savour every bite!
FAQs
1. What if my chicken is not cooked through after the estimated time?
If your chicken isn't cooked through after the estimated time, don't worry. Just keep cooking it until it reaches 165 degrees Fahrenheit in the thickest part. Make sure to check the temperature regularly with your meat thermometer.
2. Can I cook chicken on my Traeger at a lower temperature?
Absolutely! You can cook chicken at lower temperatures, but it will take longer. If you're cooking at a lower temperature, make sure to use a meat thermometer and check the internal temperature regularly.
3. How do I know if my Traeger is at the right temperature?
Most Traegers have a built-in thermometer to tell you the temperature of the grill. If your Traeger doesn't have a built-in thermometer, you can use a separate grill thermometer to ensure the temperature is accurate.
4. Can I use wood chips with my chicken?
Yes! Wood chips are a great way to add extra flavour to your chicken. You can soak them in water for about 30 minutes before placing them on the grill. You can also use wood chunks for a stronger flavour.
5. How do I clean my Traeger after cooking chicken?
Clean your Traeger grill after each use. Remove any leftover food debris from the grill grates and the drip pan. You can also use a grill brush to clean the grates thoroughly. Finally, wipe down the exterior of the Traeger with a damp cloth.
And remember, if you're ever unsure about anything, don't hesitate to consult your Traeger manual or online resources for more detailed information.
Everyone is watching

How to Cook Frozen Lobster Tails Perfectly: A Step-by-Step Guide
RecipesLobster. Just the word conjures up images of lavish meals, special occasions, and a taste of luxury. But let's...

Pigs in a Blanket Cooking Time: How Long to Bake for Perfect Results
RecipesAh, pigs in a blanket. Just the name conjures up images of those delightful little parcels of crispy pastry en...

Pork Fillet Cooking Time: How Long to Cook It Perfectly
RecipesPork fillet, or tenderloin as it's sometimes called, is a real favourite in our house. It's so versatile, and...

The Ultimate Guide to Tender, Juicy Pulled Pork
RecipesRight, let's talk pulled pork. It's one of those dishes that just screams "comfort food," doesn't it? I mean...

The Ultimate Guide to Cooking Sweet Potatoes: From Roasting to Mashing
RecipesSweet potatoes. Just the name conjures up images of warm, comforting dishes, bursts of vibrant color, and a to...