Let's talk about steak, the kind that makes your mouth water just thinking about it. You know, the one with that beautiful sear, juicy interior, and melt-in-your-mouth tenderness? It's a dish that seems simple enough, but nailing it can be surprisingly tricky. choosing the right cut, understanding the different levels of doneness, and then actually cooking it – it all adds up. But don't worry, I'm here to guide you through every step of the way.
This is my guide to cooking the perfect steak, packed with tips and tricks I've picked up over the years, some from seasoned chefs, some from my own kitchen experiments (let's just say there were some casualties along the way). I'm breaking it down into digestible chunks, so even if you're a complete newbie, you'll be grilling like a pro in no time.
(Part 1) Choosing the Cut: The Foundation of Flavor

The first step is selecting your weapon of choice, the steak that will become your culinary masterpiece. There's a steak out there for everyone, but for a truly memorable experience, you want a cut that's richly marbled, juicy, and bursting with flavor.
The Big Four: Your Steak Starter Pack
Let's start with the classics:
- Rib Eye: The undisputed king of steaks, the Rib Eye is known for its generous marbling, incredible juiciness, and rich, buttery flavor. It's the ideal choice for those who love a little bit of fat in their steak.
- new york strip: Leaner than the Rib Eye, the New York Strip still boasts a fantastic flavor and a slightly firmer texture. It's a great option if you prefer a less fatty steak.
- filet mignon: This is the most tender of the bunch, but also the most expensive. It's the ultimate indulgence, perfect for special occasions. The Filet Mignon is known for its delicate flavor and velvety texture.
- Sirloin: This is your reliable workhorse, a good all-around steak that's both affordable and flavorful. It's a great choice for a weeknight meal, as it's a little more forgiving in terms of cooking time.
Beyond the Basics: Venture Into the World of Specialty Cuts
If you're feeling adventurous, explore the world of specialty cuts. These are often harder to find, but they offer a unique flavor and texture experience. You might find:
- Tomahawk: This is a bone-in Rib Eye with a long, impressive bone, making it a showstopper.
- Denver Steak: A cut from the chuck, the Denver Steak is flavorful and tender, with a surprising amount of marbling.
- flat iron steak: Another cut from the chuck, the Flat Iron Steak is known for its tender texture and rich flavor. It's also a great value.
Don't hesitate to chat with your local butcher. They're experts and can guide you towards the perfect cut for your taste and budget.
Thickness: Don't Be Afraid to Go Big
Now that you've chosen your cut, let's talk thickness. You want a steak that's at least 1 inch thick, ideally 1.5 inches. Why? Think of it as a juicy, flavorful fortress. A thick steak holds onto its moisture as it cooks, preventing it from drying out and ensuring a tender, juicy result. Thinner steaks cook more quickly and can easily overcook, leaving you with a tough, disappointing steak.
(Part 2) Getting Ready: Setting the Stage for a Delicious Steak

Alright, you've got your perfect cut, but before we start cooking, it's time to give it the royal treatment.
Room Temperature: Let the Steak Relax
First things first, take your steak out of the refrigerator and let it come to room temperature. Aim for about 30 minutes, letting it rest on a plate covered with a kitchen towel. Why? A cold steak cooks unevenly. It takes longer to cook on the outside than the inside, leading to a tough, unevenly cooked steak. Let it chill out, and your steak will be ready to shine.
Seasoning is King: A Simple Guide to Flavor
Now, let's talk seasoning. Remember, less is often more, but don't be afraid to get creative.
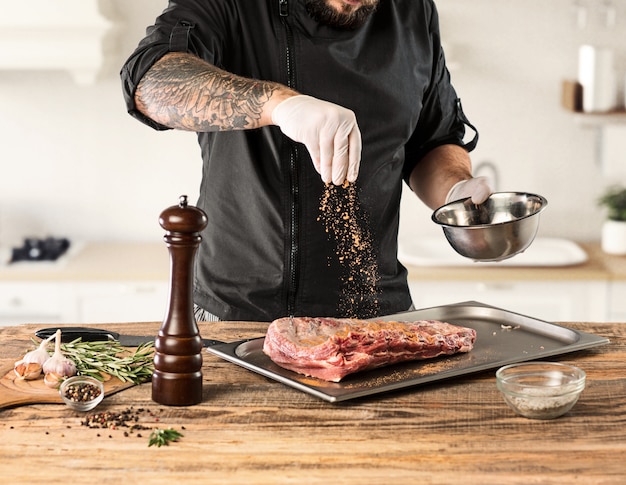
- Salt: The star of the show. Use coarse salt like kosher or sea salt, as it dissolves more slowly and allows for a more even seasoning. Salt does more than just add flavor; it also draws moisture out of the steak, helping to create a crispy, flavorful crust. You can salt your steak anywhere from 30 minutes to 2 hours before cooking, but I prefer to salt it right before I hit the heat.
- Black Pepper: Freshly ground black pepper adds a little heat and a delightful aroma. Don't be afraid to experiment with different pepper blends.
- Herbs and Spices: Herbs like rosemary, thyme, and oregano can add a lovely depth of flavor. Garlic powder, paprika, or even a pinch of chili flakes can add some extra kick. But remember, use these sparingly to let the steak's natural flavor shine through.
My go-to seasoning is simple: salt, pepper, and a touch of garlic powder. You can always add more, but you can't take it away. So, start with a light hand and adjust to your taste.
(Part 3) The Cooking Process: Turning Heat into a Flavorful Masterpiece

Now comes the exciting part: the actual cooking!
Grilling: Embracing the Smoky Charm
For that ultimate steak experience, nothing beats a good grill. It adds a delicious char and smoky flavor that's hard to resist.
- Get Your Grill Scorching: You want your grill super hot, around 450-550 degrees Fahrenheit. This high heat is key for creating those beautiful grill marks.
- Cleanliness is Next to Godliness: A clean grill is essential for a successful steak. If you have a gas grill, preheat it and use a grill brush to scrub those grates. If you're using a charcoal grill, make sure to use hot coals and remove any ash.
- Oil the Steak: Rub your steak with a little olive oil or vegetable oil. This helps create a nice crust and prevents sticking, ensuring even cooking.
- Grill Time: Place your steak on the grill and cook for 2-3 minutes per side. We're aiming for a beautiful sear, not overcooking.
- Rotation is Key: After the initial sear, rotate your steak by 90 degrees. This creates those stunning crosshatch grill marks.
- Reduce the Heat: Once you've achieved a perfect sear on both sides, reduce the heat to medium and continue cooking for another 3-5 minutes per side, depending on the thickness of your steak and your desired level of doneness.
- Move to a Cooler Zone (Optional): If you want to avoid overcooking, you can move the steak to a less hot part of the grill to finish cooking.
Remember, we're after a beautiful crust and a juicy interior, not a burnt and dry steak. Be patient and keep a close eye on your steak.
Pan-Frying: A Reliable Kitchen Champion
Grilling isn't the only way to create a delicious steak. If you don't have a grill, or it's a chilly day, a trusty cast-iron pan can be your best friend.
- Preheat to Sizzle: Get your pan scorching hot over high heat. A cast-iron skillet is ideal, but any heavy-bottomed pan will do. You want it to be smoking hot.
- Oil Up: Add a generous amount of oil, enough to coat the bottom of the pan. You want the oil to be hot and shimmering, creating the perfect environment for a golden sear.
- Sear It: Place your steak in the pan and cook for 2-3 minutes per side, resisting the urge to move it. We're aiming for a beautiful crust and a deep sear.
- Turn Down the Heat: Once the steak is seared on both sides, reduce the heat to medium and continue cooking for another 3-5 minutes per side, adjusting the time based on your steak's thickness and preferred doneness.
- Butter and Herbs (Optional): Towards the end of cooking, add a pat of butter and some herbs like rosemary and thyme to the pan. The butter will melt and baste the steak, adding a luxurious touch of flavor and moisture.
Just like with grilling, the key is a hot pan, shimmering oil, and a beautiful, even crust. Be patient and enjoy the process.
(Part 4) Temperature and Doneness: Knowing When Your Steak is Perfect
You've got your steak cooking, but how do you know when it's ready to eat? This is where the art of doneness comes in.
The Doneness Spectrum: Rare, Medium-Rare, Medium, and Beyond
Different levels of doneness are all about internal temperature:
| Doneness | Internal Temperature |
|---|---|
| Rare | 125°F (52°C) |
| Medium-Rare | 130°F (54°C) |
| Medium | 140°F (60°C) |
| Medium-Well | 150°F (66°C) |
| Well Done | 160°F (71°C) |
I'm a big fan of medium-rare, but ultimately, it's your call! Some people prefer a well-done steak, others like it rare, and some even enjoy it blue. It's all about personal preference.
Checking Doneness: A Few Tips for Accuracy
A meat thermometer is your best friend for accurate doneness. But if you don't have one, don't despair! Here are some other methods:
- The Finger Test: This is a classic, but it takes some practice. Press on the thickest part of the steak. If it feels like the pad of your thumb, it's rare. If it feels like the pad of your index finger, it's medium-rare. If it feels like the pad of your middle finger, it's medium.
- The Look Test: Look at the center of the steak. Rare steak will have a bright red center. medium-rare steak will have a pink center. Medium steak will have a slightly brown center. Well-done steak will have a completely brown center.
- The Juice Test: When you press on the steak, it should release a clear juice if it's rare. If it's medium-rare, the juice will be a bit pink. If it's medium, the juice will be clear and slightly brown. If it's well done, the juice will be brown and thick.
These are just guidelines. The best way to learn how to check doneness is to practice, pay attention, and find what works for you.
(Part 5) The Importance of Rest: Letting the Steak Rejuvenate
Once your steak is cooked, don't be tempted to slice and serve immediately. It's time for a crucial step: resting. Let the steak relax for 5-10 minutes, covered loosely with foil.
Why Resting is Crucial:
Resting allows the juices to redistribute evenly throughout the steak. It's like giving it a chance to relax and breathe. This leads to a juicy, tender, and flavorful steak, because those delicious juices aren't lost in a rush to serve. Resting also allows the steak to cool down slightly, making it easier to slice.
(Part 6) Slicing and Serving: A Triumphant Conclusion
Alright, the moment of truth has arrived! It's time to slice and serve your masterpiece.
Slicing Techniques:
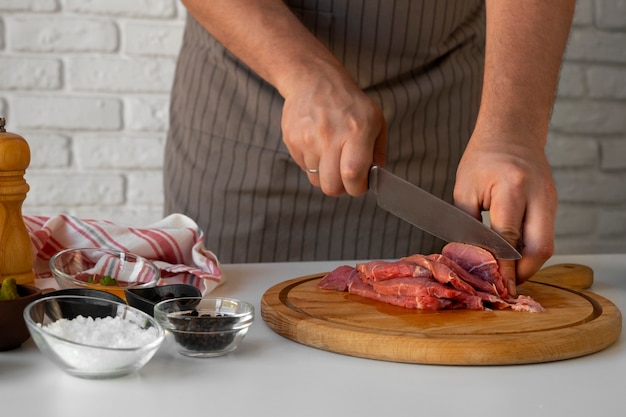
Slice your steak against the grain, meaning cut across the muscle fibers. This ensures a tender bite and makes the steak easier to chew. Use a sharp knife and slice your steak into 1/2-inch slices.
I always aim for a smooth, graceful cut, like a dance. It's part of the performance.
Serving Suggestions:
There are countless ways to serve your perfect steak. Here are a few ideas to get you started:
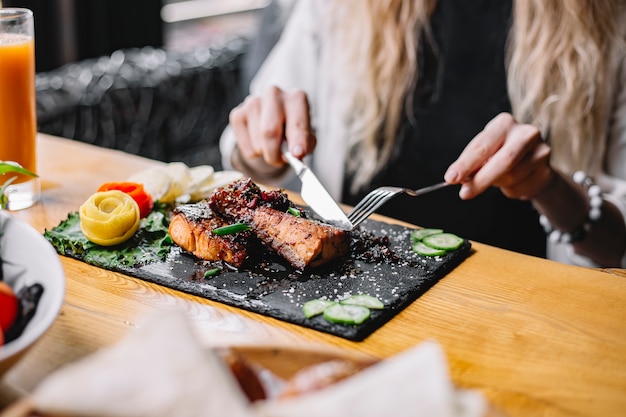
- Classic: Serve your steak with mashed potatoes, asparagus, and a simple gravy. It's a classic combination for a reason.
- Fancy: Serve your steak with roasted vegetables, a creamy polenta, and a chimichurri sauce. This is a great choice for a special occasion.
- Casual: Serve your steak with a simple salad and a side of fries. This is a great choice for a weeknight meal.
- Go Wild: Don't be afraid to experiment! Try a fried egg on top, or some crispy onions. You can even make a delicious steak sandwich!
(Part 7) Beyond the Steak: Creating a Flavorful Ensemble
We've covered the steak, but let's not forget the supporting cast, the sides that elevate your culinary creation.
Potato Power: A Classic Sidekick
Potatoes are always a winner. Mashed potatoes, baked potatoes, roasted potatoes, fries – you can't go wrong. My personal favorite is a simple mashed potato with a bit of butter and fresh herbs.
Vegetable Variety: Adding a Fresh Touch
Vegetables are essential for balancing out the richness of the steak. Asparagus, broccoli, Brussels sprouts, green beans – the possibilities are endless. I love roasting them with a little olive oil, salt, and pepper. You can also try grilling them, or even making a simple saute.
Sauce Sensation: Elevating the Flavor
A good sauce can take your steak to the next level. A simple red wine sauce, a creamy mushroom sauce, or a tangy chimichurri sauce can add a new dimension of flavor. You can even make your own sauce using the pan drippings from your steak.
(Part 8) FAQs: Answering Your Steak-Related Questions
You've got your steak, your sides, and you're ready to cook. But you might still have some questions. Let's tackle some common ones.
Q: How do I tell if a steak is fresh?
Look for a steak that has a bright red color and a firm texture. It should have a slight marbling of fat, which indicates that it's well-marbled and juicy. Avoid steaks that have a dull color or a slimy texture.
Q: Can I freeze steak?
Yes, you can freeze steak. Just make sure to wrap it tightly in plastic wrap or aluminum foil. It will keep for 3-4 months in the freezer. When you're ready to use it, thaw it in the refrigerator for 24 hours.
Q: How long should I cook a steak?
The cooking time will depend on the thickness of your steak and how you want it cooked. A general guideline is to cook a 1-inch thick steak for 2-3 minutes per side for rare, 3-4 minutes per side for medium-rare, and 4-5 minutes per side for medium. Use a meat thermometer to check the internal temperature to ensure it's cooked to your liking.
Q: What happens if I overcook my steak?
If you overcook your steak, it will be dry and tough. There's not much you can do to fix an overcooked steak, so it's best to avoid overcooking it in the first place.
Q: What are some tips for making a great steak sauce?
There are many different recipes for steak sauce, but a simple red wine sauce is always a good choice. To make a red wine sauce, simply saute some onions and garlic in a pan, then add a cup of red wine and let it reduce until it's thickened. You can also add some herbs like thyme or rosemary to the sauce.
There you have it. My ultimate guide to cooking the perfect steak. Now go forth and grill, pan-fry, and create your own delicious masterpiece. Enjoy!
Everyone is watching

How to Cook Frozen Lobster Tails Perfectly: A Step-by-Step Guide
RecipesLobster. Just the word conjures up images of lavish meals, special occasions, and a taste of luxury. But let's...

Pigs in a Blanket Cooking Time: How Long to Bake for Perfect Results
RecipesAh, pigs in a blanket. Just the name conjures up images of those delightful little parcels of crispy pastry en...

Pork Fillet Cooking Time: How Long to Cook It Perfectly
RecipesPork fillet, or tenderloin as it's sometimes called, is a real favourite in our house. It's so versatile, and...

The Ultimate Guide to Tender, Juicy Pulled Pork
RecipesRight, let's talk pulled pork. It's one of those dishes that just screams "comfort food," doesn't it? I mean...

The Ultimate Guide to Cooking Sweet Potatoes: From Roasting to Mashing
RecipesSweet potatoes. Just the name conjures up images of warm, comforting dishes, bursts of vibrant color, and a to...
