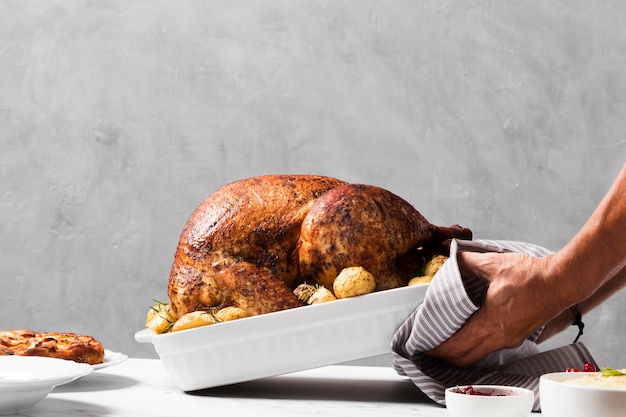
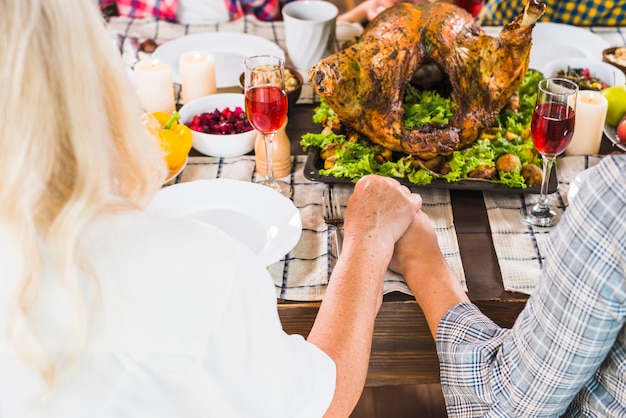
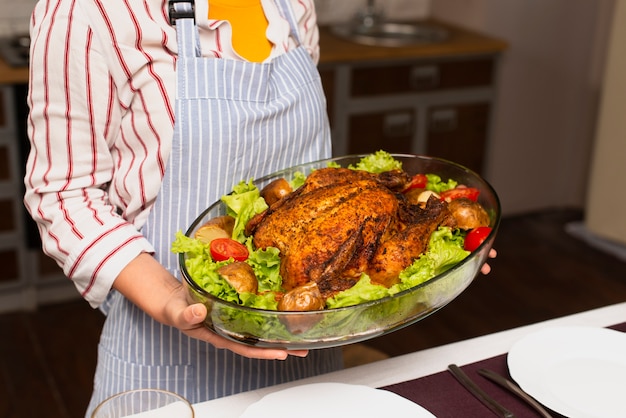
Ah, the Christmas turkey! A culinary tradition that evokes memories of warm gatherings, laughter, and overflowing platters of delicious food. But let's face it, cooking a turkey can be a bit daunting, especially when it’s frozen solid. Don't worry, my friends, I've been there! After years of perfecting my turkey-roasting skills, I'm ready to share my secrets, so you can confidently serve up a truly impressive bird this holiday season.
Getting Started: Preparation is Key (Part 1)

It’s a common saying, "Failing to prepare is preparing to fail,” and it’s especially true when it comes to cooking a turkey. Let's start with the most crucial step: thawing. While thawing in the fridge is the safest and most recommended method, we all know those moments when time just isn't on our side.
Thawing a Frozen Turkey: The Safe Way
The fridge method is the gold standard. It takes time, of course, roughly 24 hours for every 5 pounds of turkey, but it ensures a gradual and safe thaw. If you find yourself in a time crunch, cold water thawing is a viable option – but a bit of caution is necessary. Remember, never thaw your turkey at room temperature, as this can lead to bacteria growth. The cold water method works by submerging the turkey in a large container filled with cold water, changing the water every 30 minutes. You'll need a container big enough to completely submerge the turkey, which may be a challenge for larger birds. Trust me, after trying to juggle a massive turkey in a sink, I learned to invest in a large cooler.
Don't Forget the Brine! (Part 1.1)
Now, here's a little secret I've learned over the years: brining. It's a game-changer! By soaking your turkey in a salt-water solution, you'll infuse it with moisture, resulting in incredibly tender and flavorful meat. A simple brine solution can be made with water, salt, sugar, and a few aromatics like peppercorns or bay leaves. You can brine in the fridge for 12-24 hours, but make sure to remove the turkey from the brine and pat it dry before roasting.
The Big Day: Cooking Your Turkey (Part 2)

The day has finally arrived. The turkey is prepped and ready to go. Now, let's get cooking!
Prepping Your Turkey: From Inside Out
Before you throw your turkey in the oven, take a few moments to prep it properly. This will not only make your turkey look beautiful but also enhance the flavor. First, remove the turkey from the packaging and pat it dry with paper towels. Then, it's time for seasoning. A simple combination of salt and pepper will do wonders. You can also add some herbs like thyme, rosemary, or sage for extra flavor. Next, decide if you're going to stuff the turkey. I prefer to stuff separately, ensuring that the stuffing is cooked thoroughly. However, if you choose to stuff the turkey, make sure the stuffing is packed loosely and doesn't touch the raw meat.
Roasting Your Turkey: The Classic Method
Now, let's talk oven settings. I prefer to roast my turkey at 180°C (350°F), but again, every oven is different. Place your turkey in a roasting pan and add a small amount of water to the bottom – about half a cup will do. This will help keep the turkey moist and prevents it from drying out. For roasting times, calculate about 1 hour and 30 minutes per kilogram of turkey. Remember, it’s always better to undercook slightly and then check for doneness using a meat thermometer.
Basting Your Turkey: The Secret to Juicy Meat (Part 2.1)
The beauty of roasting a turkey is in the basting process. It's a simple yet crucial step that infuses the turkey with flavor and moisture. Using a basting spoon, periodically pour the pan juices over the turkey every 30 minutes, ensuring even cooking and a beautiful golden brown skin. The results? A succulent, juicy turkey that will have everyone raving about your culinary prowess.
Don’t Overcook Your Turkey! (Part 2.2)
We all know the tragedy of dry, overcooked turkey! A meat thermometer is your best friend when it comes to ensuring a perfectly cooked turkey. Insert the thermometer into the thickest part of the thigh, making sure to avoid the bone. The turkey is fully cooked when the internal temperature reaches 82°C (180°F). Once the turkey has reached this temperature, you can remove it from the oven and let it rest.
Resting Your Turkey: The Importance of Patience (Part 3)

The hardest part? Waiting. Yes, after all that work, it’s tempting to carve and serve immediately. But trust me, letting your turkey rest for at least 20 minutes allows the juices to redistribute throughout the meat. This short wait yields a significantly more tender and flavorful bird, a crucial step for an impressive presentation.
Carving Your Turkey: A Skill to Master (Part 4)
Now, the moment you’ve been waiting for! It’s time to carve your turkey. First, transfer the turkey from the roasting pan to a clean cutting board. Use a sharp carving knife to cut along each side of the breastbone, separating the breasts from the carcass. Remove the breasts and slice them into individual portions. The legs and thighs can be removed by cutting along the joint where they meet the body. Then, you can carve the legs and thighs into smaller pieces.
Serving Your Turkey: The Feast Begins (Part 5)
Your turkey is cooked to perfection, beautifully carved, and now it's time to showcase your culinary artistry! Present it on a platter, adorned with a medley of your favorite side dishes. Whether it's classic mashed potatoes, creamy gravy, or a colorful assortment of roasted vegetables, the choice is yours.
Serving Tips: A Feast for the Eyes
Remember, a feast is a symphony for the eyes as well as the palate! Arrange your turkey and side dishes in a visually appealing manner, creating a festive presentation that will tantalize your guests. Don't be afraid to experiment with different colors and textures, making your thanksgiving dinner a true work of art.
Storing Leftovers: Avoid Food Waste (Part 6)
After a delicious meal, it's important to store leftovers properly. No one wants to waste that amazing turkey! Place the remaining turkey in an airtight container and store it in the refrigerator. It can safely be kept for up to four days.
Reheating Leftovers: The Right Way
Leftover turkey is a gift that keeps on giving! You can reheat it in the oven, microwave, or even on the stovetop. But remember, heat it thoroughly to kill any lingering bacteria. This will ensure a delicious and safe second meal.
turkey recipes: Beyond the Basics (Part 7)
Once you’ve mastered the basics, it’s time to explore the world of turkey recipes. There are endless possibilities! Let's delve into some creative and delicious ways to utilize your leftover turkey.
Turkey Curry: A Fusion Twist
Looking for a culinary adventure? Try a turkey curry! The combination of warming spices and creamy coconut milk creates a flavor explosion. You can use leftover turkey, diced and added to a pre-made curry sauce or create your own unique blend of spices. Serve with rice, naan bread, or even cauliflower rice for a gluten-free option.
turkey pot pie: comfort food at Its Best
A classic pot pie, filled with tender turkey, vegetables, and a flaky crust, is a true comfort food favorite. You can use leftover turkey, diced and combined with a creamy sauce, vegetables like carrots, peas, and potatoes, and your favorite pot pie crust recipe. For a shortcut, pre-made pie crusts are readily available in most grocery stores.
turkey soup: A Hearty and Healthy Choice
When the weather turns chilly, a warm bowl of turkey soup is the perfect remedy. Leftover turkey can be shredded and added to a base of vegetable broth, along with carrots, celery, onions, and your favorite herbs. For added richness, you can add a dollop of sour cream or yogurt. This hearty and healthy soup is sure to satisfy your cravings.
The Turkey FAQ: Your Questions Answered (Part 8)
I know you’ve got questions, so I’ve compiled a list of frequently asked questions to help you along your turkey cooking journey.
Q: How do I know if my turkey is cooked through?
A: The trusty meat thermometer is your best friend! Insert it into the thickest part of the thigh, avoiding the bone. The turkey is fully cooked when the internal temperature reaches 82°C (180°F).
Q: What should I do if my turkey is overcooked?
A: First, let’s aim to avoid overcooking! But if it happens, don’t despair! You can try to rehydrate the meat by adding some turkey broth or chicken stock to the pan. You can also slice the turkey thinly to make it more palatable. And don’t forget, even a slightly overcooked turkey can still be used in other dishes, like turkey salad or sandwiches.
Q: What are some good sides to serve with turkey?
A: The possibilities are endless! Some classic side dishes include stuffing, mashed potatoes, gravy, cranberry sauce, roasted vegetables, and sweet potatoes. Don’t forget the bread! Get creative with your choices and cater them to your personal preferences and those of your guests.
Q: How long can I store leftover turkey in the refrigerator?
A: You can safely store leftover turkey in an airtight container in the refrigerator for up to four days. Just make sure to reheat it thoroughly before consuming.
Q: What are some creative ways to use leftover turkey?
A: There’s a whole world of delicious recipes you can create with leftover turkey! Try sandwiches, salads, soups, casseroles, pot pies, and much more. Don’t be afraid to experiment and find your favorite ways to use those leftover turkey treasures.
Final Thoughts: From Beginner to Turkey Pro (Part 9)
Cooking a turkey can seem like a daunting task, but I hope this guide has demystified the process and given you the confidence to tackle it. Remember, practice makes perfect, and with each turkey you cook, you'll become more skilled and confident in your abilities.
The most important thing is to enjoy the process. Cooking is a labor of love, and a delicious turkey is a testament to your hard work and dedication. Don’t forget, the real magic of a turkey dinner isn’t just about the food. It's about gathering with loved ones, sharing laughter and stories, and creating memories that will last a lifetime.
So, go forth and conquer that turkey! Happy cooking and happy holidays!
Everyone is watching

How to Cook Frozen Lobster Tails Perfectly: A Step-by-Step Guide
RecipesLobster. Just the word conjures up images of lavish meals, special occasions, and a taste of luxury. But let's...

Pigs in a Blanket Cooking Time: How Long to Bake for Perfect Results
RecipesAh, pigs in a blanket. Just the name conjures up images of those delightful little parcels of crispy pastry en...

Pork Fillet Cooking Time: How Long to Cook It Perfectly
RecipesPork fillet, or tenderloin as it's sometimes called, is a real favourite in our house. It's so versatile, and...

The Ultimate Guide to Tender, Juicy Pulled Pork
RecipesRight, let's talk pulled pork. It's one of those dishes that just screams "comfort food," doesn't it? I mean...

The Ultimate Guide to Cooking Sweet Potatoes: From Roasting to Mashing
RecipesSweet potatoes. Just the name conjures up images of warm, comforting dishes, bursts of vibrant color, and a to...
