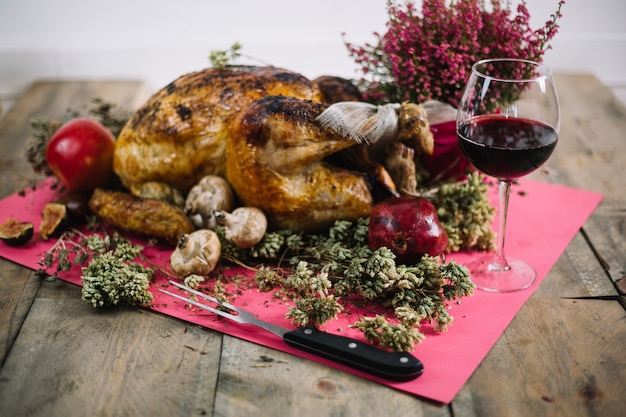
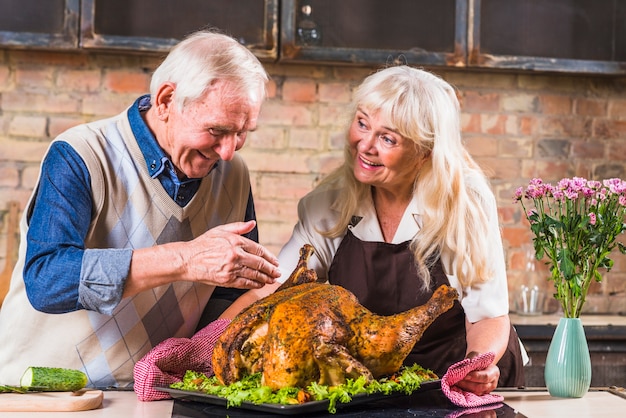
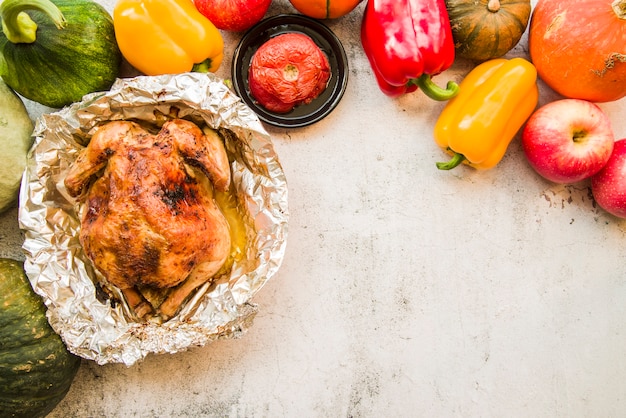
Right, let’s talk turkey. Or, to be precise, let’s talk about roasting a turkey to absolute perfection. As someone who's spent years experimenting in the kitchen, I can confidently say that mastering the art of turkey roasting is a game changer. It’s not just about cooking a bird; it’s about creating a culinary masterpiece – one that brings joy to everyone at the table.
This isn't just a recipe; it’s a journey. We'll delve into the secrets of choosing the perfect turkey, preparing it for the oven, and mastering the art of timing. We'll even touch on the art of creating those glorious gravy and stuffing that turn a simple roast into a truly memorable feast. Let’s get started!
(Part 1) The Bird of Honour

Choosing Your Turkey: A Matter of Quality
First things first: the turkey. This is the foundation of your whole roast, so don't skimp! For me, it’s all about free-range birds whenever possible. They just taste better, and you can tell they’ve lived a happier life. I find a good weight for a family of four is about 12-14 pounds, but you can go larger if you’re catering to a bigger crowd. If you can, try to get a bird with a good amount of breast meat. It’s the most popular part, so you want to ensure there's enough for everyone.
A good butcher can be your best friend when it comes to choosing a turkey. They can help you assess the bird's quality and provide tips on preparation.
Pre-Roast Prep: Getting Ready to Go
Before your turkey even sees the oven, there's some prep work to do. First, make sure it's thoroughly thawed – we don’t want any frozen surprises in the middle of cooking. You can thaw it in the fridge for a few days, or in a cold water bath (changing the water every 30 minutes) if you’re short on time. Once thawed, pat the turkey dry with paper towels. This helps to get a lovely crispy skin.
Brining: Unlocking the Secrets of Moisture
Now for the trick that turns a dry turkey into a juicy masterpiece: brining. This is basically soaking the bird in a salty solution for a few hours (or even overnight) before roasting. It’s like a magic spell for moisture. You can buy pre-made brines or whip up your own using water, salt, sugar, and herbs. I like to add some citrus zest to mine for a bit of extra flavour. Just be sure to pat the bird dry again after brining before roasting.
Here's a simple brine recipe:
Ingredients:
1 gallon of water
1 cup kosher salt
?? cup sugar
1 tablespoon black peppercorns
2 bay leaves
1 tablespoon dried thyme
1 orange, sliced
Instructions:
1. Bring the water to a boil in a large pot.
2. Add the salt, sugar, peppercorns, bay leaves, and thyme.
3. Stir until the salt and sugar dissolve.
4. Remove from heat and let cool completely.
5. Add the orange slices to the brine.
6. Submerge the turkey in the brine, making sure it’s completely covered.
7. Refrigerate for 4-8 hours, or overnight.
8. Remove the turkey from the brine, pat it dry, and then roast as directed.
(Part 2) Time to Get Roasting

The Perfect Oven Setting
Now, we’re ready to get our oven up to temperature. Most recipes call for a 325°F (160°C) oven, which is the perfect temperature for even cooking. Make sure you preheat the oven for at least 30 minutes, and don’t cram the turkey into a too-small oven – it needs room to breathe!
Butter, Herbs, and Seasoning: The Magic Touch
Before the turkey goes in, it’s time for a little bit of flavour magic. Start by giving the bird a generous rub with softened butter. Then, get creative! This is your chance to add your signature touch with herbs, spices, and seasonings. I love a simple blend of rosemary, thyme, and garlic, but you can go wild with your favourites. Don’t forget to season the cavity, too – it’s where some of the tastiest flavours come from.
Here's a simple herb rub recipe:
Ingredients:
?? cup softened butter
1 tablespoon dried rosemary
1 tablespoon dried thyme
1 tablespoon dried oregano
1 tablespoon dried sage
1 teaspoon garlic powder
?? teaspoon salt
?? teaspoon black pepper
Instructions:
1. Combine all ingredients in a small bowl until well mixed.
2. Rub the herb mixture generously over the turkey, both inside and out.
3. Place the turkey in the oven and roast according to your chosen recipe.
The Stuffing Saga: A Delicious Debate
Now, the big question: stuffing. Do you stuff the turkey or cook it separately? This is a debate that’s been going on for ages. I’m a firm believer in cooking stuffing separately. It ensures it cooks through properly and reduces the risk of food poisoning. You can use a casserole dish or even individual ramekins for a more elegant presentation. Just make sure you cook it until the centre is cooked through and no longer pink.
(Part 3) Oven Time: Patience and Timing

The Art of Roasting: A Guide to Timing
Once your turkey is in the oven, it’s time to set a timer. A good rule of thumb is to roast the bird for about 15 minutes per pound. But here’s where things get a little more complex. If you’re brining or using a smaller turkey, you’ll likely need less time. The best way to know when your bird is done is to check the internal temperature using a meat thermometer. It should reach 165°F (74°C) in the thickest part of the thigh.
Basting: Keeping it Juicy
Every 30 minutes or so, it’s time to give your turkey a little TLC: basting. Use a spoon or baster to pour some of the drippings over the bird. This helps keep the skin moist and gives it a beautiful golden-brown colour.
The Resting Ritual
Once the turkey is cooked, don’t be tempted to cut into it straight away. Let it rest for at least 15 minutes before carving. This allows the juices to redistribute throughout the bird, ensuring a more succulent and flavourful result.
(Part 4) The Triumphant Feast
Carving the Masterpiece
After that well-deserved rest, it’s time to carve. Using a sharp carving knife, carefully slice the breast meat from the bone. Then, separate the legs and thighs from the carcass. Don’t be afraid to ask for help if needed. carving a turkey can be a bit of a two-person job.
Gravy Time: The Finishing Touch
No turkey dinner is complete without gravy. The best gravy is made using the turkey pan drippings. Simply remove the turkey from the roasting pan and pour off the excess fat. Add some flour to the pan and stir until it's browned. Gradually add chicken or turkey stock, whisking constantly until the gravy thickens. Season to taste and you’re good to go!
Here's a simple gravy recipe:
Ingredients:
Drippings from the roasting pan
2 tablespoons all-purpose flour
2 cups chicken or turkey stock
Salt and pepper to taste
Instructions:
1. Pour off the excess fat from the roasting pan, leaving about 2 tablespoons of drippings in the pan.
2. Add the flour to the pan and whisk until it's completely incorporated and browned.
3. Gradually add the stock, whisking constantly to prevent lumps from forming.
4. Bring the gravy to a boil, then reduce the heat to low and simmer for 5-10 minutes, or until it thickens to your desired consistency.
5. Season with salt and pepper to taste.
side dish Symphony: Completing the Meal
Now, it’s time to create a side dish symphony to accompany your roast turkey. Traditional options like mashed potatoes, cranberry sauce, and roasted vegetables always go down well, but feel free to experiment with your favourites.
(Part 5) turkey tips and Tricks
1. The Thermometer is your Best Friend
Don’t rely on visual cues alone to tell if your turkey is done. A meat thermometer is your best friend in this situation. It’s the only reliable way to ensure the bird is cooked through and safe to eat.
2. Don’t Overstuff
When stuffing your turkey, don’t pack it too tightly. Leave some room for the stuffing to expand while cooking. This will prevent it from overflowing and becoming soggy.
3. Keep it Elevated
To ensure even cooking, place the turkey on a roasting rack in the oven. This allows air to circulate around the bird, helping it cook evenly.
4. Avoid Overcrowding
If you’re roasting multiple dishes alongside your turkey, make sure you have enough space in your oven. Overcrowding can lead to uneven cooking and long roasting times.
5. Don’t Panic if the Skin Burns
If the skin starts to brown too quickly, you can cover the turkey with foil. This will prevent it from burning, but don’t cover it for too long, or it will steam instead of roast.
(Part 6) Leftover Love: A Second Helping of Delight
The Turkey Sandwich: A Classic
Leftover turkey is a gift that keeps on giving. My favourite way to use it is in classic turkey sandwiches. Pile those delicious slices onto toasted bread with a generous helping of cranberry sauce, lettuce, and a dollop of mayonnaise. It’s a simple but satisfying meal that’s perfect for lunch or dinner.
turkey soup: A Comforting Treat
Another great way to use leftover turkey is to make a hearty turkey soup. Combine the turkey meat with vegetables like carrots, celery, and potatoes, and simmer them in a flavorful broth. Add some noodles or rice for a complete meal.
turkey salad: A Light and Fresh Option
For a lighter meal, try a turkey salad. Combine chopped turkey with mayonnaise, celery, onion, and your favourite herbs and spices. Serve it on a bed of lettuce or in a sandwich.
(Part 7) Thanksgiving Tradition: A Culinary Celebration
For many people, roasting a turkey is a Thanksgiving tradition. It’s a time to gather with loved ones, share stories, and create memories that will last a lifetime. The aroma of roasted turkey fills the air, creating a warm and inviting atmosphere. It’s a reminder of the simple joys of life and the importance of family and friends.
A Family Recipe Legacy
In my family, we have a secret turkey recipe that has been passed down through generations. It’s a bit of a family treasure, and it always brings a wave of nostalgia and warmth when we make it. It’s a reminder of the love and care that goes into creating a special meal.
A culinary adventure
Roasting a turkey is a journey of discovery. It’s about experimenting with flavours, embracing tradition, and creating something that brings people together. It’s a reminder that even the simplest of meals can be transformed into something truly special.
(Part 8) FAQs: Your Turkey Roasting Questions Answered
1. What are the best herbs to use for turkey?
There are so many great herbs to use for turkey! Classic options include rosemary, thyme, sage, and garlic. You can also add a bit of citrus zest for a touch of brightness. Experiment and see what you like best!
2. How do I know when the turkey is done?
The best way to know when your turkey is done is to use a meat thermometer. It should reach 165°F (74°C) in the thickest part of the thigh. You can also check the leg joints – they should move freely when the bird is done.
3. What should I do if the skin is burning?
If the skin starts to brown too quickly, you can cover the turkey with foil. This will help prevent it from burning, but don’t cover it for too long, or it will steam instead of roast.
4. Can I roast the turkey ahead of time?
Yes, you can roast the turkey ahead of time and reheat it later. Just make sure you cool it down completely before storing it in the fridge. To reheat, place it in a 325°F (160°C) oven for about 30 minutes, or until it’s heated through.
5. How do I make gravy from the drippings?
To make gravy from the turkey drippings, simply remove the turkey from the roasting pan and pour off the excess fat. Add some flour to the pan and stir until it's browned. Gradually add chicken or turkey stock, whisking constantly until the gravy thickens. Season to taste and you’re good to go!
A culinary legacy
Roasting a turkey is more than just a cooking task; it’s a culinary tradition, a family gathering, and a celebration of good food and good company. It’s a chance to create a lasting memory, one that will be cherished for years to come. So, gather your ingredients, preheat your oven, and get ready to create a masterpiece that will impress even the most discerning palate. Remember, it’s not just about the turkey – it’s about the love and care that goes into making it. Happy roasting!
Everyone is watching

Corn on the Cob: The Ultimate Guide to Perfectly Cooked Ears
Healthy MealsAh, corn on the cob. Just the name evokes images of sunny days, barbecues, and that sweet, juicy flavour that ...

Perfect Pork Roast Oven Cooking Time: A Guide to Delicious Results
Healthy MealsThere's something truly satisfying about a perfectly roasted pork. The aroma alone is enough to make your mout...

Ham Cooking Time: How Long to Bake, Smoke, or Boil a Delicious Ham
Healthy MealsAh, ham. It's a classic, isn't it? A real crowd-pleaser, especially around holidays. And when done right, it'...

Scallops: The Ultimate Guide to Perfect Cooking
Healthy MealsAh, scallops. Those delicate, sweet, and utterly delicious morsels of the sea. They hold a special place in my...

Spaghetti Squash: The Ultimate Guide to Cooking and Serving
Healthy MealsRemember that time you saw spaghetti squash at the supermarket, looking all bumpy and strange, and thought, "W...
