Alright, folks, let's talk brisket! It's a cut of meat that often strikes fear into the hearts of home cooks, but trust me, it's not as scary as it seems. In fact, when you get it right, brisket can be an absolute revelation - a symphony of flavour and texture. As a seasoned home cook and self-proclaimed brisket enthusiast, I've had my fair share of triumphs and a few, shall we say, "learning experiences" along the way. But through trial and error (and a lot of delicious eating), I've developed a foolproof method for consistently achieving that melt-in-your-mouth, fall-off-the-bone tenderness that makes brisket truly special.
This guide is your all-encompassing resource for mastering the art of oven-baked beef brisket, from choosing the perfect cut to navigating the nuances of the cooking process. So, grab your apron, put on your favourite tunes, and let's embark on this culinary journey together!
(Part 1) choosing the right cut: Your Brisket Foundation
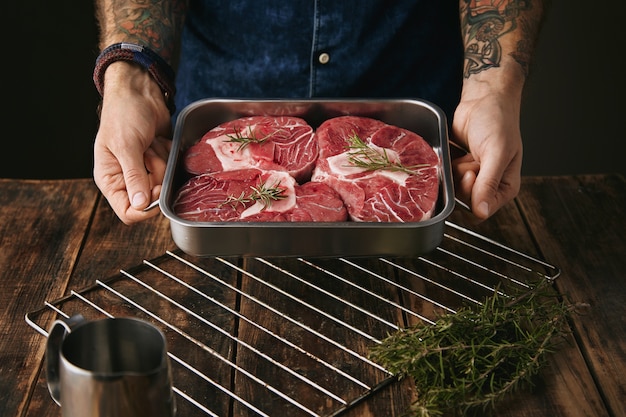
The first step to a phenomenal brisket is selecting the right cut. This is like choosing the perfect canvas for your masterpiece – it sets the stage for the flavours to come. A good brisket should have ample marbling, which is the network of white fat streaks that will render during cooking, keeping the meat moist and flavourful.
The Two Kings of Brisket: Flat and Point
When it comes to brisket, there are two main contenders: the flat and the point.
- The Flat: This is the leaner, more rectangular cut, making it ideal for slicing thinly. It's the go-to choice for those who prefer a less fatty, more straightforward flavour.
- The Point: Thicker and more triangular, the point is where the true beefy flavour shines, thanks to its higher fat content. It's perfect for pulling apart and enjoying on sandwiches, tacos, or even just on its own.
Personally, I'm a sucker for the richness of the point, but I also appreciate the leaner, more refined flavour of the flat. It really comes down to your personal preference!
Choosing the Right Brisket for Your Needs
When selecting your brisket, consider these key factors:
- Size: Think about how many people you're feeding. A 3-4 pound brisket will comfortably serve 4-6 people, but you can always go bigger for a crowd!
- Marbling: As I mentioned earlier, marbling is crucial for tenderness and flavour. Look for a brisket with good, even marbling throughout the cut.
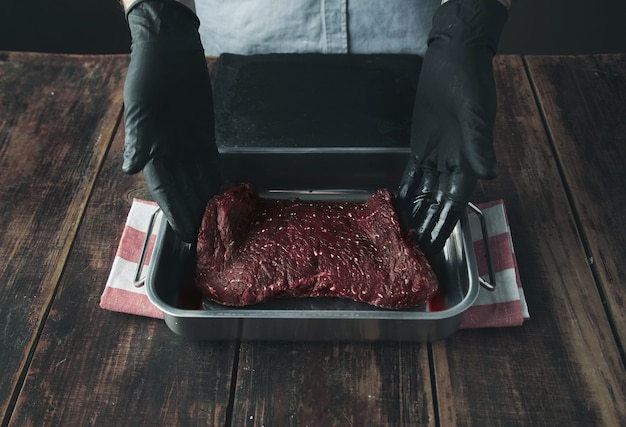
- Color: The brisket should be a deep, vibrant red colour. Avoid any discoloration or signs of spoilage.
My Go-To Brisket Shopping Tips
To ensure you get the best possible brisket, follow these tips:
- Shop at a Reputable Butcher: Butcher shops are your best bet for high-quality, fresh brisket. They often have a wide selection and can offer expert advice.
- Ask for Recommendations: Don't be shy! Talk to the butcher and ask for their recommendations on the best brisket for your needs. They know their stuff!
- Go Early: If you're planning a brisket feast on the weekend, shop early in the week to have the best selection. Brisket is a popular cut, so you don't want to be left with second best!
(Part 2) Prepping for Perfection: The Brisket Makeover
Now that you've got your perfect brisket, it's time to prep it for its oven transformation. This involves a few simple steps that will ensure it cooks evenly and develops an explosion of flavour.
Trimming for Success: Removing Excess Fat
The first step in prepping your brisket is to trim it. This means removing any large chunks of fat that are more than 1/4 inch thick. This helps to ensure even rendering during cooking and prevents the fat from overwhelming the delicate flavour of the meat. Use a sharp knife and gently trim away excess fat, leaving a thin layer for maximum flavour and juiciness.
Seasoning Your Brisket: A Symphony of Flavours
Now, here comes the fun part – seasoning! This is where you can personalize your brisket with a flavour profile that suits your tastes.
My Favourite brisket rub: A Simple Classic
For a basic but delicious brisket rub, I love this combination:
- 1 tbsp smoked paprika
- 1 tbsp garlic powder
- 1 tbsp onion powder
- 1 tbsp brown sugar
- 1 tbsp salt
- 1 tsp black pepper
Mix these ingredients together and generously rub them all over the brisket, ensuring you coat every surface. Feel free to adjust the seasonings to your liking. Don't be afraid to experiment with other spices, herbs, or even a touch of cayenne pepper for a bit of heat!
Don’t Forget the Fat Cap! A Treasure to Preserve
The fat cap, that thick layer of fat on top of the brisket, is a key player in the tenderness game. Don't trim it off! During cooking, the fat cap will melt and baste the meat, creating a heavenly, succulent experience. Just make sure it's evenly distributed and not too thick – you want to encourage even cooking.
(Part 3) Setting the Stage: Your Oven's Brisket Transformation
Now, it's time to transform your oven into a brisket sanctuary, ready to coax out the best possible flavours.
Preheat for Perfection: The Temperature Game
Preheat your oven to 325°F (160°C). This low and slow temperature is crucial for allowing the fat to render slowly and the meat to become incredibly tender.
Choosing the Right Vessel: The roasting pan
The best tool for baking a brisket is a large roasting pan. It should comfortably hold the brisket with plenty of room for the juices that will release during cooking.
The meat thermometer: Your Brisket's Best Friend
A meat thermometer is essential for accurately checking the internal temperature of the brisket. You're aiming for an internal temperature of at least 190°F (88°C) for a perfectly tender and juicy brisket.
(Part 4) The Cooking Process: Unleashing Brisket Magic
The cooking process is where the real magic happens, and it requires a little patience and a whole lot of delicious anticipation.
The Initial Blast: Building a Flavorful Crust
Place your seasoned brisket in the preheated oven and let it cook uncovered for the first hour. This initial high heat helps to brown the surface of the brisket, creating a flavorful crust that will add a depth of flavour to the final product.
Lowering the Heat: A Slow and Steady Process
After the initial hour, reduce the oven temperature to 250°F (121°C) and add liquid to the roasting pan. This liquid bath will keep the brisket moist during the long cooking process and add another layer of flavour.
My Go-To Brisket Liquid: A Flavourful Duet
I usually use a mixture of beef broth and apple cider vinegar. The apple cider vinegar adds a tangy brightness that balances the richness of the beef, while the beef broth adds depth and complexity. Feel free to experiment with other liquids, like beer, wine, or even a mixture of fruit juices for a touch of sweetness.
The Wrap-Up: Accelerating Tenderness
After about 4-5 hours of cooking, it's time to wrap the brisket in aluminum foil. This creates a steamy environment that accelerates the cooking process and helps to achieve that incredible tenderness.
Tightly Wrapped: Trapping the Steam for Juiciness
Make sure to wrap the brisket tightly in foil, sealing it like a package. This will help to trap the steam inside, keeping the brisket moist and preventing it from drying out.
Basting for Bliss: A Delicious Ritual
Every hour or so, check on your brisket and baste it generously with the pan juices. This ensures that the meat stays moist and picks up the rich flavours released during cooking.
Temperature Check: The Crucial Test
Use a meat thermometer to check the internal temperature of the brisket. It should reach at least 190°F (88°C) for a tender and juicy brisket.
(Part 5) Resting: The Key to Unlocking Tenderness
Once your brisket has reached the desired internal temperature, it's time for a well-deserved rest.
Resting is Not a Luxury: It's a Necessity
Resting the brisket is crucial for allowing the juices to redistribute throughout the meat. This results in a more tender, succulent, and flavourful final product.
Wrap and Wait: Patience is a Virtue
Wrap the brisket tightly in foil and let it rest for at least 2 hours before slicing. The longer you let it rest, the better the results!
(Part 6) Slicing and Serving: The Moment of Truth
Now comes the exciting part – slicing and serving your perfectly cooked brisket.
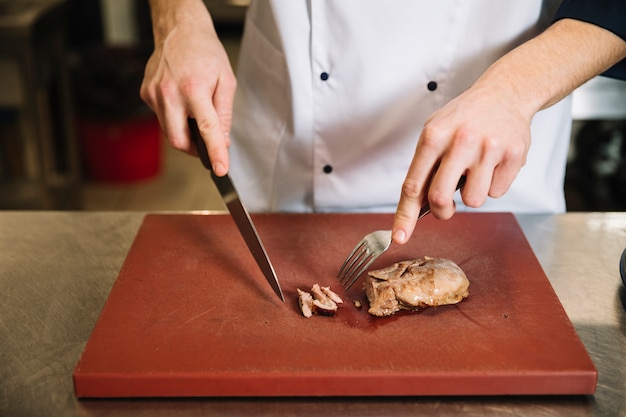
The Sharp Tool: A Necessary Weapon
Use a sharp knife when slicing brisket. A sharp blade will slice cleanly through the meat, preventing tearing and preserving its delicate texture.
Slicing Against the Grain: Unveiling Tenderness
Slice the brisket against the grain. This means cutting perpendicular to the muscle fibres. This technique helps to break down the muscle structure, making the meat more tender and easier to chew.
Serve Hot: A Celebration of Flavour
Serve the brisket hot. This will enhance its tenderness and amplify its delicious flavours.
Sides for Success: Completing the Feast
Pair your brisket with some delicious sides, like creamy mashed potatoes, tangy coleslaw, or hearty baked beans. This will create a well-balanced and satisfying meal.
(Part 7) Tips for Brisket Perfection: Achieving Culinary Greatness
Here are a few extra tips to help you create a truly spectacular brisket:
The Meat Thermometer: Your Essential Guide
A meat thermometer is essential for ensuring that your brisket is cooked to the proper internal temperature. Don't rely on guesswork – use a thermometer to ensure success!
Don't Overcook: The Danger of Dryness
Overcooking brisket can lead to a dry, tough texture. Cook it slowly and low, and make sure it reaches the desired internal temperature. Don't rush the process!
Experimentation is Key: Finding Your Signature Flavour
Don't be afraid to experiment with different rubs, seasonings, and sauces to find your personal favourite flavour combinations. Have fun with it!
Quality is King: Using the Best Ingredients
Use high-quality ingredients for the best results. Choose a brisket with good marbling, and opt for fresh herbs and spices.
Patience is a Virtue: The Reward of slow cooking
Brisket is a slow-cooked dish, so don't rush the process. Let it cook slowly and low, and it will reward you with incredible tenderness and flavor.
(Part 8) brisket recipes to Try: A culinary adventure
Here are a few brisket recipes to get you started on your brisket journey:
Classic smoked brisket: A Smoky Delight
This recipe uses a smoker to infuse the brisket with a smoky flavour. It's a classic for a reason!
Texas-Style Brisket: A Simple Yet Delicious Masterpiece
This recipe uses a simple rub and slow cooking to create a tender and juicy brisket, perfect for a Texas-style barbecue experience.
Brisket with barbecue sauce: A Sweet and Savoury Feast
This recipe uses a delicious barbecue sauce to add a layer of sweetness and savouriness to the brisket, making it perfect for sandwiches or pulled pork dishes.
(Part 9) Frequently Asked Questions: Solving the Brisket Mysteries
Here are some common questions about oven-baked brisket, with detailed answers to help you navigate the journey:
1. Can I Freeze Brisket?
Yes, you can freeze brisket. Wrap it tightly in plastic wrap and then in aluminum foil, and freeze it for up to 3 months. When you're ready to use it, thaw it in the refrigerator for 2-3 days before cooking.
2. How Do I Know When Brisket is Done?
Brisket is done when it reaches an internal temperature of 190°F (88°C). The meat should also be tender enough to pull apart easily with a fork.
3. What If My Brisket is Too Tough?
If your brisket is too tough, it may be overcooked. To salvage it, you can shred it and use it in dishes like tacos or sandwiches.
4. What Do I Do with Leftover Brisket?
Leftover brisket is a culinary treasure! You can use it in a variety of dishes, such as tacos, sandwiches, salads, or soups. Get creative and let your imagination run wild!
5. How Long Does Brisket Last in the Fridge?
Cooked brisket can last in the fridge for up to 4 days. Make sure to store it in an airtight container to preserve its freshness and prevent it from drying out.
(Part 10) A Final Word: Embark on Your Brisket Journey
Cooking a brisket might seem intimidating at first, but it's a journey worth taking. With the right technique, a little patience, and a whole lot of culinary enthusiasm, you can create a brisket that will amaze your taste buds and leave you craving for more.
So, gather your ingredients, preheat your oven, and get ready to experience the magic of a perfectly cooked brisket. And remember, don't be afraid to experiment and find what works best for you. Happy cooking!
Everyone is watching

Corn on the Cob: The Ultimate Guide to Perfectly Cooked Ears
Healthy MealsAh, corn on the cob. Just the name evokes images of sunny days, barbecues, and that sweet, juicy flavour that ...

Perfect Pork Roast Oven Cooking Time: A Guide to Delicious Results
Healthy MealsThere's something truly satisfying about a perfectly roasted pork. The aroma alone is enough to make your mout...

Ham Cooking Time: How Long to Bake, Smoke, or Boil a Delicious Ham
Healthy MealsAh, ham. It's a classic, isn't it? A real crowd-pleaser, especially around holidays. And when done right, it'...

Scallops: The Ultimate Guide to Perfect Cooking
Healthy MealsAh, scallops. Those delicate, sweet, and utterly delicious morsels of the sea. They hold a special place in my...

Spaghetti Squash: The Ultimate Guide to Cooking and Serving
Healthy MealsRemember that time you saw spaghetti squash at the supermarket, looking all bumpy and strange, and thought, "W...