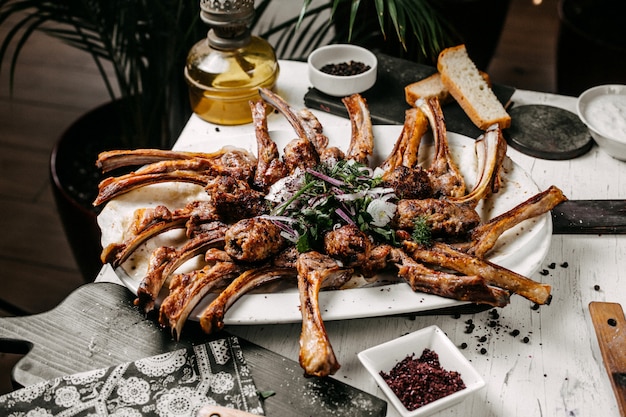
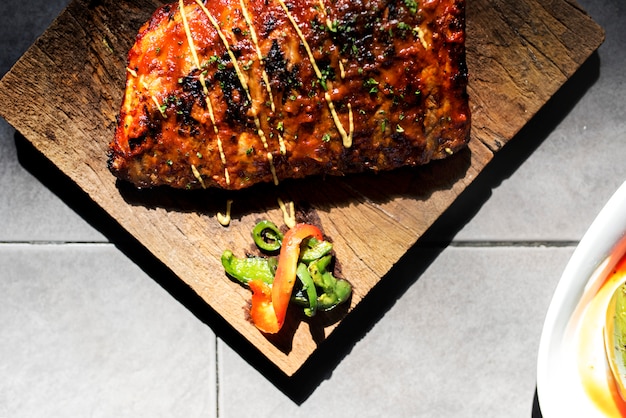
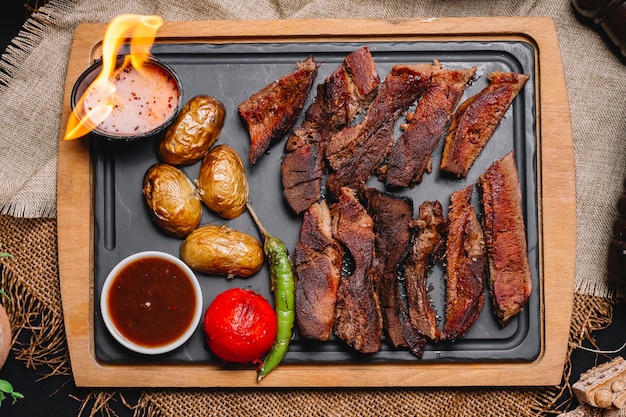
Let's talk ribs, specifically St. Louis style ribs. I've been a barbecue enthusiast for years, and there's something about those St. Louis ribs that always gets me excited. The way they're cut, the way they cook, the way they taste… it's a symphony of flavour!
I'm going to guide you through a comprehensive journey into the world of St. Louis ribs, from the initial rub right through to the glorious smoke. It's going to be a bit of a journey, but I promise, it'll be worth it.
(Part 1) The St. Louis Cut: The Heart of the Rib

Understanding the Cut
The first thing to know about St. Louis style ribs is that they're not just any ribs. They're a specific cut, the "St. Louis cut." Imagine the rack of pork ribs, but with the breast bone, cartilage, and tougher, less palatable parts removed. This leaves you with a rectangular rack of ribs, perfect for cooking and eating.
When I first started out, I was a bit confused about this cut. I'd seen all sorts of ribs at the butcher, but never the St. Louis cut. It was only when I started experimenting with different barbecue styles that I realised just how important this specific cut is. It's the foundation for that classic St. Louis rib flavour.
Why St. Louis?
So, why is this cut called "St. Louis"? Well, the story goes that back in the day, butchers in St. Louis would trim the ribs this way to maximise their yield and give customers a more consistent product. They wanted ribs that were easy to cook and eat, and this cut delivered on both fronts. It wasn't just a local thing either; this style of rib quickly gained popularity across the Midwest. And now, it's a signature of the barbecue scene, especially in St. Louis itself. It's become a culinary icon, much like the city's famous arch.
The Advantage of the St. Louis Cut
This cut really makes a difference. It's easier to cook evenly because the ribs are all the same size and shape. Plus, the removal of those tough bits means you're left with pure, tender, delicious rib meat. It's like the butchers back then were already thinking about how to make the best ribs possible. Think of it as a gift from the past, a gift of pure BBQ goodness!
(Part 2) The Rub: Seasoning Your Ribs

Why Rub?
Now, before we get to the smoker, we need to talk about the rub. This is the secret weapon, the flavour foundation of your ribs. A good rub isn't just about adding salt and pepper; it's about building layers of flavour that will permeate the ribs during the cooking process. It's like the seasoning in a stew, but amplified. I've tried all sorts of rubs, from simple to elaborate. And let me tell you, a good rub can make or break your ribs.
The Basics of a Good Rub
A good rib rub should include salt, pepper, and some sort of spice. The salt is essential for drawing out moisture and developing flavour. The pepper adds warmth and a bit of bite. And then, you can get creative with spices, adding your own personal touch. I like to use paprika, garlic powder, onion powder, and a bit of chili powder for a nice kick.
Experimenting with Flavours
Don't be afraid to experiment! There's a whole world of spices out there, from cumin to coriander to rosemary. You can even add brown sugar for a bit of sweetness, or a touch of mustard powder for a tangy note. Just remember, less is more. Start with a basic recipe and then add spices one at a time, tasting as you go.
Applying the Rub
When you're ready to apply the rub, use your hands and really rub it into the ribs. Make sure you get it in all the cracks and crevices. You want that rub to be well-distributed, like a coating of flavour. Once you're done, leave the ribs uncovered in the fridge for a few hours, or even overnight. This will allow the rub to work its magic and penetrate the meat.
(Part 3) The Smoking Process: The Art of slow cooking

Getting Started
Alright, now we're getting to the heart of it - the smoking process. This is where the magic truly happens, where the ribs take on that deep smoky flavour.
Choosing the Right Wood
Before you start smoking, you need to choose the right wood. This will significantly impact the flavour of your ribs. Now, for St. Louis ribs, I always recommend using hickory. It's a classic choice, offering a strong, smoky flavour that complements the rich taste of the pork. But feel free to experiment with other woods like oak or pecan.
Setting Up the Smoker
Now, let's get the smoker set up. I use a charcoal smoker for my ribs, and it's a pretty straightforward process. First, fill the smoker with charcoal and light it. Then, add some soaked wood chips to the charcoal, making sure to keep the temperature around 225°F (107°C). Don't rush this process. Let the smoker get good and hot.
Adding the Ribs
Once the smoker is ready, carefully place the ribs on the rack. Make sure they're not crowded, as you want the smoke to circulate around them evenly. Now, close the lid and let them cook for a good 4 to 6 hours. Remember, patience is key here. The slower you cook them, the more tender and juicy they'll be.
(Part 4) The Wrap: A Touch of Magic
Why Wrap?
After a few hours of smoking, you'll want to wrap the ribs. This might seem like a strange step, but it's crucial for achieving that perfect St. Louis rib texture. The wrap creates a moist environment that helps the ribs become tender and juicy, and it also helps to prevent the meat from drying out.
What to Wrap With
You can use aluminum foil or parchment paper for wrapping. I prefer to use heavy-duty aluminum foil, as it holds up better to the heat. Make sure you have a good size piece of foil that can completely enclose the ribs.
Wrapping the Ribs
Once you're ready, add a bit of liquid to the foil, such as apple juice, beer, or even water. This will help create steam and keep the ribs moist. Then, wrap the ribs tightly in the foil. This is a crucial step, as you want to create a sealed environment. Now, put the wrapped ribs back in the smoker and cook for another 2 to 3 hours.
(Part 5) The Stall: Don't Panic!
The Stall Explained
Okay, so you might notice that the ribs seem to stall at some point during the cooking process. This is a common phenomenon called the "stall," and it's nothing to worry about. Essentially, the ribs hit a plateau where the internal temperature doesn't seem to rise. It can be frustrating, but it's a natural part of the cooking process.
What Happens During the Stall
During the stall, the ribs are actually breaking down and becoming more tender. The moisture in the meat is being released and evaporating, creating a thin layer of steam around the ribs. This steam acts as a barrier, preventing the heat from penetrating the ribs and raising their temperature.
Overcoming the Stall
Don't be tempted to increase the heat during the stall. This will only dry out the ribs. Just be patient and let them cook slowly. You can check the ribs every 30 minutes or so to make sure they're not drying out. If they are, you can add a little more liquid to the foil wrap.
(Part 6) The Finish: Smoke and Glaze
The Finishing Touches
Now, after the wrap and the stall, it's time for the finishing touches. This is where you really get to showcase your creativity and bring out the full potential of those St. Louis ribs.
Glazing
One of the best ways to finish your ribs is with a glaze. A good glaze will add a layer of sweetness and richness, and it will also help to create a beautiful, glossy finish. There are tons of glaze recipes out there, from simple to elaborate. I like to use a mix of brown sugar, honey, and a touch of mustard.
Applying the Glaze
Now, just before you take the ribs off the smoker, carefully brush on the glaze. You want to do this towards the end of the cooking time, so that the glaze has a chance to caramelize and create a beautiful crust.
The Final Smoke
Once the glaze is on, you can give the ribs a final blast of smoke for a few minutes. This will really bring out the smoky flavour and add a nice touch of char.
(Part 7) The Test: Checking for Doneness
The Fork Test
You're probably itching to dig in, but hold your horses. Before you start carving, you need to make sure the ribs are cooked through. The best way to do this is with the fork test. Simply stick a fork into the ribs. If the meat easily pulls away from the bone, they're ready to eat.
The Temperature Check
You can also use a meat thermometer to check the internal temperature of the ribs. They should be cooked to an internal temperature of 190°F (88°C). This ensures that the meat is cooked through and safe to eat.
(Part 8) Carving and Serving: The Grand Finale
Carving the Ribs
Once your ribs are cooked, it's time to carve them. You can use a sharp knife or a pair of kitchen shears to separate the ribs. Just be careful not to tear the meat. You want those ribs to stay nice and juicy.
Serving the Ribs
Now, the moment you've been waiting for: serving time! St. Louis ribs are best served with a variety of sides. I always have a good helping of coleslaw, potato salad, and baked beans. And don't forget the bbq sauce! Now, I know some people think BBQ sauce is an abomination, but I'm a firm believer that it's the perfect complement to those smoky ribs.
FAQs
What's the difference between baby back ribs and St. Louis ribs?
baby back ribs come from the upper part of the rib cage, while St. Louis ribs are cut from the lower part. Baby back ribs are generally considered to be more tender and have a higher meat-to-bone ratio, but they can be a bit smaller. St. Louis ribs are larger and have a meatier texture.
Can I make St. Louis ribs without a smoker?
Yes, you can cook St. Louis ribs in the oven or on the grill. If you're using an oven, cook the ribs at a low temperature (around 250°F) for several hours. If you're using a grill, cook them over indirect heat with a drip pan to catch the drippings.
How long do St. Louis ribs need to cook?
Cooking time for St. Louis ribs will vary depending on the size of the rack and the method you use. Generally, you can expect to cook them for 4 to 6 hours in a smoker. Oven or grill cooking times may vary.
What if my ribs are too dry?
If your ribs are too dry, you can try wrapping them in foil with a little bit of liquid, like apple juice or beer, and cooking them for another hour or so. This will help to steam the ribs and make them more tender and juicy.
Can I freeze St. Louis ribs?
Yes, you can freeze St. Louis ribs. Just make sure to wrap them tightly in plastic wrap and then aluminum foil before storing them in the freezer. They can be frozen for up to 3 months.
Now, go forth and conquer the world of St. Louis ribs. Remember, it's all about the journey, the patience, and the love for good, old-fashioned BBQ. And most importantly, have fun!
Everyone is watching

Corn on the Cob: The Ultimate Guide to Perfectly Cooked Ears
Healthy MealsAh, corn on the cob. Just the name evokes images of sunny days, barbecues, and that sweet, juicy flavour that ...

Perfect Pork Roast Oven Cooking Time: A Guide to Delicious Results
Healthy MealsThere's something truly satisfying about a perfectly roasted pork. The aroma alone is enough to make your mout...

Ham Cooking Time: How Long to Bake, Smoke, or Boil a Delicious Ham
Healthy MealsAh, ham. It's a classic, isn't it? A real crowd-pleaser, especially around holidays. And when done right, it'...

Scallops: The Ultimate Guide to Perfect Cooking
Healthy MealsAh, scallops. Those delicate, sweet, and utterly delicious morsels of the sea. They hold a special place in my...

Spaghetti Squash: The Ultimate Guide to Cooking and Serving
Healthy MealsRemember that time you saw spaghetti squash at the supermarket, looking all bumpy and strange, and thought, "W...
