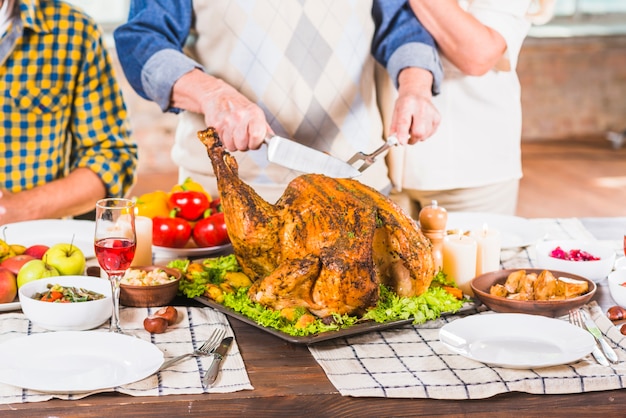
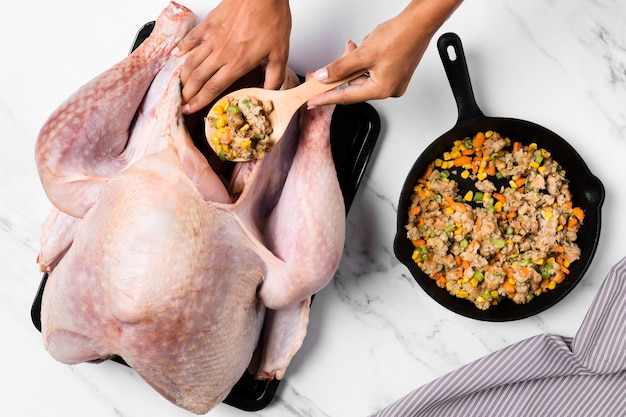
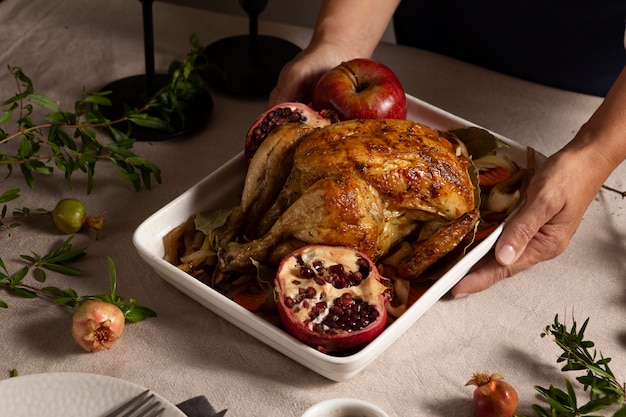
Let's talk turkey, shall we? But not just any turkey, we're talking about a spatchcocked turkey. You know, that marvel of culinary engineering, flattened and ready to roast, promising juicy, evenly cooked meat and a crispy skin that'll have everyone begging for seconds. I'm a big fan of spatchcocking – it’s a total game-changer when it comes to roasting a turkey. But, getting the timing right is crucial. No one wants a dry bird or one that's still raw in the middle, right? This guide, packed with my own tips and tricks, will help you master the art of spatchcock turkey cooking time. Whether you're a seasoned chef or a kitchen novice, this guide will have you roasting a perfect turkey in no time. Trust me, it's not as daunting as it might seem. Let's dive in!
(Part 1) Spatchcocking: The Basics

Before we delve into the specifics of cooking times, let's understand the spatchcocking process itself. It's surprisingly straightforward. In essence, you're removing the backbone of the turkey and flattening it out. This helps the turkey cook more evenly and faster, resulting in a more delicious bird. I've always found the process a bit therapeutic, chopping and prepping with a purpose.
The Advantages of Spatchcocking
Beyond the quicker cooking time, spatchcocking offers several advantages:
- Even Cooking: The flattened shape ensures heat reaches all parts of the turkey uniformly. No more dry breasts or undercooked legs!
- More Crispy Skin: Flattening the turkey exposes more skin to the heat, leading to a gloriously crispy, golden-brown exterior.
- Easier Carving: Carving a spatchcocked turkey is a breeze, as the meat is easily separated from the bone.
How to Spatchcock a Turkey
You'll need a good, sharp chef's knife for this. Safety first, people! Now, here's the step-by-step breakdown:
- Pat the turkey dry: This crucial step helps the skin get crispy.
- Remove the backbone: Turn the turkey breast-side down. Using your knife, cut along each side of the backbone, essentially separating it from the rest of the turkey.
- Flatten the turkey: Flip the turkey over, breast-side up. Press down on the breastbone, gently but firmly, to flatten the bird. You can use a heavy skillet to help you press it down if needed. Aim for a nice, flat shape.
- Tuck the wings: Tuck the wing tips under the turkey to prevent them from burning.
That's it! You've just spatchcocked a turkey. See? Not scary at all, right?
(Part 2) How Long to Cook a Spatchcock Turkey

This is where things get interesting. The cooking time depends on several factors, including:
- The size of the turkey: A larger turkey will naturally take longer to cook.
- The oven temperature: Higher temperatures mean faster cooking times.
- Whether you're roasting it whole or in pieces: Roasting only the breast or legs will take much less time.
Here's a general guide for roasting a whole spatchcocked turkey at 400°F/200°C:
| turkey weight | Cooking Time (at 400°F/200°C) |
|---|---|
| 8-10 lbs | 60-75 minutes |
| 10-12 lbs | 75-90 minutes |
| 12-14 lbs | 90-105 minutes |
Remember, these are just guidelines. Always check the internal temperature of the turkey to ensure it's fully cooked. The safe internal temperature for a turkey is 165°F (74°C).
What if I'm roasting turkey Pieces?
If you're only roasting the turkey breast or legs, you can expect shorter cooking times. For a 3-4 pound breast, you're looking at around 45-60 minutes at 400°F/200°C. turkey legs, on the other hand, might take a little longer, around 1-1.5 hours at 350°F/175°C.
(Part 3) Choosing the Right Oven Temperature

What's the ideal oven temperature for a spatchcock turkey? It depends on your personal preference and the desired outcome. Let's explore the options:
High Heat (400-425°F/200-220°C):
This high-intensity heat is perfect for those who crave a crispy skin and a faster cooking time. It's like a sprint for your turkey, but be careful not to let it burn.
Medium Heat (350-375°F/175-190°C):
This more traditional approach delivers a nice balance between crispy skin and juicy meat. It's like a steady jog for your turkey.
Low Heat (325-350°F/160-175°C):
If your goal is the most moist and tender turkey, slow and steady cooking at low heat is the way to go. Think of it as a relaxing yoga session for your turkey.
Personally, I'm a big fan of combining methods: high heat for the first part of the cooking process to achieve that crispy skin, then lowering the temperature for the rest of the cooking time to ensure even cooking. It's a sort of powerlifting-meets-jogging approach for your turkey.
(Part 4) Mastering the Art of Resting
Once the turkey is cooked, resist the urge to carve it immediately. Let it rest for at least 15-20 minutes, covered with foil. This allows the juices to redistribute throughout the meat, resulting in a much more tender and flavorful bird. Think of it as giving your turkey a little spa treatment after its workout.
(Part 5) Don't Forget the Basting!
Basting is key to achieving that beautiful golden-brown skin and keeping the turkey moist. You can use butter, oil, or a mixture of both. During the roasting process, baste the turkey every 30-45 minutes. It's like giving your turkey a little skincare routine.
What to Baste With
- Butter: The classic choice for adding flavor and helping the skin brown beautifully.
- Oil: A good option for a light sheen on the skin. I prefer olive oil for its extra flavour.
- Broth: Adds moisture and flavour to the turkey.
- Wine: More sophisticated, but can add a complex flavour to the turkey.
(Part 6) Beyond the Basics: Enhancing Your Spatchcock Turkey
Now, let's unleash our culinary creativity! A spatchcocked turkey is a blank canvas for flavour experimentation. You can add all sorts of herbs, spices, and marinades to give it that extra oomph.
Spice Rubs
A good spice rub is a must-have for a spatchcock turkey. It adds flavour and helps the skin get crispy. Here are some of my favourite recipes:
- Classic Herb Rub: A simple blend of rosemary, thyme, sage, and garlic powder.
- Citrusy Spice Rub: A mix of lemon zest, orange zest, paprika, cumin, and garlic powder.
- Spicy Cayenne Rub: A fiery blend of cayenne pepper, paprika, cumin, chili powder, and garlic powder.
Remember, you can adjust the spice level to your taste. A little goes a long way, so start with a moderate amount and add more if you want more heat.
Marinades
Marinades can add another layer of flavour to your turkey. They are also great for tenderizing the meat, particularly the breast.
- Garlic and Herb Marinade: A simple blend of olive oil, garlic, rosemary, thyme, and salt.
- Citrus Marinade: A mix of lemon juice, orange juice, honey, and ginger.
- Soy Ginger Marinade: A combination of soy sauce, ginger, garlic, and brown sugar.
Marinate your turkey for at least 2-4 hours in the refrigerator for best results. You can even marinate it overnight for extra flavour.
(Part 7) Cooking Time Cheat Sheet
Let's summarise the information we've covered with a handy cheat sheet for your next spatchcock turkey adventure.
Spatchcock turkey cooking time chart
| Turkey Weight | Cooking Time (400°F/200°C) |
|---|---|
| 8-10 lbs | 60-75 minutes |
| 10-12 lbs | 75-90 minutes |
| 12-14 lbs | 90-105 minutes |
Important Notes
- Always check the internal temperature of the turkey to ensure it's cooked through.
- Rest the cooked turkey for at least 15-20 minutes before carving.
- Basting the turkey every 30-45 minutes will help keep it moist and give it a beautiful golden-brown skin.
- Feel free to experiment with different spice rubs, marinades, and cooking methods to find your perfect turkey.
(Part 8) Turkey Cooking: Don't Forget the Sides!
Now, what would a delicious roast turkey be without some fabulous side dishes? Think classic Thanksgiving staples like mashed potatoes, stuffing, gravy, and cranberry sauce. But don't be afraid to get creative! Here are some of my favourite side dishes that pair perfectly with a spatchcock turkey:
- Roasted root vegetables: Carrots, parsnips, and potatoes roast beautifully and add a lovely sweetness to the meal.
- green beans with toasted almonds: A light and refreshing side dish that complements the richness of the turkey.
- Cornbread: A comforting and traditional side dish that's perfect for soaking up all the gravy.
- sweet potato casserole: A classic Thanksgiving favourite that adds a touch of sweetness and warmth to the meal.
Remember, the beauty of a thanksgiving feast is its abundance, so feel free to add your favourite side dishes to the mix.
(Part 9) FAQs
Now, you've got a spatchcock turkey in your hands and you're ready to cook. But, you might have a few questions. Here are some common questions and answers about spatchcocking and roasting turkey:
1. What if my turkey is too big to fit in my oven?
If your turkey is too large for your oven, try roasting it in two separate pieces. Separate the breasts from the legs and roast them on separate baking sheets. This will help ensure both pieces cook evenly.
2. How do I know if my turkey is cooked through?
The best way to tell if your turkey is cooked through is to use a meat thermometer. Insert the thermometer into the thickest part of the thigh, avoiding the bone. The safe internal temperature for a turkey is 165°F (74°C).
3. Can I reheat my cooked turkey?
Yes, you can reheat a cooked turkey. The best way to do this is in a slow oven at 325°F (160°C) for about 30 minutes. You can also reheat the turkey in the microwave, but it might become a bit dry.
4. Can I freeze a cooked turkey?
Yes, you can freeze a cooked turkey for up to 3 months. Wrap the turkey tightly in plastic wrap and foil before freezing. To thaw the turkey, place it in the refrigerator for 2-3 days before reheating.
5. What do I do with the turkey carcass after I've eaten the meat?
Don't throw away that carcass! It's a treasure trove of flavour for a delicious stock. Save the carcass and use it to make a homemade turkey stock. You can use the stock for soups, stews, or even gravy.
So, there you have it, folks! Your comprehensive guide to spatchcocking and roasting a turkey. Now go forth, conquer the kitchen, and impress your loved ones with a delicious, juicy, and perfectly cooked spatchcock turkey. Happy cooking!
Everyone is watching

Corn on the Cob: The Ultimate Guide to Perfectly Cooked Ears
Healthy MealsAh, corn on the cob. Just the name evokes images of sunny days, barbecues, and that sweet, juicy flavour that ...

Perfect Pork Roast Oven Cooking Time: A Guide to Delicious Results
Healthy MealsThere's something truly satisfying about a perfectly roasted pork. The aroma alone is enough to make your mout...

Ham Cooking Time: How Long to Bake, Smoke, or Boil a Delicious Ham
Healthy MealsAh, ham. It's a classic, isn't it? A real crowd-pleaser, especially around holidays. And when done right, it'...

Scallops: The Ultimate Guide to Perfect Cooking
Healthy MealsAh, scallops. Those delicate, sweet, and utterly delicious morsels of the sea. They hold a special place in my...

Spaghetti Squash: The Ultimate Guide to Cooking and Serving
Healthy MealsRemember that time you saw spaghetti squash at the supermarket, looking all bumpy and strange, and thought, "W...
