There's a reason why the bone-in ribeye is considered the king of steaks. It's a symphony of flavour and texture, a juicy masterpiece that demands respect and a bit of culinary know-how. But let me tell you, I've definitely had my fair share of steak mishaps – dry, tough, and frankly, disappointing meals that made me question my grilling skills. It wasn't until I started delving into the science behind a truly perfect ribeye, the little tricks of the trade, that my steak game truly evolved. Now, I can confidently say I'm no longer just throwing meat on the grill and hoping for the best – I'm a seasoned (pun intended) steak aficionado, and I'm here to share my secrets with you.
So, grab your apron, a trusty bottle of red wine, and let's embark on this culinary journey together. We're about to uncover the secrets of cooking the most delicious bone-in ribeye you've ever tasted.
(Part 1) Choosing the Perfect Ribeye: The Foundation of a Great Steak
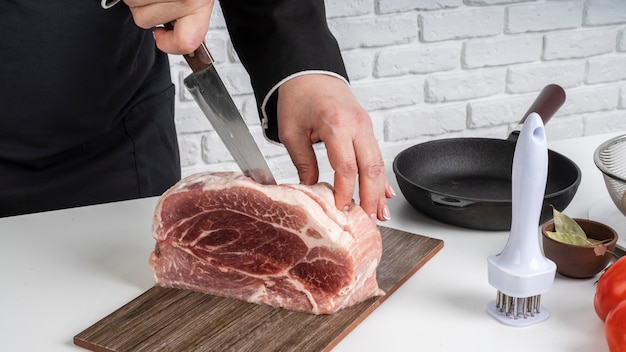
Before you even think about lighting the grill, the first step is selecting the right ribeye. It's like choosing the perfect ingredient for a gourmet dish – it sets the stage for success. Here's what you need to look for in your prime cut:
1. Marbling: The Secret to Juiciness
Imagine marbling as the steak's internal flavour booster, a network of white fat threads woven through the muscle. The more marbling, the more succulent and rich your steak will be. Think of it like adding butter to your pasta – it adds a luxurious depth of flavour. You want to look for a ribeye with good, even marbling, and don't shy away from a bit of fat – it renders down during cooking, adding an incredible depth of flavour and leaving you with a juicy, tender steak.
2. The Bone: A Conductor of Flavour
You might think the bone is just for aesthetics, but it actually plays a key role in enhancing the flavour of your ribeye. It acts like a conductor, drawing heat through the meat, ensuring an even cook and resulting in a more flavorful, tender cut. I'm a firm believer in the power of a thick cut bone-in ribeye, around 1.5 inches thick. It gives you plenty of room for a beautiful sear, and it allows for a more forgiving cooking process, making it less likely to end up overcooked and dry.
3. Color: A Telltale Sign of Freshness
The colour of your steak is a direct indicator of its freshness. You want a vibrant, deep red colour, free of any browning or discolouration. Avoid meat that looks dry or dull – it's a sign that it hasn't been handled properly. And if you're at the butcher's, make sure to check the "use by" date. A fresh cut is essential for achieving a delicious and juicy steak.
(Part 2) Preparing the Grill: The Stage for Searing Perfection
Now that you've got your ribeye, it's time to set the stage for grilling success. And believe me, grilling a ribeye is an art form, a dance between heat and timing, and you need the right equipment and setup to create a masterpiece.
1. Charcoal: A Passion for Smoky Flavour
I'm a firm believer in the power of charcoal grilling. There's just something magical about the smoky aroma, the intense heat, and the rustic feel of grilling over charcoal. It adds a depth of flavour you just can't get with gas. But if you're a gas grill user, don't worry, you can still achieve incredible results! The key is to make sure your grill is super-hot, screaming hot, capable of creating a beautiful, crispy crust on your steak.
2. Heat is Key: Achieving the perfect sear
Before you even think about placing your steak on the grill, you need to preheat it properly. For charcoal, I typically aim for a temperature of around 500°F to 600°F. You want the coals to be covered in ash, indicating they've reached their peak temperature. For gas grills, turn all the burners to high and let them heat up for 10-15 minutes. You want the grates to be so hot they might even make your hands sweat a bit! That intense heat is what will give you that perfect sear.
3. Your Arsenal of Tools: Tongs, Brush, and a Thermometer
You'll need a good set of grilling tools to tackle this job. A pair of tongs to flip the steak and a grill brush to clean the grates are essential. But perhaps the most important tool in your arsenal is a meat thermometer. It's your guide to achieving the perfect internal temperature for your steak, ensuring it's cooked to your exact preference.
(Part 3) Preparing the Steak: The Pre-Grill Ritual
Before you even think about putting that ribeye on the grill, it needs a little TLC, a bit of pre-grill pampering to bring out its full potential.
1. Room Temperature: A More Even Cook
Take your ribeye out of the fridge about 30 minutes before grilling. This allows it to come to room temperature, ensuring a more even cook. If you throw a cold steak on the grill, the outside will cook too quickly while the inside remains raw.
2. Pat it Dry: The Key to a Beautiful Sear
Pat the steak dry with paper towels. This is crucial for achieving that beautiful sear we're aiming for. Moisture on the surface of the steak will create steam during cooking, inhibiting the formation of a crispy crust.
3. Seasoning: A Symphony of Flavour
Now comes the fun part – seasoning! This is where you get to add your personal touch. I like to keep things simple, using just salt and freshly ground black pepper. A liberal amount of salt is key to bringing out the steak's natural flavour, while a generous grind of pepper adds a touch of spice. You can also get creative and experiment with other seasonings like garlic powder, onion powder, smoked paprika, or even a hint of chili flakes.
4. The Oil and Butter: A Finishing Touch
Before you place the steak on the grill, brush it with a bit of oil. This helps prevent sticking and ensures a beautiful sear. I like to add a knob of butter towards the end of cooking, letting it melt over the steak, creating a rich, buttery crust.
(Part 4) Grilling the Ribeye: The Art of Searing and Timing
Now, this is where the real magic happens. Get ready to grill like a pro! This is the heart of the process, where your patience and attention to detail will pay off.
1. The Initial Sear: A Crispy, Flavourful Barrier
With your grill screaming hot, place the ribeye directly over the hottest part. You'll hear a satisfying sizzle as the steak hits the grill. Resist the urge to move it around! Let it cook undisturbed for 3-4 minutes per side, or until you see a beautiful, dark crust forming. This initial sear creates a delicious barrier that seals in the juices and flavour, ensuring a juicy and flavorful steak.
2. Rotating the Steak: Creating Those Beautiful Grill Marks
After the initial sear, rotate the steak 90 degrees on the grill. This helps create those attractive grill marks, and it also helps to ensure even cooking. It's a small detail, but it makes a big difference in the final presentation.
3. Cooking to Doneness: Using Your Meat Thermometer Wisely
The next step is to cook the steak to your desired doneness. And this is where your meat thermometer becomes your trusted guide. It takes the guesswork out of cooking and ensures you achieve your perfect level of doneness. Here's a general guide for internal temperatures:
| Doneness | Internal Temperature (°F) |
|---|---|
| Rare | 125-130°F |
| Medium Rare | 130-135°F |
| Medium | 140-145°F |
| Medium Well | 150-155°F |
| Well Done | 160°F and above |
I'm a firm believer in the beauty of medium-rare. It's perfectly juicy and has that lovely pink center. But ultimately, your preference reigns supreme! Choose the doneness that suits your taste and your culinary adventure.
(Part 5) Resting the Steak: A Crucial Step for Tenderness
Once your steak has reached the desired temperature, resist the urge to cut into it right away. It's time to give it a well-deserved rest. This allows the juices to redistribute throughout the meat, resulting in a more tender and flavorful steak.
Remove the steak from the grill and place it on a cutting board. Cover it loosely with foil and let it rest for 5-10 minutes. This may seem like a long time, but it's essential for achieving the best results. The juices will settle, preventing them from running out when you cut into the steak.
(Part 6) Cutting and Serving: The Grand Finale
The moment you've been waiting for has arrived – it's time to cut and serve your culinary masterpiece.
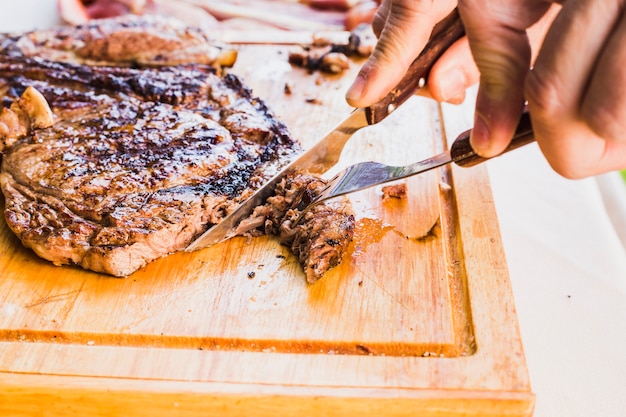
1. Cutting the Steak: Against the Grain for Tenderness
Using a sharp knife, cut the steak against the grain. This means cutting perpendicular to the muscle fibers. Cutting this way will make the steak easier to chew and enhance the tenderness.
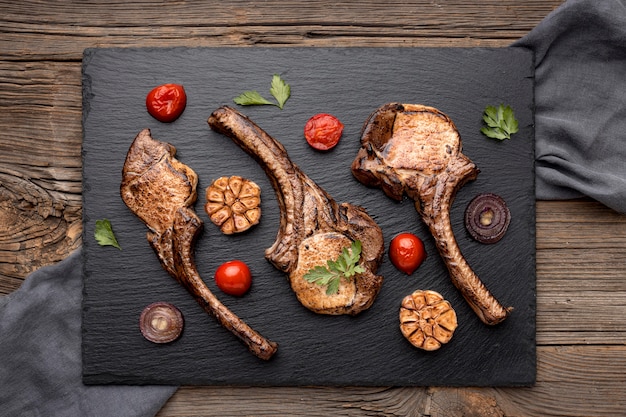
2. Serving Your Ribeye: The Perfect Plate
Plate your steak and enjoy it with your favorite sides. I love a simple green salad and some roasted vegetables, but the possibilities are endless. Embrace your culinary creativity and serve your ribeye in a way that reflects your personal style.
(Part 7) Beyond the Basics: Experimentation and Exploration
Once you've mastered the basics of grilling a perfect ribeye, don't be afraid to get creative! Experiment with different rubs, marinades, and sauces. Add a touch of garlic powder, smoked paprika, or even a hint of chili flakes to your seasoning. There's a whole world of flavour waiting to be explored.
(Part 8) FAQs: Answering Your Culinary Questions
I know you might have some questions, so let's address some common ones.
1. Can I use a pan instead of a grill?
Absolutely! You can achieve fantastic results cooking a ribeye in a pan. Just heat a heavy-bottomed pan over high heat and sear the steak for 3-4 minutes per side, just like you would on the grill. A cast iron skillet is ideal for this, as it retains heat exceptionally well. Just remember to preheat the pan thoroughly before adding the steak.
2. What if I overcook my steak?
Don't panic! While a perfectly cooked steak is the goal, overcooking doesn't mean the end of the world. If your steak is slightly overcooked, it's still perfectly edible. It might not be as juicy as you'd like, but you can still enjoy it. It's all about adapting and learning from your mistakes. Just remember that overcooked steak is more forgiving if it's thicker, so choosing a thick ribeye is always a good idea.
3. What about the bone?
The bone is part of the charm of a bone-in ribeye! It's actually one of the things that makes it so special. It adds a depth of flavour that you just won't get with a boneless ribeye. You can leave it in for the full grilling experience, or if you prefer, you can remove the bone before cutting and serving.
4. How long should I let the steak rest?
I recommend letting the steak rest for 5-10 minutes after grilling. This gives the juices time to redistribute throughout the meat, resulting in a more tender and flavorful steak. You can also use this time to prep your sides or open that bottle of red wine you've been saving.
5. How can I make my ribeye more flavorful?
Experiment with different seasoning combinations. I like to use salt and pepper, but you can add other spices like garlic powder, onion powder, paprika, or even a pinch of chili flakes. You can also try marinating your steak for a few hours before grilling for an even more intense flavour. A simple marinade of olive oil, lemon juice, garlic, and herbs can do wonders for your ribeye.
(Part 9) Conclusion: Embrace the Journey of Cooking a Perfect Ribeye
Cooking a perfect bone-in ribeye isn't about being a master chef. It's about understanding the process, embracing the science of grilling, and above all, having fun. So put on your apron, fire up the grill, and get ready for a culinary adventure! Enjoy the journey, and remember, every time you cook a ribeye, you're creating a masterpiece – a testament to your dedication and love of good food.
Everyone is watching

Corn on the Cob: The Ultimate Guide to Perfectly Cooked Ears
Healthy MealsAh, corn on the cob. Just the name evokes images of sunny days, barbecues, and that sweet, juicy flavour that ...

Perfect Pork Roast Oven Cooking Time: A Guide to Delicious Results
Healthy MealsThere's something truly satisfying about a perfectly roasted pork. The aroma alone is enough to make your mout...

Ham Cooking Time: How Long to Bake, Smoke, or Boil a Delicious Ham
Healthy MealsAh, ham. It's a classic, isn't it? A real crowd-pleaser, especially around holidays. And when done right, it'...

Scallops: The Ultimate Guide to Perfect Cooking
Healthy MealsAh, scallops. Those delicate, sweet, and utterly delicious morsels of the sea. They hold a special place in my...

Spaghetti Squash: The Ultimate Guide to Cooking and Serving
Healthy MealsRemember that time you saw spaghetti squash at the supermarket, looking all bumpy and strange, and thought, "W...