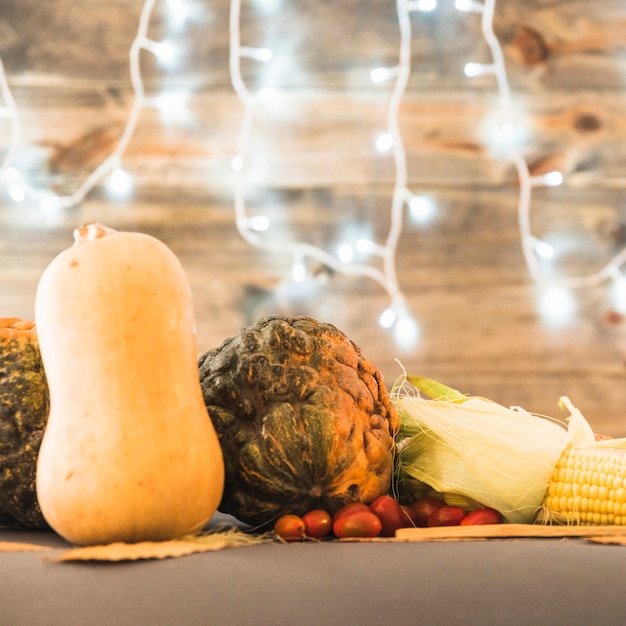
Ah, butternut squash. That gorgeous, gourd-shaped, orange-fleshed beauty that screams autumn. It’s a mainstay in my kitchen, and for good reason. It’s so versatile! You can roast it, puree it, bake it, stuff it, even grill it. The sweet, nutty flavour just melts in your mouth, and it pairs beautifully with all sorts of spices and herbs. But the big question is, how long does it take to cook? Well, that’s what we’re diving into today! This guide is going to be your go-to resource for all things butternut squash cooking time. We’ll explore different cooking methods, offer tips and tricks, and maybe even share a few of my favourite recipes along the way. So, grab a comfy spot, make yourself a cuppa, and let’s get cooking!
(Part 1) Choosing Your Butternut Squash: The Foundation of Flavor

First things first, you need to choose your butternut squash. It might seem obvious, but picking the right one is key to a delicious result. You want a squash that's firm to the touch, with a deep orange colour and a smooth, unblemished skin. If you see any bruises or soft spots, steer clear. Now, you have two main choices: pre-cut or whole. Pre-cut is a real lifesaver when you’re short on time, but I find the flavour of whole butternut squash to be richer and more intense. It’s like the difference between a freshly squeezed orange and store-bought juice. Plus, if you’re feeling ambitious, you can always roast the whole squash and scoop out the flesh when it’s cooled. It’s a bit more work, but the rewards are worth it.
Pre-Cut Vs Whole Butternut Squash: A Tale of Two Choices
Let’s break down the pros and cons of each choice:
| Pre-Cut | Whole | |
|---|---|---|
| Convenience | High - Ready to go! | Low - Takes a bit of prep. |
| Cost | Slightly more expensive - Convenience has a price. | Slightly less expensive - The classic value pick. |
| Flavour | Slightly less intense - Like a good cuppa, the fresher, the better. | More intense - It’s the difference between a good cuppa and a truly memorable brew. |
(Part 2) Preparing Your Butternut Squash: The Art of the Cut

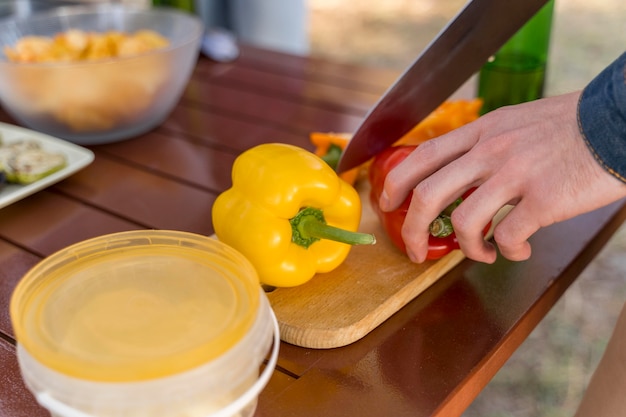
Okay, you’ve got your squash, now it’s time to get it prepped. This can be a bit tricky, as the skin is pretty tough. If you’re using a whole squash, you’ll need to cut it in half lengthwise. A sharp chef’s knife is my go-to tool, but if you’re not comfortable with that, a sturdy serrated knife will do the trick. Once it’s halved, scoop out the seeds and stringy bits. Don’t throw those seeds away! You can roast them with olive oil and salt for a delicious, crunchy snack. If you’re using pre-cut squash, just give it a good wash and pat it dry.
Tips for Cutting Butternut Squash: Making It Easier
Here are a few tips to make cutting butternut squash a little easier:
- Use a sturdy cutting board. You don't want your squash slipping around while you're cutting, especially with those sharp knives!
- Work with a sharp knife. A dull knife will make cutting difficult and could result in a nasty slip. It's like trying to cut through a thick piece of leather with a butter knife.
- Keep your fingers away from the blade. This might sound obvious, but accidents happen! It’s best to be safe than sorry.
- If you're struggling to cut through the skin, try scoring it first with a knife or a fork. This will help to break down the tough outer layer.
(Part 3) roasting butternut squash: A Simple Classic

Roasting is my go-to method for cooking butternut squash. It brings out the natural sweetness and gives it a gorgeous golden brown colour, almost like a caramelized treat. Here’s how I do it:
Roasting Instructions: Step by Step
- Preheat your oven to 200°C (400°F). You want that oven nice and hot for a good roast.
- Peel your squash and cut it into chunks. The size of the chunks will depend on your preference and how quickly you want to cook them.
- Toss the chunks in a bowl with olive oil, salt, pepper, and any other spices you like. I love adding a sprinkle of cinnamon or nutmeg for a warm autumn flavour.
- Spread the squash in a single layer on a baking sheet lined with parchment paper. This will help to prevent sticking and ensure even cooking.
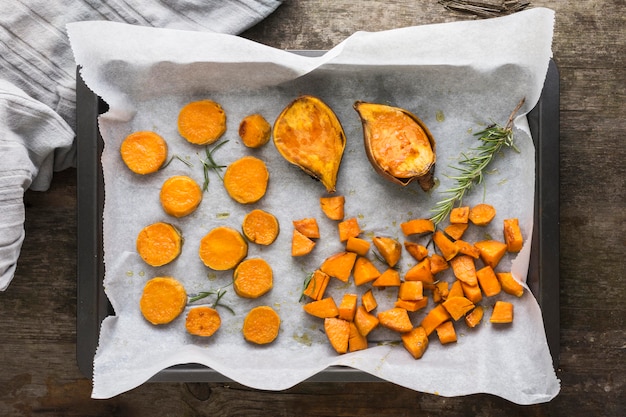
- Roast for 20-30 minutes, or until tender and slightly caramelized. You’ll know it’s ready when it’s soft and slightly browned on the edges.
roasting time: A Guide to Chunk Sizes
The cooking time for roasted butternut squash depends on the size of the chunks. Here's a general guide:
- Small chunks (1-2 inches): 20-25 minutes - Perfect for a quick bite.
- Medium chunks (2-3 inches): 25-30 minutes - A good balance of cooking time and chunk size.
- Large chunks (3-4 inches): 30-35 minutes - Ideal for a heartier texture.
Remember, it's always best to check the squash with a fork. If it's tender, it's done! Don’t overcook it, or it’ll become mushy and lose its flavour.
(Part 4) Baking Butternut Squash: Creative Presentation and Endless Possibilities
Baking is another great way to cook butternut squash. It’s similar to roasting, but you can get a bit more creative with the presentation. You can bake whole halves, wedges, or even individual cubes. Here’s a simple recipe for baked butternut squash:
Baked butternut squash recipe: A Simple Yet Delicious Delight
- Preheat your oven to 180°C (350°F). You want a moderate temperature for a more gentle bake.
- Cut your squash in half lengthwise. Just like we did for roasting.
- Scoop out the seeds and stringy bits. Remember, don’t throw those seeds away! Roast them for a crunchy snack.
- Place the halves on a baking sheet lined with parchment paper. You’ll want to make sure the squash is on a flat surface to bake evenly.
- Drizzle with olive oil, salt, pepper, and any other spices you like. I often add a touch of maple syrup for extra sweetness and a hint of caramel flavour.
- Bake for 40-50 minutes, or until tender. You can tell it’s ready when the flesh is soft and easily pierced with a fork.
Baking Time: A Guide to Different Cuts
Baking time for butternut squash can vary depending on the size and thickness of the pieces. Here’s a general guide:
- Halves: 40-50 minutes - A classic choice for a beautiful presentation.
- Wedges: 30-40 minutes - Perfect for a quicker bake.
- Cubes: 20-25 minutes - Ideal for adding to soups or stews.
(Part 5) Pureeing Butternut Squash: The Foundation of Smooth and Savory Delights
Pureeing butternut squash is a great way to make soups, sauces, and even smoothies. I love to use it in my homemade pumpkin pie filling – it’s a real game-changer! To puree butternut squash, you’ll need to cook it first. You can roast, bake, or even steam it – whichever method you prefer. Once it’s cooked, simply transfer it to a blender or food processor and blend until smooth. You can add a little bit of liquid, like broth or milk, to help with the blending process, especially if the squash is very thick.
Pureeing Tips: For a Smooth and Creamy Result
Here are a few tips for pureeing butternut squash:
- Make sure your squash is cooked through. It should be soft and tender. Otherwise, it’ll be difficult to blend.
- Use a high-speed blender or food processor for a smooth puree. A regular blender might struggle with the thick texture of the squash.
- Add a little bit of liquid to help with the blending process, if needed. A tablespoon or two of broth or milk will make a big difference in the consistency.
(Part 6) Stuffing Butternut Squash: A Hearty and Flavorful Autumnal Treat
Stuffing butternut squash is a true classic, especially in the autumn. It's a hearty and flavorful dish that's perfect for a cold evening. There are all sorts of variations out there, but I love to stuff mine with sausage, rice, and herbs. You can use any kind of sausage you like, but I find italian sausage gives it a nice spicy kick. To stuff your squash, follow these steps:
Stuffing Instructions: Creating a Delicious Filling
- Preheat your oven to 180°C (350°F). You’ll want a moderate heat for a gentle bake.
- Cut your squash in half lengthwise. Just like we did for roasting and baking.
- Scoop out the seeds and stringy bits. Save those seeds for roasting, they’re a tasty treat!
- Place the halves on a baking sheet lined with parchment paper. This helps to prevent sticking and makes clean-up a breeze.
- Fill the hollow of each half with your stuffing mixture. You can use a spoon or a spatula to gently pack it in.
- Bake for 45-60 minutes, or until the stuffing is heated through and the squash is tender. The squash will be ready when it’s soft and easily pierced with a fork.
Stuffing Time: A Guide to Squash Sizes
Stuffing time for butternut squash can vary depending on the size of the squash and the stuffing mixture. Here’s a general guide:
- Small squash (1-2 lbs): 45-50 minutes - Perfect for a smaller meal or side dish.
- Medium squash (2-3 lbs): 50-60 minutes - A good choice for a larger meal or family gathering.
- Large squash (3-4 lbs): 60-70 minutes - Ideal for a big crowd or a hearty meal.
(Part 7) Grilling Butternut Squash: A Smoky and Unexpected Delight
Grilling is a surprisingly great way to cook butternut squash. It adds a smoky flavour that’s simply irresistible. You can grill whole halves, wedges, or even cubes. Here’s how I grill butternut squash:
Grilling Instructions: Adding a Smoky Touch
- Preheat your grill to medium heat. You’ll want the grill nice and hot for a good sear.
- Peel your squash and cut it into chunks or wedges. The size of the pieces will depend on your preference and how quickly you want to cook them.
- Brush the squash with olive oil and season with salt, pepper, and any other spices you like. I often add a touch of chili powder or paprika for a little extra kick.
- Grill for 10-15 minutes per side, or until tender and slightly charred. You’ll know it’s ready when the edges are browned and the flesh is soft.
Grilling Time: A Guide to Heat Levels
Grilling time for butternut squash can vary depending on the size of the pieces and the heat of your grill. Here’s a general guide:
- Small chunks: 10-15 minutes - Perfect for a quick grill.
- Medium chunks: 15-20 minutes - A good balance of cooking time and chunk size.
- Large chunks: 20-25 minutes - Ideal for a heartier texture.
(Part 8) Storing Cooked Butternut Squash: Keeping It Fresh and Flavorful
Once you’ve cooked your butternut squash, you’ll need to store it properly to keep it fresh and flavorful. Here’s what I do:
Storing Cooked Butternut Squash: Tips for Preservation
- Let the squash cool completely. You want to avoid condensation that can lead to spoilage.
- Store it in an airtight container in the refrigerator for up to 3 days. This helps to prevent the squash from drying out and losing its flavour.
- If you want to freeze cooked butternut squash, you can puree it first. Then, freeze it in freezer-safe containers or bags for up to 3 months. This is a great way to have butternut squash on hand for future recipes.
(Part 9) Butternut Squash Substitutions: When You Need a Plan B
If you don’t have butternut squash on hand, there are a few other squashes you can use as substitutes. Some popular options include:
- acorn squash: Acorn squash has a similar shape and flavour to butternut squash. It's a bit firmer, though, and may need a bit longer cooking time.
- kabocha squash: Kabocha squash is a Japanese squash with a sweeter, more intense flavour than butternut squash. It's also a bit firmer and may need a bit longer cooking time.
- Pumpkin: Pumpkin is a great substitute for butternut squash in soups, pies, and other baked goods. It has a slightly different flavour profile, but it's still delicious.
(Part 10) FAQs: Answers to Your Burning Butternut Questions
You know what? I get it. Cooking can be a bit of a mystery sometimes. So, here are some frequently asked questions about butternut squash cooking time:
How do I know if my butternut squash is cooked?
You can tell if your butternut squash is cooked by inserting a fork into it. If it goes in easily and comes out clean, it's done. If you're roasting or baking a whole squash, you can also check if the flesh is soft and tender.Can I overcook butternut squash?
Yes, you can overcook butternut squash. If you do, it will become mushy and lose its flavour. It's best to cook it until it's tender but still holds its shape.Can I cook butternut squash in a microwave?
Yes, you can cook butternut squash in a microwave. However, it may not be as flavorful as roasting or baking. To microwave butternut squash, cut it into 1-inch cubes and place them in a microwave-safe bowl. Add a little water and microwave on high for 5-7 minutes, or until tender.How long can I store cooked butternut squash in the fridge?
Cooked butternut squash can be stored in the fridge for up to 3 days in an airtight container. It’s best to store it in a separate container from other foods to prevent cross-contamination.What are some good ways to use butternut squash?
Butternut squash is incredibly versatile. You can use it in soups, stews, sauces, pies, breads, and even smoothies. It's also great roasted, grilled, or baked. The possibilities are endless!
Well, there you have it, my friends. A comprehensive guide to butternut squash cooking time. I hope this has been helpful and informative. Now, go forth and cook some delicious butternut squash! And remember, if you have any more questions, feel free to ask. I'm always happy to share my love of this fantastic gourd.
Everyone is watching

Corn on the Cob: The Ultimate Guide to Perfectly Cooked Ears
Healthy MealsAh, corn on the cob. Just the name evokes images of sunny days, barbecues, and that sweet, juicy flavour that ...

Perfect Pork Roast Oven Cooking Time: A Guide to Delicious Results
Healthy MealsThere's something truly satisfying about a perfectly roasted pork. The aroma alone is enough to make your mout...

Scallops: The Ultimate Guide to Perfect Cooking
Healthy MealsAh, scallops. Those delicate, sweet, and utterly delicious morsels of the sea. They hold a special place in my...

Ham Cooking Time: How Long to Bake, Smoke, or Boil a Delicious Ham
Healthy MealsAh, ham. It's a classic, isn't it? A real crowd-pleaser, especially around holidays. And when done right, it'...

Spaghetti Squash: The Ultimate Guide to Cooking and Serving
Healthy MealsRemember that time you saw spaghetti squash at the supermarket, looking all bumpy and strange, and thought, "W...
