The aroma of freshly baked apple pie is a nostalgic comfort, a taste of home and happy memories. It’s a classic for a reason, and I’m here to share my secrets to crafting the perfect apple pie, one that will leave your taste buds singing. From choosing the right apples to achieving that gloriously flaky crust, we'll navigate every step of this baking journey together.
(Part 1) Picking the Perfect Apples: A Symphony of Flavors

The Apple Lineup: Stars of the Show
Imagine your pie as a stage, and the apples are the stars. You need a cast of characters that will bring a unique blend of flavours and textures. A single variety just won't cut it, so we're going for an ensemble cast!
- Granny Smith: The leading lady, this tart and crisp apple provides the backbone of your pie’s flavour. Its sharp tang is a delightful counterpoint to the sweetness of the other players.
- Honeycrisp: The sweet and juicy supporting character, Honeycrisp adds a delightful layer of sweetness and a lovely crunch. Think of it as the charming sidekick that adds depth and intrigue.
- Braeburn: This is the versatile character, adding a subtle fragrance and a soft texture that balances out the crispness of the others. The Braeburn is the silent star, bringing a nuanced complexity to the whole experience.
Apple Prep: The Secret Weapon
Now, these actors need a little prep work before they take center stage. Think of it as rehearsals before the big show!
- Peel and Dice: I prefer to peel my apples for a smoother texture, but feel free to leave the skin on for a rustic look. Once you've made your choice, dice the apples into even-sized pieces. This ensures even cooking and allows the juices to flow beautifully.
- Lemon Juice: A splash of lemon juice is the apple’s backstage pass, preventing those pesky brown spots from ruining the show. It's a simple trick that keeps the apples looking fresh and bright.
- Spice It Up: Cinnamon is a classic, adding a warm, familiar aroma. But why stop there? Experiment with other spices like nutmeg, allspice, ginger, and cardamom to add a unique flair. Think of it as the costume change that adds a dash of personality.
(Part 2) The Perfect Crust: A Masterpiece in the Making

From Scratch or Store-Bought: The Big Decision
The crust is the canvas, the foundation upon which your apple pie masterpiece is built. You have a choice: embrace the challenge and create your own crust from scratch, or take the shortcut with a store-bought option. I won't judge either way – both have their merits.
The Classic Dough: Flour, Fat, and Love
A classic pie crust is a simple affair, a symphony of flour, fat (butter or shortening), and water. But like any masterpiece, achieving perfection requires a touch of finesse.
- Cold is King: Keep everything cold – the ingredients, your tools, even your fingertips! This keeps the fat from melting too quickly, resulting in a tender, flaky crust. Think of it as a delicate dance with temperature, where every degree counts.
- Gentle Touch: Treat the dough like a precious piece of art. Overworking it leads to a tough and chewy texture. Aim for just enough mixing to combine the ingredients, then let the fridge do the rest.
- Chill Time: A well-rested dough is like a seasoned actor, ready to deliver a flawless performance. Let it chill for at least 30 minutes, allowing the gluten to relax and achieve that desired tenderness.
Rolling Out the Red Carpet: A Gentle Touch
Now, it’s time to roll out the dough, transforming it into a perfect canvas for your pie filling. Don’t fret, it’s not as intimidating as it sounds.
- Lightly Flour Your Surface: A dusting of flour prevents sticking and makes rolling easier. It’s like giving your canvas a smooth, even base.
- Rolling with Confidence: Grab your rolling pin and gently roll the dough into a circle large enough to fit your pie plate. Aim for about ?? inch thickness. Imagine you’re creating a beautiful tablecloth for your culinary creation.
- Transfer with Care: Carefully transfer the dough into your pie plate. Don’t worry about small tears; they add a rustic charm. Simply patch them up with a bit of extra dough.
(Part 3) The Filling: A Symphony of Flavors

A Sweet and Savoury Dance: The Perfect Balance
The filling is where the true magic happens. It's a delicious combination of sweet and tart, a symphony of textures and flavours that will captivate your taste buds.
- Sugar and Spice and Everything Nice: Start with a good amount of sugar to balance out the tartness of the apples. Granulated or brown sugar, or a combination of both, will work beautifully. A pinch of salt enhances the sweetness, so don’t forget that secret ingredient.
- Spice Up Your Life: Cinnamon is a classic, but why stop there? Experiment with nutmeg, allspice, ginger, or cardamom to add a unique depth to your pie. A touch of spice is like a beautiful melody woven into your culinary masterpiece.
- Thicken It Up: A bit of cornstarch or flour ensures your filling doesn’t become a watery mess. It creates a gorgeous, luscious sauce that clings to the apples, adding a lovely richness to the texture.
Layering the Magic: A Symphony of Textures
Now, it's time to orchestrate the perfect layering of your filling. Think of it as arranging the instruments in your orchestra for the perfect sound.
- Bottom Layer: Start with a layer of diced apples, arranged in a pattern if you feel fancy. I prefer a random, rustic look – it adds a touch of whimsy.
- Top Layer: Cover the first layer with the rest of your filling, distributing it evenly. Think of it as adding the final touches to your masterpiece.
(Part 4) The Top Crust: A Crown of Glory
A Classic Lattice: A Timeless Charm
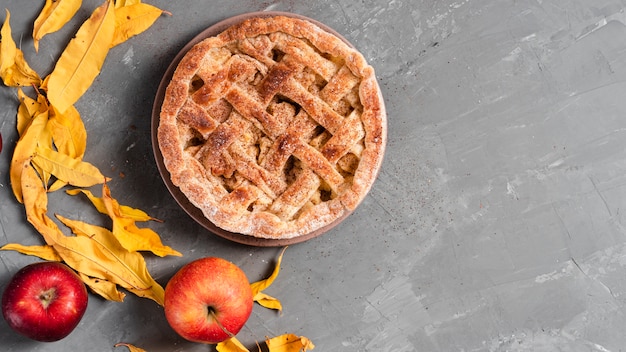
The top crust is your crown, the finishing touch that brings everything together. There are countless options, each with its unique charm, but the classic lattice design remains a timeless favourite.
- Rolling Out the Top: Repeat the rolling process with your remaining dough, creating a large circle. It can be the same size as the bottom crust or slightly smaller, depending on your preference.
- Cut to Impress: Using a sharp knife or a pizza cutter, cut strips of dough about ?? inch wide. This is your opportunity to let your creativity shine! Experiment with classic lattice designs, simple criss-cross patterns, or whimsical designs with hearts or stars.
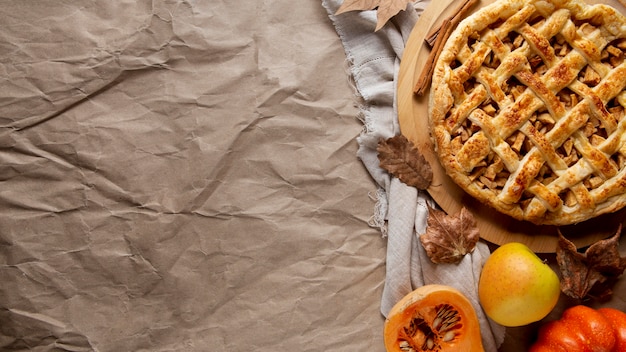
- Weaving the Magic: Carefully weave the strips of dough over the apple filling, creating a beautiful lattice pattern. This takes a bit of practice, but with a little patience, you'll become a weaving master.
The Crimp: A Seal of Perfection
The final step before baking is to crimp the edges of the top crust to the bottom crust, ensuring a perfect seal that prevents the filling from bubbling over. It's a delicate touch that adds a professional finish.
- Fingertips or Fork: Pinch the edges together with your fingers for a rustic look, or use a fork to create a decorative pattern. Either way, it's your personal touch, adding a unique flair to your creation.
- Vent It Out: Cut a few slits into the top crust to allow steam to escape. This prevents the pie from puffing up too much, ensuring a consistent cook and a beautiful, even browning.
(Part 5) Baking the Beauty: A Golden Transformation
The Heat is On: A Gentle Embrace
The oven is the stage where your apple pie transforms from a simple creation into a culinary masterpiece.
- Pre-heating is Key: Preheat your oven to 425°F (220°C). This gives the crust a beautiful golden brown color and ensures a crisp, flaky texture.
- Baking Time: Bake for 15 minutes at 425°F, then reduce the heat to 375°F (190°C) and bake for another 45-50 minutes, or until the crust is golden brown and the filling is bubbling. You want the filling to be set, ensuring a delicious, juicy experience.
- Rest and Relax: Once out of the oven, let your pie rest for at least 30 minutes. This allows the filling to set and the juices to redistribute evenly, resulting in a perfect balance of flavour and texture.
(Part 6) Serving the Delight: A Celebration of Flavour
A Slice of Heaven: The Grand Finale
The wait is over. It's time to savor the fruits of your labor.
- Garnish with Flair: A scoop of vanilla ice cream, a dollop of whipped cream, or a sprinkle of cinnamon sugar add a touch of elegance to your already perfect pie. But remember, it's already a masterpiece, so don’t overdo it.
- Enjoy the Moment: Take a bite and let the symphony of flavors dance on your tongue. The sweet and tart apples, the flaky crust, the warm spices – it's a culinary experience you won't soon forget.
(Part 7) Variations and Twists: A World of Possibilities
Beyond the Classic: New Adventures
Mastering the classic apple pie is a triumph, but why stop there? A world of variations and twists awaits, offering a delicious journey of culinary exploration.
- Cream Cheese Delight: A layer of cream cheese in the bottom of the pie adds a delightfully tangy twist, a delightful contrast to the sweetness of the apples. You can even add a pinch of cinnamon for an extra layer of flavour.
- Spice It Up: Experiment with different spice combinations to create unique flavour profiles. Think nutmeg, ginger, cardamom, allspice, even a touch of cloves. It's all about finding the spice blend that speaks to your taste buds.
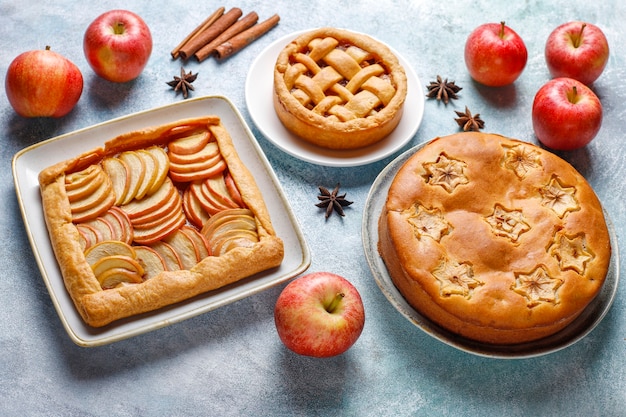
- Crumb Topping: Instead of a lattice top, try a crumb topping for a rustic and comforting feel. It adds a wonderful crunchy texture and a warm cinnamon flavour that will satisfy your cravings.
Table of Apple Pie Variations: A Feast for the Eyes and Tastebuds
| Variation | Description | Special Note |
|---|---|---|
| Apple Crumble Pie | A classic apple pie with a crumb topping instead of a lattice crust. | Use a mixture of oats, flour, brown sugar, and butter for the crumb topping. |
| Apple Streusel Pie | Similar to apple crumble pie, but with a streusel topping that's made with a bit more sugar and butter. | Use a combination of butter, flour, sugar, and cinnamon for a buttery and sweet topping. |
| Apple Caramel Pie | A rich and decadent apple pie with a layer of caramel sauce poured over the apples before baking. | Use a homemade caramel sauce or a store-bought caramel sauce. |
| Apple Pecan Pie | A combination of apple pie and pecan pie, featuring a pecan filling and a pecan streusel topping. | Use pecan halves or pecan pieces for the filling and topping. |
| Apple Ginger Pie | A spicy twist on apple pie, featuring a combination of apples, ginger, and other spices. | Use fresh grated ginger or ground ginger for a spicy kick. |
(Part 8) FAQs: Your Apple Pie Queries Answered
1. Can I use frozen apples for my pie?
Absolutely! Frozen apples work just as well as fresh apples. Just make sure to thaw them completely before using them in your pie. Give them a good squeeze to remove excess moisture.
2. How do I prevent my pie crust from getting soggy?
To keep your crust crisp, bake your pie on a preheated baking sheet. The baking sheet will absorb some of the moisture from the filling, ensuring a satisfyingly flaky crust.
3. Can I make my apple pie ahead of time?
Yes, you can assemble your apple pie and refrigerate it overnight. Just let it come to room temperature for about 30 minutes before baking.
4. What if my crust cracks during baking?
Don't worry! Even the most experienced bakers occasionally encounter a crack or two. Simply use a little water to patch them up. The heat will help to seal them.
5. How long can I keep my apple pie?
At room temperature, your apple pie will last for up to two days. For longer storage, keep it in the fridge for up to five days. To freeze your apple pie, wrap it tightly in plastic wrap and foil and freeze for up to three months.
Final Thoughts: A Baking Journey Shared
There you have it, my friends – the ultimate guide to baking the perfect apple pie. It's a journey of discovery, a delicious adventure that will leave you with a warm feeling and a satisfied smile.
Remember, baking is all about having fun, experimenting, and letting your creativity shine. Don't be afraid to try new things, to tweak the recipe, to make it your own. And most importantly, enjoy the process!
Everyone is watching

Corn on the Cob: The Ultimate Guide to Perfectly Cooked Ears
Healthy MealsAh, corn on the cob. Just the name evokes images of sunny days, barbecues, and that sweet, juicy flavour that ...

Perfect Pork Roast Oven Cooking Time: A Guide to Delicious Results
Healthy MealsThere's something truly satisfying about a perfectly roasted pork. The aroma alone is enough to make your mout...

Scallops: The Ultimate Guide to Perfect Cooking
Healthy MealsAh, scallops. Those delicate, sweet, and utterly delicious morsels of the sea. They hold a special place in my...

Ham Cooking Time: How Long to Bake, Smoke, or Boil a Delicious Ham
Healthy MealsAh, ham. It's a classic, isn't it? A real crowd-pleaser, especially around holidays. And when done right, it'...

Spaghetti Squash: The Ultimate Guide to Cooking and Serving
Healthy MealsRemember that time you saw spaghetti squash at the supermarket, looking all bumpy and strange, and thought, "W...
