Part 1: The Potato Chronicles - Choosing Your Weapon
The Potato Powerhouse:
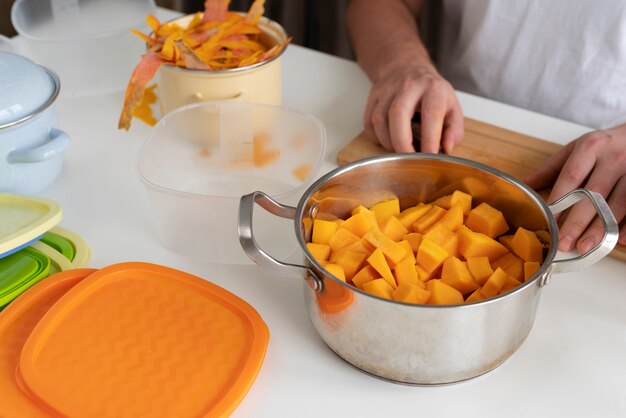
First things first, you need the right potato. This isn’t just any old spud, folks. You need a potato with a good starch-to-moisture ratio – something that will hold its shape and crisp up beautifully.Now, I’ve tried 'em all, from maris pipers to king edwards. I’ve even experimented with those fancy new varieties claiming to be the perfect fry potato. But honestly, I’ve found that the good old Russet Burbank is still the king of the fry game. They've got that perfect balance of starch and moisture that creates those beautifully golden, crispy fries. Plus, they’re readily available and affordable – what more could you ask for?
Let’s be real, though, there are times when you might not have a Russet Burbank on hand. But don’t panic! If you’re in a pinch, a starchy Yukon Gold or Red Bliss will also do the trick. You might not get the same crispiness as with a Russet, but they’ll still hold up pretty well.
The Power of Starch:
You might be wondering why starch is so important for achieving that perfect crisp. Well, starch is basically the building block for those crispy edges. When you fry potatoes, the starch gelatinizes, which means it absorbs moisture and turns into a kind of glue that holds the potato shape. This gelatinized starch is what gives those fries their satisfying crunch.
Cutting Edge Tactics:
Right, now that you’ve got your potatoes, it's time to get chopping. But listen up, this isn’t about just hacking away at the potatoes. You want those fries to be uniformly cut for even cooking, so get yourself a good quality mandoline or a sharp knife and follow these steps:- Wash the potatoes and give them a good scrub.
- Peel them if you prefer, but I like to leave the skin on for a bit of extra texture and flavour. It’s up to you.
- Slice the potatoes lengthwise into about 1/2-inch thick pieces. Then cut those pieces into your desired fry shape. Some folks prefer thin fries, others prefer thick ones. It’s all about personal preference, really.
- Once your fries are cut, give them a good rinse and pat them dry. You want those fries dry as a bone to prevent them from steaming instead of crisping.
Part 2: Soaking the Drama Out
The Soak-and-Chill Technique:
So, you’ve got your potatoes sliced and diced, ready to go. But hold on! There’s a crucial step you need to take before you toss them in the fryer. I’m talking about soaking.Now, I used to skip this step altogether. I thought, "Why bother?" But trust me, folks, soaking those fries makes a world of difference. It helps to remove excess starch, which can prevent those fries from crisping up properly. I know, it sounds a bit counterintuitive, but it's a game-changer!
Why Soaking Works:
Think of it this way. Excess starch can act like a barrier, preventing the hot oil from penetrating the potato and crisping it up. By soaking the potatoes in cold water, you're essentially washing away that excess starch, allowing the oil to do its magic.
How to Soak Like a Pro:
Fill a large bowl with cold water and add a tablespoon or two of salt. Give those potatoes a good soak for at least 30 minutes, or even better, an hour or two. The longer you soak them, the more starch you’ll remove.
Once the fries have soaked, drain them well and pat them dry with paper towels. You want those fries as dry as a desert, ready to hit the fryer with all their crispy potential.
Part 3: The Fry-Off - Choosing Your Battleground
Deep Fried Delights:
Now, the moment you’ve all been waiting for! It’s time to get frying. Now, I know some folks swear by their oven-baked fries, but let’s be real, the ultimate crispy, golden-brown fry comes from deep frying. There’s no substitute for that classic deep-fried goodness.But before you go throwing those fries into a raging oil bath, you need to choose your fryer. I’m talking about your weapon of choice, folks.
deep fryer or Pot?
If you’re a seasoned fry veteran, you might be tempted by a dedicated deep fryer. They’re great for maintaining a consistent temperature and getting that perfect fry. But if you’re just starting out, a good old pot on the stovetop will do the trick. Just make sure you use a pot that’s deep enough for the fries to swim freely.
And don't forget the oil! For a neutral flavour, I always go with vegetable oil or canola oil. They’ve got a high smoke point, which means they can handle the high temperatures without burning.
Part 4: The Heat is On - Mastering the Temperature
The Fry Temperature:
Alright, you’ve got your potatoes prepped, your oil is hot, and you’re ready to go. But wait! Before you toss those fries in, you need to check the oil temperature. This is crucial, folks. If the oil isn’t hot enough, those fries will end up soggy and sad. And if it’s too hot, they’ll be burnt to a crisp before they have a chance to cook through.So, how do you know if your oil is at the right temperature? Well, there are a few tricks to the trade.
Temperature Check:
The first method is the trusty thermometer. You know, the kind you stick into the oil to get a precise reading. Now, I’m a bit old-school, so I usually just use a bread crumb test. Toss a tiny piece of bread into the oil. If it sizzles and turns golden-brown within a few seconds, your oil is ready to go.
The ideal frying temperature is around 350-375°F (175-190°C). You want those fries to cook through without getting burnt. Trust me, it’s all about finding that sweet spot.
Part 5: The Fry Dance - Bringing it Home
Batch Fry Bliss:
Alright, you've got your oil at the perfect temperature, your fries are ready to go. It’s time to get frying! But here's the thing: you can't just throw all the fries in at once. It’s important to work in batches. Why? Because if you overcrowd the fryer, the oil temperature will drop and you’ll end up with soggy, unevenly cooked fries.So, work in small batches, making sure there’s enough room for those fries to swim freely in the oil. Don’t worry, it’s just like a fry party, and everyone gets a turn.
The Fry Time:
Now, how long you fry those fries depends on their thickness and your desired level of crispiness. You're going to want to fry them twice.
- For the first fry, you’re just trying to cook them through. Aim for about 3-5 minutes, or until they’re lightly golden. You want them to have a little bit of a bite to them, but not fully cooked.
- Once you've got them lightly golden, remove them from the oil and let them drain on a wire rack. While they're draining, let the oil heat back up to the ideal temperature.
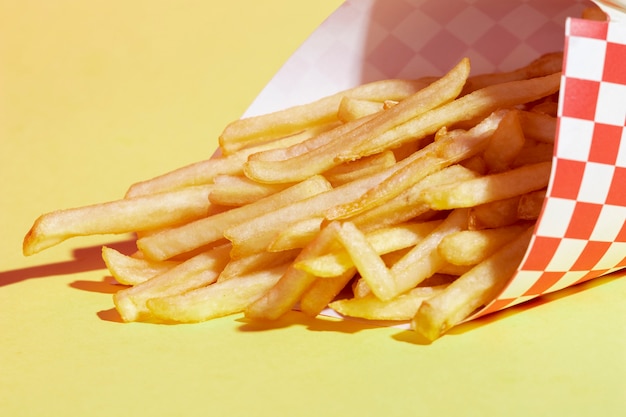
- Now for the second fry! This is where the magic happens. This time, you're going to fry them for a shorter time, just 2-3 minutes, until they're golden brown and gloriously crispy.
The Science of Double Frying:
You might be wondering, "Why bother with double frying?" Well, double frying is a technique that's used to achieve maximum crispiness. The first fry cooks the potato through, while the second fry gives it that beautiful golden brown colour and crispy exterior. The trick is to let the oil come back up to temperature between fries. This will ensure that the fries cook evenly and crisp up perfectly.
Part 6: The Seasoning Symphony - Adding that Extra Kick
Simple and Classic:
Alright, you’ve got your crispy, golden-brown fries ready to go. But it’s not quite over yet, folks. Now it's time to add the finishing touches, the seasoning that’s going to make those fries sing.I always start with a sprinkle of salt and pepper. It’s the simplest, most classic way to season your fries. But don’t be afraid to experiment with other herbs and spices.
Spice It Up:
Here are a few of my favourite flavour combinations:
- Garlic powder and paprika for a smoky, earthy flavour.
- Dried oregano and thyme for a Mediterranean twist.
- Cayenne pepper for a bit of heat.
- Smoked paprika and onion powder for a smoky, sweet flavour.
- Rosemary and garlic for a fragrant and savory experience.
The Sauce Factor:
Of course, no fry feast is complete without a good dipping sauce. I'm a fan of a classic ketchup, but feel free to get creative.
Here are a few more dipping sauce ideas to get your taste buds tingling:
- Aioli (garlic mayonnaise)
- Chipotle mayo
- Sriracha mayo
- Blue cheese dip
- Ranch dressing
- Honey mustard
- bbq sauce
Part 7: Fry-ing Up the Best - Tips and Tricks
The Golden Rules:
Now, I’ve shared a lot of fry wisdom with you, but here are a few extra tips to ensure your fry game is always on point:- Don't overcrowd the fryer. Give those fries plenty of space to cook evenly.
- Keep an eye on the oil temperature. Don't let it drop too much, or those fries will turn out soggy.
- Don't be afraid to experiment with different potatoes, seasonings, and dipping sauces. It's all about finding what you like best.
- Use a wire rack to drain the fries after frying. This will help them to crisp up even more.
- Serve those fries hot and fresh. They're best enjoyed immediately after frying.
Troubleshooting:
We all have our fry-frying mishaps. But don't worry, there's a solution for every fry-related problem.
1. Soggy Fries:
This is a common fry-frying woe, but don't despair! There are a few things you can do to salvage those soggy fries.
- Reheat them in a hot oven or on a baking sheet. This will help to crisp them up again.
- Fry them again! That's right, a second fry is often the key to achieving ultimate crispiness.
2. Burnt Fries:
Oh, the agony of a burnt fry! They might seem like a lost cause, but sometimes, a burnt fry is just a bit too crispy. If they're not totally charred, you might be able to salvage them.
- Scrape off the burnt bits, if possible.
- Toss them with some fresh herbs or seasonings to disguise the burnt taste.
3. Unevenly Cooked Fries:
If your fries are unevenly cooked, it's likely because you didn't fry them in small enough batches. Try frying them in smaller batches to ensure that they all cook evenly.
Part 8: The Fry Journey - My Personal Fry Story
My Fry-Frying Epiphany:
You know, my love affair with french fries started when I was just a wee lad. I remember those crispy, golden-brown fries from the local chippy, the kind that would melt in your mouth with every bite. It was pure fry bliss. But as I got older, I thought I could make them just as good at home.
So, I started experimenting, trying different potato varieties, tinkering with the frying temperature, and experimenting with different seasonings. I even tried making those fancy truffle fries. But it wasn’t until I discovered the magic of soaking the potatoes that my fry game truly took off.
From that day forward, my fries were never the same. They were crispy, golden-brown, and utterly delicious. It was a fry-frying revelation!
Part 9: FAQs - Answering your Fry-related Queries
1. Can I use frozen fries?
You can certainly use frozen fries, but you might not achieve the same level of crispiness as you would with fresh fries. The best way to cook frozen fries is to follow the instructions on the package. Sometimes, you might need to bake them in the oven after frying to achieve that extra crisp.
2. What if I don't have a deep fryer?
No worries, you can still fry delicious fries without a dedicated deep fryer. Just use a heavy-bottomed pot on the stovetop and fill it with enough oil to submerge the fries.
3. How do I prevent fries from sticking to the bottom of the pot?
The key is to ensure the oil is hot enough before you add the fries. If the oil isn’t hot enough, the fries will stick to the bottom. Also, try not to overcrowd the pot, and give the fries plenty of space to move around.
4. What if my fries are too salty?
If you've over-salted your fries, there's not much you can do to fix them. But you can try to balance out the saltiness with a tangy dipping sauce.
5. What's the best way to store leftover fries?
Leftover fries are best stored in an airtight container in the refrigerator for up to 3 days. You can reheat them in a hot oven or on a baking sheet. Just make sure they're crispy again before serving!
6. What are some creative variations on classic fries?
The world of fries is your oyster! Here are a few ideas to get your creative juices flowing:
- sweet potato Fries: A delicious and healthy alternative to classic fries. Try tossing them with a sprinkle of cinnamon and brown sugar for an extra sweet touch.
- Garlic Parmesan Fries: A cheesy and savory twist on the classic fry. Simply toss the fries with melted butter, garlic powder, and parmesan cheese.
- Chili Cheese Fries: A hearty and satisfying treat. Top your fries with chili, cheese, and your favourite toppings like sour cream, onions, and jalapenos.
- Waffle Fries: A fun and unique take on the classic fry. Simply fry up some waffle-cut potatoes for a crispy and delicious treat.
So there you have it, folks, my ultimate guide to crispy, perfect French fries. I hope you’ve learned a thing or two, and I encourage you to experiment and find what works best for you. Happy fry-frying!
Everyone is watching

Prime Rib Roast Cooking Time Chart: Per Pound Guide
Cooking TipsPrime rib roast. Just the name conjures images of lavish dinners, crackling fires, and hearty laughter. It’s ...

How Long to Bake Potatoes in the Oven (Perfect Every Time)
Cooking TipsBaked potatoes are a staple in my kitchen. They're incredibly versatile, delicious, and surprisingly easy to m...

Perfect Rice Every Time: The Ultimate Guide to Cooking Rice
Cooking TipsAs a self-proclaimed foodie, I've always been a bit obsessed with rice. It's the foundation of countless cuisi...

The Ultimate Guide to Cooking Asparagus: Tips, Techniques, and Recipes
Cooking TipsAsparagus. The mere mention of this spring delicacy conjures up images of vibrant green spears, crisp and burs...

Ultimate Guide to Cooking the Perfect Thanksgiving Turkey
Cooking TipsThanksgiving. Just the word conjures up images of overflowing tables laden with delicious food, the scent of r...