Ah, prime rib. The king of roasts, the centerpiece of any festive gathering, the reason for an extra helping of mashed potatoes. For years, I've been tackling this culinary masterpiece, and let me tell you, it's not as intimidating as it seems. With the right approach, you can create a show-stopping prime rib that’ll have your guests clamoring for more. So, grab a cuppa, settle in, and let's dive into the world of prime rib perfection.
(Part 1) Choosing the Crown Jewel: Your Prime Rib

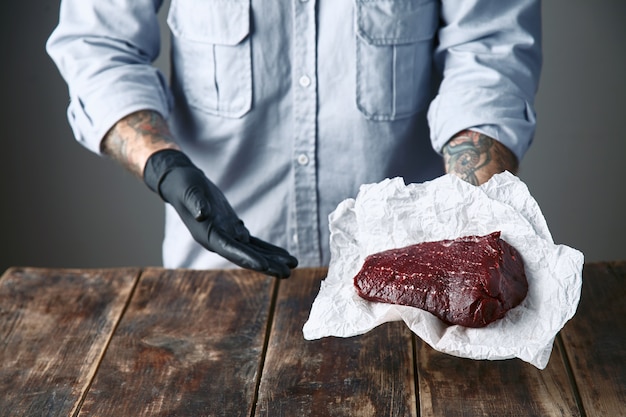
First things first: the star of the show. We're talking about a standing rib roast, a magnificent cut of beef from the primal rib section, typically boasting three to seven ribs. It’s the kind of cut that demands attention, and it’s all about finding the right one.
The Cut That Counts
Think of it this way: you wouldn’t use just any old ingredient for a masterpiece, would you? So, it's crucial to get the cut right. There are two main players in the prime rib game:
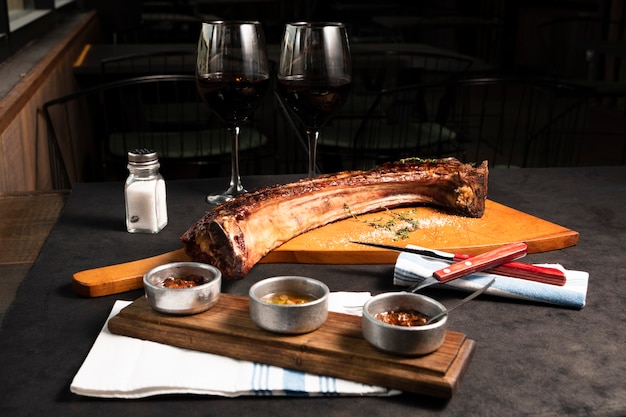
- english cut: This is the classic, bone-in champion. The ribs are still attached, giving it an undeniably impressive appearance on the table. It's also usually the more expensive option, but for a special occasion, it's worth every penny.
- Rib Roast (or “Standing Rib Roast”): Similar to the English cut, but it might not have the bone-in option. It’s generally a bit more budget-friendly and perfect for a smaller gathering.
I've gone head-to-head with both cuts, and honestly, I lean towards the English cut. The bone adds a subtle depth of flavor that elevates the whole experience. Plus, it just looks so darn impressive.
Size Matters
Now, let's talk about sizing. You want enough meat for everyone, but you don't want to be stuck with a fridge full of leftovers. To find the sweet spot, consider these factors:
- Guest List: A good rule of thumb is 1 pound of prime rib per person if you want leftovers (and who doesn't?). For a larger crowd, bump it up to 1.25 pounds per person.
- Hunger Levels: Teenagers? They'll eat you out of house and home. Delicate eaters? Maybe a little less is needed.
- side dish Situation: If you're serving a mountain of sides, you can get away with a slightly smaller roast.
Remember, it's better to err on the side of too much. A little extra prime rib is a good problem to have. It can be a delicious sandwich the next day, or even a starting point for a new recipe.
The Marbling Matters
Here's where it gets interesting. We're talking about the fat. Now, I know what you're thinking: "Fat? I'm trying to be healthy!". But trust me, fat is prime rib's secret weapon. It's what makes it so incredibly juicy and flavorful. You want to look for a cut with a good amount of marbling, meaning there's a nice even distribution of fat throughout the meat. A well-marbled prime rib is your guarantee of a tender, juicy masterpiece.
I've learned the hard way - don't fall for the leaner cuts. They can be dry and tough, a real disappointment when you're expecting a prime rib feast. Embrace the marbling, it's your friend.
(Part 2) Prepping for Prime Time

Okay, you've found your prime rib. Now it's time to get it ready for the oven, a journey that begins with a little prepping.
Pat It Down
The first step is a simple one: pat the prime rib dry with paper towels. Moisture on the surface can create steam during cooking, which can lead to a less-than-crispy exterior. We're aiming for that beautiful, golden-brown crust, so let's dry it off.
Seasoning Your Superstar
Here's where the fun starts. This is your chance to get creative and bring out the best in your prime rib. You can go simple with a salt and pepper mix, or you can create a symphony of flavors with a more complex blend of herbs and spices.
My Personal Flavor Symphony
This is my go-to seasoning blend, a combination that always delivers:
- Kosher Salt: I prefer kosher salt for its coarse texture. It clings to the meat better, ensuring a thorough seasoning.
- Freshly Ground Black Pepper: For a burst of fresh, intense flavor, freshly ground black pepper is a must.
- Garlic Powder: A dash of garlic powder adds a touch of earthy depth to the seasoning.
- Onion Powder: A subtle sweetness, just a hint to balance out the savory notes.
- Dried Thyme: A classic pairing with beef, thyme brings a hint of herbaceousness.
- Dried Rosemary: Another herb that harmonizes perfectly with the richness of beef.
I like to rub this seasoning mix all over the prime rib, really getting it into those crevices and corners. It's a little messy, but it's worth it. The flavor is incredible.
(Part 3) Roasting Your Prime Rib to Perfection

The grand finale! It’s time to bring out the big guns – the oven. We're going to roast this bad boy until it's juicy, tender, and cooked to your exact preference.
Fire Up the Oven
Start by preheating your oven to 450 degrees Fahrenheit (232 degrees Celsius). This high heat is going to sear the outside of the roast, locking in those precious juices.
Timing is Everything
Now, here's where things get a bit trickier. The exact roasting time depends on the size of your prime rib and the level of doneness you're aiming for.
Here's a general guide to get you started:
| Doneness | internal temperature | Approximate Roasting Time per Pound |
|---|---|---|
| Rare | 125-130 degrees Fahrenheit | 15-20 minutes |
| Medium-Rare | 130-135 degrees Fahrenheit | 18-25 minutes |
| Medium | 135-140 degrees Fahrenheit | 20-25 minutes |
| Medium-Well | 140-145 degrees Fahrenheit | 22-30 minutes |
| Well-Done | 145 degrees Fahrenheit and above | 25-35 minutes |
Now, the real key to a perfectly cooked prime rib is a trusty meat thermometer. Insert it into the thickest part of the roast, avoiding any bones.
Remember, the internal temperature will continue to rise even after you take it out of the oven. So, it's a good idea to remove the roast a few degrees below your target temperature. This is called "resting" the roast, giving the juices a chance to redistribute throughout the meat. The result? A more tender, flavorful roast.
Resting is Key
Once your prime rib is cooked to your liking, give it a well-deserved rest. Let it sit for at least 15 minutes before you carve it. Cover it loosely with foil and let it rest in a warm spot while you finish prepping the rest of your meal. This is a crucial step for achieving that melt-in-your-mouth tenderness.
(Part 4) The Art of Carving: Unveiling Your Masterpiece
Your prime rib has rested, it’s time to carve. This is the moment of truth, the unveiling of your culinary triumph. But don’t worry, it’s not as intimidating as it might seem. I'm here to guide you through the process.
Tools of the Trade
You'll need a sharp carving knife and a fork. Invest in a high-quality carving knife; it'll make a world of difference when slicing through the meat cleanly and effortlessly.
Slicing with Precision
To carve your prime rib, follow these simple steps:
- Slice Against the Grain: This means slicing the meat perpendicular to the muscle fibers. It's all about creating tender, manageable slices.
- Start at the End: Secure the roast by slicing off a small portion from the end. This will keep it from shifting as you carve.
- Even Slices: Take your time and aim for consistent slices, each one a perfect showcase of your culinary skills.
- Carve Around the Bone: If you have a bone-in roast, carefully carve around it.
- Bone Removal: After carving, you can remove the bone if desired.
There you have it! You've successfully carved your prime rib. If you want to add a touch of elegance, you can arrange the slices on a platter.
(Part 5) Serving with Panache
The moment you've been waiting for – serving time! Your guests are going to be drooling at this point, so let's make it a memorable experience.
Side Dish Symphony
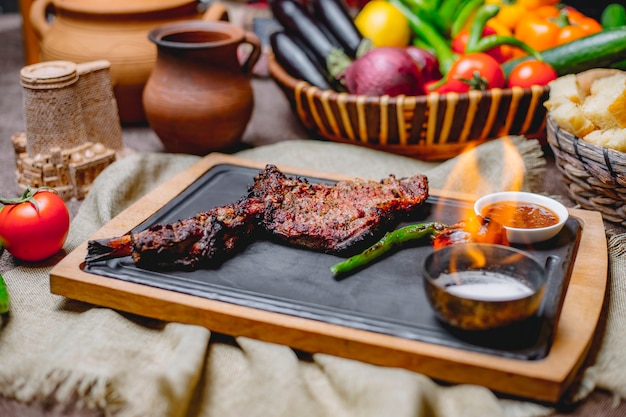
When serving your prime rib, don’t forget the perfect sides. While I love keeping things simple, I always include mashed potatoes, roasted vegetables, and a fresh green salad. But feel free to get creative and add your own signature touches.
Sauce It Up
For an extra touch of decadence, add a sauce. A classic au jus is always a crowd-pleaser, but don’t be afraid to explore other possibilities. I've had some great success with horseradish cream sauce and red wine reductions. A little bit of sauce adds a world of flavor.
(Part 6) Leftover Love
Leftover prime rib? Oh, yes! It’s a delicious treasure to be savored. Here are some ways I love to use up those prime rib leftovers:
- Sandwiches: Prime rib sandwiches are a classic for a reason. Just pile some sliced prime rib on a toasted roll, add some cheese, and you’re good to go.
- Soup: A prime rib soup is a comforting and flavorful meal. Simmer the leftovers in a broth with some vegetables, herbs, and spices.
- Pasta: Shredded prime rib can be added to pasta dishes for a hearty and satisfying meal.
Store your leftovers in an airtight container in the refrigerator and enjoy them within a few days.
(Part 7) Tips for Prime Rib Success
Over the years, I've picked up some tips that have made all the difference when it comes to prime rib. Here are a few pointers to help you create a culinary masterpiece:
- Don't Overcook It: Prime rib is best cooked to medium-rare or medium. Overcooked prime rib can be dry and tough, so resist the temptation to cook it past your desired doneness.
- Rest, Relax, and Redistribute: Resting the roast after cooking is crucial for allowing the juices to redistribute throughout the meat, resulting in a more tender and flavorful experience.
- The Thermometer is Your Guide: A meat thermometer is essential for ensuring your roast is cooked to your desired level of doneness. It’s the only way to be sure you’re getting it just right.
- Experiment with Flavor: Don't be afraid to get creative with your seasonings. There are endless possibilities, and you might just discover a new favorite.
- Enjoy the Journey: Making prime rib is a fun and rewarding experience. So, relax, enjoy the process, and savor the anticipation of the delicious meal you’re creating.
(Part 8) FAQs
1. What is the best way to cook prime rib?
The best way to cook prime rib is to roast it in the oven. You can roast it uncovered for a crispy exterior, or cover it with foil for a more tender roast. It's all about your preferred texture and taste.
2. What temperature should prime rib be cooked to?
The ideal temperature depends on your preferred level of doneness. Here are the general internal temperatures:
- Rare: 125-130 degrees Fahrenheit
- Medium-Rare: 130-135 degrees Fahrenheit
- Medium: 135-140 degrees Fahrenheit
- Medium-Well: 140-145 degrees Fahrenheit
- Well-Done: 145 degrees Fahrenheit and above
3. How long does it take to cook a prime rib?
The cooking time for prime rib depends on its size and your desired level of doneness. However, a general guideline is to cook a prime rib for 15-20 minutes per pound for rare, 18-25 minutes per pound for medium-rare, and 20-25 minutes per pound for medium.
4. How do you make a prime rib juicy?
To achieve a juicy prime rib, select a cut with good marbling, sear the exterior at a high temperature initially, and allow it to rest for at least 15 minutes after cooking. This combination of techniques ensures that the meat retains its moisture and flavor.
5. What are some good side dishes to serve with prime rib?
Some delicious sides to pair with prime rib include mashed potatoes, roasted vegetables, asparagus, a fresh green salad, Yorkshire pudding, and creamed spinach. These sides provide a delightful balance of flavors and textures.
So there you have it, my comprehensive guide to crafting a perfect prime rib roast. Go forth and impress your guests with a culinary masterpiece! And if you have any questions or any other roast recipes you’d like to share, feel free to leave a comment below. Happy roasting!
Everyone is watching

Prime Rib Roast Cooking Time Chart: Per Pound Guide
Cooking TipsPrime rib roast. Just the name conjures images of lavish dinners, crackling fires, and hearty laughter. It’s ...

How Long to Bake Potatoes in the Oven (Perfect Every Time)
Cooking TipsBaked potatoes are a staple in my kitchen. They're incredibly versatile, delicious, and surprisingly easy to m...

Perfect Rice Every Time: The Ultimate Guide to Cooking Rice
Cooking TipsAs a self-proclaimed foodie, I've always been a bit obsessed with rice. It's the foundation of countless cuisi...

The Ultimate Guide to Cooking Asparagus: Tips, Techniques, and Recipes
Cooking TipsAsparagus. The mere mention of this spring delicacy conjures up images of vibrant green spears, crisp and burs...

Ultimate Guide to Cooking the Perfect Thanksgiving Turkey
Cooking TipsThanksgiving. Just the word conjures up images of overflowing tables laden with delicious food, the scent of r...
