(Part 1) The Art of Choosing the Right Ribs

Country Ribs vs. Baby back ribs
First things first: we're talking about country-style ribs, not baby back ribs. These come from the pork shoulder, not the loin, resulting in a meatier cut. They're often a bit more affordable, making them a fantastic choice for feeding a crowd.
When I'm choosing my ribs, I always look for a good balance of lean and fat. A little bit of fat is essential for keeping the ribs moist and tender during the long cooking process. I’ll be looking for a nice marbling throughout the meat, a testament to the pig's good life. It's also important to ensure the ribs are a similar size, guaranteeing they cook evenly.
(Part 2) The Pre-Cooking Prep – The Secret to tender ribs

The Importance of Brining
I always start by brining my ribs. This technique is like a magic potion for flavor and moisture. It truly infuses the meat with deliciousness and tenderizes it, making those ribs practically melt in your mouth.
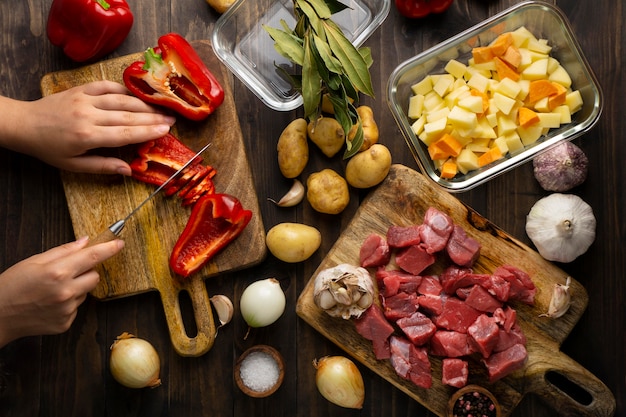
My go-to brine is a simple concoction: a cup of salt, a cup of sugar, a tablespoon of black peppercorns, and a couple of bay leaves in a large pot of water. I bring it to a simmer, stirring until the salt and sugar dissolve, then let it cool completely. I submerge the ribs in the brine, making sure they're completely covered, and let them soak for at least four hours, or even better, overnight.
Pat Dry and Season
After the brine bath, it’s time to give those ribs a good pat dry. We don't want any excess moisture clinging to them before they go into the oven. Then, I generously season them with salt, freshly ground black pepper, and a pinch of garlic powder.
The Magic of Smoking
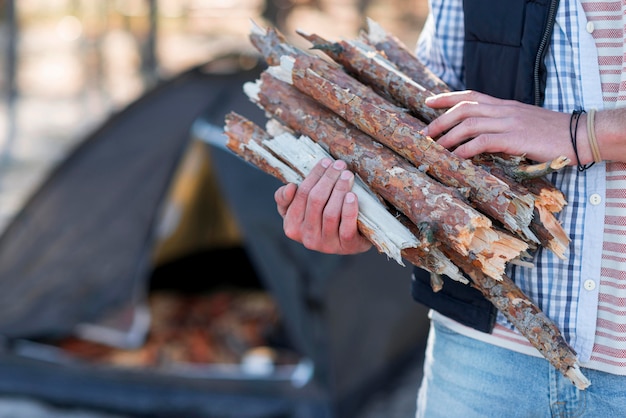
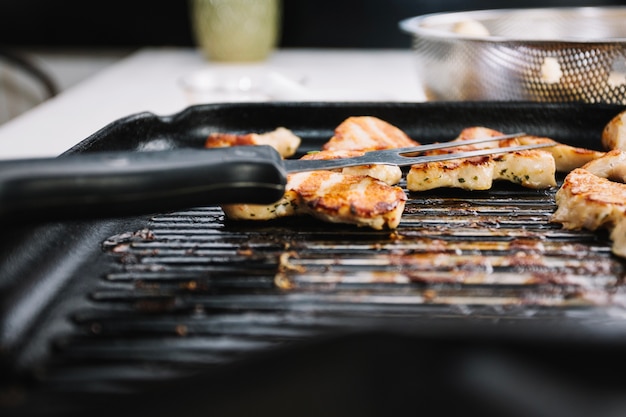
Now, here’s where things get truly magical. I love to give my ribs a quick smoke before they go into the oven. It adds a depth of flavor that’s simply divine. My go-to woods are hickory or applewood chips – they lend a wonderful smoky aroma. Just soak the chips in water for 30 minutes, then add them to a smoker or even just a grill pan on the stovetop. Smoke the ribs for about 30 minutes, rotating them every 10 minutes, allowing every surface to be kissed by the smoky goodness.
(Part 3) Oven Baking – The Main Event

Preheating and the Baking Dish
First, preheat your oven to 300 degrees Fahrenheit (150 degrees Celsius). This low and slow approach is essential for ensuring the ribs cook evenly and slowly, developing incredible tenderness without drying out. I also recommend using a heavy-duty baking dish. It helps retain heat and promotes even cooking, so your ribs are perfectly cooked through and through.
The Sauce Choice
Now, let’s talk sauce. I've tried a multitude of sauces over the years, but I always find myself coming back to a simple, homemade sauce. It's all about the perfect balance of sweet, tangy, and smoky. My recipe is a symphony of flavors: ketchup, brown sugar, Worcestershire sauce, apple cider vinegar, and a dash of hot sauce. It’s a bit of a sweet and smoky combination, with a hint of tanginess that really sings.
Feeling adventurous? You can add in finely chopped onions, garlic, or even a splash of bourbon. But remember, the key is to keep it simple and let the inherent flavor of the ribs shine through. Don’t overpower them with too many strong flavors.
The First Layer of Sauce
Once the oven is preheated, I place the ribs in the baking dish, ensuring they're in a single layer. Now, I’ll brush them with my sauce, being meticulous about coating each rib evenly. This initial layer of sauce is like a foundation, providing the base for a truly delicious experience.
(Part 4) Cooking Time – The Key to Tender Ribs
Here's the thing about cooking time: it depends on the size of the ribs. But I can provide you with a general guideline to help you out.Initial Cooking Time
I’ll begin by cooking the ribs for about 2 hours, uncovered, at 300 degrees Fahrenheit. This allows the ribs to cook slowly and evenly, developing that incredible tenderness we all crave. It also allows the sauce to start to thicken and caramelize, creating a beautiful, sticky glaze.
The Importance of Basting
After those first two hours, I’ll remove the ribs from the oven and give them a generous basting with more sauce. Then, I’ll cover them with foil and return them to the oven. I like to cover the ribs with foil for the next hour of cooking. This traps in moisture, preventing the ribs from drying out, ensuring they remain juicy and succulent.
Checking for Tenderness
After an hour of cooking in the foil, it's time to check if those ribs are ready to fall off the bone. I like to use a fork to gently poke the meat. If it pulls away easily from the bone, they’re ready. If not, I’ll cook them for another 30 minutes, just to ensure they reach that perfect level of tenderness.
(Part 5) Finishing Touches – Making the Ribs Shine
The ribs are almost ready, but we’re not quite done yet. It’s all about those finishing touches, those little details that elevate them from good to extraordinary.Uncovering and Glazing
First, I’ll remove the foil and generously brush the ribs with another layer of sauce. This helps to create a beautiful, glossy glaze, enhancing the visual appeal and flavor.
The Broiler – Adding that Crispy Touch
Now, here’s a trick that adds a delightful textural element. I love to pop the ribs under the broiler for a few minutes to create a nice, crispy crust. This creates a lovely contrast between the tender meat and the slightly charred, crispy exterior. Just keep a close eye on them – they can burn easily!
(Part 6) Serving Up the Ribs – A Feast for the Senses
Alright, the ribs are cooked to perfection! Now, it's time to serve them up and create a feast for the senses.A side dish Symphony
I love to serve my country ribs with a selection of sides that complement the rich flavors. My favorites include creamy coleslaw, fluffy mashed potatoes, smoky baked beans, and warm, buttery cornbread. It's all about creating a symphony of textures and flavors, a harmonious combination that tantalizes the taste buds.
A Splash of Colour
I like to add a splash of color to my plate by adding some fresh herbs. A sprinkle of parsley or cilantro brightens things up, providing a refreshing contrast and a burst of vibrant color. It's a beautiful finishing touch.
(Part 7) The Essential Tools – A Kitchen Arsenal
Now, you're going to need a few essential tools to make those ribs a success.A Good Oven Thermometer
First, a good oven thermometer is a must. It’s crucial to ensure your oven is at the right temperature, guaranteeing the ribs cook evenly and to perfection.
A Sturdy Baking Dish
Next, a sturdy baking dish is a necessity. You need one that can withstand the high heat of the oven and prevent the ribs from sticking.
A Good Basting Brush
And of course, you’ll need a good basting brush to evenly distribute the sauce, ensuring those ribs are coated to perfection.
(Part 8) FAQs – The Answers to Your Rib Questions
Now, I’m sure you’ve got some questions about making those ribs. Let's tackle some of the most common ones.Can I Use a Different Sauce?
Absolutely! You can use any sauce you like, whether it's store-bought or homemade. Just remember to check the ingredients and make sure it's a sauce designed for ribs.
How Long Can I Store Leftovers?
Leftover ribs can be stored in the fridge for up to three days. Just make sure to store them in an airtight container to preserve their freshness. You can also freeze leftovers for up to three months.
Can I Use a Different Kind of Meat?
You can use beef ribs or lamb ribs for this recipe, but the cooking time will vary. Just remember to adjust the cooking time accordingly, checking for tenderness to ensure the meat is cooked through.
What if My Ribs are Not Tender Enough?
If your ribs are not tender enough, you can simply cook them for a bit longer. Just keep checking them every 30 minutes until they’re tender to your liking.
Can I Make These Ribs Ahead of Time?
You can definitely make these ribs ahead of time. Just prepare them as instructed and then store them in the fridge for up to 24 hours. Then, when you’re ready to cook, simply bake them as usual.
(Part 9) A Final Word – The Magic of Country Ribs
There you have it! My recipe for the most amazing oven-baked country ribs. You’ve got the tips, the tricks, the tools – now it’s time to get cooking! You know, there’s something truly special about country ribs. They're a dish that brings people together, evoking memories of family gatherings, shared meals, and laughter around the table. They're a reminder that good food is more than just nourishment; it’s a celebration of life, love, and the joy of connecting with those we care about. So, gather your loved ones, put on your apron, and get ready to make some magic. You’ve got this!Everyone is watching

Perfect Rice Every Time: The Ultimate Guide to Cooking Rice
Cooking TipsAs a self-proclaimed foodie, I've always been a bit obsessed with rice. It's the foundation of countless cuisi...

Ultimate Guide to Cooking the Perfect Thanksgiving Turkey
Cooking TipsThanksgiving. Just the word conjures up images of overflowing tables laden with delicious food, the scent of r...

The Ultimate Guide to Cooking Asparagus: Tips, Techniques, and Recipes
Cooking TipsAsparagus. The mere mention of this spring delicacy conjures up images of vibrant green spears, crisp and burs...

Can You Cook Spaghetti with Gasoline? (The Shocking Truth)
Cooking TipsWe've all seen those crazy internet trends. You know, the ones that make you wonder, "Did someone actually try...

Chorizo and Eggs Recipe: The Ultimate Guide
Cooking TipsRight, let’s talk about chorizo and eggs. You know, that classic Spanish dish that's always a winner. It's th...
