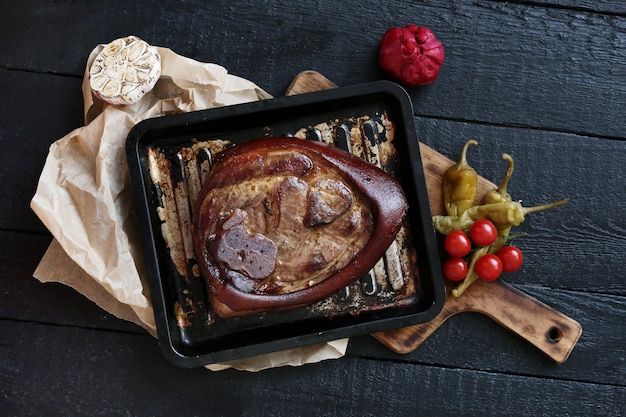
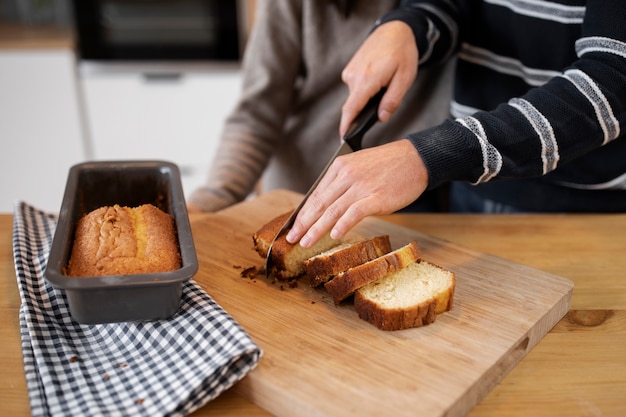
As a seasoned cook, I've spent countless hours in the kitchen, experimenting with recipes and perfecting my culinary skills. One dish that has always held a special place in my heart is meatloaf. There's something so comforting and satisfying about a juicy, flavorful meatloaf, especially when it's cooked to perfection. But achieving that perfect balance between tenderness and a crispy crust can be a challenge. The key, I've learned, lies in understanding the nuances of cooking time and temperature, especially when it comes to baking at 400 degrees Fahrenheit.
This article will guide you through my journey of mastering meatloaf cooking at 400 degrees Fahrenheit. We'll delve into the science behind the process, explore the factors that influence cooking time, and uncover the secrets to achieving that perfect, golden-brown crust. So, grab your aprons, gather your ingredients, and let's embark on this culinary adventure together!
(Part 1) The Science Behind Meatloaf

Understanding the Importance of Temperature and Time
The magic of cooking lies in the precise interaction of heat, time, and the chemical reactions that occur within the food. When it comes to meatloaf, the goal is to cook it thoroughly while maintaining its moisture and tenderness. The internal temperature of the meatloaf needs to reach 160 degrees Fahrenheit to ensure safety.
Baking at 400 degrees Fahrenheit offers a few distinct advantages, making it a popular choice for many home cooks:
- Faster Cooking: Higher temperatures promote faster cooking, reducing the overall time it takes to prepare the meatloaf. This is especially beneficial on busy weeknights when you need a quick and satisfying meal.
- Crispy Crust: The intense heat encourages the formation of a crisp and flavorful crust on the exterior of the loaf. This adds a satisfying textural contrast to the tender, juicy interior.
- Even Browning: The high heat helps to ensure even browning throughout the meatloaf, resulting in a visually appealing and appetizing dish.
The Role of meatloaf size and Shape
One of the most crucial factors in determining cooking time is the size and shape of your meatloaf. A larger loaf will take longer to cook through, as heat needs to penetrate the greater mass of meat. Conversely, a smaller loaf will require less time. Think of it like a mini-meatloaf versus a giant, family-sized version. Similarly, a loaf that's flatter or more elongated will cook faster than a round, thick loaf because the heat has less distance to travel.
The Importance of Doneness
The key to achieving a perfect meatloaf is ensuring that it's cooked to the appropriate level of doneness. To achieve this, a meat thermometer is essential. Insert the thermometer into the thickest part of the loaf to check the internal temperature. Don't rely solely on visual cues, as these can be deceiving.
While 160 degrees Fahrenheit is the minimum safe temperature for cooked meatloaf, I personally prefer to cook mine to 165 degrees Fahrenheit. This ensures that the meat is thoroughly cooked while retaining its moisture and tenderness. At this temperature, the meat is cooked through but still retains its moisture, resulting in a more succulent and flavorful final product.
(Part 2) Determining the Cooking Time

General Guidelines
As a general guideline, you can estimate the cooking time for a standard-sized meatloaf (1.5 to 2 pounds) at 400 degrees Fahrenheit to be around 45 to 60 minutes. But remember that these are just estimates, and you should always use a meat thermometer to confirm doneness.
Here's a simple table to help you get a better understanding of the relationship between meatloaf size and cooking time:
| Meatloaf Weight | Estimated Cooking Time (400 Degrees Fahrenheit) |
|---|---|
| 1.5 pounds | 45-55 minutes |
| 2 pounds | 55-65 minutes |
| 2.5 pounds | 65-75 minutes |
Keep in mind that these are just general estimates, and your actual cooking time may vary depending on factors like your oven's performance, the ingredients used, and the shape of your meatloaf.
Factors that Influence Cooking Time
While the table provides a useful starting point, several factors can influence the actual cooking time, so it's essential to be aware of them:
- Oven Temperature: Ensuring your oven is calibrated correctly is important. Ovens can vary in temperature, even within the same model. Use an oven thermometer to check the actual temperature inside your oven. Adjust the cooking time accordingly if your oven runs hotter or cooler than expected.
- meatloaf ingredients: A meatloaf with a higher fat content will generally take longer to cook, as fat takes longer to render and cook through. Conversely, a leaner loaf will cook faster. The presence of breadcrumbs, vegetables, or other ingredients can also influence cooking time. For example, a loaf with a high proportion of breadcrumbs will tend to cook faster.
- Pan Size and Material: The size and material of the baking pan can impact cooking time. A larger pan will result in faster cooking because the heat is distributed over a larger surface area. Similarly, a pan made of darker metal, like aluminum, will conduct heat more efficiently than a lighter-colored pan, potentially leading to faster cooking.
Tips for Accurate Time Estimation
While it's difficult to pinpoint the exact cooking time, here are a few tips that can help you get a more accurate estimate and avoid overcooked or undercooked meatloaf:
- Start with a Lower Temperature: Instead of starting at 400 degrees Fahrenheit, consider baking your meatloaf at 375 degrees Fahrenheit for the first 30 minutes. This gentler heat will help ensure that the meatloaf cooks evenly and prevents the outer crust from becoming overly brown before the center is cooked through. You can then raise the temperature to 400 degrees Fahrenheit for the remaining cooking time to achieve a crispier crust.
- Check for Doneness Early: Once your estimated cooking time is almost up, use a meat thermometer to check the internal temperature of the meatloaf. This will give you a better idea of how much longer it needs to cook and prevent overcooking.
- Adjust Cooking Time Based on Appearance: The appearance of the meatloaf can also be a good indicator of its doneness. If the top is golden brown and slightly firm to the touch, it's likely cooked through. However, always use a meat thermometer to confirm, especially if you are unsure.
(Part 3) The Art of Baking at 400 Degrees Fahrenheit

Preheating Your Oven
Preheating your oven is crucial for ensuring that your meatloaf cooks evenly and achieves that perfect golden-brown crust. Allow your oven to preheat for at least 15 minutes before placing the meatloaf inside. A preheated oven provides consistent heat, allowing the meatloaf to cook evenly from the start.
Preparing the Meatloaf
Before baking, it's important to prepare your meatloaf correctly. This includes shaping it into a loaf, placing it on a baking sheet or in a loaf pan, and covering it with aluminum foil for the first part of the cooking time. Covering the meatloaf with foil helps to prevent the top from drying out and browning too quickly before the center is cooked through.
Monitoring the Meatloaf
Once the meatloaf is in the oven, keep an eye on it to make sure it's cooking properly. Check the internal temperature every 15-20 minutes using a meat thermometer. This will help you assess the cooking progress and adjust the baking time as needed. If the top of the meatloaf starts to brown too quickly, cover it loosely with aluminum foil to prevent over-browning.
The Final Touch
Towards the end of the cooking time, remove the aluminum foil from the meatloaf to allow the top to brown and crisp up. The exposure to direct heat will help to achieve that desirable golden-brown crust. If the meatloaf isn't quite golden brown enough, you can broil it for a few minutes to achieve the desired level of browning. However, keep a close eye on it during broiling, as it can brown very quickly.
(Part 4) The Importance of Resting
After removing the meatloaf from the oven, let it rest for 10-15 minutes before slicing and serving. This allows the juices to redistribute throughout the loaf, resulting in a more tender and flavorful final product. The resting period gives the meatloaf a chance to "relax" and absorb the moisture that has been drawn to the surface during cooking.
(Part 5) The Art of Glazing
To add a touch of elegance and enhance the flavor of your meatloaf, consider glazing it. There are countless glaze options, from classic tomato-based glazes to more adventurous barbecue sauces.
To glaze your meatloaf, simply brush the glaze over the top of the loaf during the last 15-20 minutes of cooking. You can use a brush or a spoon to apply the glaze. The heat of the oven will help the glaze to caramelize and create a beautiful, glossy finish.
Popular Glaze Options
- Tomato Glaze: A classic and flavorful option made with ketchup, brown sugar, and Worcestershire sauce. It adds a sweet and tangy flavor that complements the meatloaf perfectly.
- Barbecue Glaze: A sweet and smoky glaze made with barbecue sauce, brown sugar, and mustard. The combination of sweetness, smokiness, and tang creates a complex and satisfying glaze.
- honey mustard glaze: A tangy and flavorful glaze made with honey, mustard, and lemon juice. It adds a bright and refreshing touch to the meatloaf, balancing out the savory flavors.
(Part 6) The Perfect Accompaniments
No meatloaf is complete without the perfect accompaniments. Here are a few of my favorite sides to pair with a delicious meatloaf:
- mashed potatoes: Classic and comforting, mashed potatoes are a perfect side for a hearty meatloaf. The creamy texture and rich flavor complement the meatloaf beautifully.
- green beans: A simple and healthy side dish that provides a nice contrast to the richness of the meatloaf. The green beans add a fresh and vegetal element, balancing out the richness of the meat.
- Cornbread: A sweet and savory side that complements the meatloaf beautifully. The crumbly texture of the cornbread contrasts nicely with the tender meatloaf.
(Part 7) Variations and Experimentation
Meatloaf is a versatile dish that allows for endless variations. Here are a few ideas to inspire your culinary creativity and make meatloaf more than just a classic comfort food:
- Add Vegetables: Incorporate diced vegetables like onions, peppers, carrots, or zucchini into the meatloaf mixture for added flavor and nutrition. Not only does this enhance the flavor, but it also adds texture and visual appeal.
- Use Different Meats: Instead of using ground beef, experiment with other ground meats such as turkey, chicken, or pork. Each meat has a unique flavor profile and texture, which can create a diverse range of meatloaf experiences.
- Get Creative with Flavorings: Add herbs, spices, or sauces to create unique flavor profiles. For example, you could add Italian herbs like oregano and basil for a Mediterranean twist, Mexican spices like cumin and chili powder for a spicy kick, or a touch of hot sauce for some heat.
(Part 8) FAQs
Q1: What happens if I overcook the meatloaf?
Overcooking a meatloaf can result in a dry and tough texture. It's important to use a meat thermometer to ensure that it's cooked to the appropriate internal temperature. If you overcook the meatloaf, you can try to salvage it by adding a sauce or gravy to help moisten it. However, the best solution is to prevent overcooking in the first place by carefully monitoring the cooking time and using a meat thermometer.
Q2: Can I make the meatloaf ahead of time?
Yes, you can make the meatloaf ahead of time and store it in the refrigerator for up to 24 hours before baking. This is a great option if you want to save time on cooking day. Simply bake the meatloaf as directed and let it cool completely before storing in the refrigerator. When you're ready to serve, reheat the meatloaf in a preheated oven until it's heated through.
Q3: How do I reheat the meatloaf?
You can reheat the meatloaf in the oven at 350 degrees fahrenheit for about 15-20 minutes, or until heated through. You can also reheat it in the microwave on low power for a few minutes. However, the oven is the preferred method for reheating, as it helps to maintain the moisture and texture of the meatloaf.
Q4: What should I do if the top of the meatloaf is browning too quickly?
If the top of the meatloaf starts to brown too quickly, cover it loosely with aluminum foil to prevent over-browning. You can remove the foil during the last 15-20 minutes of cooking to allow the top to brown and crisp up. This will help to ensure that the meatloaf cooks evenly and achieves a beautiful golden-brown crust without becoming overly dry.
Q5: Can I freeze the meatloaf?
Yes, you can freeze the meatloaf for up to 3 months. To freeze the meatloaf, let it cool completely, wrap it tightly in plastic wrap, and then place it in a freezer-safe bag. To thaw the meatloaf, transfer it to the refrigerator overnight. You can then bake it as directed. Freezing the meatloaf is a great way to make ahead and save time on busy nights.
(Part 9) Conclusion
Mastering the art of cooking meatloaf at 400 degrees Fahrenheit is a rewarding journey. By understanding the science behind the process, considering the factors that influence cooking time, and following my tips and tricks, you'll be able to create delicious, juicy, and flavorful meatloaf every time.
So, go ahead, experiment with different variations, and enjoy the satisfaction of creating a classic dish that will impress your family and friends. Happy cooking!
Everyone is watching

Prime Rib Roast Cooking Time Chart: Per Pound Guide
Cooking TipsPrime rib roast. Just the name conjures images of lavish dinners, crackling fires, and hearty laughter. It’s ...

How Long to Bake Potatoes in the Oven (Perfect Every Time)
Cooking TipsBaked potatoes are a staple in my kitchen. They're incredibly versatile, delicious, and surprisingly easy to m...

Perfect Rice Every Time: The Ultimate Guide to Cooking Rice
Cooking TipsAs a self-proclaimed foodie, I've always been a bit obsessed with rice. It's the foundation of countless cuisi...

The Ultimate Guide to Cooking Asparagus: Tips, Techniques, and Recipes
Cooking TipsAsparagus. The mere mention of this spring delicacy conjures up images of vibrant green spears, crisp and burs...

Ultimate Guide to Cooking the Perfect Thanksgiving Turkey
Cooking TipsThanksgiving. Just the word conjures up images of overflowing tables laden with delicious food, the scent of r...
