Ah, corn on the cob. There's just something about the sweet, juicy kernels that makes summer feel complete. But getting that perfect texture, that delightful balance between tender and toothsome, is a little bit of an art. Overcook it, and you're left with mushy disappointment. Undercook it, and you'll be crunching on unyielding kernels. I've been there, and trust me, it's not a happy place.
Over the years, I've experimented with different methods – boiling, grilling, even roasting – trying to find the sweet spot of corn perfection. And I've learned a thing or two along the way. Today, I'm sharing my secrets to boiling corn on the cob, a classic method that, when done right, delivers pure summery bliss.
(Part 1) The Boiling Basics: Choosing Your Corn

The first step, and arguably the most important, is choosing the right corn. Fresh, in-season corn is the key to unlocking that true corn on the cob experience. It's packed with flavour, bursting with sweetness, and has a vibrant yellow hue that screams "summer." You can usually tell a good ear by its husk – it should be bright green and tightly wrapped around the cob. If you can, give the kernels a gentle squeeze. They should feel plump and firm, and if you're lucky, release a bit of that milky juice, a sign of juicy, flavour-packed goodness.
Shopping for perfect corn
If you're at the supermarket, keep an eye out for husks that are free from damage or wilting. And don't be afraid to get your hands a little dirty! Pick up a few ears and feel the kernels. They should have a slight give, indicating they're plump and juicy.
The Husk: A Protective Shield
Now, about that husk. It's not just a wrapper; it's a protective shield for the corn, keeping it moist and tender. So, when you're ready to cook, you'll need to remove the husk, but don't throw it away! We'll be using it in a clever little trick later on.
- Pull back the husk, leaving the silk attached. This silk, like a fine, silky hair, needs to be removed – it's not exactly the most palatable part of the corn.
- Gently remove the silk with your fingers or a small brush. You can use a damp paper towel or a kitchen brush to help remove any stubborn silk.
- Re-wrap the husk around the cob. This is where that clever trick comes in! Wrapping the husk back around helps to keep the corn moist and prevent it from drying out while cooking.
- Tie the husk closed with a bit of kitchen twine. This helps to keep the husk securely in place during cooking. You can also use a rubber band or a piece of string.
Of course, you can remove the husk completely if you prefer. Just make sure to wash the cob thoroughly under cold water before cooking.
Boiling Time: A Guide to Tenderness
Alright, now for the big question: how long to boil? The goal is to achieve that sweet spot – tender kernels that still have a delightful bite. You don't want mushy, overcooked corn! The boiling time will vary depending on the size and freshness of your corn, but a good starting point is 5-7 minutes.
Remember, cooking times are just guidelines. If you want a firmer bite, cook for less time. If you prefer a softer texture, cook for a little longer. And always, always check for doneness!
(Part 2) The Boiling Process: A Step-by-Step Guide

Time to get those pots bubbling! Here's my foolproof method for boiling corn on the cob:
1. The Water: Plenty and Plentiful
Fill a large pot with enough water to cover the corn by a few inches. This ensures even cooking and prevents overcrowding, which can lead to uneven results.
2. Salt: Enhancing the Flavour
Salt is the secret ingredient to bringing out the best in corn. It adds flavour, helps the corn cook evenly, and doesn't mask its natural sweetness. I usually add about a tablespoon of salt to the water, but feel free to adjust it to your taste. Just don't go overboard – a little salt goes a long way!
3. Reaching a Rolling Boil
Bring the water to a rolling boil over high heat. This ensures that the corn cooks quickly and evenly. You want the water bubbling vigorously when you add the corn.
4. Gently Adding the Corn
Carefully add the corn to the boiling water, making sure the water returns to a boil quickly. If it starts to simmer down, reduce the heat slightly.
5. The 5-7 Minute Countdown
Let the corn cook for 5-7 minutes, adjusting the time based on the size and freshness of the corn. If you prefer a firmer bite, cook for a shorter period. If you prefer a softer texture, cook for a longer period.
6. The doneness test: Fork and Juice
After 5-7 minutes, grab a fork and pierce a kernel. If it's tender and the juice runs clear, you're good to go! If the juice is milky or the kernel feels hard, cook for a few more minutes.
(Part 3) Cooling and Serving: A Feast for the Senses

Once the corn is cooked, immediately drain it in a colander. This prevents overcooking in the hot water. Then, rinse it with cold water – this stops the cooking process and ensures those beautiful kernels retain their vibrant yellow colour.
Now, the fun part – serving! Corn on the cob is incredibly versatile, and the toppings are endless. Here are a few ideas to get you started:
- Classic Butter and Salt: A timeless combination that never fails. Add a pat of butter, sprinkle with salt and pepper, and you've got a flavourful classic.
- Herby Delights: Chopped parsley, cilantro, or chives add a fresh, vibrant touch. You can even mix them together for a medley of herbaceous goodness.
- Spicy Kick: Add a dollop of sriracha or a few dashes of hot sauce for a fiery twist. If you're feeling adventurous, try a blend of hot sauce and lime juice for a zesty, spicy kick.
- cheesy goodness: Sprinkle on some feta or cheddar cheese for a creamy, tangy flavour. If you're feeling indulgent, try a crumbled blue cheese for a unique, salty flavour.
- Citrus Burst: A drizzle of lime or lemon juice adds a refreshing, tangy note that cuts through the sweetness of the corn.
- Spice It Up: A sprinkle of chili powder or paprika adds a touch of warmth and complexity to the flavour. You can even add a pinch of cumin or cayenne pepper for a more intense flavour.
Beyond the cob, corn is a versatile ingredient. Cut the kernels off the cob and add them to salads, soups, or even pasta dishes for a burst of sweetness and texture.
(Part 4) Storage and Leftovers: Making the Most of Your Corn
If you have leftover cooked corn on the cob, store it in the refrigerator for up to 3 days. Wrap it tightly in plastic wrap or store it in an airtight container. You can also freeze cooked corn for later use. Simply remove the husks, cut the kernels off the cob, and store them in a freezer-safe bag or container.
(Part 5) Tips for Perfect Corn: Mastering the Art
Here are a few tips to help you achieve corn on the cob perfection:
- Fresh is Best: Fresh, in-season corn is a game-changer. It's bursting with flavour and cooks up beautifully.
- Don't Overcook: Overcooked corn becomes mushy and loses its flavour. Keep a close eye on the cooking time and check for doneness regularly.
- Cold Water Rinse: Rinsing the corn with cold water stops the cooking process and helps maintain that vibrant yellow colour.
- Get Creative: Experiment with different toppings and seasonings. Corn on the cob is a blank canvas for culinary creativity.
(Part 6) Beyond Boiling: Exploring Other Cooking Methods
Boiling isn't the only way to enjoy corn on the cob. Here are a few other methods that will add variety to your summer meals:
Grilling: Smoky Sweetness
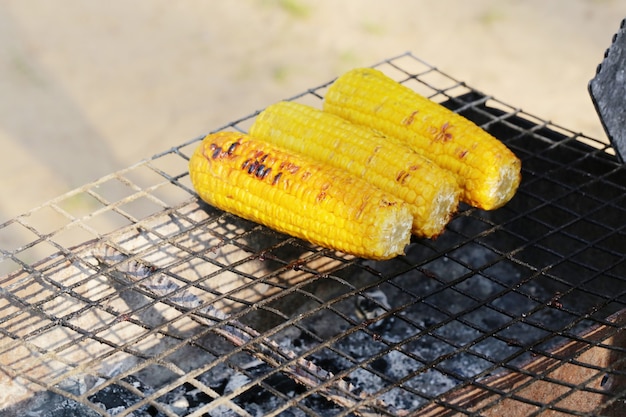
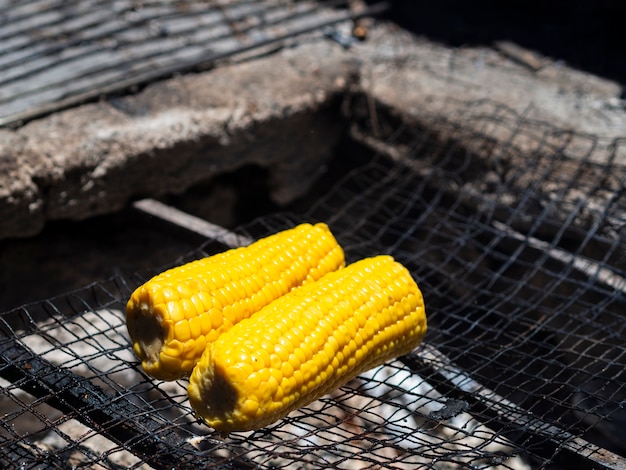
grilling corn on the cob imparts a smoky flavour that elevates the experience. Simply remove the husks and silks, then grill over medium heat for about 10 minutes, turning occasionally, until the kernels are tender and lightly charred.
Microwave: Quick and Easy
For a quick and easy option, try microwaving. Remove the husks and silks, wrap the corn in a damp paper towel, and microwave on high for 2-3 minutes, turning halfway through, until the kernels are tender.
Roasting: Oven-Baked Delight
roasting corn on the cob in the oven is another great way to cook it. Remove the husks and silks, toss the corn with a little olive oil and salt, and roast in a preheated oven at 400°F (200°C) for 15-20 minutes, until the kernels are tender and slightly browned.
(Part 7) The Science Behind Boiling: Unveiling the Process
Why is boiling so effective for cooking corn? It's all about heat transfer. The hot water transfers heat to the kernels, causing the starch molecules to gelatinize. This process makes the kernels soft and tender.
Boiling also helps to enhance the sweetness of the corn. When corn is heated, the starches break down into sugars, which is why boiled corn often tastes sweeter than raw corn.
(Part 8) How to Tell When Corn is Fresh: A Guide to Quality
Choosing fresh corn is crucial for the best flavour and texture. Here are a few key indicators:
- Green Husks: Look for bright green husks that are tightly wrapped around the cob. Avoid corn with wilted or damaged husks.
- Fresh Silk: The silk should be fresh and moist, not dry or brittle.
- Plump Kernels: Press on the kernels with your thumb. They should feel plump and firm, not soft or squishy.
(Part 9) Corn on the Cob: More Than Just a side dish
Corn on the cob is so much more than just a side dish. It's a versatile ingredient that can elevate many dishes. Here are a few ideas to get your creative juices flowing:
Salads: A Sweet and Crunchy Addition
Add a sweet and crunchy element to your salads by cutting the kernels off the cob and tossing them into your favourite salad recipe.
Soups: A Burst of Sweetness
Corn adds a delightful sweetness to soups, both creamy and chunky. Add corn kernels to vegetable soups, chowders, or even corn chowder.
pasta dishes: A Flavorful and Healthy Twist
Toss corn kernels into your pasta dishes for a flavourful and healthy addition. You can also use corn to make a creamy corn pasta sauce.
Tacos and Burritos: A Popular Topping
Corn on the cob is a popular topping for tacos and burritos. Simply grill or roast the corn, cut the kernels off the cob, and add them to your favourite fillings.
Grilled corn salad: A Simple and Delicious Recipe
This simple salad showcases the sweet flavour of grilled corn. Here's what you'll need:
- 4 ears of corn
- 1/4 cup olive oil
- 1/4 cup lime juice
- 1/4 cup chopped cilantro
- Salt and pepper to taste
Instructions:
- Remove the husks and silks from the corn.
- Grill the corn over medium heat for about 10 minutes, turning occasionally, until the kernels are tender and lightly charred.
- Let the corn cool slightly, then cut the kernels off the cob.
- In a large bowl, whisk together the olive oil, lime juice, and cilantro.
- Add the corn kernels to the bowl and toss to coat.
- Season with salt and pepper to taste.
- Serve immediately or refrigerate for later.
(Part 10) FAQs: Your Burning Questions Answered
Let's address those common questions about boiling corn on the cob:
1. How long should I boil corn on the cob?
The boiling time will vary depending on the size and freshness of the corn. A good starting point is 5-7 minutes. To test for doneness, pierce a kernel with a fork. If it's tender and the juice runs clear, you're good to go. If the juice is milky or the kernel feels hard, cook for a few more minutes.
2. Should I add salt to the boiling water?
Yes, adding salt to the boiling water enhances the flavour of the corn and helps it cook more evenly. Add about a tablespoon of salt to the water, but feel free to adjust this to your taste.
3. Can I boil corn in the husk?
Yes, you can boil corn in the husk. This will help to keep the kernels moist and tender. Just be sure to remove the silk before boiling.
4. What can I do with leftover corn on the cob?
Leftover corn on the cob can be stored in the refrigerator for up to 3 days. You can also freeze it for later use. Just remove the husks, cut the kernels off the cob, and store them in a freezer-safe bag or container.
5. What are some other ways to cook corn on the cob?
Boiling isn't the only way to cook corn on the cob. Other methods include grilling, microwaving, and roasting. Each method has its own unique flavour and texture.
Everyone is watching

Prime Rib Roast Cooking Time Chart: Per Pound Guide
Cooking TipsPrime rib roast. Just the name conjures images of lavish dinners, crackling fires, and hearty laughter. It’s ...

How Long to Bake Potatoes in the Oven (Perfect Every Time)
Cooking TipsBaked potatoes are a staple in my kitchen. They're incredibly versatile, delicious, and surprisingly easy to m...

Perfect Rice Every Time: The Ultimate Guide to Cooking Rice
Cooking TipsAs a self-proclaimed foodie, I've always been a bit obsessed with rice. It's the foundation of countless cuisi...

The Ultimate Guide to Cooking Asparagus: Tips, Techniques, and Recipes
Cooking TipsAsparagus. The mere mention of this spring delicacy conjures up images of vibrant green spears, crisp and burs...

Ultimate Guide to Cooking the Perfect Thanksgiving Turkey
Cooking TipsThanksgiving. Just the word conjures up images of overflowing tables laden with delicious food, the scent of r...
