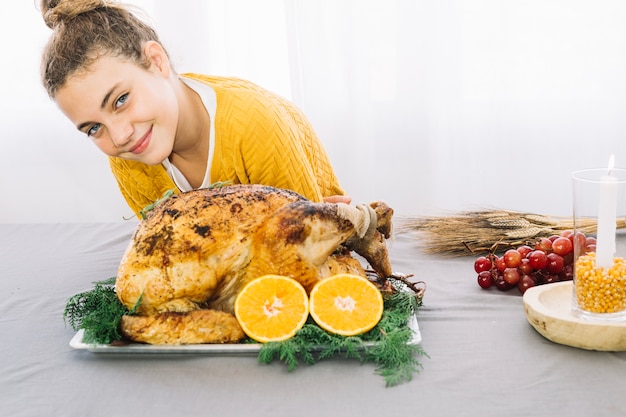
There's nothing quite like the smell of a perfectly roasted chicken wafting through the house, is there? The crispy skin, the juicy meat, the irresistible aroma… it’s a meal that always brings warmth and comfort. But let's be honest, achieving that perfect roast can be a bit of a dance. I've definitely had my fair share of dry, overcooked chickens, and even a few that were a little too pink in the middle! But over time, I’ve learned a thing or two about making consistently delicious roasted chicken. And in this guide, I'm going to share all my tried-and-true methods, along with some essential tips and tricks, so you can confidently create a masterpiece every time.
(Part 1) Setting the Stage: Choosing the Right Chicken and Prep Work
Before we get into the specifics of oven times and temperatures, let's set ourselves up for success. It all starts with selecting the right chicken and prepping it properly. Think of it as laying the foundation for a beautiful roast.
Choosing Your Chicken: A Matter of Taste
Firstly, let’s talk about the star of the show – the chicken! I always go for a whole chicken, and I usually prefer free-range and organic, because the flavour tends to be richer. But don’t worry, if you’re on a budget, those supermarket chickens are perfectly fine. Just make sure you choose one that’s not too small, a 1.5kg (3.3lb) chicken is a good place to start. You want enough meat to feed everyone, without making the cooking time feel like an eternity.
Prep Work: The Key to Tender and Crispy
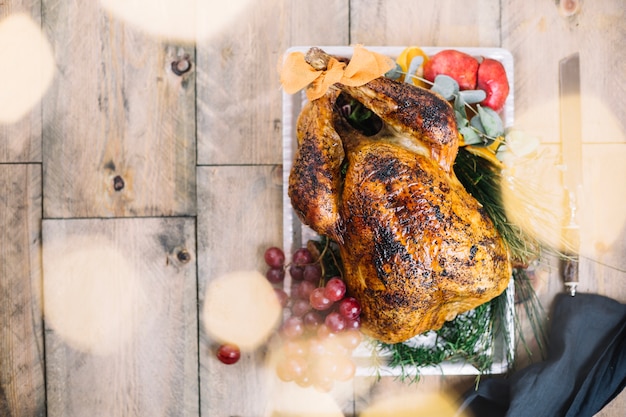
Now, let’s get that chicken ready for its oven transformation. The first step is to pat it dry with kitchen paper. This will help the skin get nice and crispy. Then, it’s time to season. I like to keep things simple with salt, pepper, and a generous helping of fresh herbs like rosemary, thyme, or sage. But you can get creative and add your favourite spices too! Here’s a little tip I learned from my grandma – rub the chicken with a little olive oil. This helps to lock in moisture and prevent the skin from drying out.
Next, you can stuff the cavity with aromatics like lemon wedges, garlic cloves, or a few sprigs of parsley. It really adds a delicious depth of flavour. If you're not a fan of stuffing, just leave it empty. No judgment here! Finally, tie the chicken’s legs together with kitchen twine. This helps it keep its shape and allows for more even cooking.
(Part 2) Oven Time: Deciphering the Chicken's Clock
Now that our chicken is ready, let’s talk about the most crucial element – the oven cooking time. The time you need will vary depending on the size of the chicken and the level of doneness you prefer. But don’t worry, I've got a handy guide for you!
Cooking Times: A General Guide to Golden Perfection
| Chicken Weight | Cooking Time |
|---|---|
| 1-1.5kg (2.2-3.3lb) | 1 hour 15 minutes - 1 hour 30 minutes |
| 1.5-2kg (3.3-4.4lb) | 1 hour 30 minutes - 1 hour 45 minutes |
| 2-2.5kg (4.4-5.5lb) | 1 hour 45 minutes - 2 hours |
Keep in mind, these are just rough estimates. To ensure your chicken is cooked through, always check its internal temperature. The safest internal temperature is 74°C (165°F). You can use a meat thermometer for this, but if you don’t have one, you can check by inserting a skewer into the thickest part of the thigh. If the juices run clear, it’s ready. If they’re still pink, it needs a little more time in the oven.
(Part 3) Oven Temperature: Setting the Right Heat for Success
While the cooking time is essential, so is the oven temperature. You want to ensure your oven is hot enough to create that crispy skin and cook the chicken evenly. Ideally, you should roast your chicken at a high temperature, around 200°C (400°F). This helps the skin brown beautifully and the meat to cook quickly. But here’s a little secret – I like to finish my roast chicken at a slightly lower temperature, around 180°C (350°F). This helps to prevent the chicken from drying out and ensures a perfectly tender result.
(Part 4) Resting Time: A Moment for Flavor to Bloom
Once your chicken has reached its target internal temperature, it’s important to let it rest for 10-15 minutes before carving. This gives the juices a chance to redistribute, making the meat even more tender and juicy. Cover the chicken loosely with foil to keep it warm while it rests.
(Part 5) Enhancing Flavor: Beyond the Basics
Now, let's talk about the exciting part – adding flavour to your roast chicken! There are endless possibilities here, so feel free to experiment and discover what you love most. Here are a few of my favourite techniques to create truly memorable roasts.
The Magic of Herbs and Spices: A Flavor Symphony
As I mentioned earlier, herbs and spices are my go-to for creating a flavourful roast. I love using a blend of fresh rosemary, thyme, and sage – it's a classic combination that always delivers. You can also use dried herbs, but fresh ones tend to have a more intense flavour. If you’re feeling adventurous, try adding a pinch of smoked paprika, a touch of cayenne pepper, or even a sprinkle of ginger for a warm kick.
Citrus Burst: A Touch of Brightness
Citrus fruits are another way to add a bright and tangy element to your roast. I love stuffing the cavity with lemon wedges, or even rubbing the skin with a little lemon zest. Oranges and limes can also add a delicious flavour twist. A little squeeze of juice at the end can also create a beautiful glaze.
Garlic Elixir: The Aroma of Comfort
Garlic is a staple in my kitchen, and it's a wonderful addition to any roast chicken. You can add a few cloves to the cavity, or create a garlic butter by mashing garlic with softened butter and spreading it under the skin of the chicken. The aroma of garlic fills the entire house, creating a truly comforting atmosphere.
(Part 6) Techniques for Exceptional Results: Taking Roasting to the Next Level
There are some additional techniques you can use to elevate your roast chicken game, adding even more flavour and texture to your masterpiece.
Basting: The Key to Golden Perfection
Basting is a fantastic way to keep the skin moist and achieve that beautiful golden brown colour. Simply spoon some of the chicken juices or melted butter over the bird every 30 minutes during cooking. This will help create a delicious glaze and ensure your chicken cooks evenly.
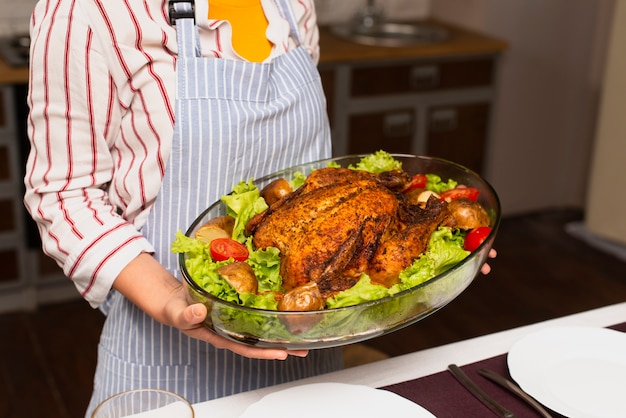
Roasting with Vegetables: A Symphony of Flavour
Roasting your chicken alongside vegetables is a great way to create a complete meal and add a delicious depth of flavour. I love roasting potatoes, carrots, onions, and garlic with my chicken. The vegetables soak up the juices and become incredibly tender and flavorful. It's a perfect match for a delicious roast.
The Upside-Down Method: A Crispy Skin Secret
For truly crispy skin, try roasting your chicken upside down for the first 30 minutes of cooking. This allows the fat to render out and helps the skin become perfectly crisp. Then, simply flip the chicken over and continue roasting until it’s done. You’ll be amazed by the difference!
(Part 7) Troubleshooting: Navigating Common Challenges
Let's be honest, sometimes things don’t go according to plan, even when we have the best intentions. But don’t worry, I've got you covered! Here are some common roast chicken dilemmas and how to fix them.
Dry Chicken: The Perils of Overcooking
If your chicken ends up a little dry, it's likely because you've overcooked it. To prevent this, always check the internal temperature with a meat thermometer, and take it out of the oven as soon as it reaches 74°C (165°F). You can also try basting the chicken with butter or chicken juices throughout the cooking process to keep it moist.
Raw Chicken: The Risks of Undercooking
If your chicken is raw in the middle, it's crucial to cook it for longer. Make sure you use a meat thermometer to check the internal temperature. If it’s not hot enough, put it back in the oven and cook for another 15-20 minutes. It’s always better to err on the side of caution and ensure the chicken is cooked through.
Uneven Browning: The Challenge of Consistency
If your chicken is browning unevenly, it’s likely because the heat in your oven isn’t distributed evenly. Try rotating the chicken halfway through cooking to ensure all sides brown evenly. You can also try using a roasting rack to allow air to circulate around the chicken. This will help to cook it more evenly and create a beautifully golden brown finish.
(Part 8) FAQs: Your Roast Chicken Questions Answered
I’ve covered a lot of ground already, but I know you might have some more questions. Here are some common FAQs about roast chicken cooking times and techniques.
1. Can I roast a chicken from frozen?
It's not recommended to roast a chicken from frozen. It’s best to thaw it completely in the fridge before roasting. You can also thaw it quickly by placing it in a bowl of cold water, but be sure to change the water every 30 minutes.
2. How long should I roast a chicken for at a lower temperature?
If you choose to roast your chicken at a lower temperature, around 180°C (350°F), you’ll need to add an extra 15-20 minutes to the cooking time. Remember to check the internal temperature to ensure it’s cooked through. A lower temperature can create a more tender and succulent result, but it will take a little longer.
3. Can I use a rotisserie to cook my chicken?
Absolutely! Rotisserie chickens are delicious and cook beautifully. Just make sure you follow the instructions for your rotisserie. Ensure the chicken is securely attached and the rotisserie is set to the correct temperature. You’ll be rewarded with a deliciously juicy and evenly cooked chicken.
4. What can I do with leftover roast chicken?
Leftover roast chicken is a culinary treasure, and there are endless possibilities for using it! You can make sandwiches, salads, soups, or even a comforting chicken pot pie. Get creative and let your imagination run wild with the delicious possibilities.
5. How do I know if my chicken is cooked through?
The best way to check if your chicken is cooked through is to use a meat thermometer. The internal temperature should reach 74°C (165°F). You can also check by inserting a skewer into the thickest part of the thigh. If the juices run clear, it’s ready. If they’re still pink, it needs a little more time in the oven.
(Part 9) Embrace the Adventure: Your culinary journey Begins
There you have it – a comprehensive guide to perfect roast chicken cooking times. I hope this has demystified the process and empowered you to confidently create mouth-watering roasts every time. Remember, practice makes perfect, and don’t be afraid to experiment with different flavours and techniques. So grab your favourite chicken, gather your ingredients, and get ready for a culinary adventure that will delight your senses and fill your home with delicious aromas. Happy roasting!
Everyone is watching

Prime Rib Roast Cooking Time Chart: Per Pound Guide
Cooking TipsPrime rib roast. Just the name conjures images of lavish dinners, crackling fires, and hearty laughter. It’s ...

How Long to Bake Potatoes in the Oven (Perfect Every Time)
Cooking TipsBaked potatoes are a staple in my kitchen. They're incredibly versatile, delicious, and surprisingly easy to m...

Perfect Rice Every Time: The Ultimate Guide to Cooking Rice
Cooking TipsAs a self-proclaimed foodie, I've always been a bit obsessed with rice. It's the foundation of countless cuisi...

The Ultimate Guide to Cooking Asparagus: Tips, Techniques, and Recipes
Cooking TipsAsparagus. The mere mention of this spring delicacy conjures up images of vibrant green spears, crisp and burs...

Ultimate Guide to Cooking the Perfect Thanksgiving Turkey
Cooking TipsThanksgiving. Just the word conjures up images of overflowing tables laden with delicious food, the scent of r...