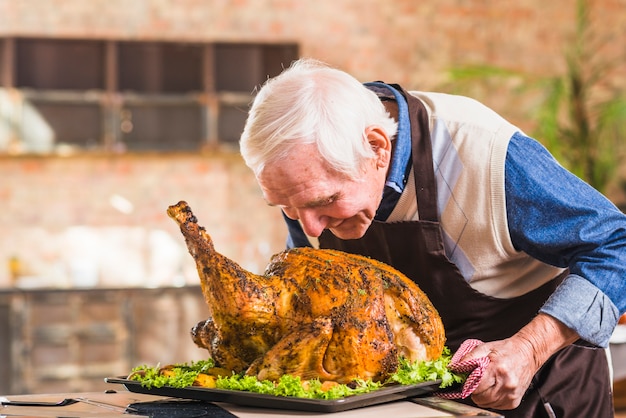
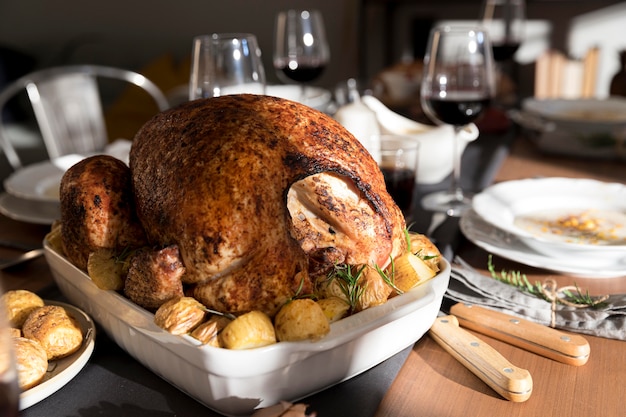
You've got a 20lb turkey, a real whopper! The centerpiece of your Christmas feast, a majestic roast turkey glistening with fat and dripping with gravy. But with a bird this size, cooking time can feel like a daunting task. You don't want to undercook it, but you also don't want to end up with a dry, leathery bird.
I've been there. I've wrestled with my fair share of turkey-related anxieties, especially with these big birds. But I've learned a thing or two over the years, so grab a cuppa, settle in, and let's delve into the world of roasting a 20lb turkey together. This journey is all about deliciousness!
Part 1: The Big Bird Basics

Before we dive into the specifics of timing, let's establish the fundamental rules of the game. These are the things you need to know to successfully roast a turkey, especially a whopper like this.
A. Temperature is King
The most important thing to remember is that consistent temperature is key. I'm talking about the oven temperature, not the turkey's internal temperature! You want your oven set to a steady 325°F (165°C). This ensures even cooking and helps to prevent the turkey from drying out.
Trust me, you might be tempted to crank up the heat to speed things up, but resist the urge! Remember, we're aiming for a juicy turkey, not a burnt one. So, stick with that 325°F (165°C).
B. The Importance of Internal Temperature
Now, let's talk about that internal temperature. This is what tells us if the turkey is fully cooked. We need to make sure the internal temperature reaches 165°F (74°C) in the thickest part of the thigh. This ensures that any bacteria are killed off, and we're good to go.
However, you don't want to overcook it. A turkey cooked to a higher temperature will become dry and tough. So, keep an eye on that 165°F (74°C) and don't go any higher.
C. Resting is Essential
This might seem like a simple thing, but resting the turkey after cooking is absolutely crucial. It allows the juices to redistribute throughout the meat, leading to a juicier, more flavorful turkey.
How long should you let it rest? Aim for at least 30 minutes, and 45 minutes is even better if you have the time. Cover the turkey loosely with foil to keep it warm while it rests.
Part 2: Timing is Everything

Alright, now we're getting into the nitty-gritty: the cooking time. This is where things get a little tricky with a 20lb turkey.
The general rule of thumb is to allow about 15 minutes per pound of turkey, but this is a very rough estimate. You need to take into account the size and shape of the bird, your oven, and even the stuffing if you're using it.
A. turkey weight: A Major Factor
The size of your turkey is a major factor in determining the cooking time. The bigger the bird, the longer it will take to cook. For a 20lb turkey, you can expect to roast it for anywhere between 4-5 hours. That's a long time, so it's important to plan accordingly.
B. Stuffing: Adding Complexity
Now, stuffing adds another layer of complexity. If you're stuffing your turkey, you'll need to factor in the extra time it takes to cook the stuffing. The rule of thumb for stuffing is to allow 30 minutes of cooking time per pound.
However, I'm a bit old-fashioned when it comes to stuffing. I believe that stuffing should be cooked separately, not in the turkey. It helps prevent undercooked stuffing and ensures that the turkey cooks evenly.
C. Oven Calibration: A Consideration
Don't forget about your oven! All ovens are different, and some might run hotter or colder than others. You might need to adjust the cooking time based on your oven's quirks. If you're unsure, it's always best to check the temperature with a meat thermometer.
Part 3: The Turkey Check-Up: How to Know When it's Done

So, you've been patiently roasting your turkey for what feels like an eternity. Now you're wondering: is it done yet? You want to make sure that turkey is cooked to perfection, juicy and tender.
A. Visual Clues: A First Look
First, give your turkey a visual inspection. The skin should be golden brown and the juices should run clear when you pierce it with a fork. If the juices are still pink or cloudy, it's not done yet.
B. The Meat Thermometer: A Must-Have
Don't rely solely on visuals. The meat thermometer is your best friend! It's the most accurate way to determine if your turkey is cooked through.
Here's how to use it: insert the thermometer into the thickest part of the thigh, making sure it doesn't touch any bones. If the thermometer reads 165°F (74°C), your turkey is ready!
C. The Leg Test: A Traditional Method
For a more traditional approach, you can do the leg test. Wiggle the turkey's leg. If it moves freely, the turkey is cooked. If it feels tight, it needs more time.
Part 4: The Roasting Ritual: Getting the Bird Ready
You've got your 20lb turkey, and you're ready to start the roasting process. But before you toss it in the oven, there are a few things you need to do.
A. Brining: A Controversial Choice
Now, brining is a bit of a controversial topic. Some people swear by it, while others think it's unnecessary. Personally, I like to brine my turkeys, especially the big ones.
Brining involves soaking the turkey in a saltwater solution for several hours or overnight. This helps to keep the turkey moist and tender. You can use a simple brine made with salt, water, and herbs, or you can get fancy with citrus, spices, and even wine.
Here's a basic brine recipe:
| Ingredient | Amount |
|---|---|
| Water | 1 gallon |
| Salt | 1 cup |
| Sugar | 1/2 cup |
| Herbs (such as thyme, rosemary, bay leaves) | To taste |
To brine your turkey:
- Combine the brine ingredients in a large container, making sure the turkey can be fully submerged.
- Add the turkey to the brine solution and refrigerate for 12-24 hours.
- Remove the turkey from the brine and pat it dry before roasting.
B. The perfect roast: Prepping the Bird
First things first, you need to pat the turkey dry with paper towels. This helps the skin crisp up during roasting. Next, you want to season the turkey liberally with salt, pepper, and any other herbs or spices you like.
Then, there’s the butter thing. I like to rub the turkey with butter, but it's not strictly necessary. It adds a nice flavor and helps to keep the turkey moist.
C. The Stuffing Debate: In or Out?
This is another classic turkey dilemma. Do you stuff the turkey or not? As I mentioned earlier, I prefer to cook my stuffing separately. But if you're determined to stuff your turkey, be sure to cook it thoroughly to prevent food poisoning.
Here are some tips for stuffing your turkey:
- Use a stuffing recipe that calls for cooked ingredients, such as cooked vegetables, grains, or poultry.
- Stuff the turkey loosely, leaving space for the stuffing to expand during cooking.
- Cook the turkey to an internal temperature of 165°F (74°C) in the thickest part of the thigh and the center of the stuffing.
Part 5: The Roasting Journey: Getting it in the Oven
Now, you've got your prepped turkey ready to go. It's time to get it in the oven and start the roasting journey.
A. The Rack Position: A Matter of Height
You want to make sure your turkey is positioned correctly on the roasting rack. This allows air to circulate around the turkey, ensuring even cooking.
Place the roasting rack in the middle of the oven. This ensures that the heat is distributed evenly around the turkey.
B. The Basting Ritual: A Little TLC
Now, here comes the fun part: basting. Basting your turkey helps keep it moist and adds flavor.
Basting involves spooning the drippings from the bottom of the roasting pan over the turkey every 30-45 minutes. You can use turkey stock, melted butter, or a combination of both. It's a bit of a ritual, and it can be really rewarding.
C. The Timing Game: Keep an Eye on the Clock
Remember that 4-5 hours we talked about earlier? That’s just an estimate, and your turkey might need more or less time.
Keep an eye on the turkey and check the internal temperature every hour or so. You want to make sure it’s cooking evenly and reaching that 165°F (74°C) mark.
Part 6: The Big Reveal: Getting it Out of the Oven
So, your turkey has been roasting for hours, and the aroma filling your house is making you drool. You’re finally at the point where it’s time to take it out of the oven.
A. The Resting Stage: Patience is Key
As we discussed earlier, resting is essential. Allow the turkey to rest for at least 30 minutes, and preferably 45 minutes, before carving.
Cover the turkey loosely with foil to keep it warm while it rests.
B. The Carving Challenge: A Little Skill Required
Now comes the moment you’ve been waiting for: carving the turkey. Now, carving a 20lb turkey is no mean feat.
First, remove the legs and thighs from the turkey. Then, carve the breast meat into slices. Be sure to carve against the grain, which will make the meat more tender.
Here's a step-by-step guide to carving a turkey:
- Remove the turkey from the roasting pan and place it on a cutting board.
- Remove the legs and thighs by cutting through the joint between the leg and the body. Use a sharp carving knife and a fork to help stabilize the turkey.
- Remove the wings by cutting through the joint between the wing and the body.
- Carve the breast meat into thin slices by cutting against the grain. Use a fork to help stabilize the breast meat while you carve.
- Place the carved turkey on a serving platter and serve with your favorite side dishes.
C. The Final Touches: Dress it Up
Once you’ve carved your turkey, it’s time to dress it up. Serve it on a platter with your favourite side dishes.
Don’t forget the gravy! You can make gravy from the drippings in the roasting pan. It’s a simple recipe, and it adds so much flavour to the turkey.
Part 7: The Leftover Feast: Making the Most of Your Bird
You’ve had your big feast, and you’re likely left with a whole lot of turkey. But don’t despair, leftovers are a wonderful thing.
A. The Leftover Magic: Endless Possibilities
There are so many things you can do with leftover turkey. You can make turkey sandwiches, turkey soup, turkey salad, or even turkey pot pie.
Get creative! The possibilities are endless. Here are a few ideas:
- Turkey sandwiches on crusty bread with mayonnaise, lettuce, tomato, and a dollop of cranberry sauce.
- Turkey soup with vegetables, broth, and herbs.
- Turkey salad with celery, onion, mayonnaise, and herbs.
- Turkey pot pie with a flaky crust.
B. The Freezing Option: Storing for Later
If you’re not going to eat all of the leftover turkey right away, you can freeze it. It will last in the freezer for up to 2 months.
When you’re ready to eat it, thaw it in the refrigerator overnight.
C. The Leftover Guilt: A Thing of the Past
Don’t feel guilty about having leftover turkey. It’s a great excuse to have another delicious meal or two.
Part 8: FAQs: Your Turkey Questions Answered
Now, I know you might have a few questions lingering about roasting a 20lb turkey. So, let’s address them!
1. How long does it take to roast a 20lb turkey?
A 20lb turkey will take approximately 4-5 hours to roast at 325°F (165°C). But remember, it's best to use a meat thermometer to ensure that it's cooked to the safe internal temperature of 165°F (74°C).
2. Can I cook a turkey in a slow cooker?
While you can technically cook a turkey in a slow cooker, it's not recommended for a large bird like a 20lb turkey. The slow cooker might not be big enough, and the turkey could end up unevenly cooked. It's best to stick to roasting in the oven for a bird this size.
3. How do I know when a turkey is done without a thermometer?
While a meat thermometer is the most reliable method, you can also use visual cues and the leg test. The skin should be golden brown, and the juices should run clear when you pierce it with a fork. The leg should also move freely when you wiggle it. However, relying on these methods alone can be unreliable, so it's best to use a thermometer to ensure safety.
4. How can I prevent my turkey from drying out?
Brining your turkey can help to keep it moist, as can basting it regularly during roasting. You can also use a turkey roasting bag, which helps to trap moisture.
5. What if my turkey is undercooked?
If your turkey is undercooked, you can roast it for longer. Check the internal temperature with a meat thermometer to ensure that it reaches 165°F (74°C). If you're unsure, it's best to err on the side of caution and cook it a bit longer.
Part 9: The Verdict: A Culinary Triumph
And there you have it! Roasting a 20lb turkey might seem daunting, but it’s really not that complicated. Just follow these tips, and you’ll be rewarded with a delicious and impressive centerpiece for your table.
Remember, it's all about planning, patience, and a little bit of love. So, go on, embrace the challenge, and get ready to impress your friends and family with your culinary prowess!
Everyone is watching

How to Cook Frozen Lobster Tails Perfectly: A Step-by-Step Guide
RecipesLobster. Just the word conjures up images of lavish meals, special occasions, and a taste of luxury. But let's...

Pigs in a Blanket Cooking Time: How Long to Bake for Perfect Results
RecipesAh, pigs in a blanket. Just the name conjures up images of those delightful little parcels of crispy pastry en...

Pork Fillet Cooking Time: How Long to Cook It Perfectly
RecipesPork fillet, or tenderloin as it's sometimes called, is a real favourite in our house. It's so versatile, and...

The Ultimate Guide to Cooking Sweet Potatoes: From Roasting to Mashing
RecipesSweet potatoes. Just the name conjures up images of warm, comforting dishes, bursts of vibrant color, and a to...

The Ultimate Guide to Tender, Juicy Pulled Pork
RecipesRight, let's talk pulled pork. It's one of those dishes that just screams "comfort food," doesn't it? I mean...
