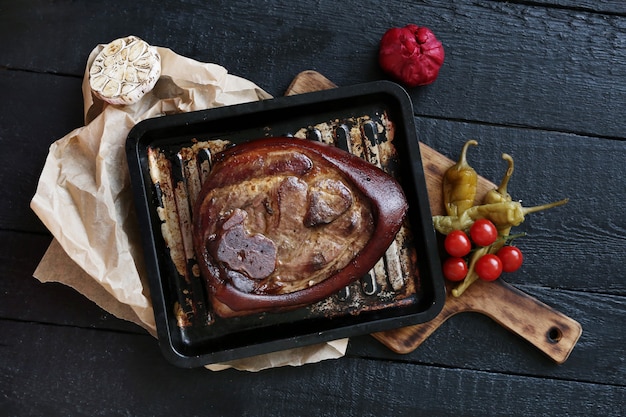
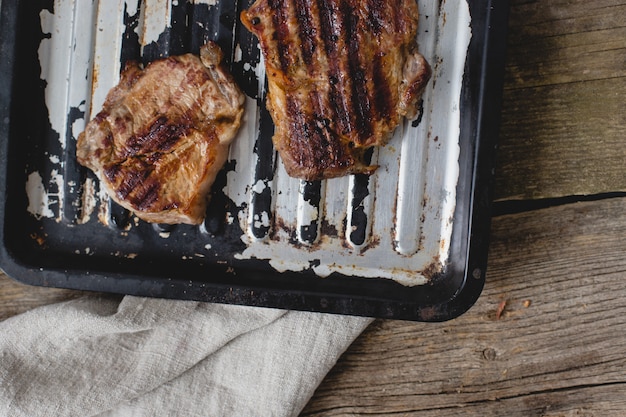
Let’s talk brisket. Not those thin, dry slices you find at the deli counter, but a whole brisket, cooked low and slow until it melts in your mouth. It's a dish steeped in history, a crowd-pleaser that always brings people together. Now, I know making brisket can seem daunting, but trust me, it’s not as complicated as it looks. I've been making it for years, and I've learned a thing or two along the way. There have been dry, tough brisket disasters, of course, but also truly amazing successes. So I'm sharing everything I've learned to help you achieve that perfect, tender, juicy brisket every time. Grab a cuppa, settle in, and let’s get cooking!
(Part 1) Choosing the Right Brisket

First, you need the right brisket. There are two main types: the flat and the point. The flat is leaner, with a more even texture. The point is fattier and marbled, giving it a more succulent flavor. Both are delicious, but for a beginner, I recommend the point. It’s more forgiving when it comes to cooking time and temperature, and the fat keeps it moist.
What to look for when choosing a brisket:
- Color: A good brisket should have a rich, deep red color. Avoid anything pale or grayish.
- Marbling: The fat should be evenly distributed throughout the meat. Look for a good amount of marbling, which adds flavor and keeps the brisket juicy.
- Texture: The meat should feel firm and springy when you touch it. Don’t choose a brisket that’s mushy or slimy.
- Size: Choose a brisket big enough to feed your crew. A 3-5 pound brisket typically serves 6-8 people.
(Part 2) Preparing the Brisket

Once you’ve got your brisket, it’s time to prep it for cooking. This is the hands-on part, but don’t worry, it’s not overly complicated. First, you need to trim the brisket, which means removing excess fat, particularly the thick layer on top. You want to keep some fat, about a quarter inch, as it helps keep the meat moist during cooking.
Here’s how to trim a brisket:
- Remove the thick layer of fat: Use a sharp knife to carefully trim the thick layer of fat on the top of the brisket. You want to remove the excess, but leave a good layer behind.
- Trim the edges: Trim any tough, sinewy edges from the brisket. These won’t cook as well and can affect the overall texture.
- Leave some fat: Aim for a layer of fat that’s about a quarter inch thick. It will help keep the brisket moist and flavorful while cooking.
After trimming, give your brisket a good wash and pat it dry. Now, you’re ready to season it. There are tons of brisket rubs out there, from simple salt and pepper to more complex blends with paprika, garlic powder, onion powder, and chili powder. I prefer keeping it simple with a basic salt, pepper, and garlic powder blend. Remember, less is more with seasoning, and you can always add more later if needed.
(Part 3) The Oven-Baked Brisket Method

Now, we’re getting to the good stuff. Oven-baked brisket is all about slow, low cooking. This is what gives you that incredible tenderness and melt-in-your-mouth texture. You’ll need a dutch oven or roasting pan, and a good meat thermometer is essential to ensure the brisket is cooked to perfection.
Here’s the step-by-step method:
- Preheat your oven to 325°F (160°C).
- Place the brisket in the Dutch oven or roasting pan, fat side up. This is crucial because the fat will render as it cooks, baste the meat, and help keep it moist.
- Add a cup of water or beef broth to the bottom of the pan. This creates steam and prevents the brisket from drying out.
- Cover the pot with a lid or aluminum foil. This traps the moisture and steam, which is essential for tenderizing the brisket.
- Cook for 4-6 hours, or until the brisket reaches an internal temperature of 190-200°F (88-93°C). This will take a while, so be patient. The longer you cook it, the more tender it will be.
- After 4 hours, check the brisket. If it’s not tender enough, continue cooking for another hour or two.
Once the brisket reaches the desired temperature, remove it from the oven and let it rest for at least an hour before slicing. This allows the juices to redistribute and creates a more tender, flavorful brisket. You can use this time to prepare some sides, or just sit down and relax, you deserve a break after all that!
(Part 4) The "Wrap and Rest" Technique
Here’s a little trick that can elevate your brisket game: the "wrap and rest" method. After it’s been cooking for a while, you wrap the brisket in foil. This creates a moist, steamy environment that helps further tenderize the meat and intensify the flavor.
Here’s how to do it:
- After 4 hours of cooking, remove the brisket from the oven and carefully remove the lid or foil. Check the tenderness of the brisket.
- If the brisket is still a bit tough, wrap it tightly in aluminum foil. Seal the edges well to prevent steam from escaping.
- Return the brisket to the oven and cook for another 1-2 hours. The foil creates a steamy environment that helps break down connective tissues and makes the brisket even more tender.
Before wrapping, you can add a bit of liquid, like broth or apple cider, to the foil packet. This helps keep the brisket moist and adds a touch of extra flavor. It’s best to check the brisket every hour or so to make sure it’s not getting too dry. If it looks dry, add a little more liquid to the foil packet.
(Part 5) Mastering the Meat Thermometer
Let's talk about something crucial: the meat thermometer. It's the only way to know for sure if your brisket is cooked through to that tender, juicy perfection. I know, using a thermometer can seem intimidating, but I promise it’s easier than you think. And it will save you from ending up with dry, overcooked brisket.
Here are a few tips for using a meat thermometer:
- Insert the thermometer into the thickest part of the brisket. Avoid any bones or fat.
- Leave the thermometer in for a few seconds to get an accurate reading.
- Aim for an internal temperature of 190-200°F (88-93°C). This is the ideal temperature for a tender and juicy brisket.
(Part 6) Making the Most of Your Leftovers
Alright, so you’ve got this amazing brisket, you’ve devoured as much as you can, and you’re left with a whole lot of leftover brisket. Don’t fret! This is where the real magic happens. Leftover brisket is a blank canvas for all sorts of delicious recipes.
Here are a few ideas for using up your leftover brisket:
- Brisket Sandwiches: This is a classic! Slice the brisket thin, pile it on a toasted bun, and add your favorite toppings like barbecue sauce, coleslaw, pickles, or onion rings.
- Brisket Hash: Dice up the leftover brisket, fry it with some onions and potatoes, and season with salt and pepper.
- Brisket Chili: Shred the brisket and add it to your favorite chili recipe. It adds a wonderful richness and depth of flavor.
- Brisket Quesadillas: This is a quick and easy way to use up leftover brisket. Simply shred the brisket, add it to a tortilla with cheese and your favorite toppings, and grill until golden brown.
- Brisket Soup: Shred the brisket and add it to a hearty soup, like a beef stew or lentil soup.
- Brisket Tacos: Shred the brisket and use it as a filling for tacos, adding your favorite toppings like salsa, guacamole, and sour cream.
- Brisket Pizza: Use the shredded brisket as a topping for a pizza. It adds a unique savory flavor and pairs well with a variety of toppings.
You can freeze leftover brisket for later use. Simply wrap it tightly in plastic wrap and aluminum foil, and store it in the freezer for up to 3 months. Thaw it in the refrigerator overnight and use it in any of your favorite recipes.
(Part 7) Serving Your Masterpiece
Now, we're finally at the moment of truth: serving your masterpiece. You’ve put in the time, the effort, the love, and now it’s time to enjoy the fruits of your labor. First, you'll need to slice the brisket. I like to use a sharp knife and slice the brisket thinly against the grain. This makes the meat more tender and easier to chew.
Here are a few tips for slicing brisket:
- Let the brisket rest for at least an hour before slicing. This allows the juices to redistribute and makes for a more tender brisket.
- Use a sharp knife and slice the brisket thinly against the grain. This makes the meat more tender and easier to chew.
- Don’t worry if some of the fat separates from the meat. This is normal and will happen as the brisket cools.
And now, the big reveal! I like to serve my brisket on a platter, with some of the cooking juices. I’ll add some sides, like mashed potatoes, green beans, or coleslaw. But really, the possibilities are endless. Serve it with your favorite accompaniments, and enjoy the fruits of your labor.
(Part 8) FAQs
Let's address some of the questions that often pop up when it comes to making brisket.
1. What's the best way to store leftover brisket?
Store leftover brisket in an airtight container in the refrigerator for up to 4 days. You can also freeze it for up to 3 months. Just wrap it tightly in plastic wrap and aluminum foil before freezing.
2. Can I use a different type of meat for this recipe?
While brisket is the classic choice, you can also use other cuts of beef, like chuck roast or shoulder roast. Just keep in mind that the cooking time may vary depending on the cut of meat.
3. How do I know if the brisket is cooked to the right temperature?
The best way to know if your brisket is cooked to the right temperature is to use a meat thermometer. Aim for an internal temperature of 190-200°F (88-93°C). This ensures the brisket is tender and juicy.
4. What if my brisket is still tough after cooking for 6 hours?
If your brisket is still tough after cooking for 6 hours, try the "wrap and rest" method. Wrap the brisket in foil and cook for another 1-2 hours. This will help break down the connective tissues and make the brisket more tender.
5. Can I make brisket in a slow cooker?
Absolutely! You can make brisket in a slow cooker. Just follow the same basic instructions as for oven-baked brisket, but adjust the cooking time as needed.
(Part 9) Brisket baking tips
Here are some additional tips to help you bake the perfect brisket:
1. Choosing the Right Oven:
While a conventional oven works well, a convection oven can help distribute heat more evenly and shorten the cooking time slightly. However, make sure to adjust the temperature and cooking time based on your oven’s specific instructions.
2. The Importance of Smoking:
For a more intense smoky flavor, you can smoke the brisket before baking. Smoking can be done in a dedicated smoker or even with a smoker box in your oven. It adds a depth of flavor that complements the slow-cooked tenderness of the brisket.
3. Using a Dutch Oven vs. Roasting Pan:
A Dutch oven is ideal because it traps heat and moisture well, resulting in a more even cook. A roasting pan is also suitable, but you may need to add more water to prevent the brisket from drying out.
4. The Power of Brining:
Brining your brisket before cooking can improve its tenderness and moisture. You can use a simple brine solution of salt and water or experiment with adding other ingredients like herbs and spices. Brining typically takes several hours, so plan accordingly.
5. Making Your Own Rub:
Experimenting with different rubs is part of the fun of making brisket. Start with a basic blend of salt, pepper, garlic powder, and onion powder. Then, add other spices like paprika, chili powder, or cumin to create your own unique flavor profile. You can also incorporate herbs like thyme, rosemary, or oregano for added depth.
6. The Benefits of Basting:
Basting the brisket during cooking helps keep it moist and adds flavor. Use the rendered fat from the brisket or a mixture of broth and barbecue sauce to create a delicious glaze.
(Part 10) The Takeaway
There you have it, my comprehensive guide to making the most amazing, melt-in-your-mouth oven-baked brisket. Remember, it takes time and patience, but the reward is well worth it. Now, go forth and conquer those briskets! And if you have any questions, don't hesitate to ask. Happy cooking!
Everyone is watching

How to Cook Frozen Lobster Tails Perfectly: A Step-by-Step Guide
RecipesLobster. Just the word conjures up images of lavish meals, special occasions, and a taste of luxury. But let's...

Pigs in a Blanket Cooking Time: How Long to Bake for Perfect Results
RecipesAh, pigs in a blanket. Just the name conjures up images of those delightful little parcels of crispy pastry en...

Pork Fillet Cooking Time: How Long to Cook It Perfectly
RecipesPork fillet, or tenderloin as it's sometimes called, is a real favourite in our house. It's so versatile, and...

The Ultimate Guide to Tender, Juicy Pulled Pork
RecipesRight, let's talk pulled pork. It's one of those dishes that just screams "comfort food," doesn't it? I mean...

The Ultimate Guide to Cooking Sweet Potatoes: From Roasting to Mashing
RecipesSweet potatoes. Just the name conjures up images of warm, comforting dishes, bursts of vibrant color, and a to...
