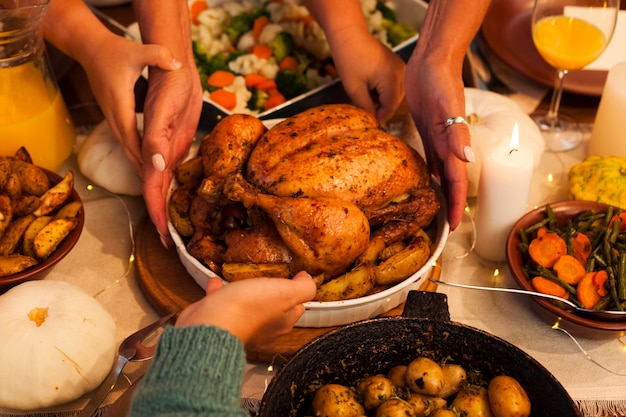
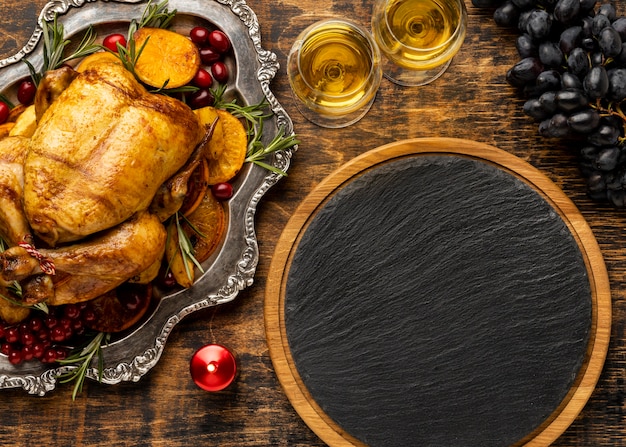
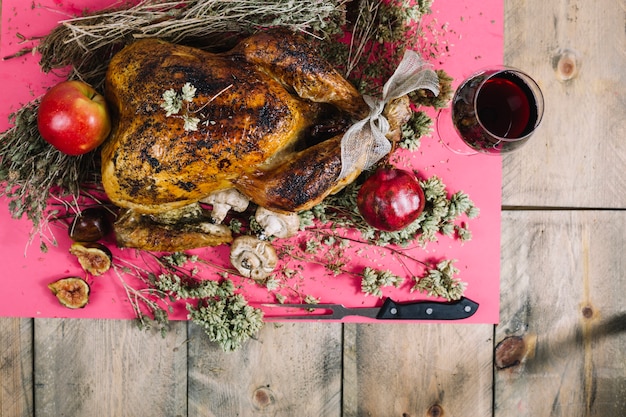
Ah, the Christmas turkey – a culinary masterpiece that brings families and friends together. But let's be honest, roasting a turkey can be a bit daunting. You want to avoid the dreaded dry turkey, and the pressure's on to deliver a delicious, juicy bird. But don't worry! This guide is your comprehensive roadmap to roasting a turkey that's so good, it'll be the talk of the dinner table.
We'll cover everything from selecting the perfect turkey to the art of basting and carving, and even include some insider tips and tricks I've learned over years of holiday cooking. Let's get started!
(Part 1) Choosing the Right Turkey

First things first, you need a turkey worthy of your culinary efforts. Now, I'm a big fan of free-range turkeys – the flavor is just something else. But honestly, any good-quality turkey will do. Just make sure you choose one that's large enough to feed everyone comfortably. You don't want to be caught short with a tiny turkey for a crowd, trust me!
How to Choose the Right Size
To help you select the right size turkey, here's a quick guide based on your guest count:
- Small turkey (8-12 pounds): Perfect for a cozy gathering of 4-6 people.
- Medium turkey (12-16 pounds): Ideal for a dinner party with 6-8 guests.
- Large turkey (16-20 pounds): A good choice for a larger gathering of 8-12 people.
- Extra Large turkey (20 pounds): For a feast with a crowd of 12 or more!
Turkey Types – Fresh, Frozen, or Brined?
You'll find a variety of turkey types in the supermarket, each with its own advantages:
- Fresh turkeys: These are chilled and have a shorter shelf life, but they often have a richer flavor and a more delicate texture. Just remember, you'll need to plan your cooking around their shorter lifespan.
- frozen turkeys: These are more convenient for planning ahead, and you can easily thaw them in the refrigerator for a couple of days. Frozen turkeys tend to be slightly less flavorful, but they're great if you need more time to prepare.
- Brined turkeys: These are already pre-brined in a salt-water solution, which helps to lock in moisture and make the turkey extra juicy. They're a lifesaver if you're short on time or want a guaranteed moist turkey.
A Word on Brining – The Secret to a juicy turkey
Brining is a technique that involves soaking the turkey in a salt-water solution for several hours or even overnight. This process helps prevent the meat from drying out during roasting, resulting in a juicy, flavorful bird. It's a bit of a game-changer, honestly! If you're unsure about brining, I strongly recommend giving it a try. You won't regret it.
There are countless brining recipes online, and it's a relatively simple process. Just remember to rinse the turkey thoroughly with cold water after brining to remove any excess salt before roasting.
(Part 2) Preparing the Turkey

Getting Started: Prepping for Perfection
Once you've chosen your turkey, it's time to get it ready for roasting. Start by removing the turkey from its packaging and patting it dry with kitchen paper. Then, give it a thorough rinse under cold running water. You'd be amazed at how much moisture washes off, it really makes a difference in the final result.
Stuffing the Turkey: The Stuffing Debate
Now, the stuffing. I'm a big fan of stuffing, but there's a lot of debate about whether you should stuff your turkey before roasting. Honestly, it's up to you, but I recommend stuffing it separately for food safety reasons.
Here's why stuffing separately is a good idea:
- Safety First: When you stuff the turkey, the stuffing doesn't cook as evenly as the meat. This can lead to bacteria growth if the stuffing isn't cooked thoroughly.
- Better Cooking: Stuffing separately allows the turkey to cook more evenly, especially if you're using a large turkey.
If you're determined to stuff the turkey, make sure you cook it to a safe internal temperature of 165°F (74°C). A meat thermometer is your best friend here!
Seasoning the Turkey: Infusing Flavor
Next, it's time to season your turkey. Now, I love a good, simple seasoning, but feel free to experiment with different herbs and spices.
Here's my go-to recipe for a classic turkey rub that always delivers:
- 2 tablespoons of paprika: Adds a beautiful color and smoky depth.
- 1 tablespoon of garlic powder: A touch of savory aroma.
- 1 tablespoon of onion powder: Adds a hint of sweetness and complexity.
- 1 teaspoon of dried thyme: Earthy and fragrant.
- 1 teaspoon of dried rosemary: A classic pairing with turkey.
- 1 teaspoon of salt: Essential for flavor and to help retain moisture.
- 1/2 teaspoon of black pepper: A touch of spice.
Mix all the ingredients together and rub it all over the turkey, including under the skin. Don't be shy with the seasoning – it's going to make all the difference!
Prepping the Roaster Pan: The Foundation for a perfect roast
Now, let's talk about your roasting pan. Invest in a good-quality roaster pan that's big enough for your turkey. A larger pan ensures the turkey has enough space to cook evenly. It's a good idea to rub a little butter or olive oil all over the bottom and sides of the pan to prevent the turkey from sticking.
(Part 3) Roasting the Turkey

Setting the Oven Temperature: The Key to a Slow and Even Cook
Preheat your oven to 325°F (160°C). This is the perfect temperature for a slow, even cook that allows the turkey to cook through without drying out. I've tried higher temperatures before, but honestly, it just leads to a dry turkey. Trust me, the slow and steady approach is the way to go!
Positioning the Turkey: Achieving a Uniform Cook
Carefully place the turkey in the roasting pan. If you're using a roasting rack, position it in the pan to help circulate heat and ensure the turkey cooks evenly. The rack also allows the fat to drip away, creating a crispier skin. If you're not using a rack, make sure the turkey is sitting on a bed of vegetables (like carrots, onions, or celery) to stop it from sticking and add a lovely depth of flavor to the pan juices.
roasting time: A Guide to Time Management
The roasting time for a turkey depends on its weight, but here's a general guideline:
| turkey weight (pounds) | Roasting Time (hours) |
|---|---|
| 8-12 | 2-3 |
| 12-16 | 3-4 |
| 16-20 | 4-5 |
| 20 | 5 |
Don't forget to factor in the time it takes for the oven to preheat. It's always better to give yourself plenty of time, especially if you're hosting a large gathering.
(Part 4) Basting the Turkey: The Art of Moisture Retention
Basting is an important part of roasting a turkey, helping to keep the meat moist and prevent it from drying out. You can use turkey drippings, broth, or even wine for basting, get creative!
I like to baste the turkey every 30-45 minutes, but it's not essential. Just keep an eye on it and add more liquid if needed. If you're feeling adventurous, you can also add some fresh herbs to the basting liquid for extra flavor. Rosemary and thyme are always good choices.
(Part 5) Checking the Turkey’s Temperature: Ensuring It’s Cooked Through
Checking the turkey's internal temperature is crucial to ensure it's cooked through and safe to eat. Use a meat thermometer inserted into the thickest part of the thigh (not touching the bone). The turkey is cooked when it reaches an internal temperature of 165°F (74°C).
How to Know When It’s Done
While a thermometer is the most reliable way to check for doneness, there are a few other signs that the turkey is cooked:
- Internal Temperature: The turkey should reach 165°F (74°C) in the thickest part of the thigh, as mentioned.
- Leg Movement: The leg should move freely when you wiggle it. If it feels stiff, it might need more time in the oven.
- Clear Juices: When you poke the turkey with a fork, the juices should run clear. If the juices are still pink, the turkey needs more cooking time.
(Part 6) Resting the Turkey: Maximizing Juiciness
After you've taken the turkey out of the oven, let it rest for at least 15 minutes before carving. This gives the juices time to redistribute throughout the meat, ensuring a more succulent and juicy turkey.
How to Rest the Turkey
To rest the turkey, cover it loosely with foil and let it sit on a cutting board or platter. Resist the urge to carve it right away, no matter how tempting it is! The resting period is crucial for a perfect result.
(Part 7) Carving the Turkey: The Final Act
Once the turkey has rested, it's time to carve it. I've found a sharp carving knife is essential for clean, precise cuts.
Here's how to carve a turkey like a pro:
- Remove the legs: Cut the skin between the leg and the body, then carefully remove the legs.
- Separate the thighs and drumsticks: Cut through the joint to separate the thighs and drumsticks.
- Remove the breasts: Cut along both sides of the breastbone to remove the breasts.
- Slice the breasts: Cut the breasts into thin slices.
If you're feeling fancy, you can even carve the turkey at the table for a show-stopping presentation.
(Part 8) Serving the Turkey: A Culinary Masterpiece
Finally, it's time to serve your masterpiece! Arrange the carved turkey on a platter and garnish it with fresh herbs, like parsley or rosemary, for a touch of elegance. Don't forget to serve it with all your favorite sides – stuffing, mashed potatoes, gravy, cranberry sauce, green bean casserole, roasted vegetables, the possibilities are endless!
What to Serve with Turkey: A Feast for the Senses
Here are some traditional sides that go well with roast turkey:
- Stuffing: A classic Thanksgiving staple, perfect for soaking up those delicious turkey juices.
- Mashed potatoes: Creamy and comforting, a perfect pairing for roasted turkey.
- Gravy: Rich and flavorful, a must-have for any roast turkey meal.
- Cranberry sauce: Sweet and tart, provides a lovely contrast to the savory turkey.
- Green bean casserole: A creamy, comforting side dish that's always a crowd-pleaser.
- Roasted vegetables: Add a burst of color and flavor with roasted vegetables like carrots, broccoli, or Brussels sprouts.
(Part 9) Storing Leftovers: Making the Most of Your Feast
You're likely going to have some leftovers after all that turkey, which is fantastic! Store them in the fridge in airtight containers for up to 3 days. If you have any extra stuffing, be sure to refrigerate it separately from the turkey. Leftovers are perfect for turkey sandwiches, salads, or even a hearty turkey soup.
FAQs
1. What if the turkey is too dark on top?
Don't panic! If the top of the turkey is getting too dark before the internal temperature is reached, simply tent it with some foil. This will prevent further browning while allowing the rest of the turkey to cook. Just make sure you check the internal temperature as it could take longer to cook through with the foil.
2. How do I know if the turkey is done without a thermometer?
You can test the turkey's doneness by wiggling the leg. If it moves freely, it's probably cooked. However, this is not a foolproof method, and it's always best to use a thermometer to ensure the turkey is safe to eat. The thermometer is the most reliable way to guarantee that the turkey has reached the safe internal temperature.
3. What if the turkey is undercooked?
If you've checked the internal temperature and it's not yet reached 165°F (74°C), continue cooking the turkey until it reaches the safe temperature. It's best to cook it in the oven, but if you need to speed things up, you can also use a grill or stovetop. Don't forget to check the temperature again after cooking it further.
4. Can I roast a turkey with other things in the oven?
It's possible, but I wouldn't recommend it. Roasting a turkey requires a lot of oven space, and you want to ensure the turkey cooks evenly. It's best to roast the turkey alone. If you need to cook other things, try using a smaller oven or spreading out the cooking time.
5. What happens if I overcook the turkey?
Overcooking a turkey can lead to dry, tough meat. If you've overcooked your turkey, it's probably still safe to eat, but it might not be as tender as you'd like. To help prevent this, consider using a turkey roasting bag. This helps keep the turkey moist and prevents it from overcooking. It's a great option for a more foolproof and juicy result.
Conclusion
There you have it, my ultimate guide to roasting a perfect turkey in a roaster pan. Follow these tips, and you'll be sure to impress your guests with a delicious, succulent bird this Christmas. Happy cooking, everyone! And remember, the key to a perfect turkey is patience, attention to detail, and a little bit of love. Enjoy!
Everyone is watching

How to Cook Frozen Lobster Tails Perfectly: A Step-by-Step Guide
RecipesLobster. Just the word conjures up images of lavish meals, special occasions, and a taste of luxury. But let's...

Pigs in a Blanket Cooking Time: How Long to Bake for Perfect Results
RecipesAh, pigs in a blanket. Just the name conjures up images of those delightful little parcels of crispy pastry en...

Pork Fillet Cooking Time: How Long to Cook It Perfectly
RecipesPork fillet, or tenderloin as it's sometimes called, is a real favourite in our house. It's so versatile, and...

The Ultimate Guide to Tender, Juicy Pulled Pork
RecipesRight, let's talk pulled pork. It's one of those dishes that just screams "comfort food," doesn't it? I mean...

The Ultimate Guide to Cooking Sweet Potatoes: From Roasting to Mashing
RecipesSweet potatoes. Just the name conjures up images of warm, comforting dishes, bursts of vibrant color, and a to...
