Imagine this: a beautifully browned, glistening turkey, radiating warmth and the promise of a delicious feast. It’s a scene that evokes happy memories of family gatherings, laughter, and the joy of sharing a special meal. But achieving this culinary masterpiece, especially when tackling a 22lb turkey, requires more than just tossing it in the oven and hoping for the best. It’s a dance of precision, a symphony of timing, and a dash of culinary know-how. And I, your friendly guide through this festive journey, am here to walk you through every step.
I've spent years perfecting my turkey roasting skills, influenced by my mum's legendary Christmas dinners and fuelled by an insatiable passion for creating delicious meals. Along the way, I've encountered both triumphs and challenges, learning valuable lessons that I’m eager to share with you. So, grab your favourite beverage, settle in, and let's embark on a journey that will transform you from turkey-roasting novice to confident culinary maestro.
(Part 1) Setting the Stage: Prepping Your 22lb Turkey
Before your turkey even graces the oven, it deserves a meticulous preparation, a ritual that sets the foundation for a truly memorable meal. Think of it as pampering your culinary star before its grand entrance.
1. The Great Thaw: A Gentle Awakening
The journey begins with thawing, a process that requires patience and careful planning. Never, ever thaw a turkey at room temperature. This is a recipe for bacteria growth, turning your culinary dream into a nightmare. Instead, dedicate at least 24 hours to thawing in the refrigerator. If you’re short on time, you can submerge the turkey in cold water, changing the water every 30 minutes. Remember, the key is a slow, gradual thawing, ensuring the turkey remains safe and ready for its transformation.
2. Patting It Down: A Touch of TLC
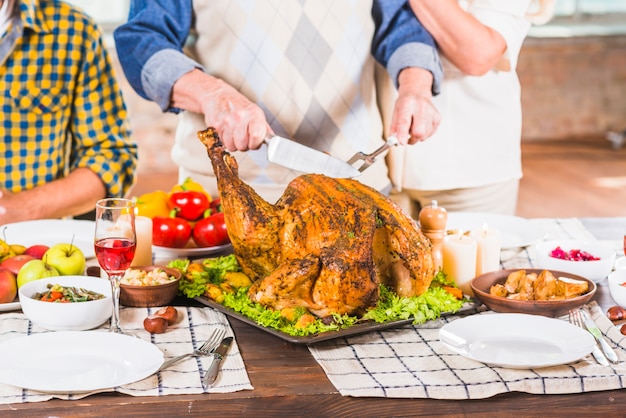
Once thawed, your turkey is ready for a little pampering. Grab some paper towels and gently pat it dry, ensuring every nook and cranny is moisture-free. This step is crucial for achieving that glorious crispy skin – a hallmark of a perfectly roasted turkey. While you’re at it, remove the giblets and neck from the cavity. These little treasures can be saved for making a delicious gravy later.
3. The Spice is Right: Infusing Flavor
Now comes the fun part – the artistry of seasoning! I tend to keep it simple, opting for a blend of salt, pepper, and fragrant herbs like rosemary and thyme. But feel free to unleash your culinary creativity and experiment with your favourite spices. It’s your turkey, your masterpiece! You can even add a pinch of citrus zest for a refreshing burst of flavour.
(Part 2) Choosing Your Weapon: roasting time and Temperature
With your turkey prepped and ready, the next crucial step is determining the perfect roasting time and temperature. This isn’t a one-size-fits-all scenario, as factors like oven size and the turkey’s internal temperature play a significant role.
1. The Golden Rule: Temperature
For a consistently cooked turkey, a temperature of 325 degrees Fahrenheit (165 degrees Celsius) is your golden standard. This temperature ensures even cooking without scorching the outside, allowing the turkey to reach its full potential. Resist the temptation to crank up the heat; it might seem faster, but it increases the risk of dryness.
2. Weighing the Options: Time
A 22lb turkey is a hefty beast, demanding ample time to cook through. Expect it to take around 4-5 hours, but remember, this is just a guide. The best way to guarantee a perfectly cooked turkey is to use a meat thermometer, inserting it into the thickest part of the thigh (not touching bone). A reading of 165 degrees Fahrenheit (74 degrees Celsius) signals that your turkey is ready. This temperature ensures that the turkey is cooked through and safe to eat.
3. The Wait is Over: Resting Time
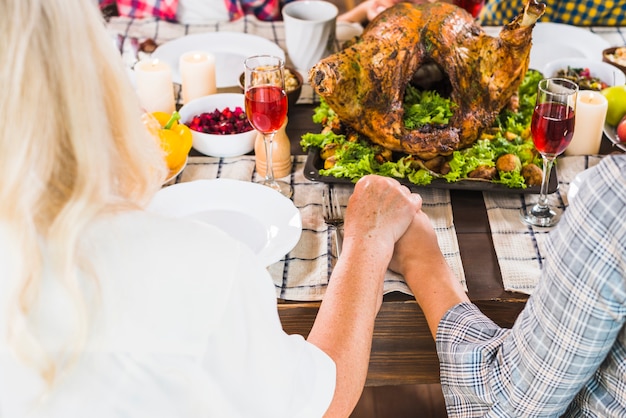
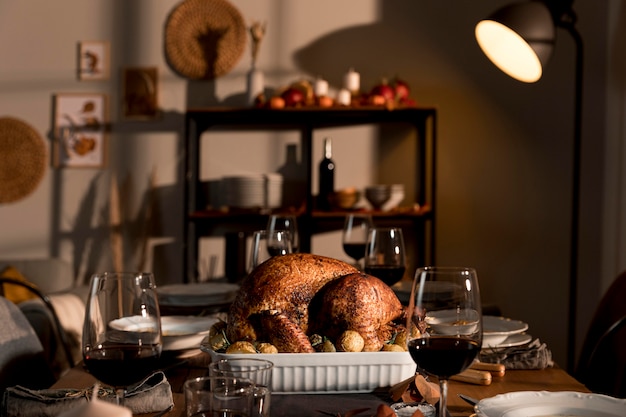
After the long journey in the oven, your turkey deserves a well-deserved rest. Let it sit for at least 20 minutes before carving. This allows the juices to redistribute throughout the meat, resulting in a succulent and flavorful turkey. It also gives you a moment to relax and bask in the anticipation of the feast to come.
(Part 3) The Great Oven Debate: To Stuff or Not to Stuff?
This is a classic culinary dilemma, dividing the culinary world into two camps: the ardent supporters of stuffing and those who prefer to keep it separate. I fall firmly into the latter group, and here's why.
1. Safety First: The Risk of Undercooked Stuffing
The allure of stuffing might be strong, but safety should always be paramount. Stuffing needs to reach an internal temperature of 165 degrees Fahrenheit (74 degrees Celsius) to be safe to eat. However, when stuffed inside the turkey, it often doesn’t get hot enough. The turkey acts as a barrier, trapping heat and preventing the stuffing from reaching a safe temperature. This can lead to foodborne illness, a risk no one wants to take.
2. The Art of Separate Cooking: A Safer Choice
I advocate for cooking stuffing separately in a casserole dish. This allows you to monitor the temperature closely, ensuring it’s cooked through and safe to eat. It also gives you more control over flavour and texture. You can unleash your creativity, adding sausage, vegetables, dried fruits, or anything that tickles your fancy. Remember, stuffing can be an adventure in itself!
(Part 4) The Brining Debate: A Matter of Moisture
Brining, a technique of soaking the turkey in a salt water solution for several hours, is a subject that sparks passionate debate. Some swear by its ability to retain moisture and prevent dryness. Others consider it an unnecessary step. I fall firmly into the pro-brining camp, and here's why.
1. The Science of Brining: More Than Just Salt
Brining isn’t simply about adding salt. It involves a fascinating process of osmosis, drawing moisture out of the turkey and then drawing it back in, enriched with flavour. The salt also works its magic, tenderizing the meat, making it more succulent and easier to carve.
2. A Little Extra Effort: Worth the Reward
Brining might require a bit more effort, finding a large enough container for the turkey and ensuring it's fully submerged in the brine. However, the reward is undeniable. The difference between a brined and unbrined turkey is noticeable, especially when dealing with a large bird like a 22lb turkey. The flavour is richer, the meat is more tender, and the overall experience is truly elevated.
(Part 5) roasting tips: Navigating the Oven
Your turkey is prepped and ready for its oven adventure, but before you send it into the heat, there are a few tips to ensure a smooth journey and a stunning outcome.
1. The Importance of Positioning: Center Stage
Position the turkey in the centre of the oven rack, allowing heat to circulate evenly and preventing the bottom from burning. If you have a large oven, consider placing it on a lower rack for more space. This ensures a consistent cooking process and minimizes the risk of uneven browning.
2. The Basting Game: A Matter of Moisture
Basting, the act of spooning pan juices over the turkey, is a crucial step for maintaining moisture and infusing flavour. You can use butter, oil, or even broth for this ritual. I prefer to baste every 30 minutes, but feel free to adjust the frequency according to your preference. Remember, the goal is to keep the turkey moist and glistening throughout the cooking process.
3. The Temperature Check: Crucial for Done-ness
Check the internal temperature of the turkey every hour using a meat thermometer. This is essential for ensuring even cooking and preventing dry meat. The goal is to achieve 165 degrees Fahrenheit (74 degrees Celsius) in the thickest part of the thigh. If the breast is browning too quickly, you can cover it with foil to prevent overcooking.
(Part 6) Dealing with Dryness: A Turkey’s Worst Nightmare
One of the greatest challenges of roasting a turkey is preventing dryness. A dry turkey is a sad turkey, and nobody wants to deal with that. Here are a few tricks to ensure your turkey remains succulent and juicy.
1. The Art of the Shield: Using Foil
Covering the turkey with foil for part of the cooking process is a smart strategy to prevent dryness. I typically cover it for the first hour or two, then remove the foil for the last hour of cooking. This allows the skin to crisp up beautifully while keeping the meat moist.
2. The Power of Pan Juices: A Source of Moisture
Use the pan juices for basting throughout the cooking process. These precious juices are a reservoir of flavour and moisture. If they start to evaporate, add a little broth or water to replenish them, keeping the turkey moist and flavourful.
3. Don’t Overcook It: A Question of Timing
Overcooking is the quickest way to ruin a turkey. Resist the temptation to cook it a little longer "just to be sure". Trust your meat thermometer and remove the turkey from the oven as soon as it reaches 165 degrees Fahrenheit (74 degrees Celsius). A perfectly cooked turkey is a testament to patience and precision.
(Part 7) Leftovers: The Best Part of Turkey
Let’s face it – the best part of a turkey dinner is the glorious leftovers. This is when culinary creativity truly shines, turning those precious remnants into delicious new creations.
1. The Classic: turkey sandwiches
There’s nothing quite like a juicy turkey sandwich with all the trimmings. Pile leftover turkey onto crusty bread with cranberry sauce, stuffing, and a dollop of mayonnaise for a post-turkey feast that satisfies both the body and soul.
2. A Hearty Soup: Turkey Noodle or Turkey Chili
Leftover turkey is a blank canvas for a comforting soup. Add vegetables, noodles, rice, and spices to create a soul-warming meal perfect for a chilly evening. A turkey chili is another excellent option, bursting with flavour and perfect for a hearty, satisfying dish.
3. A Delicious Pie: turkey pot pie or Shepherd’s Pie
Transform leftover turkey into a delicious pie. A classic turkey pot pie is always a hit, while a shepherd’s pie, with its comforting mashed potato topping, provides a satisfying and flavourful meal.
(Part 8) FAQs: The Answers to Your Turkey Questions
You’ve got questions, I've got answers. Here are some of the most frequently asked questions about roasting a 22lb turkey:
1. How do I know if my turkey is cooked through?
The ultimate tool for gauging turkey doneness is a meat thermometer. Insert it into the thickest part of the thigh, avoiding the bone, and aim for a reading of 165 degrees Fahrenheit (74 degrees Celsius). This ensures that the turkey is cooked through and safe to eat.
2. What if my turkey is still frozen?
Thawing is a crucial first step. Never roast a frozen turkey. A minimum of 24 hours in the refrigerator is ideal. If time is short, submerge the turkey in cold water, changing the water every 30 minutes. But always prioritize safety and never thaw a turkey at room temperature.
3. What do I do if the skin is getting too brown?
If the skin starts to brown too quickly, cover the turkey with foil to prevent burning. You can remove the foil for the last hour of cooking to allow the skin to crisp up. This technique ensures that the skin achieves a beautiful golden colour without overcooking the meat.
4. How long can I store leftover turkey?
Leftover turkey can be stored in the refrigerator for up to 4 days. Store it in an airtight container or wrap it tightly in plastic wrap. You can also freeze leftover turkey for up to 2 months, perfect for creating delicious dishes later.
5. What if my turkey is too big for my oven?
If your turkey is too large for your oven, you can roast it in two parts. Roast the breast separately from the legs and thighs, ensuring both parts are cooked at the same temperature and for the same amount of time. This allows you to enjoy a perfectly cooked turkey even if your oven is a bit on the smaller side.
So, there you have it – my comprehensive guide to roasting a 22lb turkey. It might seem daunting, but with careful planning, a dash of patience, and a touch of culinary confidence, you can create a festive feast that your guests will rave about. Now, go forth and conquer the turkey!
Everyone is watching

How to Cook Frozen Lobster Tails Perfectly: A Step-by-Step Guide
RecipesLobster. Just the word conjures up images of lavish meals, special occasions, and a taste of luxury. But let's...

Pigs in a Blanket Cooking Time: How Long to Bake for Perfect Results
RecipesAh, pigs in a blanket. Just the name conjures up images of those delightful little parcels of crispy pastry en...

Pork Fillet Cooking Time: How Long to Cook It Perfectly
RecipesPork fillet, or tenderloin as it's sometimes called, is a real favourite in our house. It's so versatile, and...

The Ultimate Guide to Tender, Juicy Pulled Pork
RecipesRight, let's talk pulled pork. It's one of those dishes that just screams "comfort food," doesn't it? I mean...

The Ultimate Guide to Cooking Delicious Frankfurters
RecipesLet's face it, we all love a good frankfurter. It's a classic, simple, and always satisfying. But let's be rea...