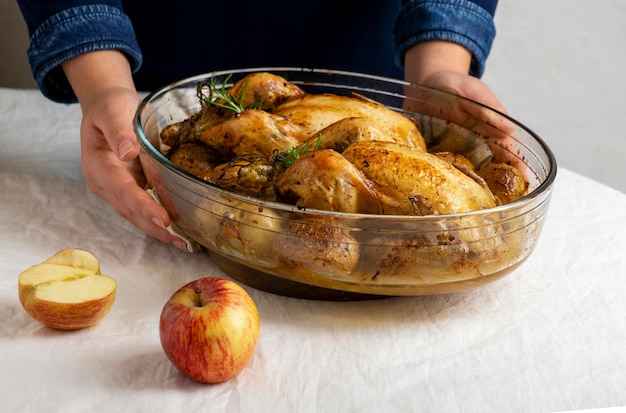
You've got a 20lb turkey – a true behemoth – and you're aiming for a Christmas feast worthy of royalty. A stuffed turkey, brimming with flavour and tradition, is the ultimate centerpiece. But tackling a bird this size requires a different approach. It's not just about throwing it in the oven and hoping for the best. You want it cooked to perfection, juicy and tender, not dry and stringy. So, let's dive in and explore how to conquer this culinary challenge together.
(Part 1) The Big Bird: Size Matters
A 20lb turkey is a league of its own. This isn't your average supermarket bird. It demands respect, planning, and a touch of culinary prowess. I remember the first time I faced a turkey this size. It seemed like a prehistoric creature! "How on earth am I going to cook this thing?!" But with the right approach, you can transform it into a culinary masterpiece.
How Long to Cook a 20lb Turkey: A Delicate Dance with Time
This is where your trusty turkey cooking time chart comes in. But hold on, most charts stop at 16lb or 18lb. Those extra couple of pounds make a huge difference! Don't just assume it'll take a little longer. Those extra pounds need to cook through, and that means more time in the oven.
The Golden Rule for Turkey Cooking: A Basic Framework
The general rule of thumb for roasting a turkey is 15 minutes per pound at 325°F (160°C). For a 20lb bird, that translates to a staggering 5 hours of cooking time. But hold on, that's just the minimum. Remember, we're stuffing this bird, and that adds another layer of complexity.
(Part 2) The Stuffing Factor: A Game Changer
Stuffing is a key element in a traditional turkey roast, but it also adds a whole new dimension to the cooking process. Imagine stuffing as a porous sponge, absorbing all those delicious juices and flavours. It needs time to cook through, becoming tender and flavorful, but you need to be careful not to overcook it, or it will turn out dry and crumbly.
The Stuffing Dilemma: To Stuff or Not to Stuff?
Personally, I'm a big fan of stuffing. It adds a delightful heartiness to the turkey. But it comes with its own challenges. With a 20lb bird, I recommend stuffing loosely, leaving space for the filling to expand during cooking. Overstuffing can lead to uneven cooking, and you definitely don't want any unwelcome surprises at your feast.
Stuffing and Cooking Time: A Balancing Act
The more stuffing you use, the longer the turkey needs to cook. A general rule is to add an extra 30 minutes to your cooking time for every pound of stuffing. So, with a 20lb turkey and a few pounds of stuffing, you're looking at around 6 hours of roasting time. It's a long process, but worth it for a truly satisfying result.
(Part 3) The turkey temperature Test: A Crucial Step
You can't rely on time alone to determine when your turkey is done. You need to check the internal temperature. That's where those trusty meat thermometers come in handy! And with a large turkey, you need to check it in multiple places.
The Safe Zone: Turkey Temperatures
You want to make sure the turkey is cooked to a safe temperature throughout. The USDA recommends a minimum internal temperature of 165°F (74°C) for the thickest part of the thigh. For stuffing, it's a slightly lower temperature of 165°F (74°C). But it's best to err on the side of caution. A little overcooking is always preferable to undercooked poultry, especially when it comes to a festive feast.
Turkey Temperature Chart: A Quick Reference
Here's a quick reference chart for turkey temperatures:
| Part | Safe Temperature |
|---|---|
| Breast | 165°F (74°C) |
| Thigh | 165°F (74°C) |
| Stuffing | 165°F (74°C) |
(Part 4) The Resting Period: A Crucial Step
Once the turkey is cooked through, it's not quite ready to be carved. You need to give it a rest. Think of it as allowing the turkey to relax and settle down after its long roasting adventure. This rest allows the juices to redistribute throughout the meat, resulting in a juicier, more flavorful bird. It's a simple step that makes a big difference.
How Long to Rest a 20lb Turkey: A Matter of Patience
A general rule of thumb is to rest a turkey for 30 minutes per pound. So, for a 20lb turkey, you're looking at a resting time of 10 hours. Yes, that sounds like a long time, but trust me, it's worth it. Your patience will be rewarded with a beautifully succulent turkey. It's a small price to pay for the ultimate culinary experience.
The Resting Technique: Keeping it Warm
While the turkey is resting, it's important to keep it warm. You don't want it to get cold and lose its juicy goodness. Cover it with a layer of foil to keep the heat in. Or, if you're feeling fancy, you can use a heat lamp. But honestly, a simple foil tent usually does the trick. The turkey will stay warm and juicy while you're getting everything else ready for your festive feast.
(Part 5) The Roasting Process: A Step-by-Step Guide
You've got your turkey, your stuffing, and your trusty thermometer. Now, let's get this show on the road. Here's a step-by-step guide to roasting a 20lb turkey, ensuring a delicious and successful outcome.
Step 1: Prepping the Turkey: Setting the Stage
First things first, you need to prep the turkey. Make sure to remove any giblets or neck from the turkey cavity. Rinse the turkey inside and out with cold water. Pat it dry with paper towels. Then, season the turkey liberally with salt and pepper, both inside and out. I like to add a little bit of paprika or garlic powder too, for extra flavour.
Step 2: Stuffing the Turkey: The Heart of the Matter
Now it's time to stuff the turkey. This is where I recommend using a loose stuffing. Don't cram it in there. It needs to cook evenly. You can stuff the turkey directly or use a roasting bag. The roasting bag is more convenient, but some people prefer stuffing the turkey directly to create a more traditional presentation.
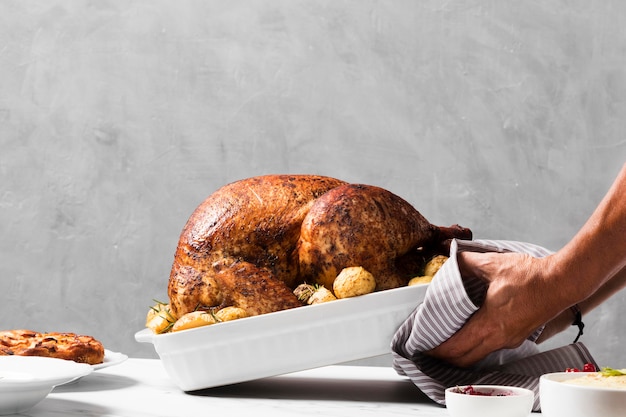
Step 3: Roasting the Turkey: The Main Event
Preheat your oven to 325°F (160°C). Place the turkey in a roasting pan, breast side up. If you're using a roasting bag, you'll need to put the bag in a roasting pan and then place the turkey inside. Roast the turkey for 5 hours, or until the internal temperature reaches 165°F (74°C) in the thickest part of the thigh.
Step 4: Basting the Turkey: A Touch of Moisture
Basting isn't about constantly drenching the turkey. A few times during cooking is enough. I usually baste the turkey with pan drippings or melted butter every hour or so. You can also add some water to the roasting pan to prevent the turkey from drying out. A little bit of extra moisture goes a long way!
Step 5: Resting the Turkey: A Moment of Relaxation
Once the turkey is cooked through, carefully transfer it to a cutting board and tent it with foil. Allow it to rest for 10 hours, or 30 minutes per pound. This will allow the juices to redistribute, resulting in a much juicier turkey. It's a crucial step in achieving that tender, flavorful result.
Step 6: Carving the Turkey: A Moment of Triumph
After the resting period, you're finally ready to carve the turkey. Use a sharp carving knife and start by carving the breast meat. Then, carve the legs and thighs. You can also remove the stuffing from the turkey and serve it on the side. I find that it's easiest to carve the turkey on a cutting board, and it's always a good idea to use a carving fork to hold the turkey in place.
(Part 6) cooking tips and Tricks for the perfect roast: Elevating Your Game
Now that you've got the basics down, here are a few extra tips and tricks that can help you achieve a truly spectacular roast turkey. These are little things that I've learned over the years that can make a big difference.
Tip 1: Use a Roasting Rack: A Foundation for Even Cooking
A roasting rack is a must-have for any turkey roast. It elevates the turkey off the bottom of the pan, allowing air to circulate around it. This helps the turkey cook more evenly and prevents the bottom from burning. It's a simple investment that yields great results.
Tip 2: Don't Overstuff: A Matter of Balance
Stuffing adds extra time to the cooking process, but don't overdo it. You want the stuffing to cook through without overfilling the turkey. If the stuffing is too tight, it may not cook properly, and you're not going to want to risk that!
Tip 3: Don't Be Afraid to Add Moisture: A Touch of Hydration
Adding a little bit of moisture to the roasting pan can help prevent the turkey from drying out. You can add water, chicken broth, or even wine. Just make sure to baste the turkey every hour or so with the pan drippings. A little bit of moisture makes a big difference!
Tip 4: Check the Temperature Frequently: A Vigilant Eye
Don't just rely on the timer. Check the internal temperature of the turkey frequently, especially towards the end of the cooking time. You want to make sure the turkey is cooked through but not overcooked. A little bit of overcooking won't ruin your turkey, but undercooking is a serious no-no!
Tip 5: Let it Rest: A Moment of Patience
As we discussed earlier, let the turkey rest for at least 30 minutes per pound before carving. This will allow the juices to redistribute and result in a much juicier and flavorful turkey. It's a simple step that can have a big impact on the overall taste and texture.
(Part 7) Serving the Turkey: A Feast Fit for a King
The big moment has arrived. The turkey is cooked, rested, and ready to be carved. You've put in the time and effort, and now it's time to reap the rewards. This is the part I love the most. The aroma fills the house, and everyone is gathered around the table. It's a true celebration of good food and good company.
turkey carving Tips: Making it Easy
When carving the turkey, use a sharp carving knife and take your time. Start by carving the breast meat, working from the wing end towards the other end. Then, carve the legs and thighs. You can also remove the stuffing from the turkey and serve it on the side. I find that it's easiest to carve the turkey on a cutting board, and it's always a good idea to use a carving fork to hold the turkey in place.
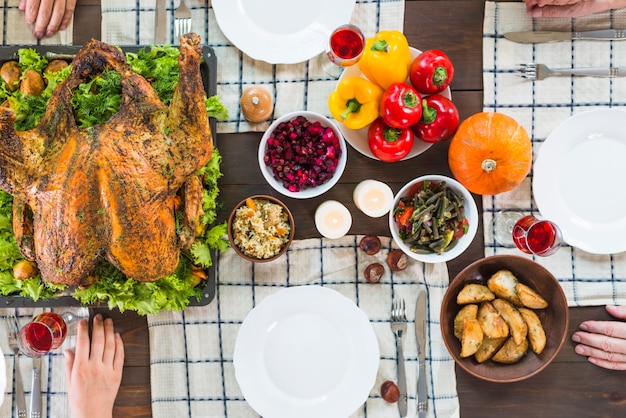
Turkey Serving Ideas: A Festive Spread
Once the turkey is carved, you'll need to serve it up. You can serve the turkey on a platter, or you can use individual plates. I prefer to serve the turkey on a platter, surrounded by all the trimmings. It’s a beautiful presentation, and it makes everyone feel like they're part of something special. And don't forget the gravy! It's a must-have for any turkey dinner.
(Part 8) FAQs: Your Turkey-Roasting Questions Answered
You've made it this far. You've learned the basics, picked up some tips and tricks. But you're still bound to have some questions. I know, I've been there. Here are some frequently asked questions and answers to help you along your turkey-roasting journey.
1. Can I Cook a 20lb Turkey in a Roasting Bag?
Absolutely! In fact, I find that roasting bags are a great option for large turkeys. They help to keep the turkey moist and prevent it from drying out. Just make sure to use a roasting bag that’s large enough for your 20lb bird. And don't forget to prick some holes in the bag to allow steam to escape.
2. Should I Brine a 20lb Turkey?
brining a turkey can help to make it juicier and more flavorful. But with a 20lb turkey, it can be a bit more complicated. You'll need a large enough container to hold the turkey and a lot of brine. It's doable, but it requires some extra effort. If you're short on time, you can skip the brining and still achieve a delicious turkey roast.
3. What Should I Serve with a 20lb Turkey?
You've got a big bird, so you need a big spread! I always recommend serving a 20lb turkey with all the traditional trimmings: mashed potatoes, gravy, stuffing, cranberry sauce, and green bean casserole. But feel free to get creative and add your own personal touch. This is your chance to create a Thanksgiving or Christmas feast that everyone will remember.
4. What if My Turkey is Overcooked?
Don't panic! A slightly overcooked turkey is still edible, just a bit drier than it could have been. You can try to salvage the situation by adding some extra gravy or serving the turkey with a sauce that will add moisture. And next time, you'll know to keep a close eye on the temperature.
5. Can I Freeze a 20lb Turkey?
Yes, you can freeze a 20lb turkey. But it's best to freeze it whole, wrapped tightly in plastic wrap and aluminum foil. You can freeze a turkey for up to 2 months. When you're ready to cook it, thaw it in the refrigerator for 3-4 days before roasting. Just remember to plan ahead, because it takes quite a bit of time to thaw!
So there you have it – my comprehensive guide to roasting a 20lb turkey. It’s a big undertaking, but with a little bit of planning and the right techniques, you can create a truly spectacular feast. Remember to take your time, don’t be afraid to ask for help, and enjoy the process. It's all about sharing a delicious meal with loved ones and creating memories that will last a lifetime.
Everyone is watching

How to Cook Frozen Lobster Tails Perfectly: A Step-by-Step Guide
RecipesLobster. Just the word conjures up images of lavish meals, special occasions, and a taste of luxury. But let's...

Pigs in a Blanket Cooking Time: How Long to Bake for Perfect Results
RecipesAh, pigs in a blanket. Just the name conjures up images of those delightful little parcels of crispy pastry en...

Pork Fillet Cooking Time: How Long to Cook It Perfectly
RecipesPork fillet, or tenderloin as it's sometimes called, is a real favourite in our house. It's so versatile, and...

The Ultimate Guide to Tender, Juicy Pulled Pork
RecipesRight, let's talk pulled pork. It's one of those dishes that just screams "comfort food," doesn't it? I mean...

The Ultimate Guide to Cooking Delicious Frankfurters
RecipesLet's face it, we all love a good frankfurter. It's a classic, simple, and always satisfying. But let's be rea...