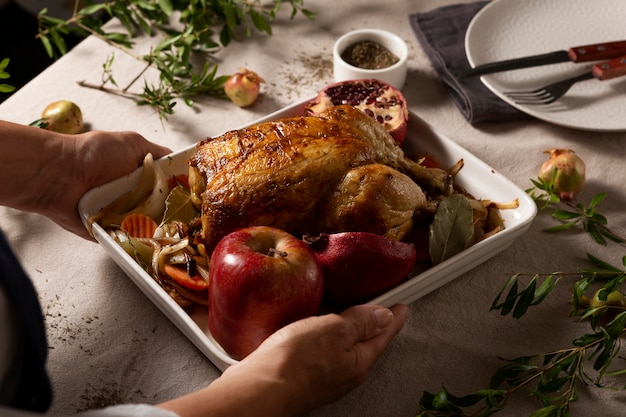
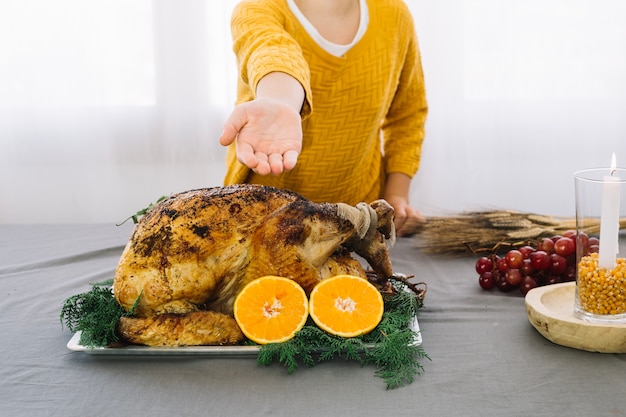
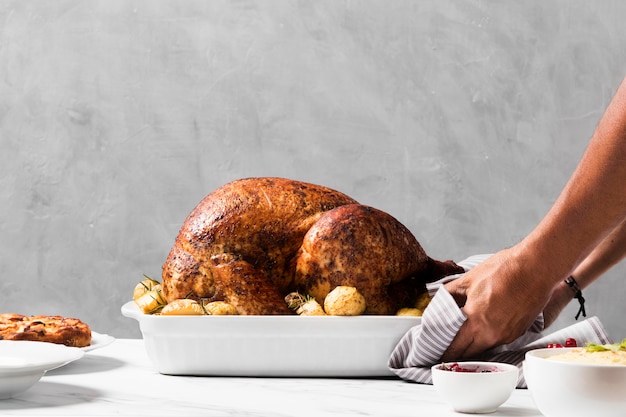
You’ve got a 25lb turkey for Christmas dinner, eh? A real whopper! That’s a lot of bird, and you're probably wondering, "How on earth am I going to cook this beast?" Don't fret, my friend. I've been there, done that. I've roasted my fair share of turkeys, from small family gatherings to massive holiday feasts, and let me tell you, it's not as daunting as it seems. It just takes a bit of planning, a sprinkle of patience, and a whole lot of love for good food.
This guide is your roadmap to turkey-cooking triumph. It’s going to walk you through the whole process, from choosing the perfect bird to carving it up like a pro. I'll share my personal tips and tricks, gleaned from years of turkey-roasting triumphs (and the occasional mishap, which we'll address, of course). By the end, you'll be a turkey-cooking champion, impressing your friends and family with a succulent, golden-brown bird that will be the centerpiece of your festive table.
(Part 1) Choosing the Right Turkey

First things first, we need to pick the perfect turkey. A 25lb bird is a monster, so you'll want to make sure it's fresh, plump, and ready to become a culinary masterpiece. I always opt for a free-range bird whenever possible. The flavour is simply better, and knowing the birds have lived a happy life gives me peace of mind.
Tips for Selecting a Top-Notch Turkey:
- Check the Date: Make sure it's fresh and hasn't passed its sell-by date. A fresh turkey is essential for a delicious outcome.
- Give it a Sniff: It should smell clean and not have any off-putting odours. A pungent aroma is a red flag, so trust your nose!
- Feel the Breast: It should feel firm and springy, not flabby or mushy. This indicates a well-nourished bird that’s ready for roasting.
- Look for a Good Colour: The skin should have a nice, healthy, even colour, not pale or discoloured. A vibrant colour suggests a good quality bird.
Sizing Up Your Bird:
A 25lb turkey is a serious undertaking. It's going to feed a whole lot of people, and you need to plan accordingly. A good rule of thumb is to allow about 1lb of turkey per person. So, a 25lb bird will feed approximately 25 hungry guests. If you're only having a smaller gathering, you might want to consider a smaller bird, or simply freeze the leftovers. turkey sandwiches are always a winner, you know!
(Part 2) Preparing the Turkey: Getting Ready to Roast

Now, you've got your magnificent turkey, what next? Time to get ready for the roast. This is where the real fun begins!
The Brine: A Secret Weapon for Juicy Success
This is where my love for turkey cookery truly shines. Brining is the secret to getting the juiciest, most flavourful turkey. I always brine my turkeys, and I can't recommend it enough. It's a simple technique, but the results are truly phenomenal.
The Brining Process:
- Get a Large Container: You need something big enough to fit the whole turkey, like a big stockpot or a cooler. A large plastic container with a lid is ideal for brining.
- Combine the Brine Ingredients: This is where you get to be creative. My go-to brine is a simple mix of salt, sugar, and herbs (think rosemary, thyme, and bay leaves). You can add other flavourings, like citrus zest, black peppercorns, or even a touch of garlic. Experiment and find what you enjoy most! Just be sure to research the right proportions of each ingredient to avoid overdoing it.
- Submerge the Turkey: Make sure the turkey is fully submerged in the brine. You can use a weight to keep it submerged, like a large plate or a bag of ice.
- Let it Sit: The key here is patience. The turkey needs to brine for at least 12 hours, but I prefer to brine it for 24 hours. This allows the brine to penetrate the meat and make it ridiculously juicy.
Prepping the Bird: Final Touches Before Roasting
Now, you've brined your turkey, so it's time to prep it for roasting. This is where things get a bit messy, so get ready!
- Rinse the Turkey: Remove the turkey from the brine and give it a good rinse under cold water. This will wash away any excess salt and help to prevent a salty taste.
- Pat it Dry: Pat the turkey dry with paper towels. This will help to ensure that the skin gets nice and crispy.
- Stuff It (Optional): If you're stuffing your turkey, now is the time to do it. Make sure to stuff it loosely, as the stuffing will expand during cooking. I prefer to stuff my turkey separately so that the stuffing doesn't get too dry.
(Part 3) The Big Roast: Bringing Your Turkey to Life

You're almost there, mate! It's time for the main event: roasting the turkey. Get ready to create a culinary masterpiece!
Choosing the Right Oven:
First off, you need a big enough oven to accommodate this massive bird. A conventional oven will be fine, but if you have a fan oven, that'll help the turkey cook evenly. Just remember to adjust the cooking time accordingly.
roasting time: A Journey to Perfection
Now, the big question: How long do you cook a 25lb turkey? Well, it's going to take a while, about 3-4 hours, depending on your oven and how you like your turkey done. Remember, bigger birds take longer to cook.
cooking tips: Achieving a Golden-Brown, Succulent Turkey
- Preheat your oven: Always preheat your oven to a high temperature, around 400°F (200°C), to get the skin crispy. Once the turkey is in the oven, you can reduce the temperature to 325°F (160°C).
- Use a roasting rack: This will allow hot air to circulate around the turkey and help it cook evenly. You can also use a drip pan to catch any juices.
- Baste frequently: This will keep the turkey moist and flavorful. Basting is a crucial step to ensure your turkey doesn't dry out. Use a mixture of turkey juices and butter or oil, or even broth, for extra flavour.
- Check for doneness: The best way to check if your turkey is done is with a meat thermometer. The turkey is fully cooked when the internal temperature reaches 165°F (74°C) in the thickest part of the thigh.
(Part 4) Letting it Rest: The Art of Patience
Alright, your turkey is finally cooked! But before you carve it up, you need to let it rest. I know, I know, you're probably starving, but trust me, this is important. Letting the turkey rest allows the juices to redistribute throughout the meat, making it even more tender and juicy. Think of it as a final act of kindness before the grand finale.
How Long to Rest:
The general rule of thumb is to let the turkey rest for about 30 minutes before carving. You can cover it with foil to keep it warm while it's resting.
(Part 5) Carving the Turkey: Time to Shine
Okay, the turkey is rested, and you're ready to carve. This is the moment you've been waiting for, so grab a sharp carving knife and get to work!
Carving Tips: A Masterclass in turkey carving
- Start with the breasts: Use your carving knife to cut along the bone, separating the breast from the carcass.
- Slice the breasts: Once you've separated the breast, you can slice it into thin pieces. I like to slice it against the grain for a more tender texture.
- Don't forget the legs and thighs: Use your carving knife to separate the legs and thighs from the carcass. You can then slice them into pieces, or leave them whole.
- Save the carcass: Don't throw away the carcass! You can use it to make a delicious turkey stock.
(Part 6) Serving Up the Feast: A Celebration of Flavour
And there you have it, your beautifully roasted and carved turkey. It's time to serve up the feast! You can go all out with side dishes like roast potatoes, stuffing, and cranberry sauce, or keep it simple with a side salad and gravy.
Serving Tips: Presentation is Key
- Keep it warm: Once you've carved the turkey, keep it warm in a roasting pan or on a serving platter. You can also use a chafing dish to keep it warm.
- Arrange it nicely: Present the carved turkey beautifully on a platter, surrounded by its delicious accompaniments. You'll want to show off your culinary masterpiece!
- Enjoy the moment: Don't forget to savor every bite. You've worked hard to create this amazing meal, so enjoy the fruits of your labour!
(Part 7) Leftovers: Don't Waste Them! A Feast for Days to Come
You've likely got a ton of leftover turkey, and you don't want to waste it, right? Well, don't worry, there are plenty of things you can do with leftover turkey. From sandwiches to soups, the possibilities are endless!
Leftover Turkey Ideas:
- Turkey sandwiches: A classic for a reason! You can use the leftover turkey for sandwiches, wraps, or salads.
- turkey soup: A hearty and comforting meal, perfect for a cold winter day. You can make a simple turkey noodle soup or get creative with different vegetables and herbs.
- turkey pot pie: A delicious way to use up leftover turkey, potatoes, and vegetables. Just layer everything in a pie crust and bake until golden brown.
- Turkey hash: A quick and easy meal that's perfect for breakfast, lunch, or dinner. Simply fry up some chopped turkey, potatoes, and onions.
- turkey salad: A light and refreshing meal or snack. You can use the leftover turkey with mayonnaise, celery, and onion. It's delicious on bread, crackers, or lettuce.
(Part 8) Troubleshooting: Common Turkey Problems and Their Solutions
Even the best cooks can run into some hiccups when it comes to turkey. Don't panic! I've got you covered with some tips on how to deal with common turkey problems.
Problem: Dry Turkey
This is a classic turkey issue, and it's usually caused by overcooking. Here are some ways to prevent it:
- Don't overcook: Check the turkey's internal temperature carefully, and don't cook it beyond 165°F (74°C).
- Baste frequently: This will help to keep the turkey moist.
- Use a turkey breast shield: This will help to protect the breast from drying out.
Problem: Burnt Skin
Another common issue is burnt skin. This can happen if the oven is too hot or if the turkey is not basted enough.
- Lower the oven temperature: If the skin starts to get too brown, you can lower the oven temperature.
- Baste more frequently: This will help to keep the skin moist and prevent it from burning.
Problem: Raw Turkey
This is a serious problem that can make you sick. It's important to make sure the turkey is cooked through before serving it.
- Check the internal temperature: Make sure the turkey reaches an internal temperature of 165°F (74°C) in the thickest part of the thigh.
- Don't stuff the turkey until it's cooked: This can prevent the stuffing from reaching a safe temperature.
(Part 9) A Table for Turkey Cooking Times: A Timetable for Success
Here's a handy table that outlines the estimated cooking times for turkeys of different sizes:
| turkey weight (lbs) | Cooking Time (Hours) |
|---|---|
| 10-12 | 2-2.5 |
| 12-14 | 2.5-3 |
| 14-16 | 3-3.5 |
| 16-18 | 3.5-4 |
| 18-20 | 4-4.5 |
| 20-22 | 4.5-5 |
| 22-24 | 5-5.5 |
| 24-26 | 5.5-6 |
Remember, these are just estimates. The actual cooking time may vary depending on your oven and the turkey's thickness. Always use a meat thermometer to ensure the turkey is cooked through.
(Part 10) FAQs: Common Turkey Cooking Questions Answered
You've got your turkey, you've read all the tips, but you're still wondering...?
1. How do I know if my turkey is done?
The best way to check if your turkey is done is with a meat thermometer. Insert the thermometer into the thickest part of the thigh, making sure not to touch any bone. The turkey is fully cooked when the internal temperature reaches 165°F (74°C). If you don't have a thermometer, you can check for doneness by piercing the turkey's thickest part with a fork. If the juices run clear, it's done. If they're still pink, it needs more cooking time.
2. What if my turkey is too small?
Don't worry, you can still cook a smaller turkey. Just adjust the cooking time accordingly. You can use the table above as a guide, but remember that smaller birds will cook faster. Always check the internal temperature to ensure the turkey is fully cooked.
3. Can I stuff my turkey the night before?
It's not recommended to stuff your turkey the night before. Stuffing needs to be cooked to a safe temperature, and stuffing it the night before can lead to food poisoning. Stuffing should be cooked separately, or you can stuff the turkey after it's been cooked. This ensures that both the stuffing and the turkey reach a safe temperature.
4. How do I make gravy?
There's nothing quite like a good turkey gravy! I like to make my gravy with the pan drippings from the turkey. Simply strain the drippings to remove any fat or solids. Then, whisk in some flour and slowly add in stock or broth, whisking constantly, until the gravy thickens. You can also add herbs and spices to your gravy for extra flavor.
5. How can I reheat leftover turkey?
There are a few different ways to reheat leftover turkey. You can reheat it in the oven at 350°F (175°C) for about 15-20 minutes. You can also reheat it in the microwave, but it might end up a little dry. The best way to reheat turkey is in a skillet on the stovetop with a little bit of butter or oil. This will help to keep the turkey moist and flavorful.
So there you have it, mate. Your guide to conquering a 25lb turkey. Remember, it's all about planning, preparation, and a good dose of patience. You'll be a turkey-roasting champion in no time! Enjoy the festive season, and remember, good food and good company are the true ingredients for a happy holiday.
Everyone is watching

How to Cook Frozen Lobster Tails Perfectly: A Step-by-Step Guide
RecipesLobster. Just the word conjures up images of lavish meals, special occasions, and a taste of luxury. But let's...

Pigs in a Blanket Cooking Time: How Long to Bake for Perfect Results
RecipesAh, pigs in a blanket. Just the name conjures up images of those delightful little parcels of crispy pastry en...

Pork Fillet Cooking Time: How Long to Cook It Perfectly
RecipesPork fillet, or tenderloin as it's sometimes called, is a real favourite in our house. It's so versatile, and...

The Ultimate Guide to Tender, Juicy Pulled Pork
RecipesRight, let's talk pulled pork. It's one of those dishes that just screams "comfort food," doesn't it? I mean...

The Ultimate Guide to Cooking Sweet Potatoes: From Roasting to Mashing
RecipesSweet potatoes. Just the name conjures up images of warm, comforting dishes, bursts of vibrant color, and a to...
