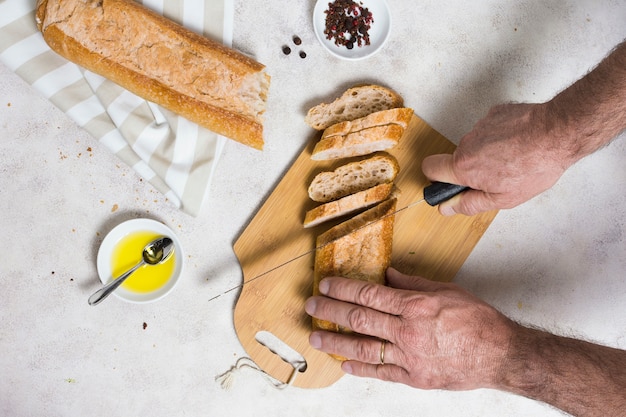
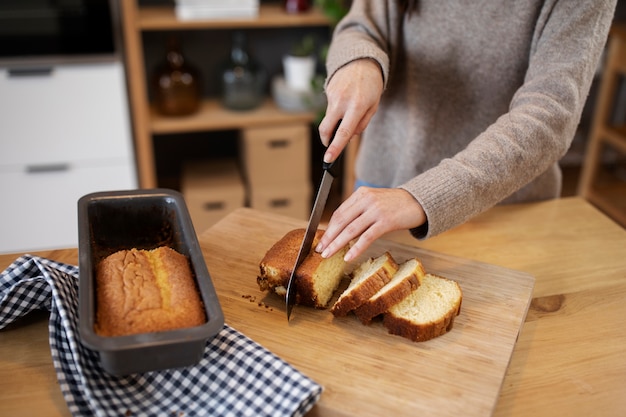
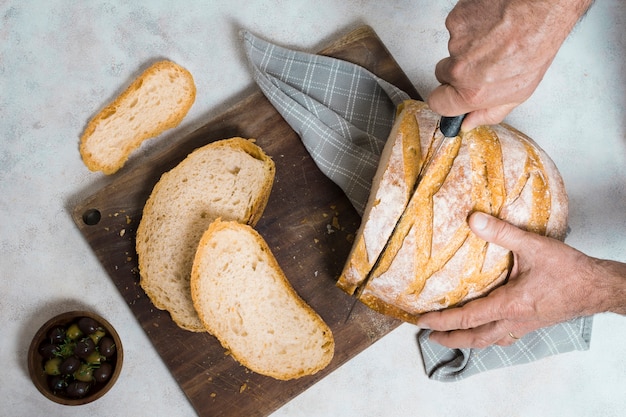
Let’s face it, there are few things more comforting and delicious than a warm, crusty slice of garlic bread. It’s that magical combination of garlicky goodness, cheesy meltiness, and a satisfyingly crispy exterior that elevates any meal from ordinary to extraordinary. I’ve been making garlic bread for years, and I’ve tried every trick in the book – from the classic buttery and garlicky to the more adventurous, cheesy, and herb-infused creations. And let me tell you, there’s nothing quite like sinking your teeth into a piece of homemade garlic bread, especially when it’s done right. That golden-brown, crispy crust, the soft, pillowy interior, and that irresistible aroma – it’s pure magic.
This guide will walk you through every step of the garlic bread making process, sharing my secrets and tips along the way. You’ll be a garlic bread pro in no time!
(Part 1) The Bread: Your Garlic Bread Foundation

First things first, the bread. This is the foundation of your garlic bread masterpiece, the canvas for all the delicious flavours to come. Choosing the right bread is crucial for a truly satisfying experience, and there are a few key things to consider.
What Makes a Great Garlic Bread Loaf?
The perfect garlic bread loaf is one that's sturdy enough to hold up to all that garlic butter and yet still soft enough to be enjoyable. I’ve experimented with various breads over the years, and here are my top picks:
- French Baguettes: These are my personal favourite. They’ve got that beautiful crust and a slightly chewy interior that soaks up all the garlic butter perfectly. Plus, they’re super easy to find at most supermarkets.
- Italian Ciabatta: Another classic choice. Ciabatta has a lovely airy texture that's perfect for garlic bread. It’s a bit more rustic and might be a touch chewier than a baguette, but it’s definitely a great option.
- Sourdough: Sourdough adds a lovely tanginess that cuts through the richness of the garlic butter. Just be sure to buy a loaf that’s not too dense, or it’ll be a bit chewy.
- Focaccia: This Italian flatbread is delicious with its slightly crispy surface and soft, airy interior. It’s already seasoned with herbs, which adds an extra layer of flavour to your garlic bread.
- Artisan Breads: Don’t be afraid to experiment! You can use a variety of artisanal breads like whole grain, rye, or even a multigrain loaf. Just make sure the loaf isn't too dense or overly sweet.
The Importance of Toasting
Before you even think about the garlic butter, you need to give your bread a good toast. Toasting is crucial for two reasons:
1. It creates a lovely, crispy exterior. Who doesn’t love a bit of crunch with their garlic bread?
2. It helps the bread absorb the garlic butter better. Think of it like prepping the canvas for a masterpiece.
You can toast your bread in the oven, under the broiler, or even in a pan on the stovetop. Just make sure it’s golden brown and slightly firm to the touch.
(Part 2) The Garlic Butter: The Heart of the Matter

Now, let’s talk about the star of the show – the garlic butter. This is where the magic really happens. It’s all about finding the right balance of garlic, butter, and herbs for a truly irresistible flavour.
The Basic garlic butter recipe
Here’s a simple and classic recipe that’s always a crowd-pleaser:
- 1 stick of unsalted butter, softened
- 4-6 cloves of garlic, minced
- 1/4 teaspoon of salt
- 1/4 teaspoon of black pepper
- 1 tablespoon of chopped fresh parsley (optional)
Instructions:
1. In a bowl, combine the softened butter, minced garlic, salt, and pepper.
2. Mix everything together until the garlic is evenly distributed throughout the butter.
3. Add the chopped parsley (optional), and stir again.
Tips for Perfect Garlic Butter
Here are a few tips to make your garlic butter extra special:
- Use fresh garlic: Trust me, it makes all the difference! Fresh garlic has a much brighter, more vibrant flavour compared to pre-minced garlic.
- Don’t over-do it with the garlic: You want a flavourful garlic bread, not a garlic bomb. Start with 4 cloves and add more to taste.
- Use unsalted butter: This gives you control over the saltiness of the garlic butter. You can always add more salt later if needed.
- Add some herbs: Parsley is a classic, but you can also experiment with other herbs like thyme, rosemary, or oregano.
- Use a food processor or a garlic press: This makes mincing the garlic super quick and easy.
(Part 3) The Baking Process: Achieving Crispy Perfection

Okay, you’ve got your toasted bread and your garlicky goodness ready. Now it’s time to bake it to perfection! This is where you’ll achieve that golden-brown crust and create the perfect balance of crispy and chewy.
Method 1: Baking in the Oven
This is the classic method and my personal favourite. Here’s how it works:
1. Prepare the baking sheet: Preheat your oven to 375°F (190°C). Line a baking sheet with parchment paper or foil. This will prevent the garlic bread from sticking to the pan.
2. Apply the garlic butter: Spread the garlic butter evenly over the toasted bread. You can use a knife, a pastry brush, or even your fingers.
3. Bake until golden brown: Place the bread on the prepared baking sheet and bake for 5-7 minutes, or until the garlic butter is melted and the bread is golden brown. Keep a close eye on it, as ovens can vary in temperature.
4. Serve immediately: Enjoy your crispy, garlicky, homemade garlic bread while it’s still warm! It’s truly best enjoyed fresh out of the oven.
Method 2: Grilling for a Smoky Touch
For a bit of smoky flavour, you can grill your garlic bread.
1. Prepare the grill: Heat your grill to medium-high heat.
2. Apply the garlic butter: Spread the garlic butter evenly over the toasted bread.
3. Grill until golden brown: Place the bread on the grill and cook for 2-3 minutes per side, or until the garlic butter is melted and the bread is golden brown. Be careful not to burn it!
Method 3: Broiling for Maximum Crisp
For maximum crispiness, broiling is the way to go. Just be careful not to burn it!
1. Preheat the broiler: Preheat your oven broiler to high.
2. Apply the garlic butter: Spread the garlic butter evenly over the toasted bread.
3. Broil until golden brown: Place the bread on a baking sheet and broil for 1-2 minutes, or until the garlic butter is melted and the bread is golden brown. Watch closely so it doesn’t burn.
(Part 4) The Finishing Touches: Elevate Your Garlic Bread
Alright, you’ve got your crispy garlic bread, but now it’s time to take it to the next level. Here are some fun and flavourful finishing touches that will make your garlic bread the star of the show.
Add Some Cheese: A Classic Touch
Cheese and garlic bread, it’s a match made in heaven!
- Mozzarella: This classic choice melts beautifully and adds a creamy texture.
- Provolone: For a slightly sharper, more tangy flavour.
- Parmesan: A sprinkle of grated Parmesan adds a salty, nutty flavour.
- Asiago: For a rich, slightly sweet flavour.
- Parmesan: A sprinkle of grated Parmesan adds a salty, nutty flavour.
Simply sprinkle your chosen cheese over the garlic butter before baking or broiling. You can also try a combination of cheeses for a more complex flavour profile.
Get Creative with Toppings
There’s no limit to what you can add to your garlic bread. Get creative and have fun with it!
- Chopped fresh herbs: Rosemary, thyme, and oregano are all great additions. They add a fresh, aromatic touch that complements the garlic flavour beautifully.
- Crushed red pepper flakes: A touch of spice to add some heat. Just a pinch can make a big difference!
- Sun-dried tomatoes: A burst of sweetness and acidity. These add a wonderful depth of flavour.
- Sliced or diced vegetables: Red onions, peppers, or even mushrooms can add a delicious flavour and texture.
- Bacon bits: For a salty, smoky flavour. crispy bacon bits add a lovely crunch and richness.
- A drizzle of balsamic glaze: Adds a touch of sweetness and acidity. This can be a great way to balance out the richness of the garlic butter.
Don't Forget the side dishes
Garlic bread is the perfect accompaniment to a variety of dishes, so don’t forget to pair it with something delicious!
- Pasta: Garlic bread is a classic with Italian pasta dishes like spaghetti, fettuccine Alfredo, and lasagna. It’s a wonderful way to mop up any delicious sauce.
- Soup: Perfect for soaking up a warm bowl of soup on a cold day.
- Salads: Adds a nice contrast of textures and flavours to your salads.
- Grilled meats and vegetables: A delicious side for any barbecue.
(Part 5) Storing and Reheating: Keeping Your Garlic Bread Delicious
Let’s be honest, sometimes you’ll make more garlic bread than you can eat in one sitting.
Storing Leftovers
You can store leftover garlic bread at room temperature for up to 2 days. Wrap it tightly in foil or plastic wrap to keep it from drying out.
Reheating Tips
If you want to enjoy your garlic bread later, there are a few ways to reheat it:
- Oven: Preheat your oven to 350°F (175°C). Wrap the garlic bread in foil and bake for 5-10 minutes, or until heated through. This helps keep the garlic bread moist and prevents it from drying out.
- Toaster oven: This is a great option for reheating smaller portions of garlic bread. Toast for a few minutes, or until golden brown and heated through.
- Air fryer: This is a quick and easy way to reheat garlic bread. Cook for a few minutes at 350°F (175°C), or until crispy and heated through. The air fryer helps to crisp up the bread and make it delicious again.
(Part 6) Variations and Twists: Beyond the Basic
Now that you’ve got the basics down, let’s get creative! Here are some delicious variations that will take your garlic bread to the next level.
Spicy Garlic Bread
If you like a little heat, this variation is for you! Add some crushed red pepper flakes to your garlic butter, or even a touch of cayenne pepper. Adjust the amount to your preferred spice level.
Cheesy Garlic Bread
For a cheesy delight, sprinkle your favourite cheese over the garlic butter before baking or broiling. Mozzarella, provolone, and Parmesan are all great choices. You can also try a combination of cheeses for a more complex flavour.
Garlic Bread with Herbs
Fresh herbs add a beautiful flavour to garlic bread. Try adding chopped rosemary, thyme, oregano, or basil to your garlic butter.
Garlic Bread with Sun-dried Tomatoes
Add a burst of sweetness and acidity to your garlic bread by adding sun-dried tomatoes to your garlic butter.
Garlic Bread with Pesto
Spread a layer of pesto on the bread before topping with garlic butter for a fragrant and flavourful treat.
(Part 7) Garlic Bread Around the World: A Global Journey
Garlic bread isn’t just a British favourite. It’s enjoyed all over the world, with variations and twists unique to different cultures.
Italian Bruschetta
This classic Italian dish features toasted bread rubbed with garlic, topped with olive oil, salt, pepper, and often tomatoes. It’s a simple but delicious dish that is often served as an appetizer or side dish.
French Baguette with Garlic Butter
The French have their own version of garlic bread, known as “pain à l’ail,” which is simply a baguette brushed with garlic butter. It’s a simple but delicious way to enjoy a baguette.
Mexican Garlic Bread
In Mexico, you’ll find “pan de ajo,” a garlic bread that’s often served with cheesy dips and sauces. This is a great example of how garlic bread can be adapted to different cuisines.
Spanish Ajoarriero
This Spanish dish features bread soaked in a garlicky, tomato-based sauce, often served with eggs. It’s a hearty and flavorful dish that is perfect for a cold day.
(Part 8) FAQs: Your Garlic Bread Questions Answered
So you’ve got all the info, but maybe you still have a few questions. Let’s get those answered!
Can I Use Salted Butter?
Yes, you can use salted butter, but I recommend using unsalted butter so you can control the saltiness of the garlic butter. This way, you can adjust the saltiness to your taste preferences.
How Long Can I Keep Garlic Butter?
Homemade garlic butter can be stored in the refrigerator for up to 3 days. Wrap it tightly in plastic wrap or store it in an airtight container. This helps to keep the garlic butter fresh and prevent it from absorbing other smells in the refrigerator.
What Can I Use if I Don’t Have Fresh Garlic?
You can use pre-minced garlic, but the flavour won’t be as intense as fresh garlic. If you’re in a pinch, pre-minced garlic will work, but fresh garlic is always the best choice.
Can I Make Garlic Bread Ahead of Time?
You can make the garlic butter ahead of time and store it in the refrigerator. Just let it come to room temperature before spreading it on the bread. This is a great way to save time if you’re planning to make garlic bread for a party or gathering.
What Other Herbs Can I Use?
Besides parsley, you can use rosemary, thyme, oregano, basil, or any other herbs you like. Experiment and find your favourite combination! Don’t be afraid to try different combinations of herbs to create your own unique flavour profile.
Everyone is watching

How to Cook Frozen Lobster Tails Perfectly: A Step-by-Step Guide
RecipesLobster. Just the word conjures up images of lavish meals, special occasions, and a taste of luxury. But let's...

Pigs in a Blanket Cooking Time: How Long to Bake for Perfect Results
RecipesAh, pigs in a blanket. Just the name conjures up images of those delightful little parcels of crispy pastry en...

Pork Fillet Cooking Time: How Long to Cook It Perfectly
RecipesPork fillet, or tenderloin as it's sometimes called, is a real favourite in our house. It's so versatile, and...

The Ultimate Guide to Cooking Sweet Potatoes: From Roasting to Mashing
RecipesSweet potatoes. Just the name conjures up images of warm, comforting dishes, bursts of vibrant color, and a to...

The Ultimate Guide to Tender, Juicy Pulled Pork
RecipesRight, let's talk pulled pork. It's one of those dishes that just screams "comfort food," doesn't it? I mean...
