Let's face it, cooking a turkey breast can be a bit daunting, especially if you're not a seasoned chef. But don't worry, I'm here to guide you through the process, sharing my tried-and-true techniques for a juicy, flavorful, and perfectly cooked turkey breast that will leave your guests singing your praises. From choosing the right bird to carving like a pro, I'll break down every step, making sure you're confident and excited to tackle this holiday classic. So, put on your apron, grab a cuppa, and let's get started!
Part 1: Choosing the Right Turkey Breast – It's All About the Foundation
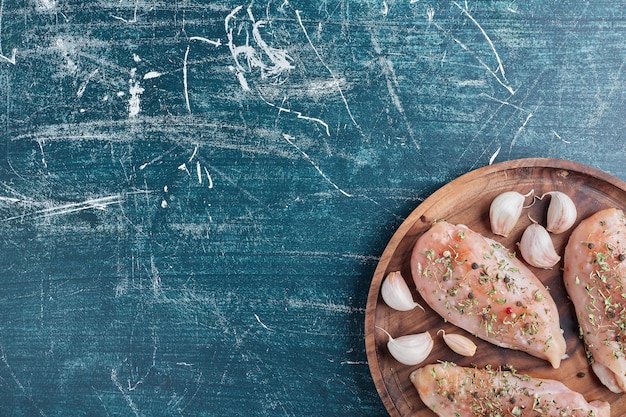
A good turkey breast is the foundation of a delicious roast, so it's crucial to start with the right one. Think of it like choosing the perfect ingredient for your favourite dish – you wouldn't skimp on the quality, would you? Here's what to look for:
1. Size Matters: Don't Go Overboard
First things first, consider the size. While a larger turkey might seem impressive, a smaller breast is actually much easier to manage and cook evenly. A 3-4lb turkey breast is ideal for a family meal, providing generous portions without leaving you with an overwhelming amount of leftovers.
2. The Skin Test: Look for a Plump and Healthy Bird
Next, give that skin a good look. It should be plump and pale, with a slight sheen. Avoid any turkey breast that looks dry, discolored, or has too many feathers. A healthy, fresh turkey breast will have a nice, even color and a smooth, firm texture.
3. Boneless vs. Bone-In: A Matter of Preference
bone-in turkey breasts tend to cook a bit more evenly, as the bone helps to distribute heat, and they're usually cheaper. But boneless breasts are a bit easier to carve and are ideal for a quick and easy option, especially if you're short on time. Ultimately, the choice is yours!
4. Fresh or Frozen: A Practical Consideration
Fresh is always best, as it offers the most flavor and juiciness. However, frozen turkey breasts are perfectly acceptable, especially if you're planning ahead. Just make sure to defrost it properly before cooking, following the instructions on the packaging. Thaw it in the refrigerator, allowing plenty of time for it to thaw thoroughly. Never thaw a turkey breast at room temperature, as this can lead to bacteria growth.
Part 2: The Brining Game – Unleashing the Juicy Potential
Now, let's talk brining. This is the secret weapon to a juicy, flavorful turkey breast, and a technique I've come to rely on over the years. It's a simple yet transformative process, essentially soaking the turkey in a salt water solution, which works wonders for those dry, rubbery turkeys we've all experienced at some point. Trust me, once you try brining, you'll never go back!
1. Why Brine? The Science Behind the Magic
Brining works by drawing moisture into the turkey meat through osmosis, making it juicier and more flavorful. The salt also helps to season the meat throughout, while the water prevents the breast from drying out during cooking. It's like giving your turkey a moisture-boosting spa treatment!
2. The Simple Brine: A Foolproof Recipe
Here's my go-to brine recipe. It's incredibly straightforward and consistently delivers a juicy and flavorful turkey breast.
- Dissolve 1 cup of kosher salt in 1 gallon of cold water. Kosher salt is preferred for brining because its larger crystals dissolve more slowly, preventing the brine from becoming overly salty.
- Add a cup of brown sugar to the brine for extra sweetness. This not only adds depth of flavor but also helps to tenderize the turkey. You can also add a tablespoon of black peppercorns for an extra kick, or a bay leaf for a more subtle flavor.
- Place the turkey breast in a large container, pour the brine over it, and ensure it's fully submerged. A large stockpot, a cooler, or even a plastic bag (like the kind you use for storing meat) work well. Make sure the container is large enough to comfortably hold the turkey breast with room to spare, so it can move around freely in the brine.
- Refrigerate the turkey breast for at least 4 hours, or up to 24 hours. You can't over-brine a turkey, so if you have time, let it soak for the full 24 hours for the best results.
3. Alternative Brines: Get Creative with Flavors
Don't be afraid to experiment with brines! Add some herbs and spices, like fresh thyme, rosemary, or sage, for a fragrant, herbaceous touch. A splash of lemon juice or orange juice can add a bright, citrusy tang, while a little bit of whiskey or bourbon can impart a subtle smoky complexity. Get creative and let your taste buds guide you!
Part 3: Prepping the Turkey Breast – Ready for the Oven
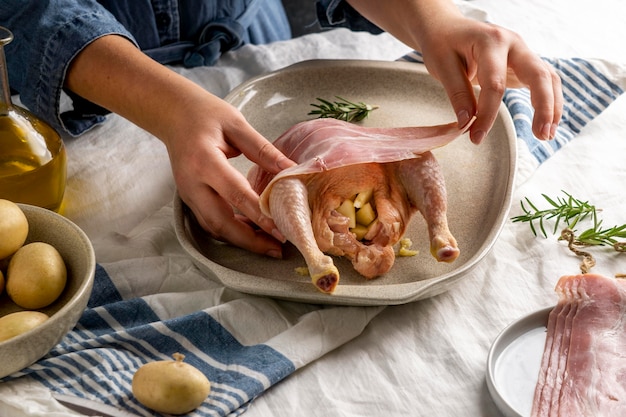
The turkey breast is brined and ready to go. Now it's time to get ready for roasting, and this stage is all about creating the perfect foundation for a crispy skin and a beautifully browned surface.
1. Pat It Dry: A Crucial Step for Crispy Skin
First things first, pat the turkey breast dry with paper towels. This is crucial for achieving that coveted crispy skin. Moisture on the surface of the skin will prevent it from getting nice and brown. Make sure you remove any excess moisture, paying special attention to the skin folds and crevices.
2. Butter Up: A Moisture-Boosting Touch
Next, give the turkey breast a good rub with softened butter. I like to add a bit of fresh rosemary and thyme to the butter for extra flavor and aroma, but you can use any herbs you like, or even leave it plain. This step not only adds moisture and richness to the breast but also helps create a beautiful, golden brown skin during roasting.
3. Seasoning Time: A Symphony of Flavors
Now, it's time to season the turkey. I prefer a simple mixture of salt, black pepper, and paprika, but feel free to experiment with other seasonings like garlic powder, onion powder, or a blend of herbs like oregano, thyme, or sage. The key is to season generously, ensuring that the flavors penetrate the meat and create a delicious crust.
Part 4: Roasting the Turkey Breast – The Grand Finale
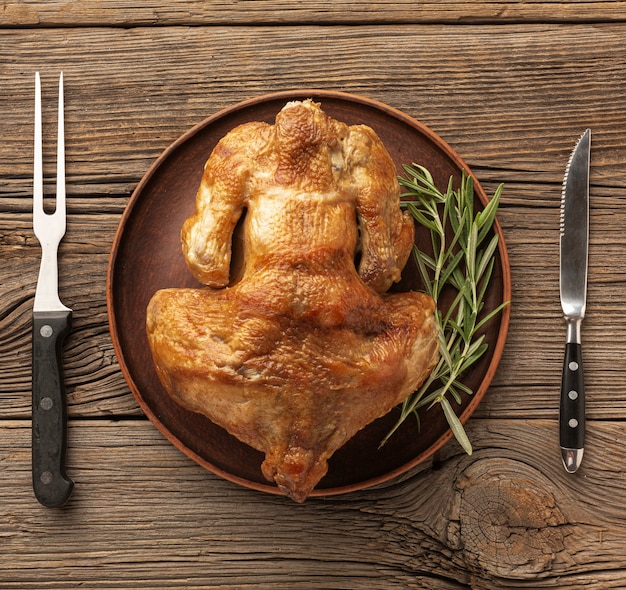
Finally, we're ready to roast! This is where the real magic happens, transforming your turkey breast into a culinary masterpiece.
1. roasting temperature: Find the Sweet Spot
Preheat your oven to 325°F (163°C). This is the ideal temperature for a slow, even roast, ensuring the turkey breast cooks through without drying out.
2. The roasting pan: A Safe Haven for Your Turkey
Place the turkey breast in a roasting pan. I recommend using a pan with a rack to allow air to circulate around the turkey, promoting even cooking. Make sure to add a little bit of water to the bottom of the pan to create steam, which will help to keep the turkey moist.
3. The Roast: Patience is Key
Now, pop that turkey breast in the oven and let it roast. You'll need about 15-20 minutes per pound for a bone-in breast, and about 12-15 minutes per pound for a boneless breast. It's always a good idea to check the turkey breast after the initial roasting time using a meat thermometer, as cooking times can vary slightly depending on the size and thickness of the breast.
4. The Thermometer Test: A Scientific Approach
The turkey is done when the internal temperature reaches 165°F (74°C) in the thickest part of the breast. This ensures the turkey is cooked thoroughly and safe to eat. A meat thermometer is a valuable tool for ensuring doneness, eliminating any guesswork.
Part 5: Resting is Key – Allowing the Juices to Redistribute
You've done all the hard work, but don't get ahead of yourself! After you take the turkey out of the oven, let it rest for 15-20 minutes before carving. This crucial step allows the juices to redistribute throughout the meat, ensuring it stays nice and moist. Think of it as a post-roasting spa treatment for your turkey.
Part 6: Carving the Turkey Breast – A Touch of Skill and Precision
carving a turkey breast is a bit of an art form, but don't worry, it's not as complicated as it seems. Here's my foolproof method:
1. The Tools: Sharp and Ready
You'll need a sharp carving knife, a cutting board, and a serving platter. A sharp knife makes all the difference, allowing you to slice through the turkey breast cleanly without tearing or shredding the meat.
2. The Process: A Step-by-Step Guide
Start by cutting the turkey breast in half lengthwise. If you're working with a bone-in breast, remove the bone before slicing. Then, carve slices across the grain. This will ensure that the slices are tender and easy to chew. You can use your fingers to separate the slices, or you can use a fork to hold the turkey breast in place while you slice.
Part 7: The Ultimate Turkey Breast Gravy – A Flavorful Symphony
Gravy is an essential part of any roast turkey meal, adding a rich, flavorful sauce that complements the turkey perfectly. Here's my secret to creating the best gravy, using the turkey's pan drippings to infuse it with an incredible depth of flavor.
1. Pan Drippings: A Treasure Trove of Flavor
Don't discard those pan drippings! They contain all the delicious flavor from the roasting process, including the butter, herbs, and juices from the turkey. These drippings are like liquid gold, ready to be transformed into a delectable gravy.
2. The Base: A Smooth and Flavorful Foundation
To make the gravy, start by whisking together 2 tablespoons of flour and 2 tablespoons of butter in a saucepan. The butter adds richness and smoothness, while the flour acts as a thickening agent. Cook over medium heat for a few minutes, stirring constantly, until the mixture is smooth and golden brown. This forms the base for a luscious gravy.
3. Add the Drippings: Infusing Flavor
Pour the turkey drippings into the saucepan, then add about 1 cup of chicken broth. You can also use turkey broth for a deeper turkey flavor. Bring the mixture to a boil, then reduce the heat to a simmer and cook for a few minutes, stirring constantly, until the gravy has thickened. The drippings infuse the gravy with the essence of the roasted turkey, creating a symphony of flavors.
4. Seasoning: A Touch of Finesse
Season the gravy with salt and pepper to taste. You can also add a splash of red wine or lemon juice for extra flavor. A splash of red wine adds a subtle depth and complexity, while lemon juice provides a bright, tangy note.
Part 8: side dishes and Serving – Completing the culinary journey
You've got the turkey, you've got the gravy, now it's time to round out the meal with some delicious sides. Here are my go-to options, creating a symphony of flavors that complement the turkey beautifully.
1. Roasted Vegetables: Sweet and Savory Delights
roasted carrots, Brussels sprouts, and parsnips are always a hit, bringing a sweet and savory contrast to the turkey. The roasting process concentrates their natural sweetness, while the browning adds a delicious depth of flavor.
2. Stuffing: A Classic Thanksgiving Tradition
A classic Thanksgiving staple, stuffing is a savory and comforting side dish. I like to make a sausage and sage stuffing, but you can find countless variations using herbs, vegetables, and even dried fruits.
3. Cranberry Sauce: A Tart and Sweet Counterpoint
A sweet and tart contrast to the savory turkey, cranberry sauce adds a burst of brightness to the meal. I prefer homemade cranberry sauce, using fresh cranberries, sugar, and a touch of orange zest, but store-bought cranberry sauce is perfectly fine too.
4. mashed potatoes: Creamy and Comforting
No Thanksgiving table is complete without mashed potatoes, a creamy and comforting side dish that goes perfectly with turkey. I like to add a little bit of butter and cream for extra richness, but you can also experiment with different flavor combinations, like adding roasted garlic or herbs.
Part 9: Leftovers! – Delicious Possibilities
Let's face it, you're likely to have some leftovers, and that's a good thing! Here are a few ideas for using up your leftover turkey breast, turning them into delicious meals.
1. turkey sandwiches: A Classic comfort food
A classic! Pile slices of turkey on your favorite bread with lettuce, tomato, and mayonnaise. You can also add other ingredients, like avocado, bacon, or cheese, for a more substantial sandwich.
2. turkey soup: Hearty and Comforting
A hearty and comforting soup, perfect for a cold day. You can use leftover turkey breast in a variety of soups, like turkey noodle soup, turkey chili, or even a creamy turkey soup with vegetables.
3. turkey salad: A Light and Refreshing Option
A great lunch option, turkey salad is a light and refreshing way to use up leftover turkey breast. Mix chopped turkey breast with mayonnaise, celery, and onion. You can add other ingredients, like dried cranberries, walnuts, or Dijon mustard, to add variety.
Part 10: FAQs – Answering Your Turkey Questions
Ready for some turkey-related wisdom? Here are some frequently asked questions and detailed answers to help you navigate the world of turkey breast roasting.
1. How long can I brine a turkey breast?
You can brine a turkey breast for anywhere between 4 and 24 hours. I typically brine mine for 12-18 hours, finding that this time allows for optimal flavor and moisture absorption. Remember, you can't over-brine a turkey breast, so if you have time, let it soak for the full 24 hours for the best results.
2. What if my turkey breast is overcooked?
Unfortunately, there's no way to undo overcooking. But you can still salvage the situation by shredding the turkey breast and using it in a soup, salad, or casserole. The shredded turkey will still be flavorful and can be incorporated into various dishes.
3. Can I cook a turkey breast in a slow cooker?
Yes! It's a great way to get a moist and flavorful turkey breast, especially if you have a large slow cooker. Just make sure to cook it on low heat for 6-8 hours, ensuring the internal temperature reaches 165°F (74°C) before serving.
4. Can I freeze a turkey breast?
Yes, you can freeze a turkey breast for up to 3 months. Make sure to wrap it tightly in plastic wrap and aluminum foil before freezing, to prevent freezer burn and maintain quality. To defrost, thaw the turkey breast in the refrigerator for 1-2 days, ensuring it's fully thawed before cooking.
5. What's the best way to reheat leftover turkey breast?
The best way to reheat leftover turkey breast is in the oven. Preheat the oven to 325°F (163°C), then wrap the turkey breast in aluminum foil and bake for about 15-20 minutes, or until heated through. This method helps to keep the turkey moist and flavorful.
Part 11: Conclusion – A Culinary Triumph Awaits
There you have it! My ultimate guide to cooking a delicious turkey breast. With these tips and tricks, you're sure to impress your family and friends with a succulent roast that will leave everyone wanting more. Don't be afraid to experiment and have fun with it! Happy roasting, and remember, a delicious turkey breast is just the beginning of a memorable meal. Enjoy the process, embrace the flavors, and savor every moment!
Everyone is watching

How to Cook Frozen Lobster Tails Perfectly: A Step-by-Step Guide
RecipesLobster. Just the word conjures up images of lavish meals, special occasions, and a taste of luxury. But let's...

Pigs in a Blanket Cooking Time: How Long to Bake for Perfect Results
RecipesAh, pigs in a blanket. Just the name conjures up images of those delightful little parcels of crispy pastry en...

Pork Fillet Cooking Time: How Long to Cook It Perfectly
RecipesPork fillet, or tenderloin as it's sometimes called, is a real favourite in our house. It's so versatile, and...

The Ultimate Guide to Tender, Juicy Pulled Pork
RecipesRight, let's talk pulled pork. It's one of those dishes that just screams "comfort food," doesn't it? I mean...

The Ultimate Guide to Cooking Delicious Frankfurters
RecipesLet's face it, we all love a good frankfurter. It's a classic, simple, and always satisfying. But let's be rea...