As a seasoned chef and self-proclaimed steak aficionado, there's nothing that excites me more than the prospect of cooking a perfectly-done striploin steak. It's a dish that's both incredibly simple and yet surprisingly complex – a true testament to the beauty of cooking.
Over the years, I've honed my skills in mastering this culinary gem, and I'm eager to share my secrets with you. This guide will take you through the entire process, from selecting the right cut of meat to nailing those finishing touches that elevate a good steak into something truly extraordinary. Let's embark on this culinary journey together, shall we?
Part 1: Choosing the Perfect Striploin

The Striploin's Tale
The striploin, a cut known by various names like new york strip in the US or Kansas City Strip, comes from the short loin of the animal – that prized section between the ribs and the sirloin. It's a cut that holds a special place in the hearts of many steak lovers, and for good reason.
What sets the striploin apart? Well, it's the beautiful marbling – those delicate flecks of fat interspersed throughout the meat – that contribute so much to its flavour and tenderness. It's like a symphony of texture and taste, where the fat melts into the lean meat, creating a harmonious dance of deliciousness. And let's not forget, the striploin is incredibly versatile. It shines on the grill, it sings in a pan, and it even thrives in a roasting pan. It's the chameleon of the steak world, adapting to any cooking style you choose.
The Great steak selection
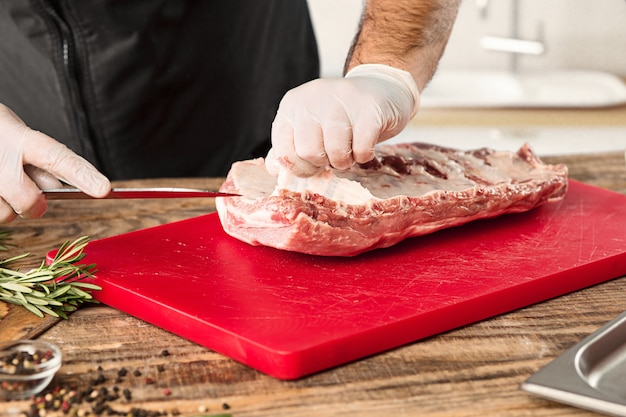
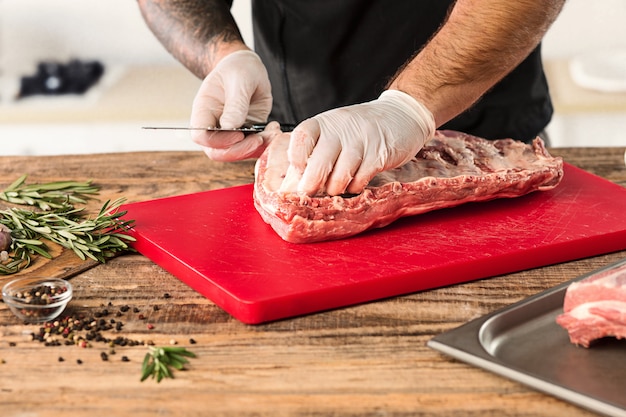
Choosing the right striploin is like selecting a vintage bottle of wine. It's an art form, a discerning process that requires a keen eye for detail. Here's what to look for:
- Marbling: Marbling is the key to a truly exceptional striploin. Look for that beautiful, consistent marbling throughout the meat. You want to see those delicate flecks of fat distributed evenly, not just clustered in one spot. Imagine it like a perfectly iced cake – you want that smooth, even coverage. It's the marbling that adds that incredible richness and juiciness to the steak.
- Fat Cap: The thin layer of fat on top of the steak, often referred to as the fat cap, is crucial. It's like a protective shield, helping to lock in moisture and flavour during cooking. Think of it as a culinary hug, keeping the steak warm and tender.
- Colour: A bright red colour is a sure sign of freshness. Don't be alarmed by a little bit of purple, though. That's simply the myoglobin in the meat reacting to the air. It doesn't affect the flavour or quality.
- Thickness: For a steak that cooks evenly and develops a beautiful crust, aim for a thickness of at least 1 inch. This gives the steak the space it needs to achieve that perfect level of doneness. Think of it as the ideal canvas for your culinary masterpiece.
Personally, I gravitate towards a striploin that's around 1.5 inches thick. It's the perfect balance for a medium-rare steak, allowing the juices to be evenly distributed throughout. But it all comes down to personal preference.
Part 2: Preparation

The Art of Resting
Once you've chosen your perfect striploin, it's time for the crucial resting ritual. Just like an athlete needs a warm-up, your steak needs some time to relax and acclimate before hitting the heat.
I typically let my steak rest on a plate in the fridge for at least 30 minutes, but ideally, I give it a couple of hours. This allows the meat to reach a uniform temperature, resulting in a more even cooking experience. It also gives the flavours time to develop, creating a symphony of tastes that will tantalize your taste buds. Think of it as letting the flavours mingle and deepen, like a fine wine aging in a cellar.
The Salt and Pepper Saga
Now, here's where the debate begins – the salt and pepper saga. Some believe in salting the steak beforehand, while others prefer to season it right before cooking.
I'm firmly in the camp of pre-salting. It helps draw out some of the moisture from the steak, resulting in a more crispy crust. But remember, a light hand is key. Over-salting is a culinary crime. Just a gentle sprinkling of kosher salt is all you need. It's a delicate touch, a whisper of flavour that enhances the natural taste of the steak.
As for pepper, I usually add that right before cooking. It's all about that fresh pepper punch, a burst of flavour that awakens the senses.
The Oil and Garlic
The final step in preparation is adding a little fat to the steak. A generous drizzle of olive oil or a touch of butter helps create that beautiful, crispy crust. And if you're feeling adventurous, a clove of garlic added to the pan or grill can add a tantalizing aroma and flavour. I'm a huge fan of garlic, so I typically throw in a clove or two, but ultimately, it's all about personal preference.
Part 3: The Heat is On

Grilling Glory
Now for the moment you've all been waiting for – cooking the steak!
If you're using a grill, make sure it's scorching hot, preferably over medium-high heat. I'm a grill enthusiast, so I typically opt for a gas grill for its ease of temperature control. But charcoal grills can also be fantastic, especially if you enjoy the ritual of preparing the coals. Just ensure your coals are nice and white-hot, radiating that intense heat.
Once your grill is ready, place the steak on the grill and resist the temptation to touch it! Let it cook undisturbed for 3-4 minutes per side. This allows the steak to develop that coveted crispy crust. For an extra touch of char, you can try a quick sear on each side. It's a bold move, but one that elevates the steak's flavour profile.
Pan-Seared Perfection
If grilling isn't your style, a good pan sear will do the trick. Heat a heavy-bottomed pan over medium-high heat. Add a touch of oil and let it get sizzling hot. Then, place the steak in the pan and let it cook for 3-4 minutes per side.
You'll know it's ready when you see a beautiful, crispy crust forming on the steak. This is where patience reigns supreme. Resist the urge to flip it too early. It's all about creating those beautiful sear marks that tell a story of culinary prowess.
Part 4: The internal temperature Game
Getting to Know Your Steak
As your steak cooks, it's essential to keep a close eye on the internal temperature. This is where a good meat thermometer becomes your trusty sidekick.
The internal temperature of your steak determines its level of doneness, from the rare, almost translucent centre to the well-done, fully cooked steak.
| Doneness | Internal Temperature |
|---|---|
| Rare | 125-130°F (52-54°C) |
| Medium Rare | 130-135°F (54-57°C) |
| Medium | 135-140°F (57-60°C) |
| Medium Well | 140-145°F (60-63°C) |
| Well Done | 145-150°F (63-66°C) |
I'm a staunch believer in medium-rare steak. It has that perfect balance of tenderness, with a hint of pink at the centre. But it's all a matter of taste.
Resting and Slicing
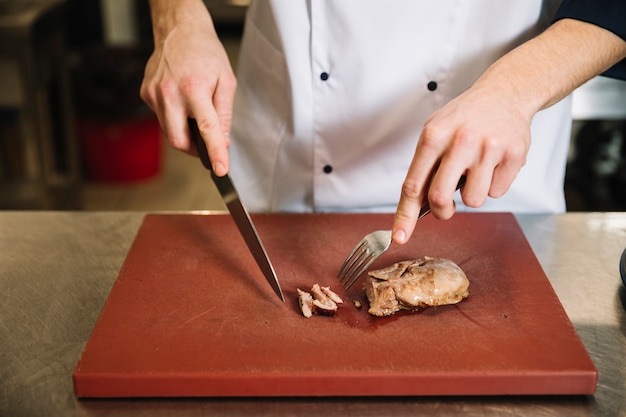
Once your steak reaches your desired temperature, take it off the heat and let it rest for 5-10 minutes before slicing. This allows the juices to redistribute throughout the meat, ensuring a more tender and juicy steak.
Now, here's a little tip I learned from my grandmother – slice the steak against the grain. This makes it easier to chew and creates a more tender bite. It's a subtle detail that makes all the difference.
Part 5: The Finishing Touches
The Sauce
What's a steak without a good sauce? It's like a symphony without the conductor!
The world of steak sauces is as vast and varied as the cuisines themselves. From classic béarnaise to the vibrant chimichurri, the possibilities are endless.
Personally, I like to keep things simple and let the steak shine. I often whip up a quick pan sauce using the drippings from the steak. Just add a touch of butter, a clove of garlic, and a splash of red wine or balsamic vinegar to the pan. Let it simmer for a minute or two and then drizzle it over the steak. It's a beautiful way to infuse the steak with its own essence.
The Sides
No steak is truly complete without a good side dish. It's like the supporting cast in a culinary masterpiece, adding depth and complexity to the overall experience.
Some of my favourite side dishes for steak include:
- Roasted vegetables: roasted brussels sprouts, carrots, or asparagus add a vibrant burst of flavour and colour.
- mashed potatoes: Creamy and comforting, mashed potatoes are the perfect complement to a juicy steak. They provide a comforting warmth that balances the richness of the steak.
- baked potato: A baked potato topped with cheese, sour cream, and chives is always a crowd-pleaser. It's a classic pairing that never fails to satisfy.
- Salad: A simple green salad with a light vinaigrette can help cut through the richness of the steak. It adds a refreshing touch and balances the overall flavour profile.
Remember, the side dishes should complement the steak, not overpower it. Think of them as enhancing the symphony, not drowning it out.
Part 6: The Art of Presentation
Plate It Up
Now, it's time for the grand finale – plating the steak.
Don't just toss the steak on a plate and call it a day. Take a moment to elevate your presentation. It's a way to showcase your culinary artistry and impress your guests.
Here are a few tips:
- Use a nice plate. It doesn't have to be fancy, but something that complements the food. A simple white plate often allows the steak to take centre stage.
- Arrange the steak in the centre of the plate. It should be the star of the show.
- Add your side dishes around the steak. They should be placed strategically, adding visual appeal and balance to the plate.
- Garnish with fresh herbs. A sprig of rosemary or a few basil leaves can add a touch of freshness and elegance.
- Don't overcrowd the plate. Give the steak some breathing room. It's all about showcasing the beauty of the steak, not hiding it.
Presentation is everything. You want to make your steak look as good as it tastes. It's a final act of respect for the culinary creation that you've painstakingly crafted.
Part 7: Beyond the Striploin
While striploin is a fantastic choice, there are other great steak options out there. If you're feeling adventurous, you can experiment with different cuts, like ribeye, filet mignon, or even skirt steak.
Just remember to adjust your cooking times accordingly. Each cut has its own unique characteristics and cooking preferences. It's like learning a new instrument – it takes time and practice to master each one.
Part 8: FAQs
What's the best way to tell if a steak is cooked to my liking?
The best way is to use a meat thermometer. It's the most accurate way to ensure your steak is cooked to your preferred doneness. Think of it as the compass that guides you towards culinary perfection.
What do I do if I overcook my steak?
It's happened to the best of us! If you've overcooked your steak, don't fret. While you can't undo the damage, it's still edible! Just try to slice it thinly and use a good sauce to cover up any dryness. A hearty sauce can help to rehydrate the meat and add a burst of flavour.
Can I cook a steak from frozen?
It's not ideal, but it can be done. Just make sure you thaw the steak completely before cooking. I'd recommend thawing it in the fridge overnight for the best results. This allows for a more even cooking experience.
What's the best way to store leftover steak?
Store leftover steak in the fridge in an airtight container for up to 3-4 days. You can also freeze it for up to 3 months. Freezing can help preserve the steak's quality and ensure it remains delicious.
How can I make my steak extra tender?
There are a few things you can do to make your steak extra tender:
- Marinate it: A simple marinade of olive oil, garlic, and herbs can help tenderise the meat. It infuses the steak with flavour and helps to break down the muscle fibres, resulting in a more tender texture.
- Use a meat tenderiser: There are many different types of meat tenderisers available. Just follow the instructions on the packaging. It's a handy tool that can make a big difference in tenderness.
- Cook it slowly: Cooking your steak slowly over low heat can help to create a more tender texture. It allows the heat to penetrate the steak gradually, resulting in a more even cooking experience.
Everyone is watching

How to Cook Frozen Lobster Tails Perfectly: A Step-by-Step Guide
RecipesLobster. Just the word conjures up images of lavish meals, special occasions, and a taste of luxury. But let's...

Pigs in a Blanket Cooking Time: How Long to Bake for Perfect Results
RecipesAh, pigs in a blanket. Just the name conjures up images of those delightful little parcels of crispy pastry en...

Pork Fillet Cooking Time: How Long to Cook It Perfectly
RecipesPork fillet, or tenderloin as it's sometimes called, is a real favourite in our house. It's so versatile, and...

The Ultimate Guide to Cooking Delicious Frankfurters
RecipesLet's face it, we all love a good frankfurter. It's a classic, simple, and always satisfying. But let's be rea...

Wolf Meat Recipes: A Guide to Cooking Wild Game
RecipesLet's be honest, you don't see wolf meat at your local butcher shop every day. It's a bit of a wild card, but ...
