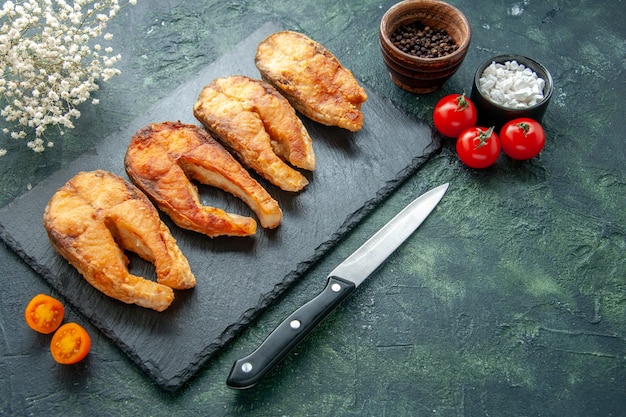
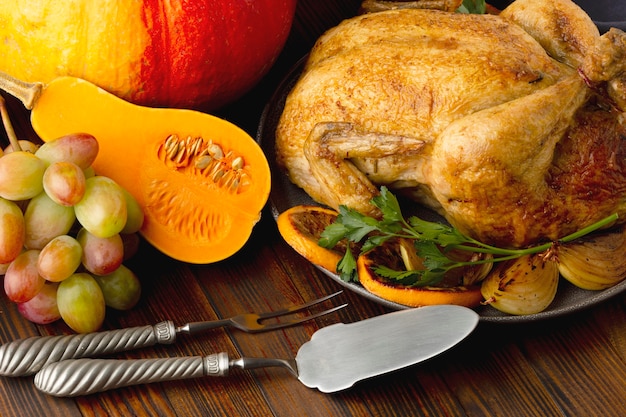
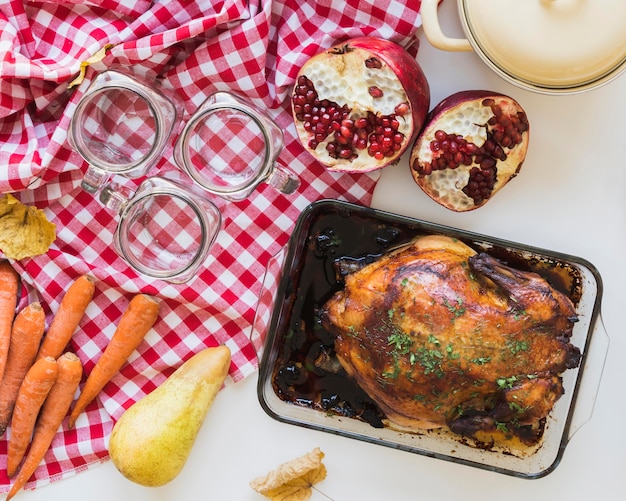
Ah, the Christmas turkey – a symbol of festive feasting and family gatherings. But let's be honest, who really wants to deal with the whole bird? Give me the drumsticks any day! They're the star of the show, offering a delicious combination of tender meat, crispy skin, and that irresistible savoury flavour. And trust me, you don't need to be a seasoned chef to nail this dish. I'm going to share all my tips and tricks, so you can create a Thanksgiving or Christmas feast that'll have everyone singing your praises.
Part 1: The Drumstick Selection - Choosing Your Champions

The journey to perfect turkey drumsticks starts with choosing the right players. This isn't just about grabbing the first pack you see – it's about finding those plump, juicy beauties that will transform into culinary masterpieces. I've learned a few tricks over the years, so let's dive in!
Tips for Picking the Best Drumsticks
- Size Matters: Don't be shy! Go for those big, meaty drumsticks. You want enough to share, and to leave room for seconds (and thirds, maybe?).
- Check the Colour: A healthy drumstick will have a nice, even colour, not too pale and not too dark. Think of it like a good blush – it’s a sign of freshness and flavour.
- Feel the Firmness: Give each drumstick a gentle squeeze. You want it to feel firm and springy, not floppy or mushy. A good drumstick should give you a little resistance.
- Ask for Help: If you're ever unsure, don't hesitate to ask the butcher for advice. They're experts in the field and are happy to guide you.
Remember, you're looking for drumsticks that are well-proportioned and plump, promising a juicy and flavorful experience. Don’t be afraid to ask for a little extra, you know, just in case.
Part 2: Prepping for Success - Getting Those Drumsticks Ready

Okay, you've got your superstar drumsticks. Now, it's time to give them a little love and attention before they hit the oven. This is where we set the stage for a truly unforgettable meal.
Cleaning the Drumsticks
- Rinse and Pat Dry: First things first, give those drumsticks a good rinse under cold water. This washes away any loose bits and ensures they're ready for their transformation. Then, pat them dry with some kitchen paper. No one wants a soggy turkey drumstick, right?
- Remove Skin (Optional): Some people prefer to remove the skin before cooking, while others leave it on. I usually leave it on because it adds a bit of extra flavour and helps keep the meat moist. Ultimately, it's up to you!
Seasoning Like a Pro
This is where you get to unleash your inner culinary artist. Now, don’t get carried away with complicated spice blends – sometimes, simple is best. A sprinkle of salt, pepper, and a touch of paprika is a classic combination that always delivers.
- Salt and Pepper: Always start with a good sprinkling of salt and pepper. This is your foundation, setting the stage for all the other flavours.
- Smoked Paprika: For a touch of smoky depth, add a bit of smoked paprika. It creates a warmth that’s both comforting and delicious.
- Garlic Powder: A tiny bit of garlic powder adds that wonderful umami flavour. It’s subtle, but it makes a big difference.
- Herbs and Spices: Feeling adventurous? Go ahead and experiment with herbs like rosemary, thyme, or sage. If you’re a spice enthusiast, a dash of cayenne pepper or chilli flakes will add a touch of heat.
Remember, the goal is to create a well-seasoned, flavourful drumstick that will tantalize your taste buds. Don’t be afraid to experiment and find what you love.
Part 3: Roasting to Perfection - The Grand Finale

This is where the magic happens. We’re transforming those humble drumsticks into something truly special. My go-to method for roasting is simple, but it consistently delivers the juiciest, most tender results. It’s all about creating a moist and flavorful environment that allows the drumsticks to cook evenly.
roasting time!
Preheat your oven to 180°C (350°F). Get a large roasting tin and line it with some baking paper. This will make cleaning up a breeze. Arrange your drumsticks in the tin, making sure they’re not crowded. You want them to have a little space to breathe, so they cook evenly.
The Secret to juicy drumsticks
The secret to juicy turkey drumsticks lies in keeping them moist. Overcooked drumsticks can become dry and tough, so we need to create a little steamy environment to help them retain their natural juices.
- The Water Trick: Pour a cup of water into the bottom of the roasting tin. This creates steam, which traps moisture and prevents the drumsticks from drying out.
- Cover Up: Cover the roasting tin with foil for the first hour of cooking. This creates a little steamy haven for your drumsticks, allowing them to cook evenly and retain their moisture.
- Uncover for Browning: After an hour, remove the foil. This allows the drumsticks to brown beautifully and develop a crispy skin.
The cooking time
The exact cooking time will depend on the size of your drumsticks, but you're looking at about 1 hour 30 minutes to 2 hours. You'll know they're ready when the internal temperature reaches 74°C (165°F). But don't worry, we'll talk about checking for doneness in the next section.
Part 4: Checking for Doneness - Making Sure They're Ready to Party
You're almost there! It's time to make sure those drumsticks are cooked to perfection, ready to be enjoyed by your hungry guests. There are a few ways to check for doneness, and I find a combination of methods works best.
The Fork Test
This is a classic for a reason. Insert a fork into the thickest part of the drumstick. If the juices run clear, you're good to go. If the juices are still pink, give them a few more minutes in the oven.
The Temperature Gauge
For the ultimate peace of mind, use a meat thermometer. Insert it into the thickest part of the drumstick, making sure it doesn’t touch any bone. The thermometer should read 74°C (165°F).
The Visual Cue
If you're a visual learner, pay attention to the colour of the drumsticks. They should have a beautiful golden-brown colour, and the skin should be crispy.
Don’t worry if the skin isn’t perfectly brown – that can sometimes happen. The most important thing is that the internal temperature is correct.
Part 5: Resting Time - Letting Those Drumsticks Relax
Now that your drumsticks are cooked to perfection, don’t rush to carve them right away. Let them rest for about 10 minutes before serving. This allows the juices to redistribute, ensuring that your meat stays wonderfully moist and tender. It’s like giving them a little spa treatment before they’re ready to be enjoyed.
Part 6: Carving and Serving - The Moment of Truth
Time to unveil those culinary masterpieces! You can use a sharp carving knife, or, if you’re feeling adventurous, a meat cleaver. I like to cut the drumstick in half lengthwise, then remove the bone. But if you prefer to leave the bone in, that’s perfectly fine too.
Table Presentation
Now, it’s time to make your drumsticks look as good as they taste. Arrange them on a platter, maybe with some roasted vegetables or a leafy green salad for a nice contrast. Don’t be afraid to get creative – it’s your feast, and you can present it however you like.
Part 7: Sauces and Sides - The Perfect Accompaniments
No turkey drumstick is complete without the right accompaniments. From classic gravy to cranberry sauce, the options are endless. Let's explore a few favourites.
Gravy
For a truly traditional touch, make a rich and flavourful gravy using the pan juices from roasting. It’s simple, it’s delicious, and it elevates the entire meal.
Cranberry Sauce
A sweet and tart cranberry sauce provides a lovely contrast to the savoury turkey. You can make it from scratch, or buy a good quality jarred version.
Sides
Think mashed potatoes, stuffing, roasted vegetables, or even a simple green salad. You can’t go wrong with classic Thanksgiving sides.
Part 8: Leftover Magic - Turning Leftovers into Culinary Wonders
Don’t be sad if you have some leftovers. They're a blessing in disguise, waiting to be transformed into delicious new dishes.
- Sandwiches: Slice up the leftover turkey and create delectable sandwiches. Add some cranberry sauce, a bit of lettuce and tomato, and you’ve got a delicious and satisfying lunch or dinner.
- Salads: Dice the leftover turkey and add it to a salad. It's a great way to add protein and flavour to your salads.
- turkey pot pie: Combine leftover turkey with some vegetables and gravy, and you have the makings for a comforting and delicious pot pie.
Don’t be afraid to get creative! There are endless possibilities when it comes to using leftover turkey drumsticks.
Part 9: FAQs - Answering Your Burning Questions
Now, I know you've got questions. That's why I've put together a few FAQs to help you along your culinary journey.
1. How long do I roast turkey drumsticks?
The exact roasting time depends on the size of the drumsticks. Generally, you'll need around 1 hour 30 minutes to 2 hours at 180°C (350°F). But remember, it’s always best to check for doneness with a meat thermometer.
2. How do I know when they're done?
You can use a fork test, a meat thermometer, or visually check for a golden-brown colour and crispy skin.
3. Can I freeze turkey drumsticks?
Yes, you can freeze turkey drumsticks before or after cooking. Wrap them tightly in plastic wrap or freezer bags.
4. What kind of gravy should I serve with them?
A traditional turkey gravy made from the pan juices is a classic choice.
5. Can I bake turkey drumsticks instead of roasting them?
Yes, you can bake turkey drumsticks. Just follow the same instructions as for roasting, but bake them in a baking dish instead of a roasting tin.
Part 10: My Personal Touch - Adding a Little Something Special
Over the years, I've developed a few personal tricks for cooking up the ultimate turkey drumsticks.
- brown sugar glaze: I like to add a little bit of brown sugar to the seasoning for a hint of sweetness. It caramelizes beautifully as the drumsticks cook, creating a delicious glaze.
- Mashed Potatoes: I always make sure to serve my drumsticks with a dollop of creamy mashed potatoes. It's the perfect balance of textures and flavours.
Remember, the most important thing is to have fun in the kitchen. Experiment, try new things, and don’t be afraid to make mistakes. You’ll be surprised at what you can create.
Happy cooking!
And remember, if you need any further help, don't hesitate to reach out. I'm always happy to share my passion for cooking with others.
Everyone is watching

How to Cook Frozen Lobster Tails Perfectly: A Step-by-Step Guide
RecipesLobster. Just the word conjures up images of lavish meals, special occasions, and a taste of luxury. But let's...

Pigs in a Blanket Cooking Time: How Long to Bake for Perfect Results
RecipesAh, pigs in a blanket. Just the name conjures up images of those delightful little parcels of crispy pastry en...

Pork Fillet Cooking Time: How Long to Cook It Perfectly
RecipesPork fillet, or tenderloin as it's sometimes called, is a real favourite in our house. It's so versatile, and...

The Ultimate Guide to Cooking Delicious Frankfurters
RecipesLet's face it, we all love a good frankfurter. It's a classic, simple, and always satisfying. But let's be rea...

Wolf Meat Recipes: A Guide to Cooking Wild Game
RecipesLet's be honest, you don't see wolf meat at your local butcher shop every day. It's a bit of a wild card, but ...
