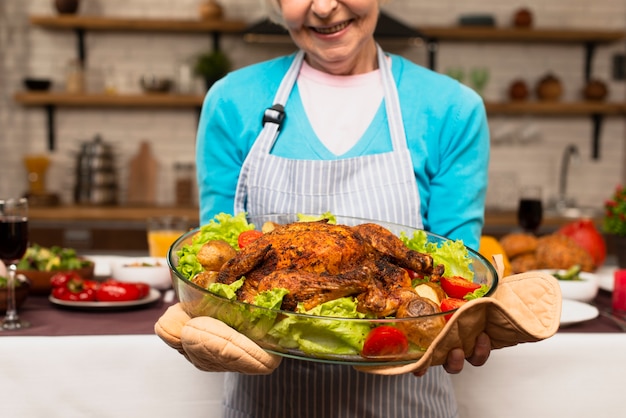
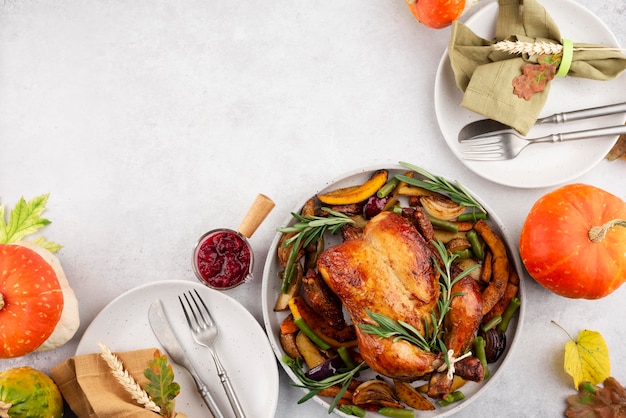
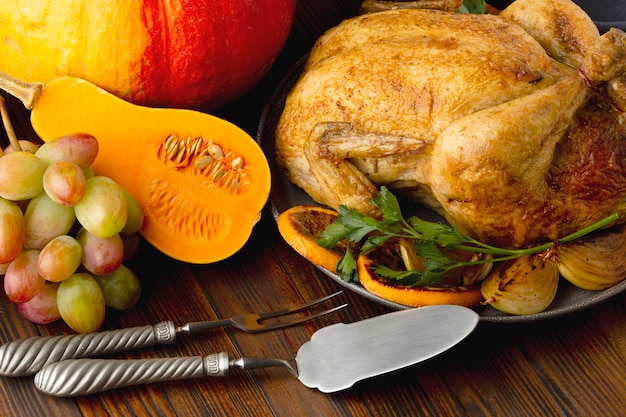
A 15-pound turkey. It's a majestic bird, a culinary challenge, and the centrepiece of countless festive feasts. But let's be honest, the prospect of cooking such a behemoth can be a little daunting. I've been there, staring at the massive turkey in my fridge, feeling a mixture of excitement and trepidation. But over the years, I've learned a thing or two about conquering this culinary beast, and I'm here to share my wisdom with you. So, grab a comfy spot, pour yourself a cuppa, and let's dive into the world of turkey roasting.
(Part 1) The Big Bird: Size Matters

First things first, let's acknowledge the elephant, or should I say, turkey, in the room. A 15-pound bird is no small feat. It's going to take a good chunk of time to cook through, and we want to ensure it stays juicy and tender, not dry and leathery. Think of it like a marathon, not a sprint. We need to pace ourselves, and that means planning ahead.
The Golden Rule: cooking time
A good rule of thumb is to allow about 15 minutes of cooking time per pound of turkey. So for our 15-pound friend, that means around 3 hours and 45 minutes in the oven. But remember, that's just a general guideline. Factors like stuffing, oven temperature, and even the breed of turkey can influence the cooking time.
(Part 2) Stuffing: To Stuff or Not to Stuff?

Ah, stuffing. A classic holiday tradition, the warm, savoury heart of many a Christmas dinner. But it's also a bit of a culinary conundrum. You see, stuffing takes longer to cook than the turkey itself, and if you stuff your turkey, you need to ensure the stuffing reaches a safe internal temperature of 165°F. This can lead to overcooked turkey breast, especially with a large bird.
The Pros and Cons of Stuffing
Like any good decision, there are pros and cons to stuffing your turkey. Let's weigh them out:
Pros:
- Flavor and Moisture: Stuffing adds a delightful burst of flavor and moisture to the turkey.
- Tradition: It's a classic festive tradition, a nostalgic element that brings back fond memories for many.
- Crowd Pleaser: Stuffing is a crowd-pleaser, a comforting and satisfying dish that adds a hearty element to the meal.
Cons:
- Increased Cooking Time: Stuffing significantly increases the cooking time, potentially leading to an overcooked breast.
- Fiddly Process: Stuffing and tying the turkey can be a bit fiddly, especially for beginners.
- Messy Business: Stuffing can be a bit messy to cook and serve, requiring extra pans and dishes.
The Safe Stuffing Solution
If you're set on stuffing your turkey, be sure to use a meat thermometer to check the stuffing's internal temperature. But I'm a firm believer in cooking the stuffing separately. It's much safer and easier. You can cook it in a casserole dish or even a roasting pan alongside the turkey. This way, you get perfectly cooked turkey and perfectly cooked stuffing, without any culinary drama.
(Part 3) Getting Ready: Prep is Key

Okay, let's get our hands dirty. Before we even think about preheating the oven, we need to do some essential prep work. It might seem like a lot, but trust me, a little preparation goes a long way in ensuring a successful turkey roast.
Brining: The Secret Weapon
First, consider brining your turkey. Brining is the process of soaking the turkey in a salt and water solution for a few hours, or even overnight. It's a bit like a magic potion for your turkey, infusing it with moisture and making it incredibly tender and juicy. Don't be intimidated by the process; it's actually quite simple. There are numerous recipes for brining solutions online, and even a simple salt and water mix works wonders.
Choosing the Right Pan
Now, you need a roasting pan that can comfortably accommodate your hefty bird. Look for a pan that's deep enough to prevent spills and wide enough to allow for even cooking. A roasting rack is also a fantastic addition. It elevates the turkey, allowing air to circulate around it, ensuring it cooks evenly and prevents the bottom from becoming soggy.
Patting Dry: A Must-Do
Once your turkey is prepped, pat it dry with paper towels. This is a crucial step, as it helps to achieve that crispy, golden-brown skin we all crave. It's a simple step, but it makes a big difference in the final result.
(Part 4) The Oven: Getting it Right
Now, let's turn our attention to the oven. Preheat it to 325°F (160°C). It's tempting to crank up the heat, but resist! High heat can lead to a dry, overcooked turkey. Slow and steady wins the race, and a lower temperature ensures even cooking and a juicy outcome.
(Part 5) The Turkey: Time for the Oven
We're finally here! Carefully place the turkey in the roasting pan, breast side up. Now, here's where the magic begins: Cook the turkey for the first hour at 325°F. This initial high temperature helps to set the skin and prevent it from drying out. Then, reduce the oven temperature to 300°F (150°C) and continue cooking until the turkey reaches an internal temperature of 165°F in the thickest part of the thigh.
The Thermometer: Your Best Friend
Don't forget your meat thermometer – it's your trusty sidekick in this culinary adventure. It's the only way to be certain your turkey is cooked through and safe to eat. I recommend using a digital thermometer; they're generally more accurate and easier to use. Insert the thermometer into the thickest part of the thigh, avoiding any bone.
(Part 6) Resting: Patience is Key
Once the turkey reaches the desired temperature, it's time for a well-deserved rest. Let the turkey rest for at least 30 minutes before carving. This allows the juices to redistribute throughout the turkey, ensuring it's tender and juicy. Cover the turkey loosely with foil to keep it warm and prevent it from drying out. Resist the urge to carve immediately; it's worth the wait.
(Part 7) Carving: The Grand Finale
After the resting period, it's time for the grand finale – carving the turkey! Use a sharp carving knife and a cutting board. Slice the turkey breast across the grain, ensuring each slice is about a quarter-inch thick. This ensures even cooking and tender slices. You can then carve the legs and thighs, removing the bone if you wish.
The Gravy: A Crucial Element
While you're carving the turkey, don't forget about the gravy. It's a crucial element that brings the whole meal together. You can make a delicious gravy from the turkey drippings in the roasting pan. Simply add some flour and stock to the drippings and simmer until thickened. It's a simple yet delicious way to add another layer of flavour to your meal.
(Part 8) Serving: The Feast Begins
And there you have it – a perfectly cooked turkey, ready to grace your table. Now it's time to serve and enjoy the fruits of your labor. Serve the turkey with your favourite sides, such as stuffing, mashed potatoes, gravy, cranberry sauce, and vegetables. Don't forget to pour a glass of something festive and raise a toast to a successful turkey feast.
(Part 9) Leftovers: Don't Waste Them!
Okay, let's talk about leftovers. You've probably got a mountain of turkey left, right? Don't let those precious leftovers go to waste! You can use them for sandwiches, salads, soups, pies, or even a turkey pot pie. Let your imagination run wild!
turkey soup: A Comforting Treat
Personally, I love using leftover turkey to make a comforting turkey soup. It's a great way to use up the meat and it's packed with flavor. Just simmer the turkey with some vegetables, stock, and herbs. It's a real soul-warmer, perfect for those chilly winter nights.
(Part 10) FAQs: Turkey Troubleshooter
I know what you're thinking: "What if something goes wrong?" Don't worry, I've got you covered. Here are some common turkey cooking questions and answers, to help you navigate any potential culinary hurdles.
FAQs
| Question | Answer |
|---|---|
| What if the turkey is overcooked? | Don't panic! A slightly overcooked turkey is still edible. Just make sure it's cooked through. It might be a little dry, but you can always add some gravy or sauce to make it more moist. |
| What if the turkey is undercooked? | If you're unsure whether the turkey is cooked through, it's best to cook it for longer. Use a meat thermometer to check the internal temperature. Don't take any chances when it comes to food safety. |
| What if the skin is not crispy? | If the skin isn't as crispy as you hoped, try browning it under the broiler for a few minutes at the end of the cooking time. Be careful not to burn it! |
| What if the stuffing is dry? | Add a little more stock to the stuffing and simmer for a few minutes until it's moist. You can also add a bit of butter or cream for extra richness. |
| What if the gravy is too thick? | Add a little more stock to the gravy and simmer until it's the desired consistency. You can also use a whisk to help thin it out. |
There you have it, folks. Hopefully, this comprehensive guide has given you the confidence and know-how to cook a delicious 15-pound turkey. Remember, it's all about planning, prepping, and a little bit of patience. Happy cooking, and most importantly, enjoy the feast!
Everyone is watching

How to Cook Frozen Lobster Tails Perfectly: A Step-by-Step Guide
RecipesLobster. Just the word conjures up images of lavish meals, special occasions, and a taste of luxury. But let's...

Pigs in a Blanket Cooking Time: How Long to Bake for Perfect Results
RecipesAh, pigs in a blanket. Just the name conjures up images of those delightful little parcels of crispy pastry en...

Pork Fillet Cooking Time: How Long to Cook It Perfectly
RecipesPork fillet, or tenderloin as it's sometimes called, is a real favourite in our house. It's so versatile, and...

The Ultimate Guide to Cooking Delicious Frankfurters
RecipesLet's face it, we all love a good frankfurter. It's a classic, simple, and always satisfying. But let's be rea...

Wolf Meat Recipes: A Guide to Cooking Wild Game
RecipesLet's be honest, you don't see wolf meat at your local butcher shop every day. It's a bit of a wild card, but ...
