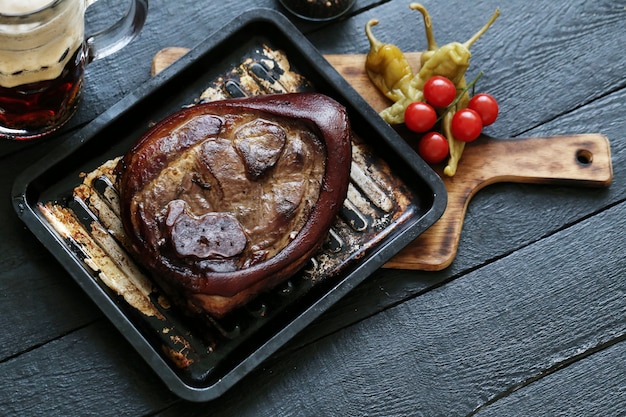
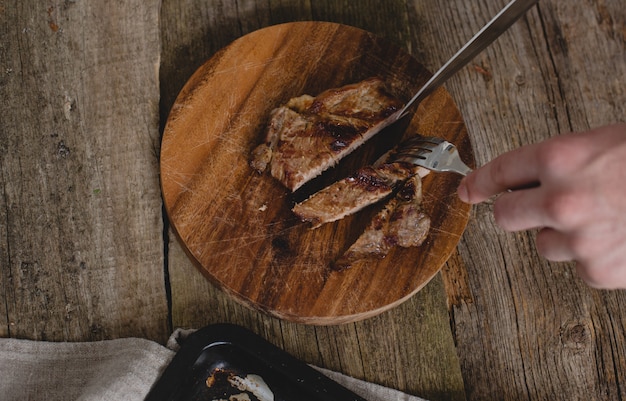
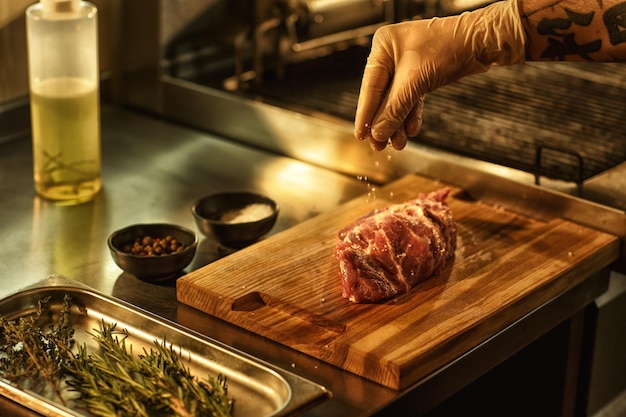
The aroma of a perfectly roasted prime rib, the rich, juicy meat, the glistening fat, the symphony of crackling as you carve it – it's a culinary experience that evokes pure joy. It’s a statement piece, a showstopper that elevates any dinner party. But, let's be honest, it can seem a bit daunting. But don't worry, you've got this. I'm here to walk you through it, sharing my tips and tricks for crafting a bone-in prime rib roast that will have your guests singing your praises.
(Part 1) choosing the right cut

Before you even think about the oven, you need the right piece of meat. We're talking about a bone-in standing rib roast, the crown jewel of the beef world. Why bone-in? Well, it's not just for show. It adds a depth of flavor that you just can't get from boneless cuts. Plus, that bone helps hold everything together, keeping the roast tender and moist as it cooks.
Finding the Perfect Rib
Now, when you're at the butcher, here's what you need to look for:
- Marbling: Those little streaks of fat throughout the meat – that's what makes it juicy and flavorful. You want a roast with a good amount of marbling, not just a lean cut.
- Fat Thickness: Ask the butcher to trim the fat to about a ?? inch thick. It's a happy medium – enough to give you that delicious crispy crust, but not so much that it overwhelms the flavor.
- Tying it Up: Get your butcher to tie the roast with butcher's twine. It's worth it! It keeps the roast from losing its shape as it cooks, and makes it look more beautiful on the platter.
(Part 2) Prepping for Perfection

Now that you've got your prime rib, it's time to get it ready to shine.
The Day Before
This is where the magic starts. Give your roast a 12-24 hour dry brine. It's a simple trick that takes your prime rib to the next level. Just sprinkle it generously with coarse salt, pepper, and maybe some garlic powder. This helps to season the meat deeply and keeps it juicy. I've even been known to add a pinch of smoked paprika for a bit of extra depth of flavor. Place the roast uncovered in the fridge, letting it absorb all that salty goodness.
The Day of
On the day of the big event, it's time to give your roast some finishing touches. Pat it dry with paper towels, and then give it a good rub with a mixture of olive oil, salt, pepper, and your favorite herbs. I like to use a blend of rosemary, thyme, and a little bit of sage.
For a truly impressive crust, consider a "reverse sear" technique. This means you cook the roast slowly to a safe internal temperature, and then blast it with high heat at the very end to create that gorgeous crispy crust. It’s worth the extra effort, I promise!
(Part 3) Cooking Methods

Now comes the fun part – choosing the cooking method that best suits your style and the equipment you have. Each method delivers a unique flavor and texture, so have some fun experimenting!
Roasting in the Oven: Classic and Reliable
This is the tried-and-true way to cook a prime rib roast. It's simple, reliable, and produces a consistently delicious result.
- Preheat: Get your oven nice and hot at 450°F (232°C).
- Rack it Up: Place the roast on a roasting rack set inside a roasting pan. This allows air to circulate around the roast, ensuring even cooking.
- Searing the Flavor: Roast for 15 minutes, letting the meat develop a beautiful crust. Then, lower the oven temperature to 325°F (163°C).
- cooking time: Roast for an additional 15-20 minutes per pound, depending on how you like your meat done. Rare is around 135°F (57°C), medium-rare is 130-135°F (54-57°C).
- Rest Time: Once the roast reaches your desired temperature, remove it from the oven and let it rest for 15-20 minutes before carving. This allows the juices to redistribute, making it even more flavorful.
Low and Slow in a Smoker: Smoky Delights
If you're looking for a truly irresistible smoky flavor, cooking in a smoker is the way to go. It's a bit more hands-off, but the result is worth the time.
- Set the Smoker: Adjust your smoker to around 225°F (107°C).
- Wood Choice: Use your favorite wood chips, like oak, hickory, or apple wood.
- Smokin' Hot: Place the roast on the smoker and let it cook until it reaches your desired internal temperature, monitoring it with a meat thermometer.
- Resting Time: Once cooked, remove it from the smoker and let it rest for at least 30 minutes before carving.
Seared in a cast iron skillet: Crispy Crust Perfection
For a prime rib with a gloriously crispy crust, this method is your best bet.
- Gettin' Hot: Heat your cast iron skillet over medium-high heat until it's smoking hot.
- Searing Time: Season the roast with salt, pepper, and any herbs you like. Sear for 5-7 minutes on each side, or until it has a beautiful crust.
- Finish in the Oven: Transfer the roast to a roasting pan and finish cooking in the oven at 325°F (163°C) until it reaches your desired internal temperature.
(Part 4) Checking for Doneness
The only way to be sure your prime rib is cooked just right is with a trusty meat thermometer.
Internal Temperature Guide
Insert the thermometer into the thickest part of the roast, making sure it doesn't touch any bones. Here's a guide to the internal temperatures for different levels of doneness:
| Doneness | Internal Temperature (°F) | Internal Temperature (°C) |
|---|---|---|
| Rare | 125-130 | 52-54 |
| Medium-Rare | 130-135 | 54-57 |
| Medium | 140-145 | 60-63 |
| Medium-Well | 150-155 | 66-68 |
| Well Done | 160 | 71 |
Remember, these are just guidelines. You might prefer your prime rib a little more well done, or you might love it rare. The key is to cook it to your taste. If you're unsure, it's always better to err on the side of undercooked. You can always cook it a bit longer, but you can't undo overcooked meat.
(Part 5) The Art of Resting
After all that cooking, your prime rib needs a little time to relax and unwind. This is called resting, and it's a crucial step that shouldn't be skipped.
Letting the Juices Redistribute
Cover the roast loosely with foil and let it rest for at least 15-20 minutes before carving. This allows the juices to redistribute evenly throughout the meat, making it even more succulent and tender. While it's resting, you can focus on getting your sides ready.
(Part 6) Carving the Roast
Now for the big reveal – carving the roast! It's like a culinary performance, and you've got this.
Show Your Skills
Use a sharp carving knife and a carving fork for this. Start by carving the roast along the bone. Then, cut slices across the grain, about a half-inch thick. As you carve, you'll see those beautiful layers of marbling, a testament to your hard work.
(Part 7) Leftovers: A Culinary Treasure
prime rib leftovers? Don't even think about throwing them away. They're a culinary goldmine.
Make It Last
Enjoy them in sandwiches, salads, or even use them to make a delicious prime rib hash. The flavors are even more intense the next day, so don't be afraid to get creative.
(Part 8) Tips and Tricks
Here are a few extra tips I've picked up over the years that will make your prime rib even more amazing.
Extra Tips for Success:
- Invest in a good meat thermometer. It's a culinary essential for achieving that perfect level of doneness.
- Don't overcook the roast. Remember, it's better to have it slightly undercooked than overcooked. You can always cook it a bit longer, but you can't undo overcooked meat.
- Rest the roast before carving. This is crucial for a juicy, tender, and flavorful roast.
- Use a sharp carving knife. It makes carving easier and creates beautiful slices.
- Serve with your favourite sides. Prime rib is incredibly versatile. Experiment with different flavour combinations. Roasted vegetables, mashed potatoes, Yorkshire pudding, gravy, and salads all pair beautifully.
(Part 9) FAQs
Got questions? It's normal! Let's get them answered.
1. Can I freeze a prime rib roast?
Absolutely! Wrap it tightly in plastic wrap and then in aluminum foil. You can freeze it for up to 3 months. To thaw, place the roast in the refrigerator for 2-3 days before cooking. Don't thaw it at room temperature, as this can cause bacteria to grow.
2. Can I use a different cut of meat?
While a bone-in standing rib roast is the classic choice, you can certainly use other cuts of beef, like a ribeye roast or a chuck roast. They'll have a different flavor and texture, but they can still be delicious. Just adjust the cooking time accordingly.
3. What happens if I overcook the roast?
Overcooked prime rib will be dry and tough. It's best to err on the side of undercooked. You can always cook it a bit longer, but you can't undo overcooked meat.
4. What can I serve with prime rib?
The possibilities are endless! Prime rib is very versatile. Some popular options include mashed potatoes, roasted vegetables, asparagus, Yorkshire pudding, and gravy. You can also serve it with a simple salad, or even a creamy risotto.
5. What kind of wine should I pair with prime rib?
A full-bodied red wine, like Cabernet Sauvignon, Merlot, or Zinfandel, pairs well with prime rib. You can also try a Syrah or a Pinot Noir. Ultimately, it's a matter of personal preference.
And there you have it! The ultimate guide to bone-in prime rib perfection. You're ready to wow your guests with a culinary masterpiece. Remember, the most important ingredient is a good dose of enthusiasm and a willingness to experiment. So, have fun, and enjoy the process! Bon appétit!
Everyone is watching

How to Cook Frozen Lobster Tails Perfectly: A Step-by-Step Guide
RecipesLobster. Just the word conjures up images of lavish meals, special occasions, and a taste of luxury. But let's...

Pigs in a Blanket Cooking Time: How Long to Bake for Perfect Results
RecipesAh, pigs in a blanket. Just the name conjures up images of those delightful little parcels of crispy pastry en...

Pork Fillet Cooking Time: How Long to Cook It Perfectly
RecipesPork fillet, or tenderloin as it's sometimes called, is a real favourite in our house. It's so versatile, and...

The Ultimate Guide to Cooking Delicious Frankfurters
RecipesLet's face it, we all love a good frankfurter. It's a classic, simple, and always satisfying. But let's be rea...

The Ultimate Guide to Tender, Juicy Pulled Pork
RecipesRight, let's talk pulled pork. It's one of those dishes that just screams "comfort food," doesn't it? I mean...
