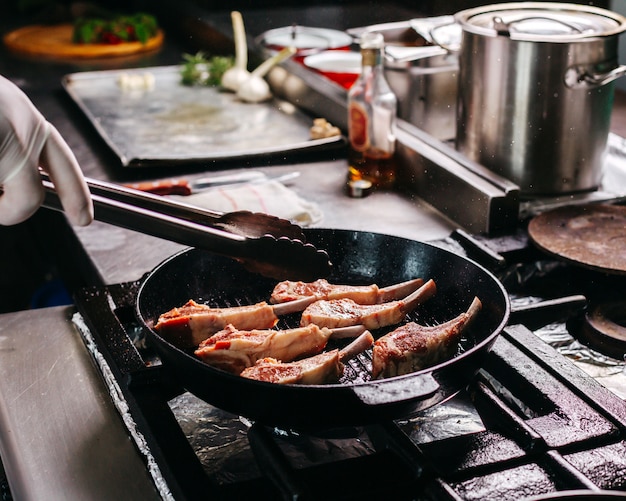
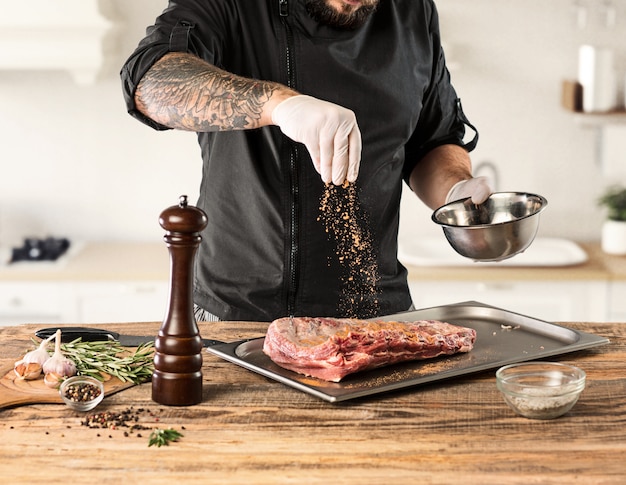
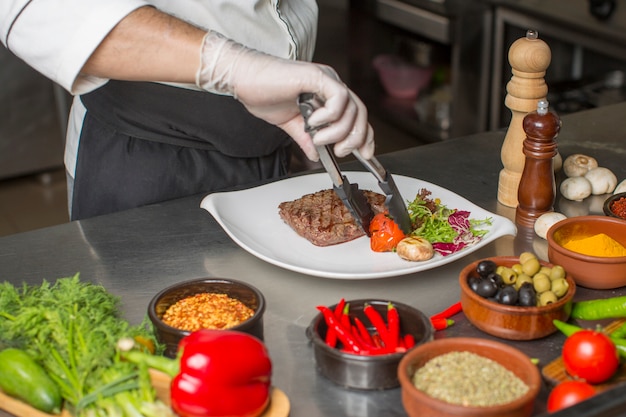
There’s something undeniably satisfying about cooking steak on the stovetop. The sizzle as it hits the hot pan, the tantalising aroma that fills the kitchen… it’s a sensory experience that never fails to get me excited. But what I truly love about stovetop steak is the level of control it offers. You're not bound by the vagaries of a grill's temperature, and achieving that perfect sear is a breeze. Plus, it’s simply fun!
Over the years, I've experimented with countless techniques, cuts of meat, and pan types. But one constant remains: the need for a reliable timing guide. We've all been there – slicing into a steak, hoping for a juicy medium-rare, only to find it's sadly overcooked. This guide is here to ensure that never happens again!
We’ll cover everything from choosing the perfect cut to mastering the art of the sear, with specific timing guides for every doneness level. I'll also share my favourite pan-frying techniques and tips for creating that beautiful, irresistible crust and juicy interior. Ready to become a steak master? Let’s get cooking!
(Part 1) Selecting the Perfect Cut

First things first, you need to choose the right cut. The butcher’s counter can feel overwhelming with so many options! Don't worry – I'm here to guide you through the world of steak cuts.
The Essentials
- new york strip: This is a classic choice for a reason. It's known for its generous marbling, which translates to a rich, juicy flavour. The New York strip is incredibly versatile and holds up well to different cooking methods, including stovetop.
- Ribeye: If you’re after the most flavourful and tender steak, look no further than the ribeye. It's a real showstopper, boasting beautiful marbling and a melt-in-your-mouth texture.
- filet mignon: This is the epitome of tender steak, known for its buttery texture and delicately mild flavour. It's the perfect choice for those who prefer a refined, elegant steak experience.
- Sirloin: A fantastic value option, sirloin is leaner than other cuts, offering a slightly firmer texture and more robust flavour. It’s a great choice if you prefer a less fatty steak.
- flank steak: This is a tougher cut, but it transforms into something unbelievably tender when cooked correctly. It's often thinly sliced and grilled, but pan-frying can also create a delicious, flavourful dish.
Thickness Matters
The thickness of your steak is crucial for achieving the desired doneness. For a juicy, well-cooked steak, you want to aim for at least 1 inch in thickness.
For stovetop cooking, I recommend a thickness of 1-1.5 inches. This allows for a beautiful sear and ensures the steak is cooked through evenly. Think of it as the sweet spot for stovetop steak perfection.
(Part 2) Preparing for the Perfect Pan-Fry

Now that you've chosen your steak, let's prepare for the pan-frying ritual. This is where we set the stage for an incredible flavour-packed experience.
Choosing the Right Pan
For that perfect sear and even cooking, my go-to is a cast iron skillet. Its heavy construction and ability to distribute heat evenly make it the champion of searing steak. If you don’t own a cast iron pan, a heavy-bottomed stainless steel pan will also do the trick.
Get That Pan Super Hot
Before you even think about adding your steak, get that pan roaring hot. We’re talking high heat – enough to make your kitchen feel like a mini-volcano! The pan should be so hot that it sizzles immediately when you add a drop of water.
Once the pan is screaming hot, add a tablespoon or two of oil. I prefer a high-heat oil like grapeseed or avocado oil, as they can withstand high temperatures without burning. Swirl the oil around, ensuring the entire base of the pan is coated.
Seasoning for Maximum Flavor
Salt and pepper are the classic duo for steak, but don't stop there!
I love to experiment with different herbs and spices to complement the richness of the steak. Here are some of my favourite combinations that will transform your steak into a flavour masterpiece:
- Garlic and Rosemary: This classic pairing adds a lovely earthy aroma and flavour, creating a truly comforting steak experience.
- Black Pepper and Smoked Paprika: This combo adds a smoky depth and a touch of heat, perfect for those who enjoy a bit of spice.
- Thyme and Garlic Powder: A simple yet effective mix that enhances the steak's natural flavours, creating a perfect balance.
- Onion Powder and Cayenne Pepper: For those who love a kick, this combination adds a bold flavour and a touch of heat, perfect for adding a fiery dimension to your steak.
Season your steak liberally, ensuring every surface is coated. Let the steak sit at room temperature for 15-20 minutes before cooking. This allows the steak to come up to room temperature and cook more evenly, resulting in a more succulent and flavourful steak.
(Part 3) The Art of Searing

The sear is the pivotal moment! It’s what creates that gorgeous, crispy crust and seals in all those delicious juices. Let’s dive into the art of the sear.
Place the Steak
Carefully place the steak into the smoking hot pan. Don’t crowd the pan – leave a bit of space between steaks for even cooking. You want to ensure each steak gets the perfect sear and cooks evenly.
The Flip
Let the steak cook undisturbed for about 3-4 minutes per side. This will create a nice, even sear. The steak should be developing a beautiful, golden-brown crust. Then, flip the steak and cook for another 3-4 minutes on the other side.
Check for Doneness (The Finger Test)
As your steak cooks, you'll want to check for doneness. The finger test is a simple and reliable method for gauging doneness without cutting into the steak.
Press the center of your palm with your index finger. The texture should feel similar to the desired level of doneness in your steak:
- Rare: Firm, like your palm. The steak will have a cool, red center.
- Medium-Rare: Softer, like the pad of your thumb. The steak will have a warm, red center with a hint of pink.
- Medium: Similar to the fleshy part of your palm between your thumb and forefinger. The steak will have a warm, pink center with a touch of brown.
- Medium-Well: Firm, like the pad of your thumb again. The steak will have a brown center with a hint of pink.
- Well-Done: Really firm, like your palm. The steak will be brown all the way through.
This method is not completely accurate, but it's a good starting point for gauging doneness. It’s always a good idea to use a meat thermometer for accuracy, especially if you’re new to cooking steak. Aim for a temperature of 125°F (52°C) for rare, 130°F (54°C) for medium-rare, 140°F (60°C) for medium, 150°F (66°C) for medium-well, and 160°F (71°C) for well-done.
(Part 4) The Timing Guide
Now for the moment of truth – the timing guide! This is where we unlock the secrets to achieving steak perfection. I’ve compiled this guide based on my experience and experimentation, covering different steak thicknesses and doneness levels. Remember, these are just guidelines, and cooking time can vary slightly depending on the thickness of your steak and the heat of your pan.
Use this guide as a starting point and adjust the cooking time based on your preferences and the specific circumstances.
| Doneness Level | Thickness (inches) | Total Cooking Time (minutes) |
|---|---|---|
| Rare | 1 | 6-8 |
| Rare | 1.5 | 8-10 |
| Medium-Rare | 1 | 8-10 |
| Medium-Rare | 1.5 | 10-12 |
| Medium | 1 | 10-12 |
| Medium | 1.5 | 12-14 |
| Medium-Well | 1 | 12-14 |
| Medium-Well | 1.5 | 14-16 |
| Well-Done | 1 | 14-16 |
| Well-Done | 1.5 | 16-18 |
(Part 5) Mastering the Rest
After you've seared your steak to perfection, the next step is crucial: letting it rest. This allows the juices to redistribute throughout the steak, resulting in a more tender, flavorful, and juicy experience.
To rest your steak, transfer it to a cutting board and loosely cover it with aluminium foil. Let it rest for 5-10 minutes, depending on the thickness of the steak. The longer the rest, the more time the juices have to redistribute. Resist the temptation to cut into it immediately – patience is key!
(Part 6) Elevate Your Steak with Flavorful Additions
Now that you've got the basics down, it’s time to add some flavour! Here are a few ideas to elevate your steak game from good to truly exceptional.
Aromatic Butter
Add a knob of butter to the pan once the steak is cooked. As the butter melts, swirl it around the pan and baste the steak. This will add richness and flavour, creating a mouthwatering sauce.
For an extra layer of complexity, try infusing the butter with herbs like thyme, rosemary, or garlic. Simply melt the butter, add your chosen herbs, and let them infuse for a few minutes before basting the steak. The aroma will be intoxicating, and the flavour will be divine!
A Finishing Touch
A drizzle of balsamic glaze, a sprinkle of fresh herbs, or a squeeze of lemon juice can add an extra layer of flavour to your steak, taking it to the next level. Get creative and experiment with different combinations to find your perfect finishing touch.
(Part 7) side dish Inspiration
No steak is complete without the perfect side dish! Here are some ideas that pair perfectly with a juicy, pan-fried steak, creating a truly satisfying and flavourful meal.
- Roasted Vegetables: roasted asparagus, broccoli, or Brussels sprouts add a delicious contrast of flavours and textures, complementing the richness of the steak beautifully.
- Creamy Polenta: This creamy, comforting side is a perfect match for the rich flavour of steak, creating a delightful harmony of textures and flavours.
- mashed potatoes: A classic side that never disappoints, mashed potatoes provide a comforting and satisfying accompaniment to the steak.
- Green Salad: A fresh and light salad provides a refreshing counterpoint to the richness of the steak, creating a balanced and flavourful meal.
- Garlic Bread: A simple but delicious side that complements the flavour of the steak beautifully, offering a toasty and garlicky treat.
(Part 8) Serving Up Your Masterpiece
You’ve followed the steps, you've mastered the timing, and you’ve added some flavour – it’s time to enjoy your masterpiece!
Slice the steak against the grain. This will ensure the steak is tender and easy to chew. Serve immediately with your favourite side dishes and enjoy the fruits of your culinary labour!
FAQs
Q1: What if my steak is too thin?
If your steak is less than 1 inch thick, it will cook much faster. Reduce the cooking time by 1-2 minutes per side. Also, consider cooking the steak over medium heat to prevent it from overcooking.
Q2: How can I tell if my pan is hot enough?
The pan should be hot enough to sizzle immediately when you add a drop of water. If the water evaporates instantly, the pan is ready. If it takes a few seconds, the pan needs to be heated a bit more.
Q3: What if I overcook my steak?
Don't worry, it happens to the best of us! If your steak is overcooked, there's not much you can do to reverse it. However, you can still make it delicious by slicing it thinly and serving it with a flavorful sauce, like a rich gravy or a creamy mushroom sauce. Think of it as a happy accident!
Q4: Can I use other oils for frying?
Yes, you can use other oils, but I recommend using a high-heat oil like grapeseed, avocado, or sunflower oil. These oils have a higher smoke point, meaning they can withstand high temperatures without burning, ensuring a clean and flavorful sear.
Q5: What if I don't have a cast iron pan?
A heavy-bottomed stainless steel pan will also work well, but it may not produce as crisp a sear. If you're using a stainless steel pan, make sure it's heated to a high temperature before adding the steak.
Everyone is watching

How to Cook Frozen Lobster Tails Perfectly: A Step-by-Step Guide
RecipesLobster. Just the word conjures up images of lavish meals, special occasions, and a taste of luxury. But let's...

Pigs in a Blanket Cooking Time: How Long to Bake for Perfect Results
RecipesAh, pigs in a blanket. Just the name conjures up images of those delightful little parcels of crispy pastry en...

Pork Fillet Cooking Time: How Long to Cook It Perfectly
RecipesPork fillet, or tenderloin as it's sometimes called, is a real favourite in our house. It's so versatile, and...

The Ultimate Guide to Tender, Juicy Pulled Pork
RecipesRight, let's talk pulled pork. It's one of those dishes that just screams "comfort food," doesn't it? I mean...

The Ultimate Guide to Cooking Delicious Frankfurters
RecipesLet's face it, we all love a good frankfurter. It's a classic, simple, and always satisfying. But let's be rea...
