There's a certain magic to a perfectly grilled ribeye. The sizzle, the aroma, the anticipation... it's an experience that elevates a simple meal into something truly special. And that's why I'm here, to help you achieve that magic in your own kitchen.
I've spent countless hours perfecting my grilling techniques, learning from experienced pitmasters and experimenting in my own backyard. And let me tell you, there's nothing quite as satisfying as biting into a juicy, flavorful ribeye, cooked to absolute perfection.
This isn't just a recipe – it's a journey to steak nirvana! We'll cover everything from choosing the right cut of meat to mastering the grill and creating those irresistible grill marks. So grab a beverage, get comfy, and let's get started.
(Part 1) choosing the right ribeye: The Foundation of Flavor

The first step on our journey is finding the star of the show: the ribeye itself. The quality of your ribeye is crucial, so don't rush this part. It's all about understanding what makes a good ribeye and how to choose the best one.
1.1) The Cut: Bone-in or Boneless, It's a Matter of Preference
Right off the bat, you'll encounter a decision: bone-in or boneless? This choice is entirely personal, so let's explore both.
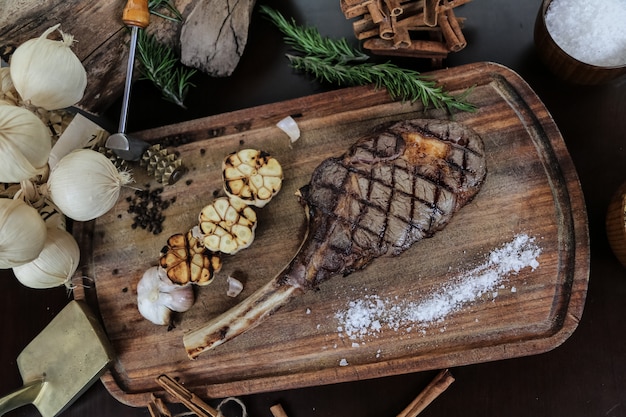
bone-in ribeye: Think of this as the classic steakhouse option. The bone adds a touch of rustic charm and can help keep the meat moist during cooking. However, it can make grilling a bit trickier, and it might require a little more finesse in cutting.
Boneless ribeye: This is my go-to choice for a few reasons. It's easier to grill, easier to slice, and offers a more consistent level of doneness throughout. Plus, it's a bit more versatile in terms of how you choose to serve it.
1.2) Fat and Marbling: The Secret to Juiciness
Now, let's talk about the fat. Some folks get a little squeamish about fat, but I assure you, it's essential for a truly delicious ribeye. Think of fat as a built-in basting system. It renders down as the steak cooks, adding incredible flavour and moisture, ensuring every bite is tender and juicy.
Here's what to look for:
Thick layer of fat around the edges: This will protect the meat from drying out.
Visible marbling: Those white streaks of fat running through the muscle are a sign of a quality ribeye. The more marbling, the better!
1.3) The Butcher's Expertise: Don't Be Afraid to Ask
If you have access to a good butcher, don't hesitate to ask for their advice. They're experts when it comes to choosing the perfect cut of meat. Tell them what you're looking for, and they'll guide you towards the best ribeye for your grilling needs. It's a small investment in time that will pay off in flavour.
(Part 2) Preparing the Ribeye: The Art of Pre-Grilling

We've got our ribeye, now it's time to give it the TLC it deserves before hitting the grill. These steps might seem simple, but they make a world of difference in the final outcome.
2.1) The Art of Resting: Bringing the Steak to Room Temperature
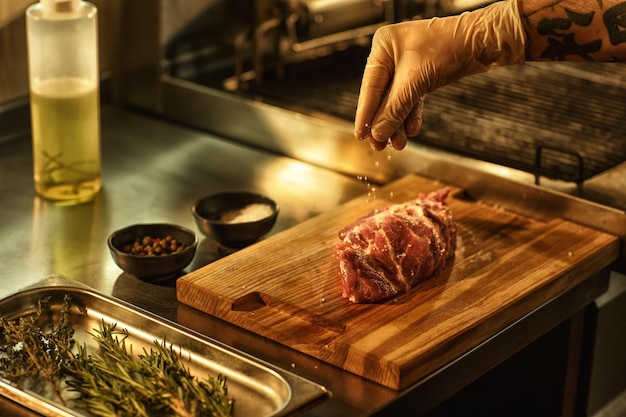
Before you even think about firing up the grill, take your ribeye out of the refrigerator and let it rest at room temperature for at least 30 minutes. This allows the steak to come to a more even temperature, leading to more consistent cooking. You'll avoid cold spots in the center and ensure the whole steak reaches your desired doneness.
2.2) Seasoning: Unleashing Your Inner Culinary Artist
Now, the fun part: seasoning! This is where you get to personalize your ribeye and add a touch of your own culinary flair.
Here's the classic approach:
Salt and pepper: A simple, yet essential combination. Use kosher salt for its larger crystals and a more even distribution.
But, if you're feeling adventurous, try:
Garlic powder, onion powder, paprika, and a pinch of cayenne pepper: This blend adds a wonderful depth of flavor and a subtle kick.
Herbs: Fresh rosemary, thyme, or oregano can add an earthy dimension.
Pre-made spice blends: Experiment with different blends to discover new flavor profiles.
Remember, season generously! The spices will adhere better to the meat when it's at room temperature, ensuring a more flavorful crust.
2.3) A Little Help from Your Friends: Marinades and Rubs
For a truly impressive ribeye, consider using a marinade or a dry rub. Both add depth of flavor and can contribute to a moist, tender texture.
Marinades: A marinade is a liquid solution that infuses the steak with flavor and helps to tenderize it.
Here's a simple marinade you can try:
Olive oil, soy sauce, garlic, and a touch of honey.
Dry rubs: A dry rub is a mixture of spices that you rub into the steak. It creates a flavorful crust and can add complexity to the taste. You can find pre-made dry rubs or create your own.
Remember, don't overdo it! The goal is to enhance the flavor of the steak, not to mask it.
(Part 3) Mastering the Grill: The Heart of the Process

Alright, we're ready to get grilling! The grill is our canvas, and we're about to paint a masterpiece of flavor. But before we jump in, let's make sure we have the right tools and techniques.
3.1) The Tools of the Trade: Grilling Gear for Success
You need the right tools to conquer the grill like a seasoned pro.
Here's what you'll need:
A good quality gas or charcoal grill: While both have their merits, I prefer a gas grill because it's easier to control the temperature. But charcoal grills can deliver that distinct smoky flavor.
Grill brush: This is essential for cleaning the grates and ensuring a good sear.
Tongs: Use these to flip the steak without poking holes in it, which can lead to moisture loss.
meat thermometer: This is absolutely crucial for ensuring your steak is cooked to your desired doneness. Don't rely on visual cues alone!
3.2) Preheating: Setting the Stage for Perfection
Before you even think about placing your ribeye on the grill, fire it up and let it preheat to a high temperature. We're talking 450-500 degrees Fahrenheit (232-260 degrees Celsius). This intense heat will create those beautiful grill marks and a delicious, crusty exterior.
3.3) The Two-Zone Method: A Grill Master's Secret
Now, it's time to unleash a powerful grilling technique: the two-zone method. This technique allows you to sear the steak over high heat and then finish cooking it over low heat, ensuring a perfectly cooked steak with a flavorful crust and a juicy interior.
Here's how it works:
Gas grill: Turn on the burners on one side of the grill and leave the other side off.
Charcoal grill: Place your coals on one side of the grill, leaving the other side empty.
This creates a hot zone and a cool zone, letting you control the cooking process.
3.4) Grilling Technique: The Art of the Sizzle
Now, it's time to grill! Here's the basic technique:
1. Sear over high heat: Place your ribeye on the high-heat side of the grill and sear for 2-3 minutes per side. This creates the beautiful grill marks and a delicious crust.
2. Finish over low heat: Once seared, move the steak to the low-heat side of the grill. Close the lid and let it cook for another 5-7 minutes per side, depending on the thickness of the steak.
3.5) Temperature Matters: Using a Thermometer Wisely
As your steak cooks, it's crucial to monitor the temperature to ensure it reaches your desired doneness. This is where a meat thermometer becomes your best friend.
internal temperature: Insert the thermometer into the thickest part of the steak, making sure it's not touching any bone. Here's a table to guide you:
| Doneness | Internal Temperature (°F) | Internal Temperature (°C) |
|---|---|---|
| Rare | 125-130 | 52-54 |
| Medium-Rare | 130-135 | 54-57 |
| Medium | 140-145 | 60-63 |
| Medium-Well | 150-155 | 65-68 |
| Well-Done | 160 | 71 |
Remember: These are just guidelines. Use your personal preference and choose the doneness that suits you best.
(Part 4) Rest and Serve: The Finishing Touches
The grill work is done, but the journey to steak nirvana isn't over yet. The final steps are crucial for ensuring that juicy, tender, flavorful ribeye you've been waiting for.
4.1) Resting: A Critical Step
Once your ribeye reaches your desired doneness, take it off the grill and let it rest for 5-10 minutes before slicing and serving. This is a crucial step that allows the juices to redistribute evenly throughout the steak, leading to a more tender and flavorful result. Think of it as giving the steak a chance to relax and settle after its grilling adventure.
4.2) Carving and Serving: A steak masterpiece Revealed
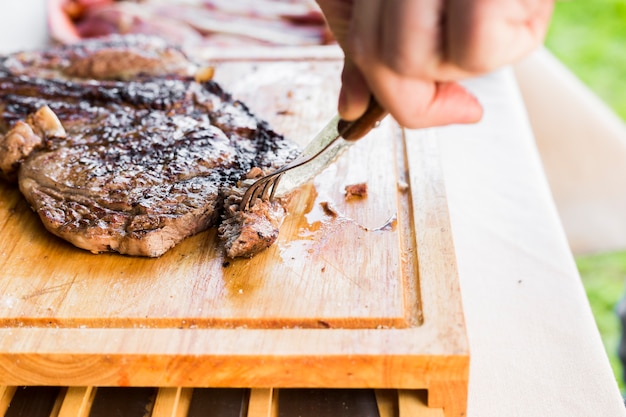
After the resting period, it's time to reveal the masterpiece you've created. Carve the steak against the grain, slicing thin, tender pieces that melt in your mouth.
Serve your perfectly grilled ribeye with your favourite sides. Here are a few ideas to get you started:
Roasted vegetables: Asparagus, broccoli, Brussels sprouts, carrots, peppers – the possibilities are endless!
mashed potatoes: A classic comfort food pairing that complements the richness of the steak.
Simple green salad: A refreshing contrast to the savory steak.
Garlic bread: A delicious and easy side that adds a touch of indulgence.
(Part 5) Beyond the Basics: Enhancing Your Ribeye Experience
Now, let's explore a few techniques that will take your ribeye game to the next level. These tips will add a touch of culinary magic to your grilling repertoire.
5.1) Glazing: Adding a Touch of Sweetness and Shine
Glazing your ribeye is a wonderful way to add a layer of sweetness and create a beautiful, glossy finish.
Here are a few glaze ideas:
Honey, soy sauce, and a touch of ginger: This glaze creates a sweet and savory combination that complements the richness of the ribeye.
Balsamic glaze: The tangy sweetness of balsamic vinegar adds a sophisticated touch.
Bourbon glaze: A touch of bourbon adds a smoky, complex flavor.
Brush the glaze onto the steak during the last few minutes of cooking, letting it caramelize and create a delicious crust.
5.2) Adding a Smoky Touch: Wood Chips for Grilled Flavour
If you're using a charcoal grill, adding soaked wood chips to the coals will infuse your ribeye with a delicious smoky aroma and flavor.
Here's how to do it:
1. Soak the chips: Soak your wood chips in water for 30 minutes before adding them to the coals.
2. Add to the coals: Place the soaked wood chips directly on the coals. The smoke will naturally infuse the steak with a delicious flavor.
5.3) Searing on the Stovetop: An Alternative Approach
Don't have a grill? No worries! You can still achieve a perfect ribeye sear on the stovetop.
Here's what you need:
A cast iron skillet: This is the best tool for searing steak on the stovetop.
High heat: Heat the skillet over high heat until it's smoking hot.
Here's the technique:
1. Sear the steak: Place the ribeye in the hot skillet and sear for 2-3 minutes per side. You'll get those beautiful grill marks and a delicious crust.
2. Finish in the oven: After searing, transfer the steak to a preheated oven at 350 degrees fahrenheit (175 degrees Celsius) and bake until it reaches your desired doneness.
(Part 6) Tips and Tricks: A Griller's Arsenal
Now, let's arm you with a few extra tips and tricks that will help you grill like a pro. These little nuggets of wisdom will take your ribeye grilling to the next level.
6.1) Don't Be Afraid to Experiment!
Remember, grilling is all about experimentation! Don't be afraid to try new things. Try different marinades, different rubs, different wood chips, and different cuts of steak. You never know what delicious discoveries you might make!
6.2) Control the Heat: Avoiding the "Flare-Up"
Keep a watchful eye on your grill and make sure the flames are under control. You don't want a flare-up, which can char the steak and give it a bitter taste.
Here's how to handle a flare-up:
Move the steak: Quickly move the steak to the cooler side of the grill.
Close the lid: Close the lid of the grill for a few minutes to let the flames die down.
6.3) The "Resting" Advantage: Patience is a Virtue
Remember, resting the steak is a crucial step. Don't rush the process. It allows the juices to redistribute, resulting in a more tender and flavorful steak. Patience is a virtue when it comes to grilling a perfect ribeye.
(Part 7) Beyond the Ribeye: Expanding Your Steak Horizons
Now that you've mastered the ribeye, it's time to explore the world of other delicious steak cuts. Each cut has its unique qualities and flavor profile, offering a wide range of culinary adventures.
7.1) new york strip Steak: Lean and Delectable
The New York strip steak is a classic choice known for its lean, flavorful profile. It's a great alternative to the ribeye, offering a more delicate taste with a beautiful marbling pattern.
7.2) filet mignon: The Ultimate Indulgence
For a truly luxurious experience, try filet mignon. It's the most tender cut of beef, often described as melt-in-your-mouth, and perfect for special occasions.
7.3) The flank steak: budget-friendly and Delicious
If you're looking for a budget-friendly option, the flank steak is a great choice. It's a tough cut of meat, but it's full of flavor. It's best marinated and grilled, then sliced thinly against the grain.
(Part 8) FAQs: Your Grilling Questions Answered
Now, let's address some of the most common questions about grilling a perfect ribeye.
8.1) What if my steak is too thick?
If you have a thick steak, you can use a meat mallet to tenderize it before grilling. This will help the steak cook more evenly, ensuring a consistent level of doneness.
8.2) How long should I marinate my steak?
A good rule of thumb is to marinate your steak for 2-4 hours, but you can marinate it for up to 24 hours. Just make sure to store it in the refrigerator.
8.3) What are the best sides to serve with steak?
The best sides to serve with steak are really up to your taste! But some classics include:
Roasted vegetables: Asparagus, broccoli, Brussels sprouts, carrots, peppers – the possibilities are endless!
Mashed potatoes: A classic comfort food pairing that complements the richness of the steak.
Simple green salad: A refreshing contrast to the savory steak.
Garlic bread: A delicious and easy side that adds a touch of indulgence.
8.4) Can I cook steak in the oven instead of grilling?
Yes, you can! Preheat your oven to 400 degrees Fahrenheit (200 degrees Celsius). Season the steak, and then place it on a baking sheet. Bake for 10-15 minutes, depending on the thickness of the steak. Let it rest for 5-10 minutes before slicing and serving.
8.5) How can I tell if my steak is done?
The best way to determine if your steak is cooked to your liking is to use a meat thermometer. But, if you don't have one, you can use the "finger test." Press your finger into the centre of the steak. Here's a guide:
Rare: The steak will feel firm and springy.
Medium-rare: It will feel softer and more pliable.
Medium: It will feel firm and bouncy.
And there you have it, my friends, a complete guide to grilling the perfect ribeye. Now, go forth and conquer the grill! I know you can do it. And remember, the most important ingredient in any dish is passion. So, have fun, experiment, and enjoy!
Everyone is watching

How to Cook Frozen Lobster Tails Perfectly: A Step-by-Step Guide
RecipesLobster. Just the word conjures up images of lavish meals, special occasions, and a taste of luxury. But let's...

Pork Fillet Cooking Time: How Long to Cook It Perfectly
RecipesPork fillet, or tenderloin as it's sometimes called, is a real favourite in our house. It's so versatile, and...

Pigs in a Blanket Cooking Time: How Long to Bake for Perfect Results
RecipesAh, pigs in a blanket. Just the name conjures up images of those delightful little parcels of crispy pastry en...

The Ultimate Guide to Cooking Delicious Frankfurters
RecipesLet's face it, we all love a good frankfurter. It's a classic, simple, and always satisfying. But let's be rea...

Wolf Meat Recipes: A Guide to Cooking Wild Game
RecipesLet's be honest, you don't see wolf meat at your local butcher shop every day. It's a bit of a wild card, but ...
