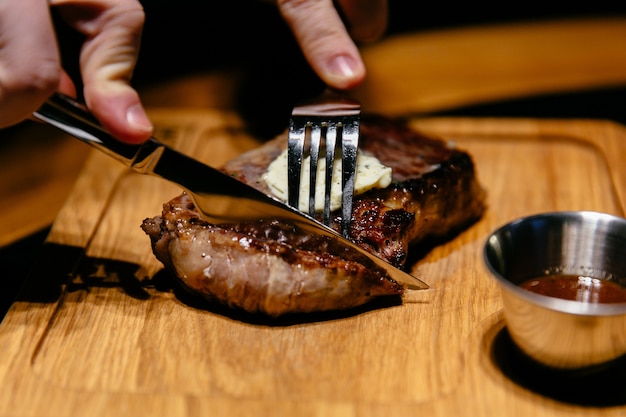
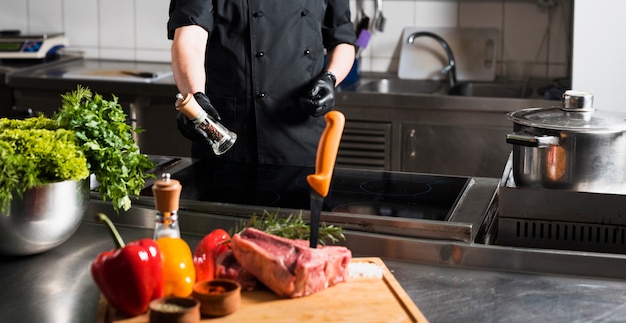
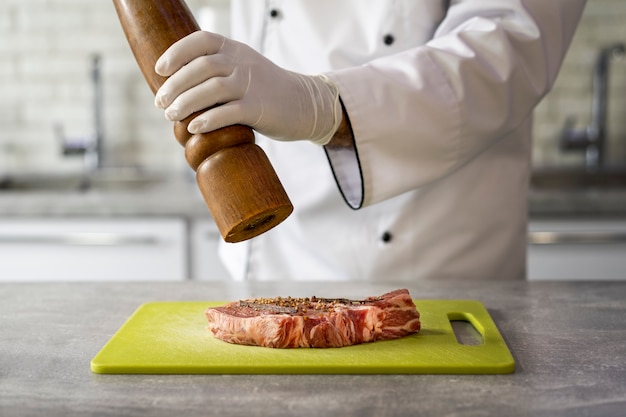
(Part 1) The Meat of the Matter: Choosing Your Steak

The first step to a truly magnificent steak is selecting the right cut. You want a piece of meat with a good amount of marbling – that's the fat that runs through the muscle. Marbling is what gives your steak its rich flavor, juiciness, and tenderness. Here are a few of my go-to cuts for a medium-well steak:
Rib-Eye:
The rib-eye is a classic for a reason. It's known for its rich, buttery flavor and generous marbling. It's the king of steaks when it comes to tenderness and juiciness, making it a perfect choice for a medium-well cook. Just be prepared for a little more fat, which can make it a bit richer.
This cut is a bit leaner than the rib-eye, but don't let that fool you – it's still packed with flavor. It strikes a beautiful balance between tenderness and chewiness, making it an excellent option for grilling to medium-well. You get that classic steakhouse experience, with a slightly more delicate texture.
Sirloin:
Sirloin is a more budget-friendly option, but don't mistake that for lack of flavor. It's leaner than rib-eye or New York strip, with a firm texture and a good amount of flavor. Sirloin holds up well to a medium-well cook and is great for grilling. Just keep in mind that it may not be as juicy as the other cuts.
(Part 2) Getting Ready to Grill: Prepping Your Steak

You've got your cut, now it's time to prep your steak for grilling glory. Remember, folks, it's all about the details!
Let it Rest:
Before you even think about touching the grill, let your steak come to room temperature. This might seem like a small detail, but it makes a big difference. A cold steak will cook unevenly, leading to a cold center and a potentially tough exterior. Take your steak out of the fridge about 30 minutes before you plan to start grilling, allowing it to reach a more consistent temperature.
Seasoning is Key:
Salt and pepper are the bedrock of any good steak seasoning, but don't be afraid to get creative. A simple sprinkle of salt and pepper is all you need to bring out the steak's natural flavors, but you can definitely take it up a notch. I love experimenting with blends of smoked paprika, garlic powder, onion powder, and even a touch of chili flakes for a bit of heat. The key is to season generously, but don't go overboard. You want the seasoning to enhance the flavor, not overwhelm it. A light dusting of herbs like rosemary, thyme, or oregano can also add a lovely touch.
Oil Up:
Just before you hit the grill, brush your steak with a thin layer of olive oil. This helps create a beautiful sear and prevents the steak from sticking to the grates. Don't be shy about applying a generous layer of oil, but try to avoid using too much, as this can make your steak greasy.
(Part 3) The Grilling Game: Mastering the Technique

Now for the fun part: the grilling itself! This is where the real magic happens, and it's all about control and precision. Let's dive in!
Get Your Grill Hot:
You want your grill nice and hot, around 450°F (232°C). This high heat ensures a beautiful sear, creates those delightful grill marks, and cooks your steak evenly. A gas grill is ideal for this, but a charcoal grill can also get the job done. Just make sure the coals are nice and white-hot.
Sear it Like a Pro:
Place your steak on the grill and leave it alone! Don't touch it for at least 2-3 minutes. This is crucial for developing a beautiful, crispy crust that seals in the juices. Let the steak do its thing. Once the first side is seared, flip it over and repeat the process on the other side for another 2-3 minutes. Enjoy the satisfying sizzle of a perfectly seared steak!
The Art of Indirect Heat:
After those initial searing sessions, it's time to shift to a cooler zone. This is where indirect heat comes in. Move your steak to a cooler part of the grill, or even off the grill altogether. For a gas grill, turn off the burner underneath the steak. For a charcoal grill, create a cool zone by using a chimney starter. This gradual cooking process helps ensure that the steak cooks evenly throughout and doesn't end up with an overcooked exterior and a raw center.
Cook to Perfection:
Here's where it gets a bit tricky, but don't worry, I've got your back. For a medium-well steak, you want to cook it to an internal temperature of about 145°F (63°C). This will result in a steak that's cooked through but still retains a hint of pink in the center. Depending on the thickness of your steak, this typically takes around 4-6 minutes on each side.
The Rest is Key:
Once your steak is cooked to your liking, resist the urge to slice into it immediately. Let it rest for at least 5-10 minutes before slicing. This allows the juices to redistribute throughout the steak, resulting in a more tender and flavorful piece of meat. Think of it as a little reward for your patience.
(Part 4) Temperature Check: Getting the Doneness Right
Let's talk temperature, because this is where most people go wrong. The best way to ensure you've cooked your steak to perfection is to use a meat thermometer. It's your trusty sidekick, helping you achieve steak nirvana. Here's a handy chart to guide you through the different levels of doneness and their corresponding temperatures:
| Doneness | Internal Temperature (°F) | Internal Temperature (°C) |
|---|---|---|
| Rare | 125-130 | 52-54 |
| Medium-Rare | 130-135 | 54-57 |
| Medium | 135-140 | 57-60 |
| Medium-Well | 140-145 | 60-63 |
| Well-Done | 145 | 63 |
Remember, these are just guidelines. Use your thermometer to check the internal temperature and adjust the cooking time accordingly. No one wants a dry, overcooked steak!
(Part 5) The Sidekick: Choosing the Right Accompaniments
No steak is complete without the right side dish to complement its flavors and textures. Here are some of my favorite accompaniments for a medium-well steak, creating a well-rounded dining experience:
- crispy fries: The classic combo – salty, crispy fries perfectly complement the juiciness of a medium-well steak.
- Creamy mashed potatoes: Smooth, rich mashed potatoes provide a comforting contrast to the steak's savory flavors.
- Roasted vegetables: Roasted vegetables add a vibrant pop of color and a medley of flavors. Think roasted asparagus, broccoli, or Brussels sprouts with a drizzle of olive oil and a sprinkle of herbs.
- A green salad: A fresh, crisp green salad adds a refreshing element and balances out the richness of the steak.
- A simple side of rice: A comforting and versatile side, rice provides a neutral backdrop for the steak's flavors to shine.
(Part 6) The Grill Master's Toolkit: Essential Equipment
You can't grill like a pro without the right tools. Here's what I recommend keeping in your grilling arsenal, ensuring you have everything you need to conquer the grill:
- A high-quality grill (gas or charcoal): The heart of your operation. A good grill is an investment in delicious meals.
- A meat thermometer: Your most trusted companion for accurate temperature readings.
- Grill tongs: For flipping your steak with confidence and precision.
- A grill brush: Keep your grill clean and free of debris for a better grilling experience.
- A spatula: Essential for flipping delicate foods and lifting your steak off the grill.
- A cutting board: A sturdy and sanitary surface for slicing your steak.
- A sharp knife: A must-have for slicing your steak into perfectly even portions.
(Part 7) Beyond the Basics: Mastering the Grilling Techniques
For those who want to take their grilling game to the next level, here are a few advanced techniques to impress even the most seasoned grill master.
reverse searing:
Instead of searing first, this technique involves cooking the steak over low heat for a longer period of time and then searing it quickly at the end. This gives you a more evenly cooked steak with a juicy center. It's all about patience and precision. Start by cooking your steak over low heat (around 250°F / 121°C) until it reaches an internal temperature about 10-15 degrees below your desired doneness. Then, crank up the heat to high and sear the steak for 1-2 minutes per side to achieve that beautiful crust. This technique helps you achieve a steak that's cooked through but still incredibly tender and juicy.
Smoking:
Add a smoky, wood-fired flavor to your steak by using wood chips on your grill. Soak the wood chips in water for about 30 minutes, and then place them on the coals or in a smoker box. The smoke infuses the steak with a subtle, yet delicious, smoky aroma. Experiment with different wood types, like hickory, mesquite, or applewood, to find your favorite flavor profiles.
Herb Rubs:
Get creative with your seasoning by making your own herb rubs. A mix of rosemary, thyme, and garlic is always a classic, but feel free to explore other combinations. Think oregano, sage, paprika, or even a touch of chili powder for a kick. Experiment with different flavors and ratios to create your signature rub. Simply combine the herbs and spices in a bowl, and then rub the mixture all over the steak before grilling.
(Part 8) FAQs: Your Grilling Questions Answered
Got questions? I've got answers. Here are some common questions about grilling steaks, and my expert advice to help you tackle any grilling challenge:
1. What happens if I overcook my steak?
Overcooked steak can be dry and tough, so it's best to err on the side of undercooking. If you accidentally overcook your steak, there's not much you can do to fix it, but try serving it with a sauce to add some moisture and flavour. A rich pan sauce, a tangy chimichurri, or a creamy béarnaise can help revive a slightly overcooked steak.
2. How do I know when my steak is done?
The best way to tell if your steak is cooked to your liking is to use a meat thermometer. It's the most reliable way to ensure accurate doneness. You can also check the steak by pressing on it with your finger. A rare steak will feel very soft and jiggly, while a well-done steak will feel firm. However, these methods are less accurate than using a thermometer.
3. Can I grill frozen steak?
It's not recommended to grill frozen steak. The steak will cook unevenly and likely end up dry and tough. The uneven cooking is due to the fact that the frozen parts of the steak will take longer to cook than the thawed parts. If you're in a pinch, you can thaw the steak in the refrigerator overnight or use the defrost setting on your microwave. However, the best results will always come from grilling a thawed steak.
4. What if my grill is not hot enough?
If your grill isn't hot enough, your steak will cook too slowly and won't develop a good sear. Try increasing the heat on your gas grill or adding more coals to your charcoal grill. A hot grill is crucial for that perfect sear and juicy results.
5. How do I store leftover steak?
Leftover steak can be stored in the refrigerator for up to 3-4 days. Wrap it tightly in plastic wrap or foil and store it in the coldest part of the refrigerator. You can also freeze leftover steak for up to 3 months. To freeze your steak, wrap it tightly in plastic wrap and then place it in a freezer-safe bag. When you're ready to enjoy your frozen steak, thaw it in the refrigerator overnight before cooking.
(Part 9) Conclusion: The Journey to Grilling Mastery
There you have it, folks! My ultimate guide to grilling the perfect medium-well steak. Remember, practice makes perfect, so don't be afraid to experiment and find what works best for you. Soon enough, you'll be turning out steak dinners that'll make even the most seasoned grill master jealous. So, fire up that grill and get grilling! You've got this.
Everyone is watching

How to Cook Frozen Lobster Tails Perfectly: A Step-by-Step Guide
RecipesLobster. Just the word conjures up images of lavish meals, special occasions, and a taste of luxury. But let's...

Pigs in a Blanket Cooking Time: How Long to Bake for Perfect Results
RecipesAh, pigs in a blanket. Just the name conjures up images of those delightful little parcels of crispy pastry en...

Pork Fillet Cooking Time: How Long to Cook It Perfectly
RecipesPork fillet, or tenderloin as it's sometimes called, is a real favourite in our house. It's so versatile, and...

The Ultimate Guide to Tender, Juicy Pulled Pork
RecipesRight, let's talk pulled pork. It's one of those dishes that just screams "comfort food," doesn't it? I mean...

The Ultimate Guide to Cooking Sweet Potatoes: From Roasting to Mashing
RecipesSweet potatoes. Just the name conjures up images of warm, comforting dishes, bursts of vibrant color, and a to...
