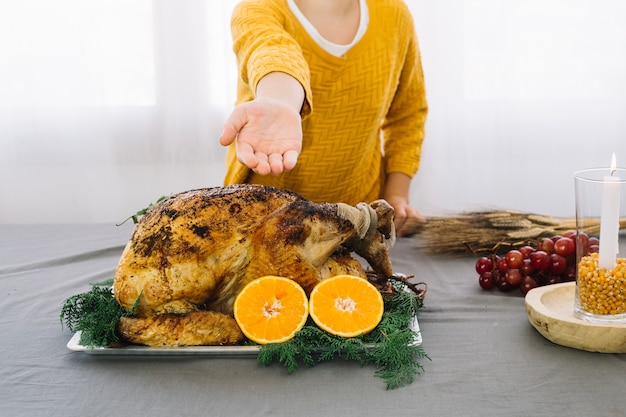
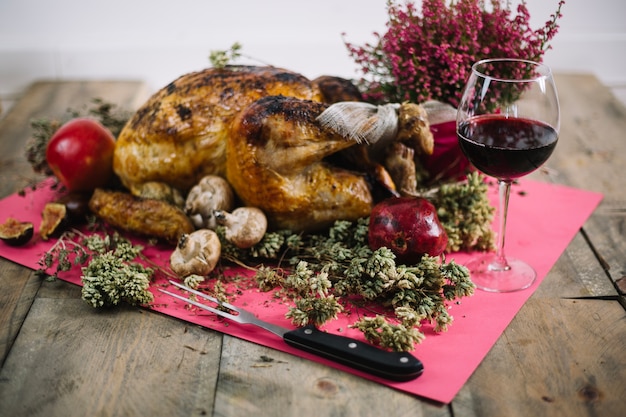
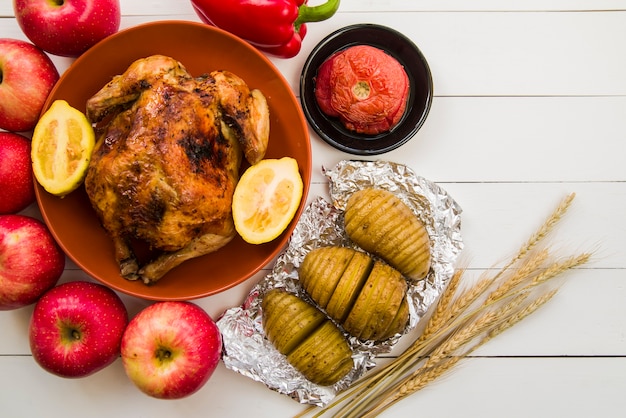
thanksgiving dinner wouldn't be the same without a gloriously roasted turkey, and a 14 lb bird is the perfect size for a crowd. But let's face it, we've all been there – dry breast meat, soggy skin, and that one unfortunate year the stuffing turned into a soggy mess. Over the years, I've learned a few tricks of the trade, and I'm confident you can achieve turkey perfection with my guide.
I'm not talking about just "okay" turkey here. I'm talking about juicy, flavorful turkey, perfectly crisp skin, and a bird that's so good, your guests will be raving about it long after the last slice of pie is gone.
Whether you're a seasoned pro or a Thanksgiving newbie, I'll walk you through every step of the process, from selecting the perfect bird to carving it with finesse. Let's get started!
(Part 1) The Turkey Selection

You can't just grab any old turkey for your thanksgiving feast. It's all about finding a bird that's going to deliver on the promise of juicy, flavorful meat. This starts with careful selection at the grocery store.
Choosing the Right Bird
Fresh or frozen? That's the first question. Fresh turkeys are great for brining, which I'll cover later. But if you're short on time, a frozen turkey will do just fine. Don't worry, even frozen turkeys can be absolutely delicious.
Next, you want to look for a turkey with a good balance of white and dark meat. We all have our favorites, but a good blend ensures everyone at the table gets a taste of both.
Size Matters
A 14 lb turkey is a good size for feeding around 10-12 people comfortably. However, if you've got a family of big eaters or expect a lot of hungry guests, you might want to consider a 16 lb bird just to be on the safe side. You don't want to run out of turkey!
The "Thigh Test"
Don't forget the "thigh test." Give those thighs a gentle squeeze – they should feel firm and springy. A little bit of fat on the bird is a good thing, too. It means you're getting a juicy, flavorful turkey.
(Part 2) Preparing the Turkey

The turkey's chosen, now it's time to get down to business. This is where the magic happens.
The Brine
Here's where I get serious. Brining is a game-changer! It transforms the turkey from good to phenomenal.
Here's how I do it: I grab a large stockpot and fill it with cold water. Then, I add a generous amount of salt, sugar, and a blend of herbs and spices. I like to add a bay leaf, some black peppercorns, fresh rosemary, and thyme, but you can experiment with your favorites.
The turkey goes for a dip in the brine for 12-24 hours. The longer it soaks, the more flavor it absorbs. The result? A turkey that's so moist and flavorful, it'll melt in your mouth.
The Rinse
After brining, it's time to give the turkey a good rinse. Don't worry, it's not as complicated as it sounds. Just run it under cool water to wash away any excess brine. Then, pat it dry with paper towels.
The Stuffing
Stuffing is a Thanksgiving tradition, but it can be tricky. Some people stuff the turkey, others prefer to cook it separately.
I'm a fan of cooking stuffing separately in a casserole dish. It's easier to control the cooking process and ensures it's perfectly cooked. Plus, you can make a delicious, flavorful stuffing that's sure to please everyone.
The Butter
No turkey is complete without a good butter rub. I like to mix softened butter with fresh rosemary and thyme for a flavor that's both classic and delightful.
Just rub the butter mixture all over the turkey, tucking some under the skin for extra flavor. This will also help keep the skin moist and crispy.
(Part 3) The Roasting

With the turkey prepped and ready to go, it's time to fire up the oven!
Preheating the Oven
This is crucial! Preheat your oven to 325°F (160°C). This ensures even cooking and prevents the turkey from getting dry.
The roasting pan
Choose a roasting pan that's large enough to comfortably hold the turkey. You want to ensure there's enough space around the bird to allow for even cooking. And remember, a roasting rack is a must! It lifts the turkey off the bottom of the pan, allowing hot air to circulate around it for better browning.
The roasting time
The roasting time for a 14 lb turkey is approximately 3-4 hours. However, don't just rely on time alone! You'll need to check the internal temperature to guarantee it's cooked through.
The USDA recommends a safe internal temperature of 165°F (74°C) for the breast and 180°F (82°C) for the thighs.
The Basting
Every 30-45 minutes, baste the turkey with the pan juices. This will keep the skin moist, add flavor, and help it brown beautifully.
The Rest
Once the turkey is cooked through, let it rest for at least 30 minutes before carving. This allows the juices to redistribute throughout the meat, resulting in a tender and juicy turkey.
(Part 4) The Carving
The moment has arrived: carving the turkey! This is where you show off your culinary skills (and your sharp knife).
The Tools
You'll need a sharp carving knife and a carving fork. A meat thermometer is also a good idea to check the temperature in different parts of the turkey, just to be extra sure it's cooked through.
The Technique
Start by carving the breast meat. Make long, thin slices, starting at the top of the breast and working your way down. Be careful not to carve too close to the bone, because that can make the meat dry. Use the carving fork to hold the turkey in place while you carve.
Next, remove the legs and thighs from the carcass. You can carve the thighs into smaller pieces for easier serving.
The Presentation
Arrange the carved turkey beautifully on a platter, along with the stuffing and other Thanksgiving sides. A carving board gives a more rustic presentation, adding to the warmth of the occasion.
(Part 5) The Gravy
The pièce de résistance! No Thanksgiving feast is complete without a rich and flavorful gravy.
The Pan Drippings
The key to a fantastic gravy lies in the pan drippings. Don't throw those away! They're packed with flavor.
The Flour
You'll need a little flour to thicken the gravy. Use about 2 tablespoons of flour per cup of pan drippings.
The Broth
Add some broth to the gravy to make it thinner and more flavorful. chicken broth works best, but you can also use turkey broth or even vegetable broth.
The Seasoning
Salt and pepper are essential, but you can add other spices like thyme, rosemary, or sage for a deeper flavor.
The Technique
Combine the pan drippings, flour, and broth in a saucepan. Bring the mixture to a boil, then reduce heat and simmer for 5-10 minutes, stirring often to prevent sticking. The gravy should be smooth and thick.
(Part 6) The Leftovers
Thanksgiving dinner is over, but the deliciousness doesn't have to end. Here's how to make the most of those thanksgiving leftovers.
The Turkey
Store the leftover turkey in the refrigerator for up to four days. You can use it in a variety of dishes, like turkey sandwiches, turkey soup, or turkey salad.
The Stuffing
Leftover stuffing can also be stored in the refrigerator for up to four days. Reheat it in the oven or microwave. You can also create delicious stuffing balls using the leftover stuffing.
The Sides
Most Thanksgiving sides can be stored in the refrigerator for up to three days. Reheat them in the oven or microwave.
The Gravy
Store leftover gravy in the refrigerator for up to four days. You can reheat it in a saucepan or microwave.
(Part 7) Tips and Tricks
Here are a few tips and tricks to elevate your turkey roasting game:
- Don't overstuff the turkey. It can lead to uneven cooking and increase the risk of foodborne illness.
- Use a meat thermometer. It's the only way to know for sure if the turkey is cooked through.
- If the turkey skin starts to brown too quickly, tent it with aluminum foil to prevent it from burning.
- Don't worry if the turkey skin is a little bit uneven. It's all about the taste!
- For a crispy skin, try roasting the turkey at a higher temperature for the first 30 minutes.
(Part 8) Common Mistakes
Even the most experienced cooks can make mistakes. Here are some common turkey roasting errors to avoid:
- Not preheating the oven. A cold oven can lead to uneven cooking and a dry turkey.
- Overstuffing the turkey. It can hinder heat circulation and lead to undercooked stuffing.
- Not checking the internal temperature of the turkey. A meat thermometer is essential for ensuring safety.
- Not letting the turkey rest after cooking. This allows the juices to redistribute for a juicy and flavorful result.
(Part 9) FAQs
Here are some frequently asked questions about roasting a 14 lb turkey.
Q1: Can I cook a frozen turkey?
Yes, you can cook a frozen turkey, but you'll need to add extra cooking time. The general rule of thumb is to add 50% more cooking time for a frozen turkey. So, for a 14 lb frozen turkey, you'll need to add about 1.5-2 hours to the recipe.
Be sure to check the internal temperature with a meat thermometer to ensure it's cooked through.
Q2: How do I know if my turkey is cooked through?
Use a meat thermometer! Insert it into the thickest part of the breast and thigh, avoiding the bone. The USDA recommends a safe internal temperature of 165°F (74°C) for the breast and 180°F (82°C) for the thighs.
Q3: What should I do if my turkey is overcooked?
Unfortunately, there's not much you can do if the turkey is overcooked. The breast meat will be dry. However, you can still salvage the overcooked breast meat by using it in dishes like turkey soup or turkey salad.
Q4: How do I get crispy turkey skin?
For crispy skin, ensure the skin is dry. Pat it dry with paper towels after brining, or pat it dry before roasting. Roasting at a higher temperature for the first 30 minutes can also help.
Q5: Can I cook a turkey in a slow cooker?
Yes, you can cook a turkey in a slow cooker, but it's not the ideal method. The turkey will be moist, but the skin won't get crispy.
If you decide to use a slow cooker, buy a special slow cooker large enough for a 14 lb turkey. Check the cooking time, as it will vary depending on the size of the slow cooker.
And there you have it! My complete guide to roasting a perfect 14 lb turkey for Thanksgiving. With a little planning and a dash of confidence, you can create a truly memorable Thanksgiving feast.
Happy Thanksgiving!
Everyone is watching

How to Cook Frozen Lobster Tails Perfectly: A Step-by-Step Guide
RecipesLobster. Just the word conjures up images of lavish meals, special occasions, and a taste of luxury. But let's...

Pigs in a Blanket Cooking Time: How Long to Bake for Perfect Results
RecipesAh, pigs in a blanket. Just the name conjures up images of those delightful little parcels of crispy pastry en...

Pork Fillet Cooking Time: How Long to Cook It Perfectly
RecipesPork fillet, or tenderloin as it's sometimes called, is a real favourite in our house. It's so versatile, and...

The Ultimate Guide to Tender, Juicy Pulled Pork
RecipesRight, let's talk pulled pork. It's one of those dishes that just screams "comfort food," doesn't it? I mean...

The Ultimate Guide to Cooking Sweet Potatoes: From Roasting to Mashing
RecipesSweet potatoes. Just the name conjures up images of warm, comforting dishes, bursts of vibrant color, and a to...
