Let’s face it, there’s nothing quite like a perfectly roasted chicken breast. It's a staple in so many kitchens, and for good reason: it’s versatile, quick to cook, and can be dressed up or down to suit any meal. But getting that juicy, tender texture can be a bit of a dance. You know the feeling - you pull that chicken out of the oven, all golden and crispy, only to find it's dry and tough. Ugh, that's the worst!
I've been there, countless times. Over the years, I've learned a thing or two about oven chicken breast cook times, and I'm here to share my secrets with you. From understanding the science behind cooking chicken to mastering different oven types and tackling those pesky frozen chicken breasts, we'll cover it all. So, grab a pen and paper, put the kettle on, and let's dive into this chicken breast cook time extravaganza!
(Part 1) The Science Behind It All
Before we get lost in the world of timings and temperatures, let's take a quick trip to science class.
Understanding the Temperature
The golden rule of chicken cooking? Cook it to the right temperature. That's 165°F (74°C), folks. It's the point where any lingering bacteria pack their bags and leave, leaving us with a safe and delicious meal.
Size Matters
You know how they say, "bigger is better"? Not always when it comes to chicken breasts. A thick, juicy breast needs more time in the oven than a thin one. Think of it like a marathon versus a sprint - the thick breast has further to go to reach that perfect temperature.
The Oven's Personality
Every oven has its own quirks, just like people. A fan oven, with its turbocharged air circulation, cooks faster than a conventional oven. And a tiny oven might need a bit more time to get the job done compared to a larger one. So, knowing your oven's personality is key to getting it right.
(Part 2) Setting the Stage
Now, before we throw any chicken in the oven, let's set the scene for a successful chicken breast roasting extravaganza.
Preheating Your Oven
Preheating is not just a suggestion, it's a must! It ensures your chicken cooks evenly and doesn't end up with a raw center. Think of it as a warm welcome for your chicken. Preheat your oven to 375°F (190°C) for most recipes.
Choosing Your Pan
A roasting pan is my go-to for chicken breasts, but a baking sheet works in a pinch. Make sure it's spacious enough for your chicken breasts to spread out without getting cozy with their neighbors. And don't forget to give it a little oil or butter bath to prevent sticking.
Get Creative with Flavor
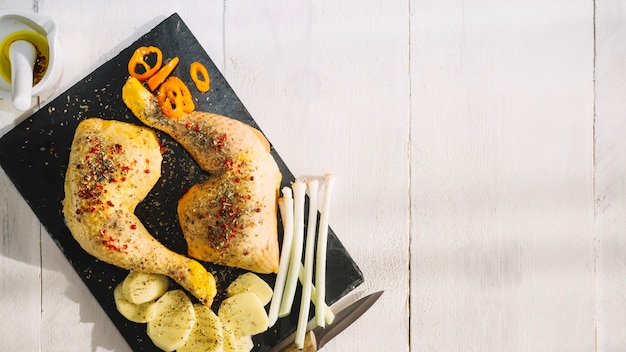
This is where the fun begins! Seasoning your chicken is like putting on a little outfit before its big oven debut. Salt and pepper are the basics, but don't be afraid to add herbs, spices, garlic, paprika - whatever tickles your fancy.
(Part 3) Oven Chicken Breast Cook Times: The Essentials
Alright, here's the moment you've been waiting for: the cook times!
General Guideline
For a standard chicken breast (think 6-8 ounces), you're looking at 20-25 minutes in a preheated oven at 375°F (190°C).
Factors That Affect Cook Time
Remember, these are just guidelines. Here are a few factors that can throw those timings off:
- Thickness: Thicker breasts need more time to reach that magic 165°F (74°C).
- Oven Type: As we talked about, a fan oven is a speed demon, while a conventional oven takes its time.
- Number of Breasts: If you're roasting a chicken breast party, expect a slightly longer cook time.
The Ultimate Solution: The meat thermometer
Here's my top tip: don't just rely on the timer. A meat thermometer is your best friend when it comes to chicken. It tells you the truth, ensuring your chicken is cooked through and safe to eat.
(Part 4) Perfecting the Roast: Step-by-Step
Let's break down the roasting process, step by step:
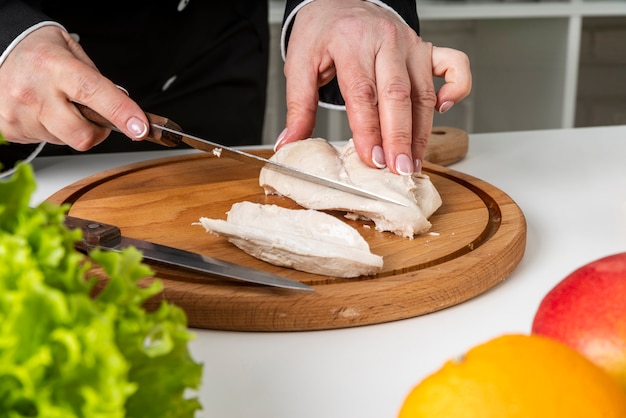
1. Prepare the Chicken: Pat your chicken breasts dry with paper towels - think of it as a quick shower. This helps them brown nicely. Season them with your chosen flavour profile.
2. Pre-heat Your Oven: Get that oven roaring hot at 375°F (190°C).
3. Place the Chicken in the Pan: Spread those chicken breasts out in your greased pan, making sure they have some breathing room.
4. Roast, Rotate, and Check: Roast for 20-25 minutes, or until the meat thermometer reaches 165°F (74°C). Halfway through, give them a flip to ensure even cooking.
5. Rest and Serve: Once your chicken has reached its desired temperature, take it out of the oven and let it rest for 5-10 minutes. This allows the juices to redistribute, resulting in a juicier, more flavorful breast.
(Part 5) Oven Chicken Breast Cook Times: Variations
Let's explore some common scenarios that might tweak those cook times:
Bone-In vs. Boneless Chicken Breasts
Those bone-in chicken breasts are like a cozy little nest for the meat. They hold onto heat and take a bit longer to cook than their boneless counterparts. Add an extra 10-15 minutes to your cook time for bone-in breasts.
frozen chicken Breasts
Cooking from frozen? It's best to thaw your chicken completely before roasting. This ensures even cooking and prevents a cold, raw center. If you're in a rush, you can cook them from frozen, but be prepared to add an extra 15-20 minutes to your cook time.
Chicken Breast with Skin
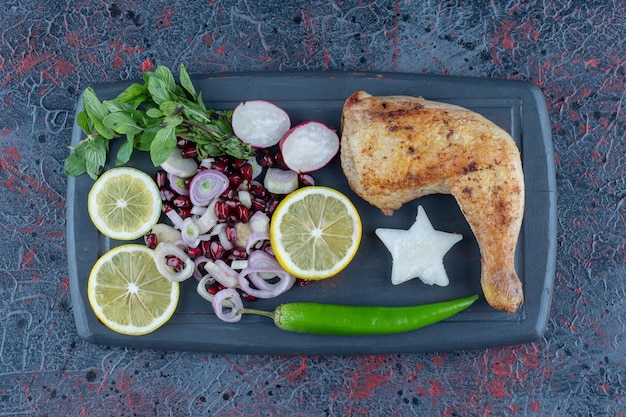
Skin on chicken breasts? That crispy, golden brown skin is a delicious treat! Keep the skin on during cooking - it acts like a little blanket, locking in moisture and adding flavor.
(Part 6) Dealing with Different Ovens
Remember, every oven has its own personality. Here are some tips for different oven types:
Fan Ovens
Fan ovens are speed demons with their supercharged air circulation. Reduce your cook time by 5-10 minutes for a fan oven.
Conventional Ovens
Conventional ovens rely on radiant heat from the bottom, so they take a bit longer to reach the right temperature. Stick to the recommended cook times or even add a few minutes.
Smaller Ovens
Smaller ovens take a little longer to heat up and cook your chicken. Add a few minutes to your cook time and keep a close eye on your chicken to prevent overcooking.
(Part 7) Beyond the Basics: Achieving That Juicy Goodness
We've covered the basics, but there are a few tricks up my sleeve to ensure your chicken breast is juicy and flavorful:
Brining
Brining is like giving your chicken a luxurious spa treatment before its oven date. It involves soaking the chicken in a salt water solution, which helps retain moisture and creates a more tender breast. You can brine for 30 minutes to a few hours.
Butterflying
Butterflying a chicken breast involves slicing it horizontally and flattening it out. This creates a more even cooking surface, ensuring that it cooks evenly and doesn't dry out.
Resting
Give your chicken a well-deserved rest after it comes out of the oven! Let it relax for 5-10 minutes before slicing and serving. This allows the juices to redistribute throughout the breast, resulting in a more succulent and flavorful bite.
(Part 8) Oven Chicken Breast Cook Time: Recipes to Try
Now that you're a chicken breast roasting pro, let's talk about some delicious recipes to try:
Simple Roasted Chicken Breasts with Lemon and Herbs
This is a classic for a reason! It's easy, flavorful, and perfect for a quick weeknight meal. Simply rub your chicken breasts with lemon zest, garlic, fresh herbs like thyme or rosemary, and a drizzle of olive oil. Then, roast until golden brown and cooked through.
Honey Garlic Chicken Breast
Sweet, savory, and irresistible - this recipe is a crowd-pleaser. Marinate your chicken breasts in a mix of honey, garlic, soy sauce, and a splash of ginger for a few hours. Then, roast until the chicken is tender and the glaze is caramelized and sticky.
Greek Lemon Chicken Breast
Light, bright, and bursting with Mediterranean flavors, this recipe is perfect for warmer days. Marinate your chicken breasts in a lemon-based marinade with oregano, garlic, and a touch of olive oil. Roast them with potatoes, onions, and bell peppers for a complete meal.
(Part 9) FAQs: Let's Clear Up Any Confusion
Let's answer some of your burning questions about oven chicken breast cook times:
1. How do I know if my chicken breast is cooked through?
The most reliable way is to use a meat thermometer. Insert the thermometer into the thickest part of the breast, making sure it doesn't touch bone. The internal temperature should read 165°F (74°C).
2. What if my chicken breast is dry?
Dry chicken is a bummer! It usually means it was overcooked. To prevent dryness, always use a meat thermometer, don't overcook, and consider brining or butterflying your chicken.
3. Can I cook chicken breasts at a lower temperature?
Absolutely! It will just take a bit longer. If you're cooking at a lower temperature, add 5-10 minutes to your cook time.
4. Can I use a different cooking method?
You can! Grilling, pan-frying, or poaching are all great ways to cook chicken breasts. Just remember, each method has its own cook times and techniques.
5. Can I freeze cooked chicken breasts?
Yes, you can. Let them cool completely, wrap them tightly, and then freeze them in a freezer-safe bag. They can be stored for up to 3 months.
(Part 10) A Final Word
There you have it, a complete guide to perfect oven chicken breast cook times! From the science to the techniques, the recipes to the FAQs, we've covered it all. Remember, with a little practice and a good meat thermometer, you'll be a chicken breast roasting champion in no time. So, go forth, get creative, and enjoy!
Everyone is watching

How to Cook Frozen Lobster Tails Perfectly: A Step-by-Step Guide
RecipesLobster. Just the word conjures up images of lavish meals, special occasions, and a taste of luxury. But let's...

Pork Fillet Cooking Time: How Long to Cook It Perfectly
RecipesPork fillet, or tenderloin as it's sometimes called, is a real favourite in our house. It's so versatile, and...

Pigs in a Blanket Cooking Time: How Long to Bake for Perfect Results
RecipesAh, pigs in a blanket. Just the name conjures up images of those delightful little parcels of crispy pastry en...

The Ultimate Guide to Cooking Delicious Frankfurters
RecipesLet's face it, we all love a good frankfurter. It's a classic, simple, and always satisfying. But let's be rea...

Wolf Meat Recipes: A Guide to Cooking Wild Game
RecipesLet's be honest, you don't see wolf meat at your local butcher shop every day. It's a bit of a wild card, but ...