So, you've got a beautiful ham, ready to be transformed into a culinary masterpiece. You're thinking about baking it, but you want more than just a basic roast. You want it to be juicy, flavorful, and absolutely irresistible. Well, you've come to the right place! I've been baking hams for years, and I've learned a few tricks along the way. I'm not talking about just popping it in the oven and hoping for the best – we're going for perfection here. This is your ultimate guide, filled with insider tips, techniques I've picked up over the years, and a touch of personal experience to make this your best ham baking adventure yet. Let's get into it!
(Part 1) Choosing Your Ham: A Foundation for Flavor
The first step is crucial – choosing the right ham. This single decision lays the groundwork for the taste and texture of your final masterpiece. Don't just grab the first one you see. Think about what you want and choose wisely.
1. Bone-In vs. Boneless: A Matter of Taste and Convenience
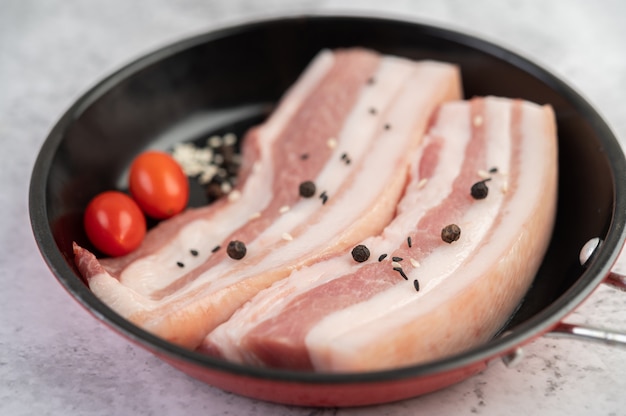
The first big decision: bone-in or boneless? bone-in hams are often considered the classic choice, known for their rich, deep flavor. The bone helps retain moisture and contributes to a more robust taste. However, they can be a bit more challenging to carve and might require more attention during the cooking process. On the other hand, boneless hams are incredibly convenient, usually pre-sliced and easier to manage. They often come with a more consistent texture throughout. Personally, I'm a bone-in ham devotee. I love that intense, traditional flavor. But if you're looking for convenience and a hassle-free experience, boneless is a great option.
2. Smoked or Unsmoked: A Flavorful Decision
Now, here's where the real fun begins: smoked or un-smoked? smoked hams already have that smoky, salty depth of flavor. They're typically pre-cooked, so they just need reheating. It's a fantastic option for a quick and flavorful meal. Unsmoked hams are a blank canvas – you get to create your own flavor profile. You can add a glaze, rub, or even a marinade to customize the taste. I love the versatility of un-smoked hams. You can really make them your own. Just make sure you cook them thoroughly, as they're not pre-cooked like smoked hams.
3. Size Matters: Selecting the perfect ham for Your Needs
Don't forget to consider the number of people you're feeding. You don't want to end up with a giant ham for just two people, or a tiny one for a crowd. A good general rule of thumb is about 1/2 pound of ham per person. But really, it depends on your appetites and whether you want leftovers! I always go a bit bigger, just in case – leftover ham is always welcome.
(Part 2) Prepping the Ham: Setting the Stage for Success
Okay, so you've chosen your perfect ham. Now, it's time to get it ready for the oven. This part is easy, just a few quick steps to maximize flavor and ensure even cooking.
1. Removing the Packaging: A Clean Slate
First, remove the ham from its packaging. Most hams come wrapped in plastic or a netting. If it's a bone-in ham, carefully remove the netting with kitchen shears. Once it's unwrapped, give it a good rinse under cold water and pat it dry with paper towels. This removes any excess moisture and prepares the ham for the next steps.
2. Scoring the Ham: Unveiling Flavor
Scoring is a simple trick that makes a big difference. You're essentially making shallow cuts across the fat layer of the ham. This does two things: first, it helps the fat render evenly during cooking, adding a delicious, rich flavor and keeping the ham juicy. Second, it increases the surface area for the glaze to adhere to. Who doesn't love a good, sticky glaze? You can use a sharp knife or even a paring knife to score the ham. Just make sure the cuts are shallow and even – about 1/4 inch deep and 1 inch apart is a good guide.
3. Preparing the Ham for a Flavorful Bake
Now, let's get to the exciting part: flavoring the ham. There are so many ways to add a personal touch to your ham. Here's where you can really let your creativity shine.
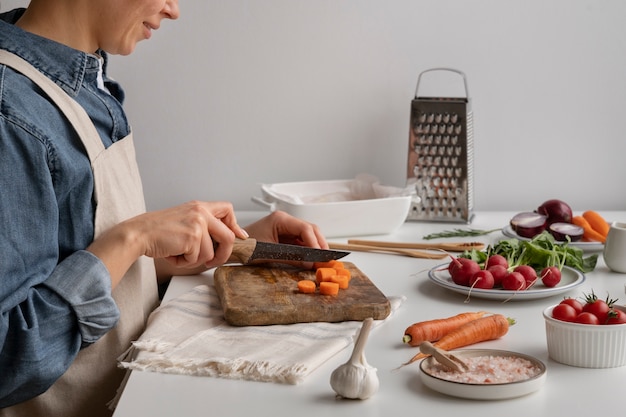
- The Classic Route: A simple rub of salt, pepper, and a little bit of garlic powder is a time-tested classic. It's a beautiful way to enhance the natural flavor of the ham.
- Spice Things Up: Want a bit more kick? Try adding paprika, cayenne pepper, or chili powder to your rub. You can also use a pre-made spice blend – there are tons of great options in supermarkets.
- Herbal Infusion: Fresh herbs can elevate the flavor of your ham to new heights. Try rosemary, thyme, or sage. Just chop them finely and mix them into your rub or sprinkle them directly over the ham.
Don't be afraid to experiment – there's no right or wrong way to season your ham. Just go with your taste preferences and create a flavor profile you'll love!
(Part 3) Baking the Ham: Unlocking Flavor through Heat
Okay, you've prepped your ham, it's seasoned to perfection, and you're ready to bake. Let's get started!
1. Preheating the Oven: A Crucial First Step
Before you even think about putting the ham in the oven, make sure it's preheated to the right temperature. This is crucial for ensuring the ham cooks evenly and reaches that perfect internal temperature. The ideal temperature is around 325°F (165°C).
2. The Baking Dish: Choosing the Right Vessel
You'll need a baking dish large enough to hold the ham comfortably. A roasting pan is perfect, especially if it has a rack to elevate the ham. This allows for better heat circulation and ensures even cooking. If you're using a roasting pan, remember to place some foil underneath the rack to catch any drippings – you don't want a messy oven! You can also use a large baking sheet or even a dutch oven. Just make sure the dish is large enough to accommodate your ham.
3. Setting the Stage for a Successful Bake
Place the ham in the baking dish. If you're using a roasting pan, make sure it's sitting securely on the rack. Now, it's time to wrap the ham in foil. This helps keep the ham moist and prevents it from drying out. Make sure the foil is tightly sealed around the ham, with no gaps. Now, your ham is ready to bake. I usually bake a ham for about 15-20 minutes per pound, but every oven is different, so you might need to adjust the baking time accordingly. You'll want to make sure the internal temperature reaches 145°F (63°C). A meat thermometer is your best friend here! Just insert it into the thickest part of the ham, avoiding the bone.
(Part 4) Glazing the Ham: A Sweet and Savory Finish
While your ham is baking, you can start working on your glaze. This is where you add that final touch of flavor and sweetness that makes your ham truly irresistible. Think of it as the finishing touch that elevates the dish from good to unforgettable.
1. Classic Options: Honey-Mustard, Brown Sugar, and More
You can never go wrong with a classic honey-mustard glaze. It's sweet, tangy, and deliciously versatile. Simply whisk together some honey, Dijon mustard, and a bit of apple cider vinegar for a flavorful glaze that complements the ham beautifully. Another classic is a simple brown sugar glaze – just combine brown sugar, water, and a touch of cinnamon for a warm and comforting flavor.
2. Experiment with Flavors: Cherry, Maple, and More
Feeling adventurous? Try a cherry glaze – it adds a bit of fruity sweetness and a touch of tang. Or go for a maple glaze for a rich, nutty flavor that complements the savory notes of the ham. There are endless possibilities when it comes to glazes – get creative and experiment with different flavors and ingredients. You can use fruit preserves, fruit juices, spices, even a hint of bourbon or balsamic vinegar.
3. Glazing Technique: The Final Flourish
Once the ham has cooked for about two-thirds of the time, remove it from the oven and carefully unwrap the foil. Use a pastry brush to brush your chosen glaze all over the ham. Make sure you get all the nooks and crannies for a beautifully glazed finish. Now, re-wrap the ham in foil and return it to the oven to finish cooking. After about 15 minutes, remove the ham from the oven and unwrap it. Brush on another layer of glaze and bake it for another 15 minutes, uncovered, so the glaze can caramelize beautifully. That golden-brown color and sticky texture are simply irresistible! Your ham is now ready to serve.
(Part 5) Serving and Storing: Finishing Touches and Preservation
You've successfully baked a delicious ham – congratulations! Now it's time to serve it up and enjoy the fruits of your labour. But first, let's talk about serving and storing.
1. Serving the Ham: A Feast for the Senses
Let the ham rest for about 10-15 minutes after baking. This will allow the juices to redistribute, ensuring a more tender and juicy final product. Now, you're ready to carve it up and serve it. If you're serving a bone-in ham, use a sharp carving knife to cut along the bone, separating the meat from the bone. Then, slice the meat across the grain for the most tender results. Arrange the slices on a platter and serve with your favourite sides.
2. Storing Leftovers: Keeping the Flavor Intact
If you have any leftovers, store them in an airtight container in the refrigerator for up to 4 days. They're delicious cold, but they can also be reheated in the oven or microwave. To reheat, wrap the ham in foil and bake it in a preheated oven at 325°F (165°C) for about 20-30 minutes, or until heated through. Leftover ham can be added to sandwiches, salads, or even used as a base for a delicious frittata.
(Part 6) Sides for the Ham: Complements to the Feast
What's a ham feast without some delicious sides? Here are a few classic pairings that complement the flavor of your baked ham beautifully.
1. Sweet and Savoury: A Classic Pairing
Think about what complements the sweetness and savoury flavors of your ham. You can't go wrong with classic sides like mashed potatoes, sweet potato casserole, or green bean casserole. They're all comforting and delicious, and they pair perfectly with the rich flavor of the ham.
2. fruit salad: A Touch of Freshness
For a bit of brightness and freshness, add a fruit salad to your table. Strawberries, blueberries, and raspberries are all excellent choices. You can also add a bit of citrus for a zesty twist. Fruit salad adds a lovely contrast to the rich flavors of the ham and sides.
3. Roasted Vegetables: A Healthy and Delicious Option
Roasted vegetables are a healthy and delicious side that complements the flavor of the ham beautifully. Try roasting carrots, asparagus, or Brussels sprouts with a bit of olive oil, salt, and pepper. You can even add herbs like rosemary or thyme for an extra touch of flavor.
(Part 7) Ham Variations: Explore New flavor profiles
Now that you've mastered the basics, it's time to get creative and explore some exciting variations. Let's spice things up with some flavor combinations that will take your ham to the next level.
1. Hawaiian Ham: A Tropical Twist
For a taste of the islands, try a Hawaiian ham. The key is to add pineapple to the glaze. Simply mix pineapple chunks with brown sugar and a bit of orange juice. Then, brush the glaze onto the ham and bake it as usual. The sweet and tangy pineapple adds a unique tropical twist to your ham.
2. Honey-Glazed Ham with Brown Sugar and Mustard
You can't go wrong with a honey-glazed ham. Start with a base of brown sugar and mustard, and then add a drizzle of honey for extra sweetness. The brown sugar adds a warm and comforting flavor, while the mustard adds a bit of tang. This combination is a perfect blend of sweet and savory, and it's sure to please everyone at the table.
3. Ham with Cherry-Bourbon Glaze: A Smoky and Sweet Delight
For a more sophisticated flavor, try a cherry-bourbon glaze. This combination creates a delicious balance of smoky sweetness and a hint of bourbon. You can find ready-made cherry-bourbon glazes, or create your own by combining cherry preserves, bourbon, and a bit of brown sugar. The result is a truly unique and unforgettable flavor.
(Part 8) FAQs: Your Ham Baking Questions Answered
Now, you're ready to bake a delicious ham, but you might have a few questions. Don't worry, I've got you covered! Here are answers to some of the most common questions about baking ham.
1. Can I Bake a Ham from Frozen?
You can bake a ham from frozen, but it will take longer to cook. It's best to thaw the ham in the refrigerator overnight, then bake it as usual. If you're in a pinch, you can thaw the ham in a cold water bath for a few hours. Just make sure the water is cold, and change it every 30 minutes.
2. How Do I Know When the Ham Is Done?
The best way to tell if a ham is done is to use a meat thermometer. Insert it into the thickest part of the ham, avoiding the bone. The internal temperature should reach 145°F (63°C) for a safe and delicious ham.
3. Can I Reheat Leftover Ham?
Absolutely! Leftover ham is delicious reheated. You can reheat it in the oven or microwave. For the oven, wrap the ham in foil and bake it at 325°F (165°C) for about 20-30 minutes, or until heated through. For the microwave, simply place the ham in a microwave-safe dish and heat it on high for about 1-2 minutes, or until heated through.
4. What Happens If I Overcook the Ham?
If you overcook the ham, it can become dry and tough. To avoid this, make sure you use a meat thermometer and cook the ham to the correct internal temperature. You can also try adding a little extra moisture to the ham by brushing it with a glaze or adding some broth to the baking dish.
5. Can I Bake a Ham in a slow cooker?
Yes, you can bake a ham in a slow cooker. Simply place the ham in the slow cooker, add a cup of water or broth to the bottom, and cook it on low for 6-8 hours, or on high for 3-4 hours. You can also add a glaze to the ham during the last hour of cooking.
Now that you've got all this knowledge and a few delicious recipes to experiment with, you're ready to become a ham baking master! Have fun with it, and remember, it's all about making a delicious meal that you and your loved ones will enjoy.
Everyone is watching

How to Cook Frozen Lobster Tails Perfectly: A Step-by-Step Guide
RecipesLobster. Just the word conjures up images of lavish meals, special occasions, and a taste of luxury. But let's...

Pigs in a Blanket Cooking Time: How Long to Bake for Perfect Results
RecipesAh, pigs in a blanket. Just the name conjures up images of those delightful little parcels of crispy pastry en...

Pork Fillet Cooking Time: How Long to Cook It Perfectly
RecipesPork fillet, or tenderloin as it's sometimes called, is a real favourite in our house. It's so versatile, and...

The Ultimate Guide to Cooking Delicious Frankfurters
RecipesLet's face it, we all love a good frankfurter. It's a classic, simple, and always satisfying. But let's be rea...

Wolf Meat Recipes: A Guide to Cooking Wild Game
RecipesLet's be honest, you don't see wolf meat at your local butcher shop every day. It's a bit of a wild card, but ...