Let's be honest, there's something undeniably satisfying about a perfectly cooked new york strip steak. The crispy sear, the juicy interior, the melt-in-your-mouth tenderness - it's a symphony of textures and flavours. But let's face it, not every attempt at steak mastery ends in a culinary triumph. I've been there, from the tragically dry to the sadly overcooked. But, over time, I've discovered a few key strategies that have helped me consistently nail the perfect steak.
This guide isn't about fancy techniques or intimidating jargon. It's about straightforward, practical steps that anyone can follow, even if your culinary experience is limited to boiling water. We'll explore everything from selecting the right cut to mastering the art of searing and resting, and even address some common pitfalls that can turn a steak dream into a nightmare. So, grab your trusty apron, sharpen those knives, and let's get cooking!
(Part 1) Choosing the Cut
The King of Steaks: The New York Strip
When most people think of a "steak," the New York Strip is often the first image that pops into their minds. And for good reason. This cut is a true gem - brimming with flavour, boasting a satisfyingly tender texture, and capable of handling a wide range of cooking methods.
Why the New York Strip Reigns Supreme
The New York Strip, also called a Kansas City Strip or Top Loin Steak, hails from the short loin of the cow. This section sits beneath the rib cage, where the muscle doesn't get a lot of use, resulting in a naturally tender texture. Add in the generous marbling – those beautiful white streaks of fat – and you've got a cut that's not only tender but also intensely flavorful.
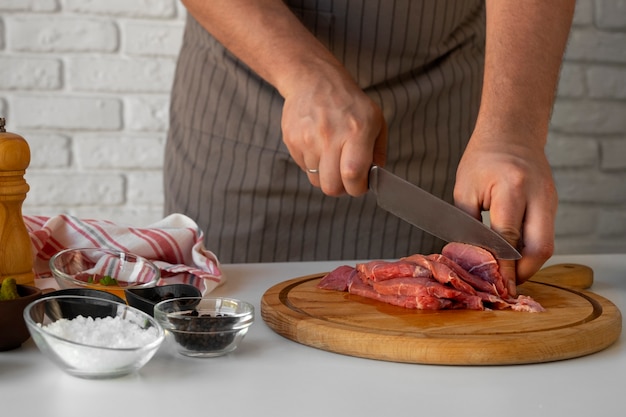
Selecting the Right Steak: A Butcher's Guide
When you're at the butcher's counter, keep these things in mind:
Marbling, Marbling, Marbling: Look for steaks with ample marbling. The more white streaks running through the red, the more juicy and flavorful your steak will be.
Thickness Matters: A 1-inch thick steak is ideal for most cooking methods, but you can certainly go thicker if you prefer a more substantial bite.
A Fresh Look: Look for a steak with a bright, even red colour. Avoid any steaks that are discoloured or have an off-putting odour.
Beyond the New York Strip: Exploring Other Options
If you're feeling adventurous, there's a whole world of other steak cuts to explore. The ribeye, for example, is a close relative to the New York Strip, boasting a larger fat cap for an even richer, more buttery flavour. Then there's the filet mignon, a more delicate cut from the tenderloin. It's incredibly tender but lacks the intense flavour of its New York Strip and ribeye counterparts.
Ultimately, the best cut for you depends on your personal preferences and the kind of flavour profile you're looking for.
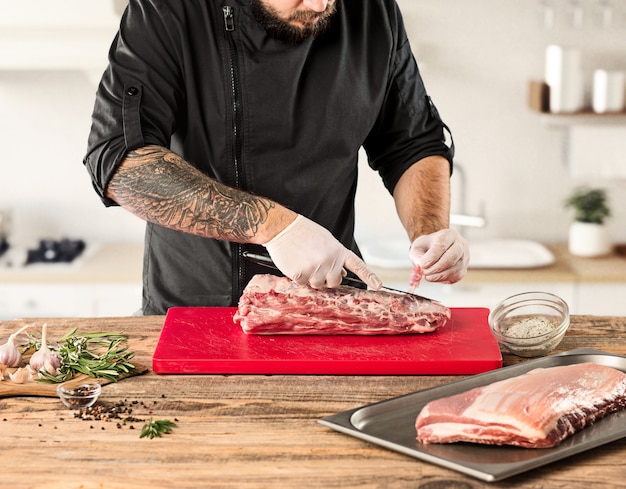
(Part 2) Preparing the Steak
Getting Your Steak Ready for its Close-Up
Before you dive into the cooking process, there are a few essential prep steps to ensure your steak cooks evenly and develops a beautiful crust:
Room Temperature Rendezvous: Let your steak come to room temperature before cooking. This helps ensure even cooking by allowing the steak to heat up more gradually.
Dry as a Bone: Pat the steak dry with paper towels. This will help to create a crisp sear, as moisture can hinder the browning process.
Seasoning Magic: Season your steak generously with salt and pepper. This basic combination will enhance the natural flavours of the meat. You can also experiment with other herbs and spices, but remember, a little goes a long way.
The Power of Resting: Why It Matters
Resting your steak after cooking is a crucial step that many people overlook. It's like giving the steak a moment to recover and redistribute its juices.
Resting Time: The Longer, The Better
A good rule of thumb is to let your steak rest for at least 10 minutes after cooking. For steaks cooked to rare or medium-rare, consider resting it for 15 minutes or even longer. This allows the juices to reabsorb into the meat, resulting in a more tender, juicy, and flavourful final product.
(Part 3) Cooking the Steak: Searing and Beyond
The Art of Searing: Creating a Crusty Masterpiece
Searing is the cornerstone of a delicious steak. It's what creates that beautiful, crispy crust that locks in flavour and juices, giving your steak an irresistible edge.
Hot Pan, Hot Fat: The Essential Duo
You'll need a cast-iron skillet or a heavy-bottomed pan that can handle high heat. This will create the scorching surface necessary for a proper sear. And don't forget the fat! A good amount of olive oil or butter will help create that sizzling, hot surface.
Let It Sizzle: The First Step to Perfection
Once your pan is smoking hot, carefully place the steak in it. Don't move it for at least 30 seconds. Resist the urge to fidget! Let that crust develop, creating a barrier that seals in the flavour and juices.
Flip and Repeat: Ensuring an Even Sear
After 30 seconds, flip the steak and repeat the searing process on the other side. Continue this process for all sides of the steak, ensuring that every surface gets a beautiful, even sear.
Finishing Touches: A Variety of Options
Once your steak is seared, you can choose from several methods to finish cooking it. The oven, grill, or even the stovetop can be used, depending on your desired level of doneness and your preferred cooking style.
(Part 4) Cooking the Steak: oven method
Oven-Baked Perfection: Consistent Doneness
The oven method is a reliable way to achieve consistent doneness throughout the steak and a nice, even cook.
Preheating Your Oven: The Key to Success
Preheat your oven to 400°F (200°C). This ensures that the steak cooks evenly and doesn't end up with cold spots.
Finishing the Cook: Oven-Baked Glory
After searing your steak, transfer it to a baking sheet and place it in the preheated oven. cooking time will vary based on the steak's thickness and your desired doneness, but a general rule of thumb is:
Rare: 3-4 minutes per side
Medium-rare: 4-5 minutes per side
Medium: 5-6 minutes per side
Medium-well: 6-7 minutes per side
Well-done: 7-8 minutes per side
Don't Forget to Rest: The Final Touch
Once the steak has reached your desired doneness, remove it from the oven and let it rest for at least 10 minutes before slicing and serving.
(Part 5) Cooking the Steak: Grill Method
Grill Master: Embracing the Outdoor Flair
If you're lucky enough to own a grill, this method offers a delicious way to cook your steak. The smoky flavour and char marks add a whole new dimension to your steak experience.
Prepping the Grill: Getting Ready to Sizzle
Preheat your gas or charcoal grill to medium-high heat. The grill grates should be hot enough to sizzle when you hold your hand a few inches above them.
Grill Time: Searing on the Hot Side
Once your grill is preheated, place the steak directly over the heat. Close the lid and cook for 2-3 minutes per side, or until the steak develops a beautiful sear. This initial searing is what creates that irresistible crust.
Indirect Heat: Even Cooking Without Overcooking
After searing, move the steak to the cooler side of the grill to finish cooking. This helps prevent overcooking and ensures an even cook throughout the steak.
Don't Overdo It: Finding the Sweet Spot
Continue cooking the steak for 2-3 minutes per side, or until it reaches your desired doneness. Remember, it's much easier to overcook a steak than to undercook it, so check the doneness frequently.
Rest Before Serving: Allowing the Juices to Redistribute
Once your steak is cooked, let it rest for at least 10 minutes before slicing and serving. This allows the juices to redistribute, ensuring a tender, juicy, and flavorful steak.
(Part 6) How to Check the Doneness of Your Steak
The Touch Test: A Simple Gauge of Doneness
The touch test is a quick and easy way to gauge the doneness of your steak. Here's what to look for:
Rare: The steak will feel soft and yielding to the touch, like a firm jelly.
Medium-rare: The steak will feel slightly springy to the touch, similar to a soft sponge.
Medium: The steak will feel firmer to the touch, like a firm sponge.
Medium-well: The steak will feel firm and resilient to the touch, like a loaf of bread.
Well-done: The steak will feel very firm and almost hard to the touch, like a hard loaf of bread.
The Thermometer: For Precision and Accuracy
For a more precise way to check the doneness of your steak, use a meat thermometer. Insert the thermometer into the thickest part of the steak, ensuring it doesn't touch any bone.
| Doneness | internal temperature (°F) |
|---|---|
| Rare | 125-130 |
| Medium-rare | 130-135 |
| Medium | 135-140 |
| Medium-well | 140-145 |
| Well-done | 145-150 |
(Part 7) The Art of Resting
Resting: A Crucial Step in steak mastery
After cooking your steak, it's time for a little downtime: rest! While it might seem like a waste of time, resting your steak is a critical step in achieving optimal tenderness and flavour.
Why Resting Matters: Unlocking the Juices
During cooking, the muscle fibers in the steak contract, squeezing out the juices. As the steak cools down, the fibers relax, allowing the juices to redistribute back into the meat. This process creates a more tender, juicy, and flavorful steak.
How to Rest Your Steak: Simple and Effective
Place the steak on a cutting board and cover it loosely with foil. Let it rest for at least 10 minutes, or longer for a more tender steak.
Be Patient: Resting is an Investment in Flavor
Don't rush the resting process! The longer you let the steak rest, the more time the juices have to redistribute, resulting in a more flavourful and enjoyable steak experience.
(Part 8) Serving and Enjoying Your Perfect Steak
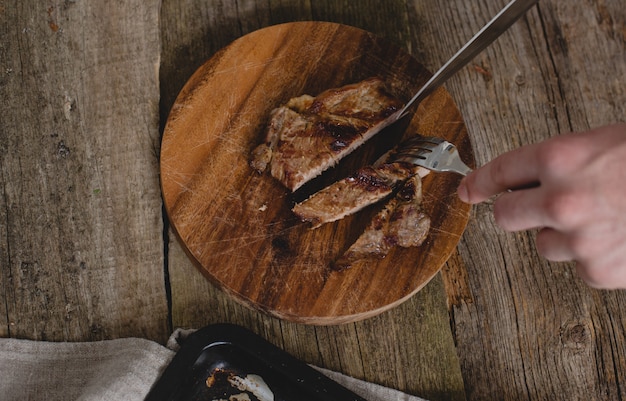
The Grand Finale: Slicing and Serving
After your steak has had a chance to rest, it's time to slice it up and prepare it for serving.
Slicing Tips: Getting the Cut Right
Sharp Knife, Sharp Results: Use a sharp knife to slice the steak. A dull knife will tear the steak, resulting in uneven slices that can be difficult to chew.
Slice Against the Grain: This is a game-changer for tenderization. Slicing against the grain breaks down the muscle fibers, making the steak more tender.
Even Slices: Aim for slices that are about 1/2 inch thick. This ensures that each slice has a good balance of tender interior and crispy exterior.
side dish Suggestions: Complementing Your Steak
Roasted Vegetables: Asparagus, broccoli, or Brussels sprouts are excellent companions for steak, providing a vibrant and fresh counterpoint to the rich flavours of the meat.
potato gratin: A creamy, cheesy potato gratin is a classic side that perfectly complements the steak.
Garlic mashed potatoes: A simple and satisfying side that's perfect for soaking up the juices from the steak.
Green Salad: A light and refreshing salad adds a nice contrast to the richness of the steak.
Enjoy! Savoring Your Culinary Triumph
Once your steak is sliced and ready to go, it's time to sit down, relax, and enjoy the fruits of your labour. Take your time, savouring each bite of this delicious culinary masterpiece.
(Part 9) Common Steak cooking mistakes and How to Avoid Them
Overcooking: The Biggest Mistake
The biggest mistake that people make when cooking steak is overcooking it. It's easy to get carried away with the heat and end up with a tough, dry steak that's a far cry from the succulent treat you were hoping for.
Avoiding Overcooking: Temperature Control is Key
Meat Thermometer: Your Culinary Ally: Use a meat thermometer to check the internal temperature of your steak. This is the most reliable way to ensure that your steak is cooked to your desired level of doneness.
Medium-High Heat: Find the Sweet Spot: Cook the steak over medium-high heat, not high heat. High heat can lead to overcooking on the outside while the inside remains raw.
Rest, Rest, Rest: Always rest the steak for at least 10 minutes before slicing and serving. This allows the juices to redistribute, resulting in a more tender, juicy, and flavorful steak.
Not Resting the Steak: A Missed Opportunity
As we've already discussed, resting the steak is crucial for tenderness and juiciness. Don't skip this step!
How to Avoid It: A Simple Reminder
Always Rest: Make a habit of resting your steak for at least 10 minutes after cooking.
Cover It Up: Cover the steak loosely with foil while it rests. This will help to trap the heat and moisture, promoting even distribution of juices.
Not Searing Properly: A Vital Step for Flavor and Texture
A good sear is essential for creating that delicious, crispy crust and locking in the flavour and juices.
Searing Secrets: The Path to a Crusty Masterpiece
Hot Pan, Hot Fat: Use a hot pan and a good amount of fat, like olive oil or butter. This will create the sizzling, hot surface needed for a proper sear.
Time for the Crust: Let the steak sear for at least 30 seconds per side before flipping. This will give the steak enough time to develop a beautiful, crispy crust.
Using the Wrong Knife: A Sharp Tool for a Smooth Cut
Using a dull knife will tear the steak, resulting in uneven slices that can be difficult to chew.
Sharp Knife Solutions: Ensuring a Clean Cut
Sharp Tool, Smooth Slice: Invest in a good quality, sharp knife specifically designed for cutting meat.
Slice Against the Grain: This simple technique will make a world of difference in tenderness.
Adding Salt Too Early: Salt's Role in Flavor
Adding salt too early can actually draw out moisture from the steak, making it drier.
Salt Timing: A Simple Strategy
Salt at the End: Season the steak with salt and pepper just before cooking. This will allow the salt to penetrate the meat and enhance its natural flavour without drawing out moisture.
(Part 10) FAQs
1. What is the best way to cook a New York strip steak?
The best way to cook a new york strip steak is to sear it over high heat to create a crispy crust, then finish cooking it in the oven or on the grill to your desired level of doneness. The combination of searing and finishing in a lower-heat environment ensures a perfectly cooked steak that's juicy, tender, and bursting with flavour.
2. How long should I cook a New York Strip steak?
Cooking time will vary depending on the thickness of the steak and your desired level of doneness. As a general rule of thumb, you can expect to cook a 1-inch thick steak for 3-4 minutes per side for rare, 4-5 minutes per side for medium-rare, and 5-6 minutes per side for medium.
3. How do I know when my New York Strip steak is done?
You can use a meat thermometer to check the internal temperature of your steak, or you can use the touch test. For rare, the steak should feel soft and yielding to the touch. For medium-rare, the steak should feel slightly springy to the touch. For medium, the steak should feel firmer to the touch. For medium-well, the steak should feel firm and resilient to the touch. And for well-done, the steak should feel very firm and almost hard to the touch.
4. What are some good sides to serve with a New York Strip steak?
Some good sides to serve with a New York Strip steak include roasted vegetables, mashed potatoes, garlic bread, and green salad. The rich flavour of the steak is perfectly complemented by a variety of side dishes, allowing you to create a satisfying and balanced meal.
5. What is the best way to store a New York Strip steak?
The best way to store a New York Strip steak is to wrap it tightly in plastic wrap or aluminum foil and place it in the refrigerator. You can also freeze the steak for up to 3 months. To thaw a frozen steak, place it in the refrigerator for 24 hours. This allows the steak to thaw slowly and evenly, preserving its quality and tenderness.
Everyone is watching

How to Cook Frozen Lobster Tails Perfectly: A Step-by-Step Guide
RecipesLobster. Just the word conjures up images of lavish meals, special occasions, and a taste of luxury. But let's...

Pigs in a Blanket Cooking Time: How Long to Bake for Perfect Results
RecipesAh, pigs in a blanket. Just the name conjures up images of those delightful little parcels of crispy pastry en...

Pork Fillet Cooking Time: How Long to Cook It Perfectly
RecipesPork fillet, or tenderloin as it's sometimes called, is a real favourite in our house. It's so versatile, and...

The Ultimate Guide to Cooking Delicious Frankfurters
RecipesLet's face it, we all love a good frankfurter. It's a classic, simple, and always satisfying. But let's be rea...

Wolf Meat Recipes: A Guide to Cooking Wild Game
RecipesLet's be honest, you don't see wolf meat at your local butcher shop every day. It's a bit of a wild card, but ...