Let's talk about steak. You know, that juicy, flavorful, melt-in-your-mouth piece of meat that just screams "special occasion." I've been a steak enthusiast for years, and I've tried countless recipes, experimenting with different techniques and cuts. But nothing quite compares to the satisfaction of a perfectly oven-baked ribeye. It's a dish that never fails to impress, whether you're hosting a dinner party or simply treating yourself to a fancy Friday night dinner.
This isn't just any old steak recipe, though. This is my personal go-to method, perfected over years of steak-loving experimentation. I'm not just going to hand you a recipe and call it a day; I'm going to take you on a journey, step-by-step, sharing the secrets and tips I've learned along the way. We'll delve into choosing the perfect cut, mastering the art of seasoning, and even the best way to rest your steak for maximum tenderness. So, grab a glass of your favorite red wine, put on some good music, and let's get started!
Part 1: The Essential Ingredients

The Star of the Show: The Ribeye Steak
Let's start with the star of the show, the ribeye steak. There's a reason why this cut is so beloved. It's known for its beautiful marbling, which is a fancy way of saying it's got those streaks of fat running through it. Those fat streaks are what give the ribeye its incredible flavor and juiciness. You want to look for a good-sized ribeye, ideally about 1.5 inches thick. A thicker cut will ensure that the steak cooks evenly and retains its juiciness. And trust me, you want that juicy steak.
Seasoning: Your Secret Weapon
Now, the seasoning! This is where you can really unleash your creativity and personalize your steak. I'm a big fan of a simple salt and pepper blend, but feel free to experiment with other herbs and spices. A touch of garlic powder, onion powder, or paprika can add a delightful depth of flavor. I've even tried a sprinkle of smoked paprika for a hint of smoky flavor, which pairs beautifully with the rich taste of ribeye.
The Finishing Touch: Butter and Herbs
Finally, we have the finishing touch: butter and herbs. This is the secret ingredient that will take your steak to the next level. Imagine this: the butter melts over the steak during cooking, creating a rich, aromatic sauce that infuses the steak with a delectable flavor. I love using a combination of unsalted butter and fresh herbs like rosemary, thyme, and sage. The combination of their flavors with the butter creates a symphony on your palate. But again, feel free to experiment! If you're a fan of garlic, add a clove of minced garlic to the butter mixture for a delicious, savory touch.
Part 2: Prepping the Steak

1. Let the Steak Come to Room Temperature
The first step is crucial: letting the steak come to room temperature before cooking. Now, you might be thinking, "Wait, why would I let it warm up?" It seems counterintuitive, but trust me. When the steak is cold, it takes longer to cook evenly and can end up with a tough exterior. So, take it out of the fridge at least 30 minutes before you start cooking. It's worth the wait. You'll be thanking me later when you sink your teeth into that perfectly cooked, tender steak.
2. Pat the Steak Dry
Once the steak is at room temperature, pat it dry with paper towels. This will help to prevent the steak from steaming during cooking, resulting in a more crispy crust. Think of it like this: a dry surface allows for better browning and crisping.
3. Seasoning with a Light Hand
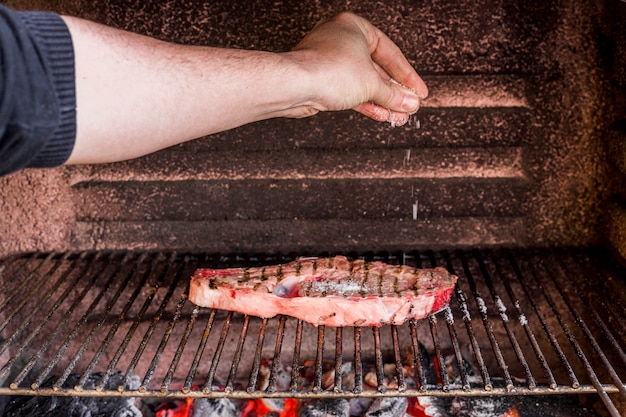
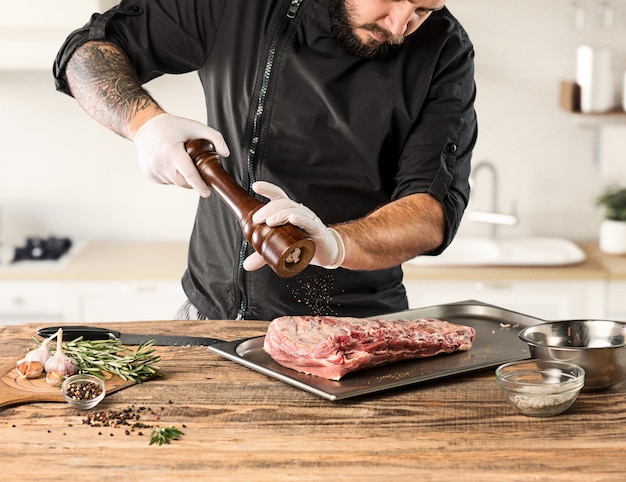
Now it's time to season the steak. I prefer to use a simple blend of salt and pepper. Remember, we're going for that clean, natural flavor of the ribeye, so don't go overboard with the seasoning. But, as always, you can experiment. Add a touch of your favorite herbs and spices, but keep it light. You want to enhance, not overpower, the flavor of the steak.
4. Preheat the Oven
While the steak is coming to room temperature, preheat your oven to 400°F (200°C). This is the perfect temperature for achieving a perfectly cooked ribeye. I like to use my oven's convection setting for this, as it circulates the heat more evenly, helping the steak cook consistently.
Part 3: Baking the Steak

1. Searing for a Crispy Crust
Now, for the fun part: searing the steak. This is where you'll achieve that beautiful, crispy crust that's the hallmark of a good steak. Heat a heavy-bottomed skillet over high heat until it's piping hot. We want that skillet scorching hot! Then, add a tablespoon of oil to the skillet. When the oil is shimmering, carefully place the steak in the skillet. Be careful, that skillet will be hot!
2. Don't Move It!
Now, here's the key: don't touch it! Let the steak cook undisturbed for 3-4 minutes per side. This will allow the steak to develop a nice, crispy crust. It's tempting to peek and poke, but resist the urge. Patience is key here!
3. Flip It Over!
After searing the steak on both sides, transfer it to a baking sheet lined with parchment paper. This will prevent the steak from sticking.
4. Finish in the Oven
Place the baking sheet in the preheated oven and bake for 10-12 minutes, or until the steak reaches your desired level of doneness. You can check the doneness with a meat thermometer. I like to check the temperature with a thermometer, but if you're comfortable with the touch test, that works too.
Part 4: Resting the Steak
Why Resting is Crucial
After taking the steak out of the oven, it's important to let it rest for 10 minutes before slicing and serving. This will allow the juices to redistribute throughout the steak, resulting in a more tender and flavorful steak.
Cover it With Foil
While the steak is resting, cover it loosely with aluminium foil to keep it warm.
Part 5: The Perfect steak sauce
Simple is Best
While I love a good steak sauce, I find that the best sauce is often the simplest. Simply melt some butter in a saucepan over medium heat, and whisk in your favorite herbs and spices.
Herbs and Spices
I love using a blend of fresh rosemary, thyme, and sage, but you can use whatever you like. For a touch of sweetness, add a little bit of honey or maple syrup.
Don't Overcook the Sauce
Be careful not to overcook the sauce, as this will cause it to separate.
Part 6: How to Check Your Steak’s Doneness
Meat Thermometer
The most accurate way to check the doneness of your steak is with a meat thermometer. Simply insert the thermometer into the thickest part of the steak, making sure it doesn't touch bone.
Doneness Levels
Here's a guide to steak doneness levels:
| Doneness Level | internal temperature (°F) | Internal Temperature (°C) |
|---|---|---|
| Rare | 125-130 | 52-54 |
| Medium Rare | 130-135 | 54-57 |
| Medium | 135-140 | 57-60 |
| Medium Well | 140-145 | 60-63 |
| Well Done | 145 | 63 |
The Touch Test
If you don't have a meat thermometer, you can use the touch test. Press your finger on the centre of the steak.
Touch Test Guide
- Rare: The steak will feel soft and springy.
- Medium Rare: The steak will feel slightly firmer, but still slightly springy.
- Medium: The steak will feel firm and bouncy.
- Medium Well: The steak will feel firm and hard.
- Well Done: The steak will feel very hard.
Part 7: Serving Your Steak
Slice it Up!
Once the steak has rested, slice it against the grain into 1-inch thick pieces. This will help to make the steak more tender and easier to chew.
Get Creative with Sides
Now, for the fun part: choosing your sides. I love serving my ribeye steak with a classic combination of mashed potatoes, roasted asparagus, and a green salad. But feel free to get creative! Some other delicious side dish options include:
- Garlic mashed potatoes
- roasted brussels sprouts
- grilled corn on the cob
- Mac and cheese
- baked sweet potatoes
A Perfect Pairing
No ribeye steak dinner is complete without a glass of red wine. Here are a few of my favorite pairings:
- Cabernet Sauvignon: This bold, full-bodied wine complements the rich flavor of ribeye steak.
- Merlot: A slightly softer red wine that still stands up to the richness of ribeye.
- Zinfandel: A fruity red wine with a spicy kick that pairs well with the savory flavors of ribeye.
Part 8: FAQs
Q1: What if I don't have a meat thermometer?
A1: If you don't have a meat thermometer, you can use the touch test to estimate the doneness of your steak. However, using a meat thermometer is the most accurate way to ensure your steak is cooked to your desired level of doneness. I recommend investing in a meat thermometer if you're serious about perfecting your steak game.
Q2: Can I use other cuts of beef for this recipe?
A2: You can absolutely use other cuts of beef for this recipe. However, I recommend sticking with a cut of beef that has good marbling, like a new york strip or a tenderloin. These cuts have similar fat content to the ribeye, which translates to juicy and flavorful results.
Q3: How long should I bake the steak for?
A3: The baking time will depend on the thickness of your steak and your desired level of doneness. As a general rule, bake the steak for 10-12 minutes for medium-rare. However, it's always best to check the temperature with a meat thermometer to ensure it's cooked to your liking.
Q4: Can I add other ingredients to the butter and herb mixture?
A4: Yes, you can definitely add other ingredients to the butter and herb mixture. I love adding a touch of garlic powder, onion powder, or paprika for added flavor. You could also add a little bit of lemon juice for a tangy twist. Don't be afraid to experiment and find the perfect combination for your taste buds.
Q5: What if I don't have a heavy-bottomed skillet?
A5: You can use a regular skillet for searing the steak, but it might not get as hot as a heavy-bottomed skillet. If you're using a regular skillet, make sure to heat it over high heat until it's piping hot before adding the steak. You can also use a cast iron skillet, which is great for searing. If you don't have either, a grill pan works well, too. The key is to get that skillet really hot to achieve a nice sear.
So, there you have it! My guide to achieving the perfect oven-baked ribeye steak. It's a dish that's guaranteed to impress, and with this comprehensive guide, you'll be a steak master in no time! Remember, the key is to have fun and experiment. Find what works for you, and don't be afraid to get creative! Happy cooking!
Everyone is watching

How to Cook Frozen Lobster Tails Perfectly: A Step-by-Step Guide
RecipesLobster. Just the word conjures up images of lavish meals, special occasions, and a taste of luxury. But let's...

Pigs in a Blanket Cooking Time: How Long to Bake for Perfect Results
RecipesAh, pigs in a blanket. Just the name conjures up images of those delightful little parcels of crispy pastry en...

Pork Fillet Cooking Time: How Long to Cook It Perfectly
RecipesPork fillet, or tenderloin as it's sometimes called, is a real favourite in our house. It's so versatile, and...

The Ultimate Guide to Cooking Delicious Frankfurters
RecipesLet's face it, we all love a good frankfurter. It's a classic, simple, and always satisfying. But let's be rea...

Wolf Meat Recipes: A Guide to Cooking Wild Game
RecipesLet's be honest, you don't see wolf meat at your local butcher shop every day. It's a bit of a wild card, but ...
