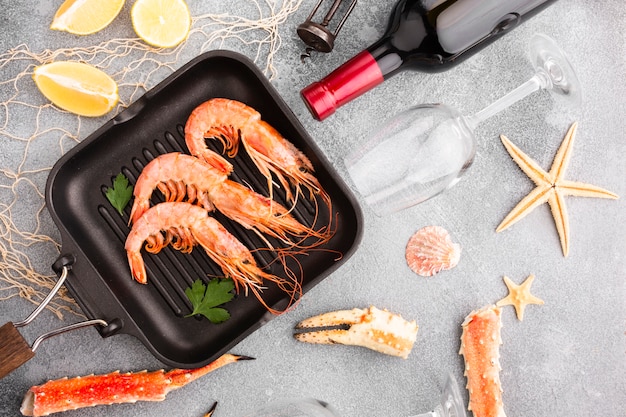
Let's face it, sometimes we just can't resist the temptation of a big batch of cooked shrimp. Whether it's a leftover feast from a seafood extravaganza or a clever pre-prepped meal for the week, having those succulent shrimp on hand is a godsend. But here's the catch: how do we reheat them without transforming them into rubbery, dry disappointments? Trust me, I've been there – made those mistakes and learned from them. Now, I'm ready to share my wisdom on perfecting the art of stovetop shrimp reheating.
Part 1: The Essential Ingredients for Success

You might be thinking, "Stovetop? Really? Isn't that a bit intense for just reheating shrimp?" Well, let me tell you, the stovetop is the secret weapon for achieving that "just-cooked" texture we crave. Unlike the microwave, which can easily turn shrimp into a dried-out mess, the stovetop method offers gentle and controlled reheating. But, it's all about getting the technique right. Here's what you need to know:
1. The Perfect Pan
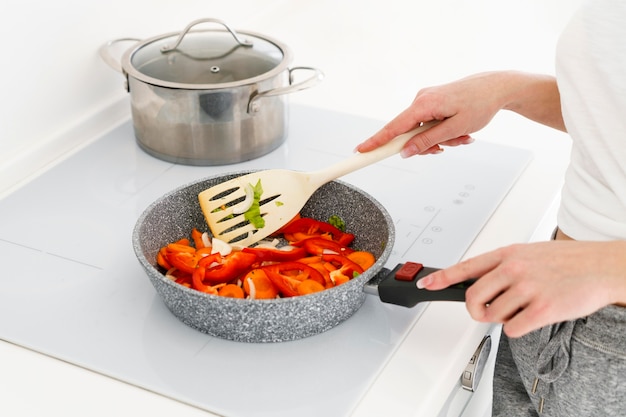
First things first: pick the right pan. A non-stick skillet is your best friend, especially for smaller batches of shrimp. It prevents sticking, making cleanup a breeze. Plus, a smaller pan concentrates the heat, ensuring even reheating. I confess, I'm a bit of a cast-iron skillet fanatic. It distributes heat like a dream, and there's something incredibly satisfying about that nostalgic sizzle of cast iron. You can't beat it!
2. A Touch of Oil, Just a Touch
Don't be shy about adding a tiny bit of oil to your pan. This prevents sticking and gives those shrimp a lovely sheen. Olive oil is the classic choice, but feel free to experiment with your favorites – avocado oil, even a touch of butter. The key here is to use a light layer, just enough to coat the bottom of the pan. You don't want your shrimp swimming in a pool of oil!
3. Low and Slow: The Recipe for Success
Remember, patience is our friend when reheating shrimp. We're aiming to bring them back to life, not overcook them. Start by heating your pan over medium-low heat. It might take a bit longer, but trust me, it's worth it for perfectly tender shrimp.
4. Timing is Everything
The amount of time you need to reheat depends on the quantity of shrimp and how well-cooked they were initially. A small batch of shrimp might only need 2-3 minutes to reach the perfect temperature. Larger quantities might take 5-7 minutes. But don't just rely on time alone. It's essential to use your eyes and touch to judge the doneness.
Part 2: Mastering the Stovetop Reheating Technique

Now that we've laid the groundwork, let's dive into the actual reheating process. Don't worry, it's incredibly simple! Here's a step-by-step guide I've found to be foolproof:
1. Prepping Your Shrimp: The Foundation
Before you even think about turning on the stove, prep those shrimp. First, ensure they're thawed completely. If you're working with frozen shrimp, give them a good overnight chill in the fridge to thaw. I always double-check to make sure there's no lingering frost in the middle. You can also defrost them in a bowl of cold water, but change the water every 30 minutes to prevent bacterial growth.
Once they're thawed, pat those shrimp dry with paper towels. This is crucial for two reasons: it prevents splattering in the pan and ensures even cooking. Nobody wants greasy shrimp, right?
2. Warming Up the Pan: The First Step
With your pan warmed over medium-low heat, add that thin layer of oil. You'll know it's ready when the oil shimmers slightly.
3. Introducing the Shrimp: The Crucial Move
Now, gently place your shrimp in the pan, ensuring they form a single layer. Don't overcrowd the pan; this can lead to steaming instead of cooking. If you're working with a larger quantity, reheat in batches to avoid overcrowding.
4. The Reheating Process: It's Time to Shine
Here comes the crucial part: the actual reheating. Allow those shrimp to cook for approximately 2-3 minutes per side. This is where your senses become your guide. You're looking for a slightly pink hue on the shrimp, and they should feel firm when you gently press on them. Remember, we're not trying to cook them further; we're simply bringing them back to life.
5. Checking for Doneness: A Symphony of Senses
To make sure your shrimp are perfectly reheated, put your senses to work! Here's how I check:
- Sight: The shrimp should have that slightly pink color, a sure sign they're cooked through.
- Touch: They should feel firm and springy to the touch, not mushy or soft.
- Smell: You should be able to detect a delicate, savory aroma, not a fishy or burnt smell.
If those shrimp meet all three criteria, they're ready to shine!
6. Removing the Shrimp: The Final Touch
Once your shrimp are perfectly reheated, remove them from the pan and place them on a plate lined with paper towels. This will help absorb any excess oil, leaving those shrimp crisp and delicious.
Part 3: Elevate the Flavor: Taking it to the Next Level

Now that your shrimp are perfectly reheated, it's time to take things up a notch. Reheating isn't just about bringing them back to life; it's an opportunity to enhance their flavor! Here are a few tips and tricks I've learned over the years:
1. A Pinch of Spice: A Flavorful Burst
Add a dash of your favorite spice to the pan before adding the shrimp. I personally love a sprinkle of smoked paprika for a smoky flavor or a pinch of cayenne pepper for a bit of heat. If you prefer a more subtle flavor, a pinch of salt and pepper will do the trick.
2. Fresh Herbs: A Touch of Magic
Fresh herbs are game-changers when it comes to flavor. Toss in a few sprigs of rosemary, thyme, or parsley during the last minute of cooking for a burst of freshness. It's amazing how a simple addition of herbs can elevate the entire dish.
3. A Squeeze of Lemon: A Bright and Tangy Twist
A squeeze of lemon juice at the end adds a bright, tangy flavor that complements the shrimp perfectly. It also helps cut through any richness from the oil, creating a balanced flavor profile.
4. A Hint of Garlic: A Depth of Flavor
For a more intense flavor, add a clove of minced garlic to the pan along with the oil. Let it cook for a minute or two before adding the shrimp. Garlic adds a wonderful depth of flavor that elevates the shrimp to another level.
Part 4: Serving Up Your Reheated Shrimp: Endless Possibilities
Your shrimp are now perfectly reheated and bursting with flavor. Now what? Well, the possibilities are endless! Here are a few ideas to get your creative juices flowing:
1. Classic Seafood Dishes: Timeless Favorites
Reheated shrimp are perfect for creating classic seafood dishes. Toss them with your favorite pasta, add them to a creamy risotto, or use them to make a delicious shrimp scampi. You can also create a quick and easy shrimp salad by combining them with chopped vegetables, a light vinaigrette, and some crumbled feta cheese.
2. Asian-Inspired Delights: A World of Flavors
Reheated shrimp work beautifully in Asian-inspired dishes. Add them to stir-fries, spring rolls, or use them to make a delicious shrimp pad thai. You can also serve them with a side of rice, noodles, or a refreshing salad.
3. Quick and Easy Snacks: On-the-Go Indulgence
Reheated shrimp can also be a perfect snack. Serve them on their own with a dipping sauce, or use them as a topping for salads, sandwiches, or wraps. The possibilities are endless!
Part 5: Frequently Asked Questions (FAQs)
I've been there, asked those questions. Let's clear up some common queries about reheating shrimp:
1. Can I reheat shrimp more than once?
While you can reheat shrimp more than once, I wouldn't recommend it. Each reheating session diminishes their moisture and texture a bit. For the best results, use them within a day or two of cooking.
2. Can I reheat shrimp in the microwave?
You can reheat shrimp in the microwave, but it's not the best method for maintaining their texture. The microwave can dry them out, and they may lose their delicate flavor. I always recommend using the stovetop method for the best results.
3. Can I reheat shrimp with the shell on?
Yes, you can reheat shrimp with the shell on, but it's not necessary. The shell helps retain moisture, so if you're concerned about drying out your shrimp, you can leave it on. However, it might be a bit more challenging to peel the shell after reheating.
4. Can I reheat shrimp with sauce?
Yes, you can reheat shrimp with sauce. Just make sure to add the sauce towards the end of the cooking time. This will prevent the sauce from reducing too much and becoming too thick.
5. What if I overcook the shrimp?
Don't worry, it happens to the best of us! If you overcook your shrimp, they'll become tough and rubbery. There's not much you can do to fix this, but you can still eat them. Just try to focus on the sauce or other ingredients in your dish.
Part 6: My Go-To Shrimp Reheating Recipe: Simple and Delicious
Now, for the grand finale: my favorite shrimp reheating recipe. It's simple, flavorful, and perfect for a quick and satisfying meal.
1. Ingredients: A Symphony of Flavors
You'll need:
- 1 pound cooked shrimp, peeled and deveined
- 1 tablespoon olive oil
- 2 cloves garlic, minced
- 1/4 cup dry white wine
- 1 tablespoon chopped fresh parsley
- Salt and pepper to taste
2. Instructions: A Step-by-Step Guide
1. Heat the olive oil in a non-stick skillet over medium-low heat.
2. Add the minced garlic and cook for about 1 minute, until fragrant.
3. Add the shrimp to the skillet and cook for 2-3 minutes, until heated through.
4. Pour in the white wine and bring to a simmer.
5. Stir in the chopped parsley, salt, and pepper.
6. Cook for another minute, until the sauce has reduced slightly.
That's it! Serve this delicious and easy shrimp dish over pasta, rice, or a bed of greens. You can also add a squeeze of lemon juice for a touch of acidity.
Part 7: The Power of Freshness: A Culinary Foundation
I have to confess, there's nothing quite like the taste of freshly cooked shrimp. However, sometimes life gets busy, and reheating is our only option. But even when reheating, it's crucial to start with fresh, high-quality shrimp. I always aim to buy fresh shrimp from my local fishmonger or a reputable supermarket. When you're working with fresh ingredients, you're more likely to achieve a delicious and satisfying final dish, even when reheating.
Part 8: Final Thoughts: A Celebration of Reheated Shrimp
So there you have it, my ultimate guide to reheating cooked shrimp on the stovetop. With the right technique, you can easily transform your leftover shrimp into a delicious and satisfying meal. Whether you're looking for a quick weeknight dinner or a tasty snack, reheated shrimp is a fantastic option. Just remember to keep things simple, use your senses to judge doneness, and don't be afraid to get creative with flavors. Happy reheating!
Everyone is watching

How to Cook Frozen Lobster Tails Perfectly: A Step-by-Step Guide
RecipesLobster. Just the word conjures up images of lavish meals, special occasions, and a taste of luxury. But let's...

Pigs in a Blanket Cooking Time: How Long to Bake for Perfect Results
RecipesAh, pigs in a blanket. Just the name conjures up images of those delightful little parcels of crispy pastry en...

Pork Fillet Cooking Time: How Long to Cook It Perfectly
RecipesPork fillet, or tenderloin as it's sometimes called, is a real favourite in our house. It's so versatile, and...

The Ultimate Guide to Cooking Delicious Frankfurters
RecipesLet's face it, we all love a good frankfurter. It's a classic, simple, and always satisfying. But let's be rea...

Wolf Meat Recipes: A Guide to Cooking Wild Game
RecipesLet's be honest, you don't see wolf meat at your local butcher shop every day. It's a bit of a wild card, but ...
