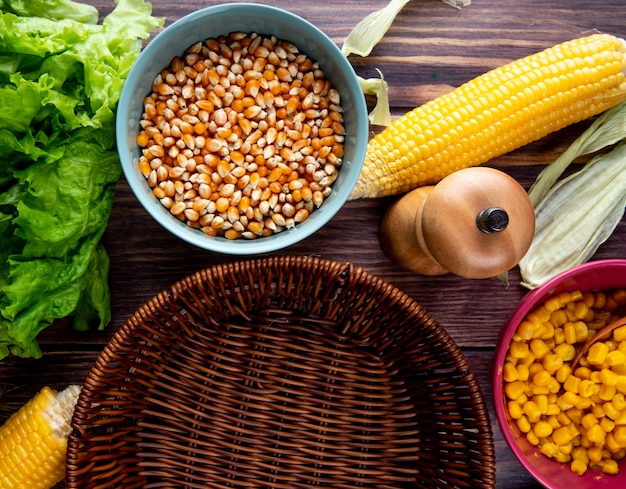
(Part 1) The Corn: Choosing the Perfect Ears
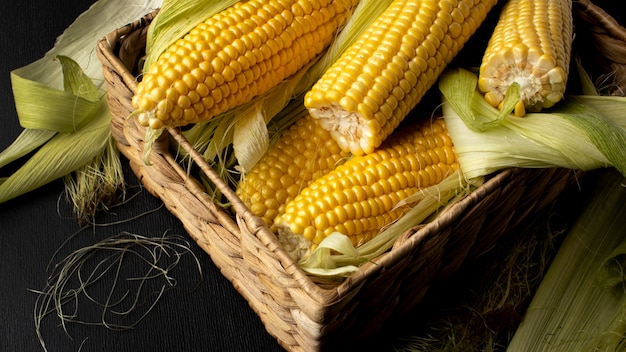
The first step is to pick the perfect corn. This might seem obvious, but I’ve learned that selecting the right ears is half the battle. Think of it this way, you wouldn't build a house with dodgy bricks, right? The same goes for your corn.
Picking Out Prime Corn:
- Look for fresh, plump ears: You want corn that feels heavy for its size, that means it's packed with moisture and flavour. Avoid any ears that look shrunken or wrinkled. The kernels should be tightly packed and full. If you’re at a farmer’s market, ask the vendor about their corn. They’ll likely be able to point you towards the freshest ears.
- Check the husks: The husks should be green and tight, not dry or loose. The husks should have a nice sheen to them, too. If the husks are dry and brittle, it's a sign that the corn is old.
- Give the kernels a squeeze: You’ll want the kernels to be plump and juicy. If they’re hard and dry, that corn is likely past its prime. Don’t be afraid to give the ears a gentle squeeze. You should feel a little give.
- Feel the silk: The silk at the end of the ear should be light and dry. If it’s still green or damp, the corn might be undercooked. This is a good indicator of how fresh the corn is.
Once you've found a few good ears, you're ready to move on to the prep stage.
(Part 2) Preparing the Corn: Getting Ready to Grill
Once you've got your perfect corn, it's time to get it ready for the grill. This stage is super important for getting that even, succulent cook, so don’t skip it!
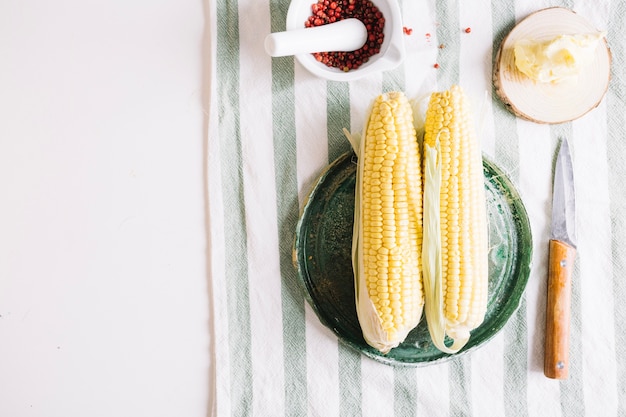
Removing the Husks:
- Peel the husks back: Grab the top of the husks and gently pull them back to reveal the ear of corn. Be careful not to tear the husks.
- Trim the silk: Use your fingers to pull off most of the silk. You don't need to get rid of every single strand, just enough to make it easier to grill.
- Rewrap the corn: Fold the husks back over the ear, like you’re wrapping a present. This helps to protect the kernels from the direct heat of the grill and keep them moist during cooking.
- Secure the husks: Use a piece of kitchen twine or a rubber band to secure the husks in place. Don't tie them too tightly, just enough to hold them together.
Soaking the Corn:
Now, here’s a tip that makes all the difference: soaking the corn. This is a real game-changer for getting those kernels incredibly tender and juicy.
- Find a large bowl: Fill it with cold water, enough to cover the ears of corn completely.
- Soak for at least 30 minutes: You can soak it for longer, but 30 minutes is a good starting point. I usually soak mine for about an hour, especially if it’s a really hot day. This helps to prevent the corn from drying out during grilling.
- Remove and drain: After soaking, gently remove the corn from the bowl and let it drain. Don’t worry about getting every last drop of water off.
You’ll notice the corn husks will be nice and plump after soaking, and that’s a good sign. You want those husks to hold that moisture in, and the soaking helps to create steam inside the husks, which is key for that super-tender corn.
(Part 3) The Grill: Getting it Right for Perfect Corn
It’s time to fire up the grill! But before you toss that corn on, make sure you’ve got the heat just right. If you’ve ever had charred or unevenly cooked corn, it’s likely because the grill wasn’t set up properly.
Preheating and Temperatures:
- Medium heat is key: You want your grill to be hot enough to cook the corn quickly but not so hot that it burns the husks. A medium heat (about 350°F or 175°C) is perfect. If you're using a gas grill, aim for medium heat. With a charcoal grill, you want a bed of coals that are glowing red and covered with a light layer of ash.
- Clean the grates: It’s important to clean your grill grates before you start cooking. You can use a grill brush or a wire brush to remove any food debris and make sure the grates are nice and clean. This will help to prevent the corn from sticking.
- Preheating the grill: Let the grill heat up for about 10 minutes. This will allow the grates to heat evenly and help prevent the corn from sticking.
Grilling Time and Placement:
Alright, now it's time to get that corn on the grill! Here’s what I’ve found works best:
- Place the corn on the grill: Arrange the corn directly over the heat source. Don't crowd the grill, leave a bit of space between each ear.
- Close the lid: Close the lid of the grill to trap the heat and help the corn cook evenly.
- Rotate the corn: After about 5 minutes, rotate the corn by 90 degrees. This ensures that all sides are cooked evenly. Keep an eye on the corn and rotate it as needed.
- Keep the lid closed: Continue to grill, rotating every 5 minutes, until the corn is cooked through, about 15-20 minutes total.
The grilling time can vary slightly depending on the intensity of the heat.
(Part 4) Testing for Doneness: How to Know When it’s Ready
This is probably the most important part. You don't want to overcook or undercook your corn!
Signs of Perfectly Cooked Corn:
- The husks will be slightly brown and charred: This is a good sign that the corn is cooked through. You don't want the husks to be completely black, just a little bit of browning is all you need.
- The kernels will be tender and slightly firm: You should be able to easily pierce a kernel with a fork. If you can't pierce a kernel easily, it's not fully cooked.
- The kernels will be a bright, vibrant yellow: This is a sign that the corn is cooked perfectly. If they’re still pale or white, it needs more time on the grill.
- The silk should be completely dry: This means that the corn is cooked through and the moisture has evaporated.
If you’re not sure if your corn is ready, simply grab an ear and give it a good sniff. It should smell sweet and a little smoky.
Once your corn is cooked, take it off the grill and let it rest for a few minutes before you start peeling the husks. This will give the corn time to cool slightly and make it easier to handle.
(Part 5) Beyond the Basics: Enhance Your Grilled Corn
So, you’ve got your perfectly cooked corn on the cob. Now, let’s talk about how to elevate it to the next level!
Adding Flavour:
- Butter, butter, butter: I always say, you can never have too much butter. But don’t just slather it on! Let the butter melt a little bit first. You can melt it in a small pan on the stovetop or even just a small bowl. Then, brush it generously onto your corn. You can also use a flavored butter, such as garlic butter or herb butter.
- Spice things up: Add a little zest to your corn with your favourite spices. I love a good pinch of paprika or cayenne pepper. You can also experiment with other spices like cumin, chili powder, or smoked paprika.
- Go for a tangy kick: A squeeze of fresh lemon juice or a drizzle of lime juice can add a beautiful tang. You can also add a pinch of salt and pepper to enhance the flavor.
- Fresh herbs are a must: Chopped cilantro, parsley, basil, or even chives can really elevate the flavour.
- Try some cheese: For a truly indulgent touch, sprinkle on some shredded parmesan cheese or crumbled feta. You can also use a combination of cheeses for a more complex flavor.
(Part 6) Sides and Serving: Making the Most of Your Grilled Corn
grilled corn on the cob is the perfect side dish for any barbecue or summer gathering. But it’s also delicious on its own, especially if you’ve made it extra special with those flavour enhancers!
Classic Combinations:
- grilled chicken or burgers: This is a classic combo for a reason. The sweet corn goes perfectly with the smoky, savory flavour of grilled chicken or burgers.
- Fish: Grilled corn pairs beautifully with grilled fish, especially white fish like cod or halibut.
Serving Suggestions:
- Serve hot off the grill: The best way to enjoy grilled corn is hot and fresh off the grill.
- Use a corn cob holder: These handy gadgets make it easy to hold the corn while you eat and prevent your fingers from getting burned. You can find corn cob holders at most kitchen stores.
- Cut the corn off the cob: If you prefer, you can cut the kernels off the cob and serve them in a bowl. This is a great option if you're serving a large group of people. You can also use a sharp knife to cut the kernels off the cob.
(Part 7) Beyond the Grill: Alternative Cooking Methods
You don’t always need a grill to get perfect corn! I’ve got a few other methods I use for when I’m craving that sweet, corn flavour.
Oven Baking:
- Preheat your oven: Set your oven to 400°F (200°C).
- Prepare the corn: Remove the husks and silk, then wrap the corn in foil.
- Bake for 20-25 minutes: Bake until the corn is tender and the kernels are a bright yellow.
microwave cooking:
This is a quick and easy option when you're short on time.
- Remove the husks and silk:
- Microwave for 2-3 minutes: Place the corn in the microwave and cook on high for 2-3 minutes. The corn will be cooked through but will not have the smoky flavor of grilled corn.
- Check for doneness: The kernels should be tender and slightly firm.
(Part 8) Storage and Leftovers: Making the Most of Your Corn
Okay, so you’ve got your perfectly grilled corn. But what about those leftover ears? Don’t worry, they won’t go to waste.
Storing Grilled Corn:
- Cool completely: Let the corn cool completely before storing it.
- Wrap in plastic wrap: Wrap each ear of corn individually in plastic wrap to prevent it from drying out.
- Refrigerate for up to 3 days: Store in the refrigerator for up to 3 days.
Reheating Grilled Corn:
- Microwave: Place the corn in the microwave and cook for 1-2 minutes, or until heated through.
- Oven: Preheat the oven to 350°F (175°C). Wrap the corn in foil and bake for 10-15 minutes, or until heated through.
- Grill: Place the corn on the grill over medium heat for 5-10 minutes, or until heated through. This is the best way to reheat grilled corn, as it will give it a nice smoky flavor.
Other Uses for Leftovers:
You can also use leftover grilled corn in salads, soups, or even as a topping for tacos. Get creative!
You can even cut the kernels off the cob and freeze them in a freezer-safe bag. This is a great way to have corn on hand for soups, stews, or other dishes.
(Part 9) FAQs: Your Grilled Corn Questions Answered
I get asked a lot of questions about grilling corn, so I figured I'd put together a quick FAQ section to address some of the most common ones.
FAQs:
- Q: How long can I soak the corn?
A: You can soak the corn for as long as you like, but 30 minutes to an hour is usually sufficient. The longer you soak it, the more tender and juicy the kernels will be. - Q: Should I remove the husks before grilling?
A: It's best to keep the husks on while grilling. They act like a natural steamer, helping to cook the corn evenly and keep it moist. - Q: What if I don't have a grill?
A: You can definitely cook corn without a grill! Use the oven or microwave method I mentioned earlier. - Q: What are some other toppings I can use?
A: The possibilities are endless! You can try things like chili powder, garlic powder, chipotle powder, or even a drizzle of honey. Get creative and see what you like best. - Q: How long does cooked corn last?
A: Cooked corn will last for up to 3 days in the refrigerator if stored properly.
(Part 10) Final Thoughts: Grilled Corn, A Summer Staple
There you have it – my complete guide to grilling corn on the cob. With a few simple steps and the right techniques, you can create a side dish that's guaranteed to impress.
Remember, it's all about finding what you like best. Don't be afraid to experiment with different toppings and flavours. And most importantly, enjoy the process!
Grilling corn is one of my absolute favourite summer activities. It’s simple, it’s delicious, and it always makes me feel like I’m on holiday.
Let me know in the comments below what your favourite grilled corn toppings are!
(Part 11) Additional Tips:
Here are a few extra tips that might come in handy:
- Use a grill basket: This is a great way to prevent the corn from rolling around on the grill and ensuring even cooking.
- Add a little smoke: If you're using a charcoal grill, add a few wood chips to the coals for extra flavour.
- Don't overcook: It's easy to overcook corn, so be sure to check it frequently to make sure it's not getting too brown.
I hope you have fun grilling corn this summer!
| Tip | Description |
|---|---|
| Use a Grill Basket | This helps to prevent the corn from rolling around on the grill and ensures even cooking. |
| Add Wood Chips | Add a few wood chips to the coals for extra flavour. |
| Check for Doneness | It's easy to overcook corn, so be sure to check it frequently to make sure it's not getting too brown. |
Everyone is watching

How to Cook Frozen Lobster Tails Perfectly: A Step-by-Step Guide
RecipesLobster. Just the word conjures up images of lavish meals, special occasions, and a taste of luxury. But let's...

Pigs in a Blanket Cooking Time: How Long to Bake for Perfect Results
RecipesAh, pigs in a blanket. Just the name conjures up images of those delightful little parcels of crispy pastry en...

Pork Fillet Cooking Time: How Long to Cook It Perfectly
RecipesPork fillet, or tenderloin as it's sometimes called, is a real favourite in our house. It's so versatile, and...

The Ultimate Guide to Tender, Juicy Pulled Pork
RecipesRight, let's talk pulled pork. It's one of those dishes that just screams "comfort food," doesn't it? I mean...

The Ultimate Guide to Cooking Sweet Potatoes: From Roasting to Mashing
RecipesSweet potatoes. Just the name conjures up images of warm, comforting dishes, bursts of vibrant color, and a to...