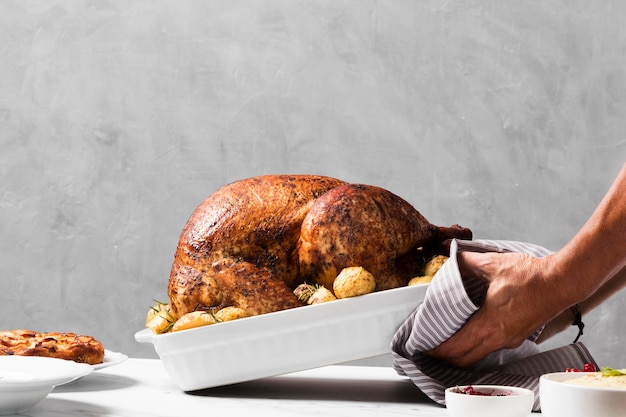
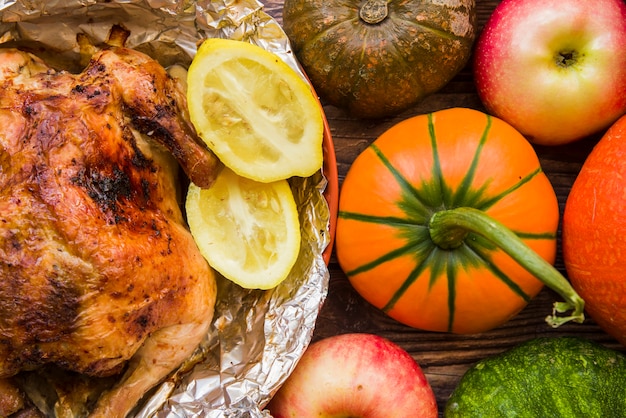
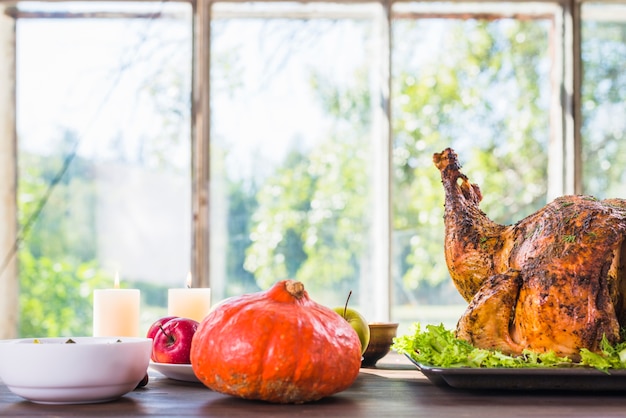
Christmas is just around the corner, and you've got your turkey, haven't you? A lovely big one, all frozen solid. No worries, mate, we've all been there! I've been cooking turkeys for years, and I've learned a thing or two about how to get that bird cooked to perfection, even if it's straight from the freezer. So, grab a cuppa, get comfy, and let's get started on this jolly adventure, shall we?
Part 1: The Big Thaw

Thaw Time: Patience is Key
The first thing you need to do is give your turkey a good ol' thaw. Trust me, rushing this is like trying to make a cake without flour – it ain't gonna end well. The recommended thawing time is 24 hours for every 5 pounds of turkey, so get yourself a decent-sized fridge and plenty of time. I'm talking about a full day, at least! You can't just pop it in the oven straight from the freezer, you know. That's a recipe for disaster. A very unevenly cooked, potentially dangerous disaster.
The Fridge is Your Friend
I know, your fridge is probably already overflowing with festive treats, but you've got to make space for the turkey. The fridge is the safest place to thaw your turkey. It's gotta be kept below 40°F to stop those pesky bacteria from multiplying. You wouldn't want your Christmas dinner to turn into a bacterial nightmare, would you? Imagine the chaos! Everyone getting sick on Christmas Day? Not a good look.
Thaw Tips from a Pro:
- Don't thaw on the counter. You might be tempted, especially if you're short on time, but the bacteria party in the warmth is not what you want. It's like leaving a pizza out on a hot summer day - it'll be a breeding ground for trouble.
- Thaw in a large container. To catch any drips and keep your fridge nice and clean. You know how messy a thawing turkey can be. It's like a little water fountain, dripping all over the place.
- Turn your turkey. Every now and then, give your turkey a spin to ensure it thaws evenly. No one wants a raw center, right? It's like a culinary surprise you don't want.
Part 2: The Big Prep

The Spatchcocking Conundrum
Here's where things get interesting. You can cook your turkey whole, which is the traditional way, or you can spatchcock it. Spatchcocking is basically removing the backbone and flattening the bird. It cooks faster, makes it easier to carve, and you get more crispy skin. It's like a culinary hack, and I love hacks! It's a little bit of effort, but the payoff is huge.
Spatchcock Steps:
If you're feeling adventurous, grab a sharp knife (a poultry shears are even better) and follow these steps:
- Flip it over. Lay your turkey breast-side down on a cutting board. Make sure the board is big enough, you don't want your turkey sliding around.
- Find the backbone. You'll see a line of cartilage running down the back, that's your target. It's kind of like a little spine, but made of cartilage.
- Cut it out. Use your knife to carefully cut along either side of the backbone. You don't want to cut all the way through, just remove the backbone. It's a bit like a jigsaw puzzle, so be careful.
- Flip it back over. Now, lay the turkey breast-side up and flatten it by pressing down on the breastbone. You'll be surprised how much it flattens. It's almost like a pancake!
- Tie it together. For extra security, you can tie the legs together with kitchen twine, to keep the bird in shape during cooking. It'll help keep everything nice and neat.
The Brine: A Secret Weapon
Alright, here's where the real magic happens. Brining your turkey is like giving it a spa day before the big event. It adds moisture and flavor, making your turkey incredibly juicy and tender. And trust me, you want that. A juicy turkey is a happy turkey, and a happy turkey means happy guests. You know, it's like the difference between a dry, disappointing turkey and a tender, flavorful masterpiece.
Brining 101:
For a simple brine, you can mix together:
- 1 cup kosher salt
- 1 cup brown sugar
- 1 gallon cold water
You can also add herbs and spices for an extra kick, but that's up to you. I like to keep it simple and just add a few bay leaves and peppercorns. They give it a nice, subtle flavor. You can brine your turkey in a large container or a cooler, just make sure it's fully submerged in the brine. Ideally, you should brine your turkey for at least 12 hours, but 24 hours is even better. The longer, the better! It's like a culinary time machine, transforming a simple turkey into something extraordinary.
Part 3: The Big Cook

Oven Prep:
Right, now it's time to prep the oven for your turkey. Preheat your oven to 325°F (160°C) and get a big roasting pan. Line the pan with parchment paper to make cleanup a breeze. No one wants to scrub burnt turkey fat off their roasting pan after a festive feast, right? And while you're at it, grab a meat thermometer. It's your best friend in this whole turkey-cooking process. It's like a little detective, ensuring your turkey is cooked to perfection.
Turkey Time:
Now, let's get the turkey ready. Pat it dry with paper towels and rub it all over with olive oil. This will help create a crispy skin. You can also rub it with a mixture of herbs and spices, if you like. I usually go for a simple mixture of garlic powder, onion powder, paprika, and black pepper. It gives it a nice, savory flavor. But hey, feel free to get creative! Add some rosemary, thyme, sage, anything you like. It's your turkey, your Christmas dinner!
The Big Bake:
Place your turkey in the roasting pan, breast-side up. If you're spatchcocking, it's good to tuck the wings under the breast for more even cooking. And don't forget to stuff the cavity with aromatics. I'm talking onions, carrots, celery, and herbs. It's like giving your turkey a little Christmas surprise. It adds a wonderful depth of flavor to the turkey.
cooking time:
Now, here comes the tricky part: calculating the cooking time. A general rule of thumb is to cook a turkey for 15 minutes per pound at 325°F (160°C). But remember, this is just a guideline. You'll need to use that handy meat thermometer to make sure the turkey is cooked through. Don't trust your instincts on this one, it's better to be safe than sorry.
Insert the thermometer into the thickest part of the thigh, without touching the bone. The turkey is done when the internal temperature reaches 165°F (74°C). If you're spatchcocking, your turkey will cook much faster. You can aim for about 30 minutes per pound. Keep an eye on it and adjust the cooking time accordingly. It's all about finding that perfect balance of time and temperature.
Resting Time:
Once the turkey is done, let it rest for about 30 minutes before carving. This gives the juices time to redistribute throughout the meat, resulting in a much more flavorful and juicy turkey. I know it's hard to wait, especially when you're hungry and everyone's gathered around, but trust me, it's worth it. It's like giving the turkey a little break after its long journey in the oven.
Part 4: The Big Reveal
The Carving Ceremony:
Now comes the moment you've all been waiting for. The carving. Get yourself a sharp carving knife and a cutting board. Carefully slice the turkey, starting with the breasts. Then, carve the legs and thighs. If you've spatchcocked your turkey, this part is super easy. It's like a culinary dance, with each slice revealing the perfect turkey inside.
Presentation Matters:
Now, let's make this feast look as good as it tastes. Get yourself a beautiful platter and arrange the carved turkey slices in a visually appealing manner. Add a touch of artistry with some fresh herbs and a sprinkle of pepper. Don't forget the stuffing! A delicious stuffing is a Christmas dinner essential. It's like a culinary masterpiece, with every detail adding to the festive atmosphere.
Part 5: The Big Feast
The Grand Spread:
The table is set, the turkey is carved, and everyone is gathered around, ready to enjoy the fruits of your labor. Now, it's time to dig in! Serve your turkey with all the trimmings: mashed potatoes, gravy, cranberry sauce, roasted vegetables, and your favorite sides. Don't forget the drinks! A festive cocktail or a glass of wine will complete the experience. It's like a culinary symphony, with each element playing its part to create a memorable experience.
Savory Leftovers:
You'll probably have some leftover turkey, and that's a good thing. Use them for delicious sandwiches, turkey soup, or a turkey casserole. Don't waste those yummy leftovers. They're like a Christmas gift that keeps on giving. It's like the culinary gift that keeps on giving. You can turn those leftovers into a whole new feast, a festive culinary encore.
Part 6: The Big Cleanup
Cleaning Up After the Feast:
After the excitement of the feast has died down, it's time to tackle the inevitable: the cleanup. But don't worry, you've got this! I've got a few tips to make things easier.
- Soak those dishes. Soak any greasy dishes in hot soapy water to make them easier to wash later. It's like giving them a little spa day.
- Don't forget the grease. You'll probably have a lot of turkey fat leftover in the roasting pan. Let it cool, then pour it off into a container for later use. You can use it to make gravy or for frying, you know. It's like a little culinary treasure, with so many uses.
- Wipe down surfaces. Wipe down the counters and table with a damp cloth, and you'll be good to go. It's like a little finishing touch, leaving your kitchen sparkling.
Part 7: The Big Review
What Went Well:
Okay, so you've pulled off the Christmas feast! Now, take a minute to reflect on what went well. Was the turkey perfectly cooked? Did the stuffing come out amazing? Maybe you discovered a new side dish that stole the show. Celebrate your successes! You deserve a pat on the back.
What Could Be Better:
Of course, there's always room for improvement. Maybe the gravy was a bit thin, or you overcooked the Brussels sprouts. That's alright. Every Christmas dinner is a learning experience. Take notes and use your experience to create an even better Christmas dinner next year. It's like a culinary adventure, with each experience building on the last.
The Takeaway:
So, there you have it! A step-by-step guide to cooking a frozen turkey for Christmas dinner. With a little bit of planning and a good dose of festive spirit, you can create a delicious and memorable Christmas meal for your family and friends. Remember, it's not just about the turkey, it's about the joy of sharing a meal together. Enjoy! It's a time to celebrate, a time to connect, a time to create memories that will last a lifetime.
Part 8: FAQs
Q: How can I tell if my frozen turkey is thawed?
A: A thawed turkey will feel firm to the touch, and the juices will run clear when you press on the thickest part of the thigh. If the juices are still red or pink, the turkey isn't fully thawed yet. It's like checking the temperature of a cake – if it's still gooey inside, it's not ready. It's important to make sure your turkey is completely thawed before cooking. Safety first!
Q: What if I don't have time to brine my turkey?
A: No worries! While brining is great for added moisture and flavor, it's not absolutely necessary. You can still have a delicious turkey without brining. Just make sure to pat the turkey dry before cooking and rub it with olive oil and spices. And keep an eye on the cooking time. A little extra care goes a long way. It's like a little culinary shortcut, still leading to a delicious result.
Q: How do I know if my turkey is cooked through?
A: The best way to tell is by using a meat thermometer. Insert it into the thickest part of the thigh, without touching the bone. The turkey is done when the internal temperature reaches 165°F (74°C). It's like a culinary detective, ensuring your turkey is cooked to perfection.
Q: How do I store leftover turkey?
A: Store leftover turkey in an airtight container in the fridge for up to 4 days. You can also freeze it for up to 2 months. When freezing, make sure to wrap it tightly in freezer paper or plastic wrap. You can also freeze leftover gravy, stuffing, and other sides. It's like a culinary treasure chest, filled with delicious possibilities.
Q: What are some good side dishes to serve with turkey?
A: The world is your oyster when it comes to side dishes. Some classic options include mashed potatoes, gravy, cranberry sauce, stuffing, roasted vegetables, and sweet potatoes. But you can also get creative and try something new. It's all about finding what your family loves! It's like a culinary symphony, with each side dish playing its part to create a harmonious experience.
Now, go forth and conquer that frozen turkey! Happy Holidays!
Everyone is watching

How to Cook Frozen Lobster Tails Perfectly: A Step-by-Step Guide
RecipesLobster. Just the word conjures up images of lavish meals, special occasions, and a taste of luxury. But let's...

Pigs in a Blanket Cooking Time: How Long to Bake for Perfect Results
RecipesAh, pigs in a blanket. Just the name conjures up images of those delightful little parcels of crispy pastry en...

Pork Fillet Cooking Time: How Long to Cook It Perfectly
RecipesPork fillet, or tenderloin as it's sometimes called, is a real favourite in our house. It's so versatile, and...

The Ultimate Guide to Cooking Sweet Potatoes: From Roasting to Mashing
RecipesSweet potatoes. Just the name conjures up images of warm, comforting dishes, bursts of vibrant color, and a to...

The Ultimate Guide to Tender, Juicy Pulled Pork
RecipesRight, let's talk pulled pork. It's one of those dishes that just screams "comfort food," doesn't it? I mean...
