(Part 1) The Meat: Building the Foundation

Choosing the Beef: The Right Cut for the Job
First things first, we need to choose the right cut of beef. Not all ground beef is created equal. For those juicy, flavorful burgers you crave, aim for 80/20 ground beef – a blend of 80% lean meat and 20% fat. That fat is crucial. As it renders during cooking, it creates the succulent juices that make a burger truly irresistible.Now, there are different cuts of beef you can use, each with its own unique flavor profile:
- Chuck: This is a good all-around choice, offering a nice balance of lean and fat. It's also a more budget-friendly option. Think of it as the reliable friend you can always count on.
- Brisket: For a bold, robust flavor, brisket is your go-to. It's incredibly juicy, but don't be intimidated by the higher fat content. Just trim off any excess before grinding.
- Sirloin: If you're looking for a leaner burger, sirloin fits the bill. It lacks the intense flavor of chuck or brisket, but it still delivers a satisfyingly meaty taste.
Don't be afraid to experiment with different combinations! You can even blend two or three cuts for a more complex flavor profile. For example, I've found that chuck and brisket make a phenomenal team.
Grinding Your Own: Taking Control
Here's where things get exciting. Grinding your own beef is a game-changer. You have complete control over the texture, ensuring a perfect grind that's not too coarse or too fine. Plus, fresh-ground beef just tastes better. It's a bit of an investment, but if you're serious about burgers, a grinder is worth its weight in gold.If you're considering taking the plunge, check out local butchers or farm markets. They often carry high-quality cuts specifically for grinding.
Adding Flavor: A Touch of Magic
Don't be afraid to add a little somethin' somethin' to your mix. A few carefully chosen ingredients can elevate your burgers to a whole new level.Here are a few flavor-boosting ideas:
- Pancetta: If bacon is your weakness, add some diced pancetta to your mix. It brings a smoky, salty richness that's simply divine.
- Worcestershire sauce: Just a dash or two of Worcestershire sauce adds a complex depth of flavor that you'll love.
- Fresh herbs: Chopped parsley, thyme, or even a hint of rosemary can add a burst of freshness. Remember, we're aiming for subtle flavor enhancements, not overpowering the beef.
- Onions: Finely chopped onions or a sprinkle of onion powder can add a subtle sweetness and a hint of bite.
(Part 2) Shaping the Patties: A Touch of Artistry

Size Matters: Getting the Dimensions Right
The size and shape of your patties are crucial for even cooking and a satisfying bite. Aim for patties that are about 1-inch thick and 4-5 inches in diameter. This ensures that the meat cooks evenly while maintaining a nice, juicy center, and it's the perfect size for a classic burger.Here's a little tip: make a slight indentation in the center of each patty with your thumb. This helps the patties cook more evenly and prevents them from puffing up too much.
Gentle Handling: Respect the Meat
Remember, the goal is to create a tender, juicy burger, not a tough, chewy one. Overworking the meat can lead to a tough texture, so handle it gently. Just mix the ingredients lightly until they are combined, then shape your patties and let them chill in the fridge for at least 30 minutes. This will allow the fat to solidify, making them easier to handle when cooking.(Part 3) Oven Baking: The Secret to Juicy Perfection

Preheat, Preheat, Preheat: The Foundation of Even Cooking
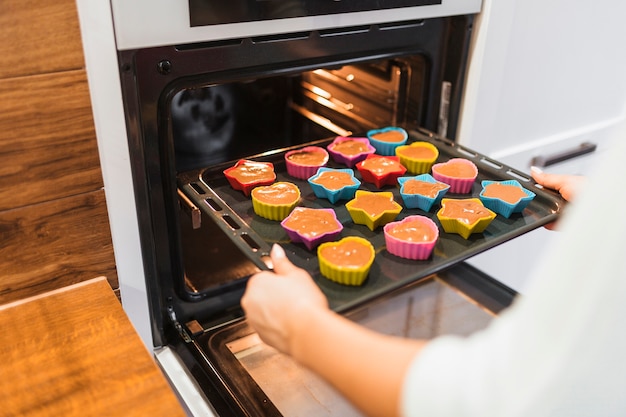
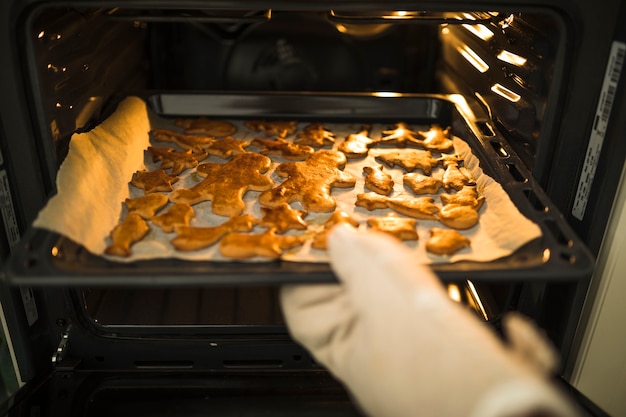
Preheat your oven to 400°F (200°C) before you even think about starting to cook. It's crucial for consistent heat distribution, ensuring that your burgers cook evenly and develop a beautiful crust on the outside.The Right Baking Sheet: A Solid Base
You'll need a good, sturdy baking sheet for this task. Don't settle for anything flimsy. We're talking about a solid metal baking sheet that can withstand the heat and distribute it evenly.No Need to Grease: Letting the Fat Do Its Thing
You might be surprised to learn that you don't need to grease the baking sheet. The fat from the beef will render as it cooks, naturally preventing the burgers from sticking. If you're still feeling apprehensive, a light coating of neutral oil like canola or vegetable oil is all you need.(Part 4) The Cooking Process: Timing is Key
Now it's time to cook those burgers! This is where your attention to detail and timing come into play. Remember, we're aiming for juicy, flavorful burgers, not dry, overcooked ones.Cook Time: A General Guide
The cooking time will vary slightly depending on the thickness of your patties and the temperature of your oven. A general rule of thumb is to bake them for 10-12 minutes for rare, 12-14 minutes for medium rare, 14-16 minutes for medium, 16-18 minutes for medium well, and 18-20 minutes for well done. But for the most accurate results, use a meat thermometer to check the internal temperature.| Internal Temperature (°F) | Doneness | Cooking Time |
|---|---|---|
| 125-130 | Rare | 10-12 minutes |
| 130-140 | Medium Rare | 12-14 minutes |
| 140-150 | Medium | 14-16 minutes |
| 150-160 | Medium Well | 16-18 minutes |
| 160 | Well Done | 18-20 minutes |
Flipping the Burgers: One or Two?
There are different approaches to flipping burgers. Some chefs recommend flipping just once, while others prefer multiple flips. I prefer to flip them once, about halfway through the cooking time. This helps them cook evenly and develop a beautiful crust on both sides.(Part 5) The Resting Period: The Secret to juicy burgers
You might be tempted to grab those hot burgers right off the baking sheet, but resist the urge. Resting the burgers is a crucial step in achieving juicy perfection. It's like giving them a chance to breathe and redistribute those delicious juices.Why Resting Matters: Redistributing Juices
As the burgers cook, the juices migrate towards the center of the patty. When you remove them from the heat, those juices continue to flow, creating a pool in the center. By resting them for 5-10 minutes before slicing, you allow the juices to redistribute throughout the patty, creating a more evenly juicy burger.How to Rest: A Simple Wait
The easiest way to rest your burgers is to simply let them sit on a plate for 5-10 minutes. You can also cover them loosely with aluminum foil to help them stay warm.(Part 6) The Toppings: The Art of flavor combinations
Alright, your burgers are cooked to perfection and resting, ready to be transformed into culinary masterpieces. Now it's time to talk toppings. This is where your personal taste and creativity truly shine.Classic Toppings: A Time-Tested Formula
There are a few classic toppings that never fail to impress. These are the tried-and-true combinations that have stood the test of time.Here are a few favorites:
- Cheese: A classic cheddar or Monterey Jack is always a safe bet, but don't be afraid to get adventurous with blue cheese, pepper jack, or even a smoked gouda.
- Lettuce and tomato: These add a fresh, crisp bite that complements the richness of the burger.
- Pickles: Sweet or dill, the choice is yours. Pickles provide that tangy punch that cuts through the richness of the meat.
- Onion: Sliced red onion adds a sharp bite, while caramelized onions bring a sweet and savory touch.
- Ketchup and mustard: The quintessential burger condiment duo.
Beyond the Classics: Unleashing Your Creativity
Don't be afraid to experiment with toppings and create your own signature burger. The possibilities are endless!Here are a few ideas to inspire your culinary adventures:
- Guacamole: A creamy, flavorful topping that adds a touch of Mexican flair.
- Roasted peppers: Roasted red or green peppers bring a smoky sweetness and a hint of heat.
- Bacon: crispy bacon adds a salty, smoky flavor that's irresistible.
- Caramelized onions: A sweet and savory topping that will elevate your burger to a whole new level.
- Fried egg: A runny fried egg adds a rich, creamy texture and a boost of protein.
(Part 7) The Bun: The Perfect Complement
Last but not least, we have the bun. This is your final opportunity to create a burger that is truly unforgettable.Choosing the Right Bun: A Foundation for Flavour
You want a bun that is soft, fluffy, and can stand up to the juicy burger inside. Don't be afraid to explore different types of buns, each offering its own unique texture and flavor.Here are a few options to consider:
- Sesame seed buns: A classic choice, sesame seed buns add a nutty flavor and a bit of texture.
- Brioche buns: These are rich and buttery, with a soft, pillowy texture that complements juicy burgers beautifully.
- Pretzel buns: For a unique twist, try pretzel buns. They add a salty, crunchy flavor that will elevate your burger.
- Potato buns: These are soft, slightly sweet, and have a nice, fluffy texture that's perfect for absorbing the juices from your burger.
Toasting the Bun: A Touch of Crispness
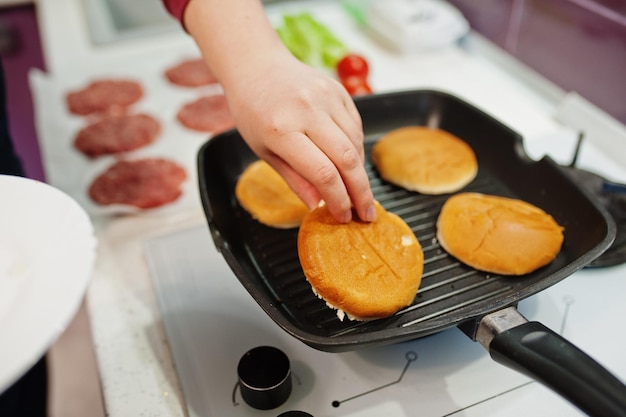
Toasting your buns before assembling your burger is a crucial step. It adds a bit of crispness and prevents the bun from getting soggy from the juicy burger inside. You can toast them in the oven or under the broiler until lightly golden brown.(Part 8) Assembling Your Burger: The Finishing Touches
We're in the home stretch! You've got your juicy, cooked patties, your tempting toppings, and your perfectly toasted buns. Now it's time to put it all together and create a burger that's worthy of a standing ovation.Building the Burger: A Balanced Approach
Assembling a burger is an art form. It's about achieving a perfect balance of flavors and textures. Here's my approach:Start with the bottom bun and add your toppings in this order:
- Cheese: Add your chosen cheese on top of the burger patty. It will melt beautifully as the burger rests.
- Toppings: Add your desired toppings, keeping in mind the balance of flavors and textures. I like to add lettuce and tomato last to keep them crisp and fresh.
- Burger: Place your juicy, rested burger patty on top of the toppings.
- Top Bun: Finally, place the top bun on top of the burger.
Serving Your Burger: A Feast for the Senses
There's no right or wrong way to serve a burger, but I like to keep things simple. I serve my burgers with a side of crispy fries, a refreshing coleslaw, and a cold drink. And don't forget the napkins!FAQs
1. How do I know if my burgers are cooked through?
The best way to tell if your burgers are cooked through is to use a meat thermometer. The internal temperature should reach 160°F for well-done, 150°F for medium-well, 140°F for medium, 130°F for medium-rare, and 125°F for rare.
2. Can I use frozen ground beef?
You can use frozen ground beef, but it will take longer to cook. Be sure to thaw it completely before shaping your patties.
3. What if my burgers are too dry?
If your burgers are too dry, you might have overcooked them. Try adding a little bit of moisture to them by topping them with a slice of tomato or a few pieces of lettuce.
4. How do I keep my burgers from falling apart?
To prevent your burgers from falling apart, be sure to shape them gently and don't overwork the meat. You can also add a binder to the mix, like a beaten egg or a tablespoon of breadcrumbs.
5. Can I use a grill pan instead of a baking sheet?
Yes, you can use a grill pan instead of a baking sheet. Just make sure to preheat the grill pan over medium heat and lightly oil it before adding the burgers.
Everyone is watching

How to Cook Frozen Lobster Tails Perfectly: A Step-by-Step Guide
RecipesLobster. Just the word conjures up images of lavish meals, special occasions, and a taste of luxury. But let's...

Pigs in a Blanket Cooking Time: How Long to Bake for Perfect Results
RecipesAh, pigs in a blanket. Just the name conjures up images of those delightful little parcels of crispy pastry en...

Pork Fillet Cooking Time: How Long to Cook It Perfectly
RecipesPork fillet, or tenderloin as it's sometimes called, is a real favourite in our house. It's so versatile, and...

The Ultimate Guide to Cooking Delicious Frankfurters
RecipesLet's face it, we all love a good frankfurter. It's a classic, simple, and always satisfying. But let's be rea...

Wolf Meat Recipes: A Guide to Cooking Wild Game
RecipesLet's be honest, you don't see wolf meat at your local butcher shop every day. It's a bit of a wild card, but ...
