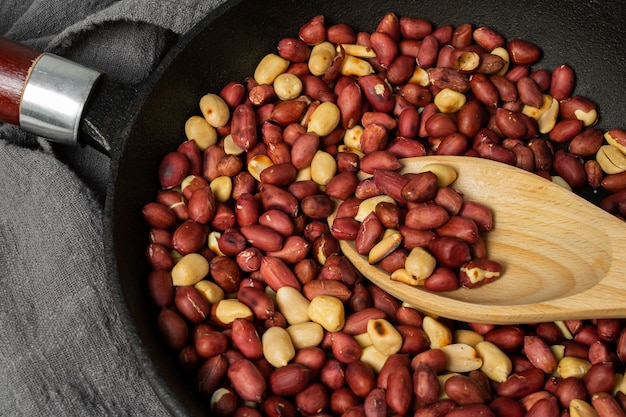
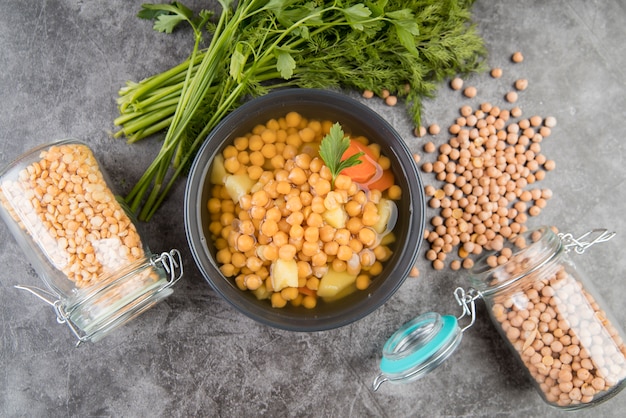
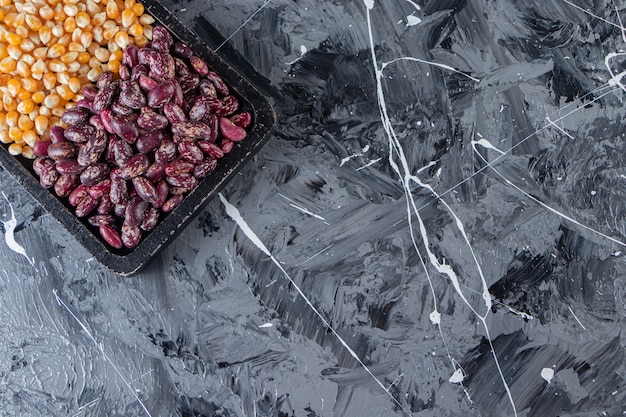
Ah, lima beans. Those little, creamy gems that add a touch of elegance to any dish. I've always loved them, but I'll admit, cooking dry beans can be a bit of a gamble. Sometimes they turn out perfectly, plump and tender, while other times, they're tough and unappetizing. I've had my fair share of disappointments, but after years of experimentation, I've finally cracked the code to consistently perfect lima beans. And believe me, it's a journey worth taking!
(Part 1) Choosing Your Lima Beans: A Foundation for Success

The first step to delicious lima beans is selecting the right ones. Just like with any ingredient, quality matters. So, let's dive into the world of lima bean varieties and how to choose the best ones for your culinary needs.
A Matter of Preference: Baby Limas vs. Large Limas
There are two main types of dried lima beans: baby limas and large limas. Baby limas are, as their name suggests, smaller and have a slightly sweeter flavour. They also cook faster, making them a great choice for weeknight dinners. Large limas, on the other hand, have a more robust flavour and firmer texture. They hold their shape well, making them ideal for dishes where you want those beautiful, intact beans.
Personally, I tend to gravitate towards baby limas. Their delicate flavour and quick cooking time are perfect for my busy weeknight routine. But I always keep a bag of large limas on hand for special occasions. They add a luxurious touch to any dish, and their firm texture is perfect for salads or hearty stews.
Checking for Quality: A Visual Inspection
Once you've picked your preferred type, give your beans a good look-over. You're searching for beans that are firm, plump, and free of any discoloration or blemishes. Any beans that are cracked, shriveled, or have an off-putting smell should be discarded. Think of it as a quality control check before you start cooking.
Speaking of smell, fresh beans should have a slightly earthy aroma. If your beans smell musty or stale, it's best to avoid them altogether. This could indicate improper storage and might result in disappointing cooking results.
(Part 2) Sorting and Cleaning Your Lima Beans: A Crucial First Step

Now that you've selected your perfect beans, it's time to prep them for cooking. This involves sorting and cleaning, a crucial step that ensures your beans are free of any debris or imperfections and ready to cook evenly.
Sorting Out the Bad Eggs: Removing Debris and Imperfect Beans
Before you start cooking, give your beans a good rinse and sort through them, removing any debris, small stones, or damaged beans. This might seem like a tedious task, but it's important to catch any hidden nasties before they end up in your delicious dish. No one wants to bite into a rock while enjoying their meal, right?
I find that sorting beans is actually a rather calming activity. It's a chance to slow down, focus on the task at hand, and appreciate the ingredients I'm about to use. It's a small moment of mindfulness in the midst of cooking, and it helps me connect with the food I'm preparing.
Washing Away the Dust: A Thorough Rinse
After sorting, it's time for a thorough rinse. This removes any remaining dirt or debris and helps ensure your beans cook evenly. I usually rinse them under cold running water, gently swishing them around with my hands. You can also use a colander to make the process quicker and easier.
For particularly stubborn dirt or grime, you can soak the beans in a bowl of cold water for a few minutes before rinsing them again. This helps loosen any dirt particles, making the cleaning process more effective.
(Part 3) Soaking Your Lima Beans: A Game Changer for Texture and Flavor

Soaking your lima beans is a crucial step that helps shorten the cooking time, improve their texture and flavour, and even make them easier to digest. It's not mandatory, but I strongly recommend it.
The Benefits of Soaking: Softer, More Digestible Beans
Soaking helps break down the tough outer layer of the beans, making them softer and easier to digest. It also helps reduce the amount of gas-producing compounds, making them more comfortable to eat. Who doesn't love a bean that's good to their gut?
Furthermore, soaking helps even out the cooking time, ensuring that all the beans are cooked to perfection. It's a small step that makes a big difference in the final result.
The Overnight Soak: A Time-Saving Trick
I usually soak my lima beans overnight, giving them ample time to soften and absorb water. Simply place them in a large bowl, cover them with plenty of cold water, and let them soak in the refrigerator for at least 8 hours, or preferably overnight.
It's important to ensure that the water level is at least 2 inches above the beans. This ensures that they are fully submerged and can absorb the water properly.
(Part 4) The Art of Cooking Lima Beans: Stovetop vs. instant pot
Your beans are soaked and ready to go! Now comes the fun part – cooking them to perfection. There are several methods you can use, each with its own pros and cons. Let's explore the two most popular options: the stovetop method and the Instant Pot method.
Method 1: The Stovetop Method: Traditional and Reliable
This is the classic and most straightforward way to cook lima beans. It requires a bit more time but yields consistently delicious results.
Step-by-Step Guide:
- Drain and Rinse: Drain the soaked beans and rinse them well under cold running water. This removes excess starch and any lingering debris.
- Pot and Water: Place the beans in a large pot with fresh water. The water should be about 2 inches above the beans.
- Bring to a Boil: Bring the pot to a boil over high heat. Once the water reaches a rolling boil, reduce the heat to low, cover the pot, and simmer for 45-60 minutes, or until the beans are tender.
- Tenderness Test: To test for tenderness, remove a bean from the pot and mash it between your fingers. If it breaks down easily, the beans are done.
- Adjust Cooking Time: If the beans aren't tender after 60 minutes, continue simmering them in small increments, checking every 15 minutes until they reach the desired texture. Patience is key!
While the beans are simmering, you can add a pinch of salt to enhance their flavor. Remember to taste them towards the end of the cooking time to adjust the seasoning as needed.
Method 2: The Instant Pot Method: Speedy and Convenient
For those who love the convenience of the Instant Pot, it's a fantastic tool for cooking lima beans. It cuts down on cooking time considerably, making it perfect for busy weeknights.
Step-by-Step Guide:
- Drain and Rinse: Drain the soaked beans and rinse them well under cold running water.
- Pot and Water: Place the beans in the Instant Pot inner pot with fresh water. The water should be about 2 inches above the beans.
- Close and Seal: Close the Instant Pot lid and set the valve to "seal."
- Pressure Cook: Select the "Manual" or "Pressure Cook" setting and set the cooking time to 25 minutes for large limas and 20 minutes for baby limas.
- Natural Release: Once the cooking time is complete, allow the pressure to release naturally for 10 minutes before manually releasing the remaining pressure.
The Instant Pot method is significantly faster than the stovetop method and requires less hands-on time. However, it's important to note that the beans will be more tender when cooked using the Instant Pot method, so you might need to adjust the cooking time accordingly.
(Part 5) Adding Flavor to Your Lima Beans: A Symphony of Taste
Your lima beans are cooked to perfection! Now it's time to add some flavour. There are endless possibilities, from simple seasonings to more complex flavor profiles. Let's explore some delicious options.
Seasoning Basics: Salt and Pepper
The most basic seasoning for lima beans is salt and pepper. A generous pinch of salt enhances the natural sweetness of the beans, while pepper adds a touch of spice. It's a classic combination that never fails.
I prefer to add salt towards the end of the cooking time, as it helps prevent the beans from becoming mushy. However, if you prefer a more subtle flavour, you can add salt earlier in the cooking process.
Herbs and Spices: A Burst of Flavor
Herbs and spices can elevate your lima beans to new heights. Fresh herbs like parsley, dill, and thyme add a bright and fresh flavour. Dried herbs like oregano, rosemary, and sage add a more robust flavour.
Spices like cumin, coriander, and turmeric add earthy notes and a depth of flavour. You can use a combination of herbs and spices to create unique flavour profiles that complement your dish. Get creative and experiment!
Garlic and Onion: The Flavor Powerhouse
Garlic and onion are essential ingredients in many cuisines, and they work wonders with lima beans. They add a savory depth of flavour that can be enhanced by sautéing them in olive oil before adding the beans.
You can also add garlic and onion directly to the pot of beans while they're simmering. This method imparts a more subtle flavour than sautéing, but it's still a delicious way to enhance the taste of your beans.
(Part 6) Tips for Perfect Lima Beans: Mastering the Art of Texture and Flavor
Here are some extra tips and tricks to ensure your lima beans turn out perfectly every time, creating a culinary masterpiece.
1. Don't Overcook: Finding That Perfect Texture
Lima beans are delicate, so it's important to cook them just until they're tender but not mushy. Overcooked beans will lose their shape and texture, resulting in a less appealing dish. No one wants a mushy bean situation, right?
To avoid overcooking, check the beans frequently towards the end of the cooking time. You can also use a fork to gently test their tenderness.
2. Adding Acidity: A Balancing Act
Adding a touch of acidity can help balance the sweetness of the beans and enhance their overall flavour. A squeeze of lemon juice, a splash of vinegar, or a pinch of citric acid can do the trick.
Adding acidity at the end of the cooking process allows the beans to retain their texture while still benefiting from the flavour boost.
3. Cooling Down for a Better Texture
Once your lima beans are cooked, it's a good idea to let them cool down slightly before using them in your dish. This helps prevent them from becoming mushy and preserves their shape and texture.
You can store cooked lima beans in the refrigerator for up to 5 days. Simply transfer them to an airtight container and store them in the fridge.
(Part 7) Using Your Perfectly Cooked Lima Beans: A culinary adventure
Now that you have perfectly cooked lima beans, the culinary world is your oyster! They can be used in a wide variety of dishes, from simple salads to hearty stews. Let's explore some creative ways to incorporate them into your meals.
1. Salads: A Refreshing Addition
Lima beans add a satisfying crunch and a boost of protein to salads. They complement a wide range of greens and vegetables, and they can be dressed with a variety of dressings, from light and tangy to rich and creamy. They're a perfect way to add a touch of texture and substance to your salads.
For a simple and refreshing salad, try combining cooked lima beans with chopped tomatoes, cucumbers, red onions, and a simple vinaigrette dressing.
2. Soups and Stews: A Hearty Base
Lima beans are a staple ingredient in many soups and stews. They provide a hearty base and a creamy texture, and they can be combined with a variety of vegetables, meats, and seasonings. Their creamy texture and heartiness make them perfect for comforting soups and stews.
For a classic lima bean soup, try sautéing onions and garlic in olive oil, then adding diced potatoes, carrots, and cooked lima beans. Simmer the soup until the vegetables are tender, then season with salt, pepper, and herbs of your choice.
3. Dips and Spreads: A Delicious Snack
Cooked lima beans can be used to create delicious dips and spreads. They can be mashed and combined with other ingredients like avocado, tahini, or hummus to create a creamy and flavorful spread.
For a simple lima bean dip, try mashing cooked lima beans with a fork and adding a splash of olive oil, lemon juice, and salt. Serve the dip with crackers, vegetables, or bread.
(Part 8) FAQs: Your Lima Bean Questions Answered
Over the years, I've been asked countless questions about cooking lima beans. Here are some of the most frequently asked questions and their answers.
1. Can I Use Canned Lima Beans Instead of Dry Beans?
Yes, you can use canned lima beans instead of dry beans. canned beans are pre-cooked and ready to use, which makes them a convenient option for quick meals. However, canned beans are usually more processed and may contain added salt and other preservatives.
If you're using canned beans, make sure to drain and rinse them well before using them in your dish. You may also want to adjust the seasoning accordingly, as canned beans are often already seasoned.
2. Can I Freeze Cooked Lima Beans?
Yes, you can freeze cooked lima beans. To freeze cooked lima beans, simply place them in an airtight container or freezer bag and store them in the freezer for up to 3 months.
When you're ready to use the frozen beans, you can thaw them overnight in the refrigerator or defrost them directly from frozen in a microwave.
3. What Happens If I Don't Soak My Lima Beans?
While soaking your lima beans is highly recommended, it's not strictly necessary. If you choose not to soak them, you will need to increase the cooking time.
Un-soaked beans will take about 2-3 hours to cook on the stovetop or 45-60 minutes in an Instant Pot. Be sure to check the beans frequently to ensure they're not overcooked.
4. Why Are My Lima Beans Gassy?
Lima beans are known for their gas-producing properties. This is due to the presence of complex sugars that our bodies have difficulty digesting.
Soaking the beans can help reduce the amount of gas-producing compounds. You can also try adding a digestive enzyme like Beano to your meal.
5. What Are Some Creative Ways to Use Lima Beans?
Lima beans are incredibly versatile and can be used in a wide variety of dishes. Here are some creative ideas:
- Add them to your favourite pasta salad.
- Use them as a filling for burritos or tacos.
- Combine them with corn, black beans, and salsa for a flavourful side dish.
- Make a delicious lima bean hummus.
- Add them to your favourite chili recipe for added texture and flavour.
With a little experimentation, you can find endless ways to incorporate lima beans into your diet.
(Part 9) Conclusion: A Journey to Perfect Lima Beans
And there you have it, my friends, a comprehensive guide to cooking dry lima beans to perfection. From selecting the right beans to mastering the cooking techniques and adding flavour, I've shared everything I know to help you create delicious and satisfying dishes.
Remember, cooking is a journey, and each dish is a unique adventure. Don't be afraid to experiment and find what works best for you. Most importantly, have fun and enjoy the process!
Everyone is watching

How to Cook Frozen Lobster Tails Perfectly: A Step-by-Step Guide
RecipesLobster. Just the word conjures up images of lavish meals, special occasions, and a taste of luxury. But let's...

Pigs in a Blanket Cooking Time: How Long to Bake for Perfect Results
RecipesAh, pigs in a blanket. Just the name conjures up images of those delightful little parcels of crispy pastry en...

Pork Fillet Cooking Time: How Long to Cook It Perfectly
RecipesPork fillet, or tenderloin as it's sometimes called, is a real favourite in our house. It's so versatile, and...

The Ultimate Guide to Tender, Juicy Pulled Pork
RecipesRight, let's talk pulled pork. It's one of those dishes that just screams "comfort food," doesn't it? I mean...

The Ultimate Guide to Cooking Sweet Potatoes: From Roasting to Mashing
RecipesSweet potatoes. Just the name conjures up images of warm, comforting dishes, bursts of vibrant color, and a to...
