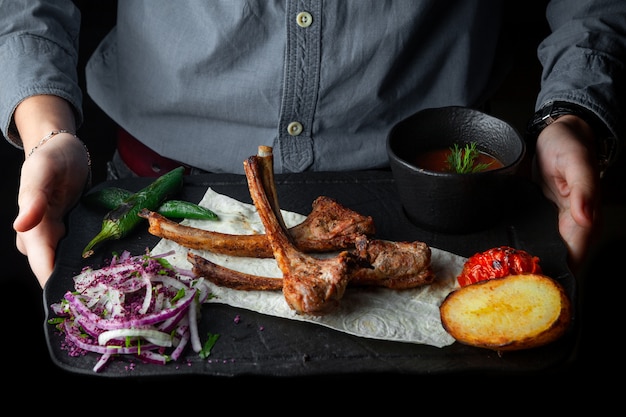
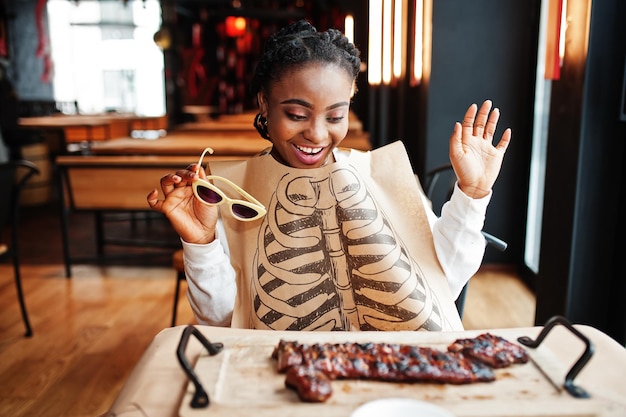
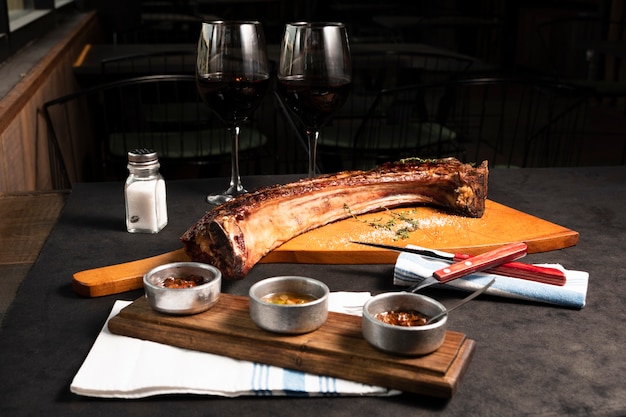
Let's talk ribs, folks. Not just any ribs, mind you, but the kind that make your mouth water just thinking about them. The kind that fall apart at the slightest touch, leaving you with a plate of succulent, smoky goodness that you'd happily lick clean. I'm no pitmaster, but after years of experimenting (and a few, shall we say, "interesting" attempts), I've learned a thing or two about achieving rib perfection.
And guess what? It all boils down to one crucial element: timing. Knowing how long to cook your ribs is the key to unlocking their full potential. But it's not just a simple matter of throwing them on the grill and hoping for the best. There's a whole science to it, and it involves factors like the type of ribs, your chosen cooking method, and the tenderness you're aiming for.
So, grab a cold drink, settle in, and let me guide you through the process, step by step. By the end of this guide, you'll be a rib-roasting expert, ready to impress your family and friends with your newfound BBQ skills.
(Part 1) The Great Rib Debate: Baby Backs vs. spare ribs

Before we get our hands dirty, we need to choose our weapons, or in this case, our ribs. There are two main contenders: baby back ribs and spare ribs. Both are delicious, but they have distinct characteristics that affect cooking times and tenderness.
baby back ribs: The Classic Choice
Baby back ribs are the darling of the BBQ world, loved for their tender, meaty texture and shorter cooking time. They typically come with a thin, tough membrane on the back, which needs to be removed before cooking. Don't worry, I'll show you how to handle that in a bit.
Here's why baby backs are a popular choice: They're generally easier to handle, forgiving for beginners, and quicker to cook than spare ribs. However, they tend to be a bit pricier.
Spare Ribs: A Meatier Option
Spare ribs are the bigger, bolder cousin of baby back ribs, known for their generous meaty portions and robust flavour. They're typically more affordable than baby backs, making them a great option for feeding a crowd. However, they can be a bit tougher and require a longer cooking time to achieve that melt-in-your-mouth texture.
If you're up for a challenge and have a bit more time on your hands, spare ribs offer a rewarding culinary adventure. Just be prepared to dedicate a few extra hours to coaxing those delicious, meaty bites out of the bone.
(Part 2) Prepping for Perfection: A Look at the Essentials

Now that you've chosen your ribs, it's time to give them a little TLC before they hit the smoker or oven. This crucial prep step ensures that you achieve those melt-in-your-mouth results you're craving.
Membrane Removal: A Quick and Easy Trick
That thin, white membrane on the back of the ribs is a bit of a villain. It's tough and chewy, and it doesn't break down during cooking, leading to a less enjoyable eating experience. Fortunately, removing it is a breeze. You can use a sharp knife, a paper towel, or even your fingertips. The trick is to get under the membrane and pull it off in one smooth motion. It should come off relatively easily once you've got a good grip.
Seasoning: A Symphony of Flavor
This is where you get to unleash your inner culinary artist. You can go for a simple salt and pepper approach, or get adventurous with a vibrant rub. There are countless rub recipes online, or you can create your own blend. The key is to get the seasoning deep into the cracks and crevices of the ribs, ensuring they're infused with flavour throughout.
My personal favorite rib rub is a mix of paprika, brown sugar, garlic powder, onion powder, black pepper, and a touch of cayenne pepper. It delivers a beautiful balance of sweetness, smokiness, and a subtle kick. But feel free to experiment, find what tickles your fancy, and create your own signature rub!
(Part 3) The Smoking Ritual: Low and Slow for Ultimate Tenderness

Now we're getting into the heart of the matter. smoking ribs is an art form, a slow, deliberate process that unlocks their true potential. It's all about low and slow cooking, allowing the ribs to break down and become incredibly tender, yielding those succulent bites that melt in your mouth.
Setting the Stage: A Smoker's Delight
Before you start smoking, you need to prep your smoker. You can use wood chips, pellets, or even charcoal to create a smoky wonderland. The key is to maintain a consistent temperature between 225-250°F (107-121°C).
If you're using wood chips, soak them in water for about 30 minutes before adding them to your smoker. This helps them to smolder rather than burn too quickly, creating a more even and sustained smoke.
The 3-2-1 Method: A BBQ Classic
Let's talk about the 3-2-1 method, a time-tested technique for smoking ribs to perfection. It's not a strict rule, but a solid starting point that consistently delivers mouthwatering results. Here's how it works:
- 3 hours: Smoke the ribs for 3 hours at 225-250°F (107-121°C) with the smoker lid closed. This initial phase focuses on building flavor and giving the ribs a beautiful smoky aroma.
- 2 hours: Wrap the ribs tightly in foil with some butter and apple juice. This creates a steaming effect, accelerating the tenderizing process and enhancing the natural juices within the meat.
- 1 hour: Unwrap the ribs and put them back on the smoker for the final hour. This allows the ribs to crisp up and develop a beautiful, caramelized bark, adding a satisfying crunch to each bite.
Remember, these are guidelines, and the actual cooking time can vary depending on the size and thickness of your ribs, as well as the heat of your smoker. Always use a meat thermometer to check the internal temperature of the ribs. You're aiming for at least 190°F (88°C), ensuring that the ribs are cooked through and incredibly tender.
(Part 4) The Oven Alternative: A Quick and Easy Route to Delicious Ribs
Let's be honest, not everyone has a smoker. And sometimes, even when you do, you just don't have the time for a long, slow smoke. But don't despair! Your trusty oven can be your secret weapon for achieving perfectly tender, flavorful ribs.
The Oven Baking Technique: Simplicity at its Best
Preheat your oven to 300°F (150°C). Place your seasoned ribs in a roasting pan and cover them tightly with foil. This creates a sealed environment that helps the ribs to steam and tenderize. Bake for 2-3 hours, depending on the thickness of the ribs.
Once the ribs have softened, remove them from the oven, uncover them, and crank up the heat to 375°F (190°C). This allows the ribs to crisp up and develop that beautiful, caramelized bark. Bake for another 30-45 minutes, and you're good to go!
(Part 5) The Sauce Factor: Enhancing Flavour and Creating a Glaze
You've gone through all the prep, cooking, and achieving that tender perfection. Now it's time to take your ribs to the next level with a delicious bbq sauce. Let's face it, BBQ sauce is the cherry on top of a perfect rib, adding that final touch of sweetness, tanginess, and smokiness that makes them utterly irresistible.
Finding Your Sauce Soulmate: A World of Flavors
There are countless BBQ sauces out there, each with its own unique blend of flavors. You'll find sweet and smoky, tangy and spicy, and everything in between. It all comes down to personal preference. I'm partial to a good smoky and tangy sauce, but I know others who swear by sweet and spicy. Feel free to experiment and find your favorite! And don't forget to explore homemade bbq sauce recipes. They're often surprisingly simple to make and allow you to customize the flavors to your liking.
Applying the Sauce: A Gentle Touch for Perfect Glaze
The best time to apply the sauce is during the last 30 minutes of cooking. This allows the sauce to thicken and caramelize on the ribs, creating a beautiful, glossy glaze. You can use a brush to apply the sauce evenly, or just pour it over the ribs and let it drip. Just be careful not to over-sauce the ribs, as this can make them soggy.
Sauce Strategies: Experimenting for Flavor
You can also try different approaches to sauce application. Some people like to add a little sauce every hour or so during the cooking process, building the flavor gradually. Others prefer to stick with a dry rub and add the sauce only at the very end. It's all about experimentation and finding what works best for your taste buds and cooking style.
(Part 6) The Internal Temperature: A Crucial Indicator of Doneness
You've seasoned your ribs, cooked them to perfection, and now you're ready to indulge. But how do you know when they're actually done? The easiest and most accurate way is to use a meat thermometer. You want to aim for an internal temperature of 190°F (88°C) or higher.
Here's why internal temperature is so crucial:
- food safety: Reaching that 190°F (88°C) mark ensures that the ribs are cooked through and safe to eat. This is especially important for pork, as it can carry bacteria that can cause foodborne illnesses.
- Tenderness: The higher the internal temperature, the more tender the ribs will be. Remember, you want those ribs to fall off the bone, and that only happens with a good internal temp.
If you don't have a meat thermometer, you can try other methods to check for doneness. For example, you can try the "bone test" or the "wiggle test". However, I'd always recommend using a thermometer for the most accurate and reliable results.
(Part 7) Resting for Reincarnation: Allowing Juices to Redistribute
The ribs are done, the aroma is intoxicating, and your stomach is rumbling. But hold on a minute! It's essential to let the ribs rest for at least 15 minutes before slicing and serving. This allows the juices that have been pushed to the surface during cooking to redistribute throughout the meat, resulting in even more tender and flavorful ribs.
You can wrap the ribs loosely in foil while they rest, or simply let them cool on a cutting board. Either way, this resting period is crucial for achieving maximum tenderness and unlocking the full potential of your rib masterpiece.
(Part 8) Serving with Style: A Feast for the Senses
You've reached the culmination of your rib journey. They're ready to be devoured! There's no right or wrong way to serve ribs, but here are a few ideas to make your feast even more memorable.
side dishes: A Symphony of Flavors
Ribs are a versatile dish that pairs beautifully with a variety of sides. Creamy coleslaw, smoky baked beans, tangy potato salad, and cheesy mac and cheese are just a few examples that complement the rich flavor of the ribs and create a satisfying, well-rounded meal.
Sauce Presentation: A Drizzle of Delight
Don't forget your sauce! Keep a generous supply of your favorite BBQ sauce on hand for dipping, drizzling, or smothering those ribs. You can also offer a variety of sauces to cater to different preferences, allowing everyone to personalize their rib experience.
The Art of Indulgence: Get Messy!
Ribs are best enjoyed with your hands, so relax, grab a fork, and get ready for a delicious, messy experience. Don't worry about the sticky fingers and the occasional sauce drip; it's all part of the fun and a testament to the pure joy of indulging in a well-cooked rib.
FAQs: Your Rib-Related Questions Answered
Here are some common questions you might have about cooking ribs:
| Question | Answer |
|---|---|
| How long do ribs take to cook? | The cooking time for ribs varies depending on the type of ribs, the cooking method, and the desired level of tenderness. Generally, baby back ribs take about 3-4 hours to cook, while spare ribs take about 4-6 hours. |
| How do I know if ribs are done? | The best way to know if ribs are done is to use a meat thermometer. You want the internal temperature to reach at least 190°F (88°C). You can also check for tenderness by gently pulling on a rib. If it comes away from the bone easily, it's done. |
| Can I cook ribs in the oven? | Yes, you can cook ribs in the oven. You can use a similar method to the 3-2-1 method for smoking ribs, but it will take a bit longer. You can also bake ribs directly in the oven without smoking them. |
| What kind of wood should I use for smoking ribs? | The type of wood you use for smoking ribs can affect the flavor. Common woods for smoking ribs include hickory, pecan, oak, mesquite, and cherry. |
| What’s the best way to store leftover ribs? | Store leftover ribs in an airtight container in the refrigerator for up to 3 days. You can also freeze ribs for up to 3 months. |
With this comprehensive guide, you're armed with the knowledge and techniques to create those perfect, melt-in-your-mouth ribs that will leave your guests clamoring for more. So, gather your ingredients, fire up your smoker or oven, and get ready to impress everyone with your newfound rib-roasting prowess. Happy grilling!
Everyone is watching

How to Cook Frozen Lobster Tails Perfectly: A Step-by-Step Guide
RecipesLobster. Just the word conjures up images of lavish meals, special occasions, and a taste of luxury. But let's...

Pigs in a Blanket Cooking Time: How Long to Bake for Perfect Results
RecipesAh, pigs in a blanket. Just the name conjures up images of those delightful little parcels of crispy pastry en...

Pork Fillet Cooking Time: How Long to Cook It Perfectly
RecipesPork fillet, or tenderloin as it's sometimes called, is a real favourite in our house. It's so versatile, and...

The Ultimate Guide to Cooking Sweet Potatoes: From Roasting to Mashing
RecipesSweet potatoes. Just the name conjures up images of warm, comforting dishes, bursts of vibrant color, and a to...

The Ultimate Guide to Tender, Juicy Pulled Pork
RecipesRight, let's talk pulled pork. It's one of those dishes that just screams "comfort food," doesn't it? I mean...
