Summertime brings with it the joy of fresh produce, and there’s nothing quite like biting into a juicy, sweet ear of corn on the cob. It’s a simple pleasure, but getting it right can be a bit of a culinary gamble. Sometimes it’s perfectly tender, other times it’s dry and chewy. Let’s face it, we've all been there, and no one wants to be stuck with a disappointing ear of corn! Fear not, my fellow corn-lovers, because I'm about to share all my secrets for perfectly cooked corn on the cob, from picking the right ear to mastering different cooking methods. We're going to delve into the nuances, the tips and tricks that make all the difference. So grab your apron, put on your happy cooking face, and let's embark on a delicious journey to corn perfection!
(Part 1) Choosing the Right Corn: The Foundation of Deliciousness

You know the saying, "You can't make a silk purse out of a sow's ear"? Well, the same applies to corn on the cob. Choosing the right ear of corn is the first step to a delicious outcome. Think of it like building a house: you need a strong foundation to create a beautiful and sturdy structure. Let's break down how to select the perfect ear:
The Husk: A Window to Freshness
The husk is our first clue. A fresh husk will be vibrant green, not dull or brown. It should be free of any tears, brown spots, or signs of wilting. When you gently squeeze the husk, it should feel firm and spring back, a sign of plump, juicy kernels. You can also feel the kernels through the husk. They should be hard, packed tightly, and feel full of promise.
Don't Neglect the Silk!
Don't let the silk fool you. It’s a crucial indicator of freshness. Fresh silk will be a light brown colour and slightly sticky. Avoid corn with silk that’s dark brown or dried out, as this means it’s been sitting around for a while. Think of the silk as the corn's "hair" - if it's dry and dull, the corn is probably a bit older.
What About Older Corn?
If you find yourself with older corn, don't despair! We'll explore how to coax out the best flavour even from less-than-fresh corn later on.
(Part 2) The Classic Method: Boiling for Consistent Tenderness

boiling corn on the cob is a tried-and-true method that never fails. It's simple, reliable, and produces consistently tender, juicy results. It’s a bit like a comforting hug for your corn, ensuring every kernel is perfectly cooked.
Step-by-Step Instructions: Boil Your Way to Corn Perfection
1. Gather Your Supplies: Fill a large pot with enough water to cover the corn. Don't skimp on the water, you want to ensure the corn is fully submerged.2. Seasoning is Key: Add a tablespoon of salt to the water. Salt not only enhances the flavour but also helps the corn retain its natural moisture. Imagine it as a gentle salty hug, keeping all those delicious juices locked in.3. Bring It to a Boil: Set the pot over high heat and bring the water to a rolling boil. We're looking for a full-on bubble party here!4. Gentle Entry: Carefully add the corn to the pot, making sure the ears are completely submerged. Don't just toss them in - treat them with care!5. Maintain the Boil: Reduce the heat to medium-high and let the water return to a rolling boil. You want to keep those bubbles happy and active.6. cooking time: Cook the corn for 4-6 minutes, depending on the size and freshness of the ears. Remember, older corn may need a little extra time. 7. Draining Time: Remove the corn from the pot using tongs and place it in a colander to drain. Let the excess water say goodbye! 8. Serve and Enjoy: Serve your perfectly boiled corn immediately while it's still warm and inviting.
(Part 3) Grilling for a Smoky Delight: Summer's Favourite

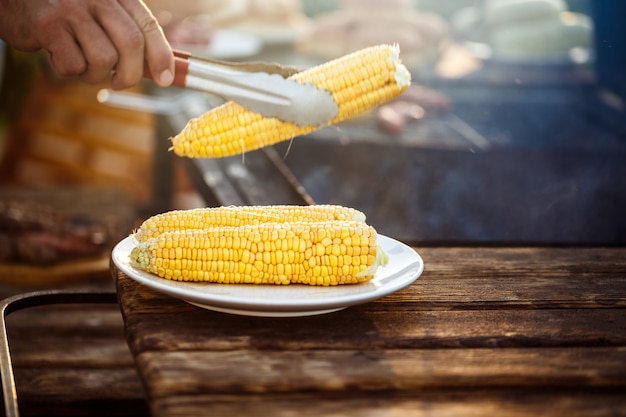
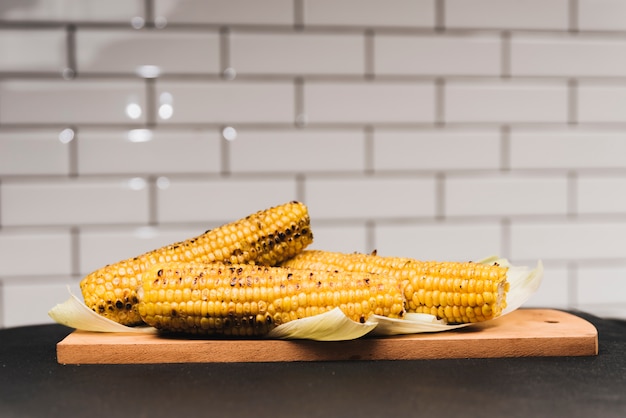
There's nothing quite like the smoky flavour of grilled corn on the cob. It's a flavour that screams summer, sunshine, and backyard BBQs. But, grilling corn is more than just throwing it on the grill. There's a bit of an art to it, and a few simple tricks can make all the difference.
Prepping Your Corn for the Grill: It's All About the Details
1. Husk Removal: Remove the husks and silks from the corn. We're going to use the husks as a natural wrapper later, so set them aside for now.2. Soaking for Tenderness: Soak the corn in a bowl of cold water for about 15 minutes. This helps to ensure that the kernels are evenly cooked and prevents them from drying out on the grill. Think of it as a spa treatment for your corn, making it soft and supple.3. Pat It Dry: Remove the corn from the water and pat it dry with a paper towel. We don't want too much moisture on the grill, as that can lead to steaming instead of grilling.4. Adding Flavor: For extra flavour, brush the corn with butter or olive oil. This will help the grill marks adhere to the corn and add a lovely golden colour.
Grilling Time: The Art of Charring
1. Heat It Up: Preheat your grill to medium heat. You want a nice, even heat for consistent grilling.2. On the Grill: Place the corn directly on the grill grates. If you're using a gas grill, you can create a two-zone setup with one side hotter than the other. This allows you to cook the corn slowly on the cooler side and then finish it on the hotter side for those beautiful char marks.3. Rotating for Even Cooking: Cook the corn for 10-15 minutes, turning it every few minutes to ensure even cooking. Don't let it burn! Keep an eye on it.4. High Heat for Char: If you have a gas grill, you can turn the heat to high for the last minute to create those beautiful char marks. This will add a lovely smoky flavour and visual appeal to your corn.5. Resting Time: Remove the corn from the grill and let it cool for a few minutes before serving. This allows the corn to rest and the flavours to meld.
(Part 4) The Microwave Method: Quick and Easy Corn
Let's face it, sometimes life gets busy. There are days when we just don't have the time for a full-blown grilling session. But that doesn't mean you have to sacrifice delicious corn on the cob. The microwave is a surprisingly effective way to cook corn, delivering tender results in a fraction of the time.
Microwave Steps: Easy Peasy Corn
1. Prep: Remove the husks and silks from the corn. 2. Microwave-Safe Plate: Place the corn on a microwave-safe plate.3. Steam It Up: Add a few tablespoons of water to the plate. This helps create steam and prevents the corn from drying out. Think of it as a miniature steam bath for your corn.4. Wrap It Up: Cover the plate with plastic wrap, making sure to pierce a few holes in the wrap to allow steam to escape. We want a little steam action, but not a steam explosion!5. Microwave Power: Microwave the corn on high power for 3-5 minutes, depending on the size of the ears. Keep an eye on it - you don't want it to overcook.6. Resting Time: Remove the corn from the microwave and let it cool for a few minutes before serving.
(Part 5) Beyond the Basics: Flavor Enhancements for Your Corn
Corn on the cob is delicious on its own, but sometimes we crave a little extra oomph. Let’s explore some flavour-boosting techniques that will take your corn from good to great.
Butter and Salt: The Classic Combo
Let's be honest, melted butter and a sprinkle of salt are a timeless combination. It’s simple, yet oh-so-satisfying. The butter adds richness and creaminess, while the salt enhances the natural sweetness of the corn. It's a duo that never disappoints.
Spice Things Up
For a bit of heat, try adding a dash of chilli powder, cayenne pepper, or paprika to your butter. This will give your corn a spicy and smoky flavour. Imagine a little fire in your corn!
Sweet and Savoury Fusion
For a delightful sweet and savoury twist, add some brown sugar, honey, or maple syrup to your butter. The sweetness will balance out the saltiness of the corn, creating a harmonious flavour profile.
A Herb Garden on Your Corn
Fresh herbs take your corn on a flavour adventure. Try incorporating chives, parsley, dill, or cilantro. You can chop them up and add them to the butter or sprinkle them directly on top of the cooked corn. Imagine the fresh, bright flavours bursting in your mouth!
Cheese, Anyone?
For a decadent treat, add grated cheese to your corn. Parmesan, cheddar, or even mozzarella work beautifully. You can sprinkle it on top of the cooked corn or even add it to your butter mixture. This is a delicious way to add a cheesy twist to your corn.
(Part 6) Storing Corn: Keeping It Fresh and Delicious
If you're lucky enough to have a bountiful corn harvest or a local farmers market overflowing with fresh corn, you'll want to store it properly to keep it fresh and delicious for as long as possible.
Keeping it Husked: Nature's Protective Wrap
For the freshest corn, store it in the refrigerator with the husks still on. The husks will help to keep the corn moist and prevent it from drying out. Think of them as nature's protective wrapping. Place the corn in a plastic bag and store it in the crisper drawer for up to a week.
Shucked and Ready: A Little More Attention Needed
If you prefer to shuck your corn, store it in a plastic bag in the refrigerator for up to 3 days. To prevent drying, wrap the shucked corn in a damp paper towel before placing it in the bag. This will help to keep the kernels moist and prevent them from becoming dry and tough.
Freezing for Later: Locking in Freshness
For longer storage, consider freezing your corn. To freeze corn on the cob, simply blanch the corn in boiling water for 5 minutes, then cool it in an ice bath. This helps to stop the cooking process and preserve the corn's colour, texture, and flavour. Remove the husks and silks, and wrap each ear individually in plastic wrap. Place the wrapped ears in a freezer-safe bag and store in the freezer for up to 6 months.
(Part 7) FAQs: Answering Your Corn Conundrums
Let's address some of the common questions about corn on the cob:
1. How can I tell if corn is overcooked?
Overcooked corn will be dry and chewy, and the kernels will start to shrink and turn a little translucent. If you notice these signs, it's best to avoid overcooking your corn in the future.
2. Can I cook corn on the cob without removing the husks?
Yes, you can! cooking corn in the husks is a great way to ensure the corn stays moist and flavorful. Just make sure to soak the corn in water for about 15 minutes before grilling it. The husks act as a natural steamer, keeping the kernels tender and juicy.
3. How long can I store corn in the fridge?
Corn with the husks on can be stored in the fridge for up to a week. Shucked corn will last for up to 3 days in the fridge.
4. What happens if I overcook corn on the cob?
Overcooked corn will be dry and chewy. The kernels will start to shrink and turn a little translucent. If you notice these signs, it's best to avoid overcooking your corn in the future.
5. Can I use frozen corn on the cob?
Yes, you can! Frozen corn on the cob can be cooked just like fresh corn. Just add a few minutes to the cooking time.
(Part 8) Corn on the Cob: A culinary adventure
cooking corn on the cob is a simple yet satisfying culinary adventure. With these tips and tricks, you can enjoy perfectly cooked corn every single time. So, grab your freshest corn, gather your loved ones, and get ready to celebrate the flavours of summer! Happy grilling, boiling, and microwaving!
Everyone is watching

How to Cook Frozen Lobster Tails Perfectly: A Step-by-Step Guide
RecipesLobster. Just the word conjures up images of lavish meals, special occasions, and a taste of luxury. But let's...

Pigs in a Blanket Cooking Time: How Long to Bake for Perfect Results
RecipesAh, pigs in a blanket. Just the name conjures up images of those delightful little parcels of crispy pastry en...

Pork Fillet Cooking Time: How Long to Cook It Perfectly
RecipesPork fillet, or tenderloin as it's sometimes called, is a real favourite in our house. It's so versatile, and...

The Ultimate Guide to Cooking Delicious Frankfurters
RecipesLet's face it, we all love a good frankfurter. It's a classic, simple, and always satisfying. But let's be rea...

Wolf Meat Recipes: A Guide to Cooking Wild Game
RecipesLet's be honest, you don't see wolf meat at your local butcher shop every day. It's a bit of a wild card, but ...
