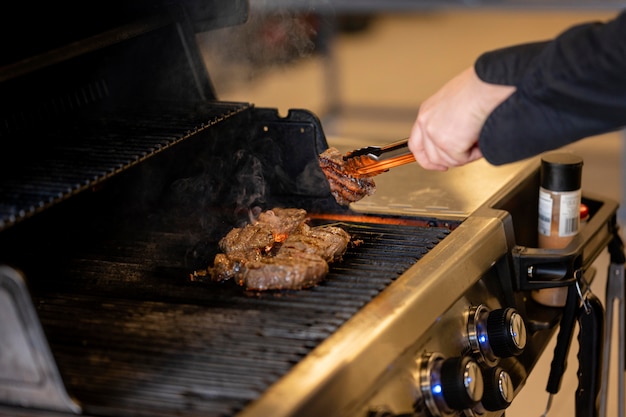
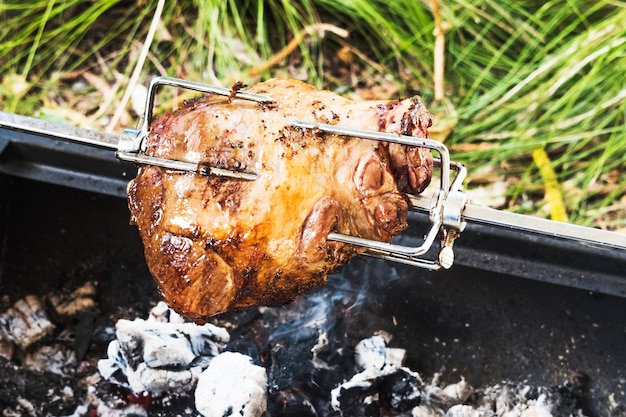
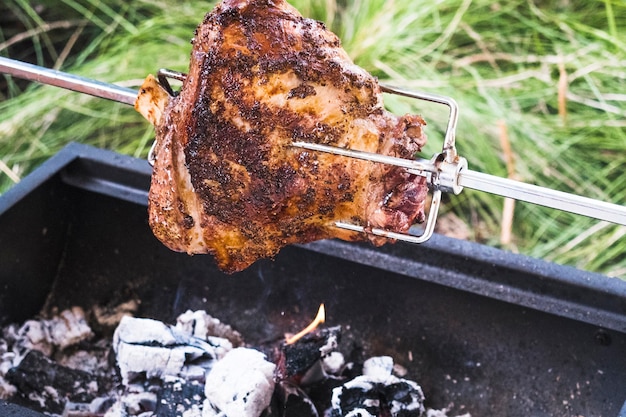
There's a certain mystique surrounding brisket, a smoky allure that draws us in. It's a cut of meat that promises a culinary adventure, a symphony of flavors and textures that can transform a backyard gathering into a full-blown feast. But let's be honest, even seasoned grillers can feel a twinge of apprehension when facing down a massive slab of beef. Will it turn out tender and juicy? Will it be a triumph or a disaster? I've been there, my friends, staring at that formidable hunk of meat, unsure of where to begin. But over the years, I've learned a thing or two about brisket, and I'm excited to share my secrets with you.
This guide is your roadmap to grilling mastery. It's a step-by-step journey, filled with tips, tricks, and personal anecdotes, all designed to equip you with the knowledge and confidence to conquer the brisket beast. So, grab your apron, fire up the grill, and let's embark on this delicious adventure together!
(Part 1) Choosing the Right Brisket: The Foundation of Flavor

The path to a perfect brisket starts with a crucial decision: selecting the right cut. Think of this as the foundation of your culinary masterpiece. A strong foundation ensures a sturdy structure, and the same applies to brisket. choosing the right cut sets the stage for a truly exceptional result.
Understanding the Cuts: Point vs. Flat
Brisket comes in two main cuts: the point and the flat. The point, as its name suggests, is the thicker, more rounded section, usually with a generous amount of marbling. It's known for its rich, decadent flavor and melts-in-your-mouth tenderness. Imagine a symphony of savory notes, a true testament to slow-cooked perfection. The flat, on the other hand, is leaner, flatter, and typically boasts less marbling. This makes it ideal for achieving a more even cook and slicing beautifully, creating those impressive, thin, and uniformly cooked slices that are the hallmark of a successful brisket.
Now, here's the insider scoop. Most butchers sell briskets as a whole packer, which is the point and flat joined together. It's a fantastic choice for those who crave the best of both worlds. But, if you're a brisket newbie, I recommend starting with a flat. It's a bit more manageable, less prone to drying out, and offers a gentler introduction to this magnificent meat.
Size Matters: Embracing the Big Beast
When it comes to brisket, bigger is, in fact, better. I'm talking about those glorious, hefty slabs, the kind that can easily feed a small army. Don't be intimidated by their size. The key is to choose a brisket that's at least 10-12 pounds, or even more if you're planning a grand feast. A larger brisket allows for more even cooking, and you'll be rewarded with a more impressive final product.
The Quality Factor: Finding the Perfect Balance
Listen, we can't skimp on quality when it comes to brisket. This is a meat that deserves the best. Seek out a cut with good marbling, that beautiful, even layer of fat that's essential for both flavor and moisture. Think of it as the secret ingredient that elevates the entire experience. Avoid cuts that are too lean or have too much fat. Striving for that perfect balance is crucial.
Your local butcher is your go-to source for top-quality cuts. They have the knowledge and expertise to guide you. Don't hesitate to ask questions. A good butcher is a valuable ally in your quest for the perfect brisket.
(Part 2) Prepping the Brisket for the Grill: Setting the Stage for Flavor

Now that you've got your beautiful brisket, it's time for some backstage prep. This is where we transform raw potential into a masterpiece. Think of it as a series of crucial steps that set the stage for an unforgettable flavor experience.
Trim it Down: Getting Rid of Excess
First things first, let's trim that excess fat. But hold on! We're not going for a bare-bones look. Leave about a quarter-inch layer on top. That fat acts as a natural insulator, helping retain moisture and enhancing flavor. However, trim away any thick sections or pieces of silver skin. This tough, thin membrane can make the brisket tough, so removing it is crucial for a tender result. You can use a sharp knife or a butcher's paper for this task.
Seasoning Time: Unleashing Your Creativity
Here's where you get to showcase your culinary creativity. I'm a fan of a simple rub, usually a blend of salt, pepper, garlic powder, onion powder, and paprika. But feel free to experiment with other spices, like cumin, chili powder, or cayenne. Let your imagination run wild, but remember, the key is to create a balanced rub that enhances the natural flavors of the brisket without overwhelming them.
You can apply the rub directly to the brisket, or for a more intense flavor infusion, try a dry brine technique. For a dry brine, generously rub salt over the brisket and let it sit uncovered in the fridge for 12-24 hours. This draws out moisture and helps tenderize the meat.
The Importance of Resting: Allowing Flavors to Bloom
After seasoning, allow the brisket to rest for at least 30 minutes, or even better, overnight. This gives the spices time to penetrate the meat, developing a deeper, more complex flavor. It's also a good idea to bring the brisket to room temperature before grilling to ensure even cooking.
(Part 3) Getting Ready to Grill: Setting the Stage for a Culinary Triumph

Now, it's time to set the stage for your brisket masterpiece. This is where the real fun begins!
Choosing Your Weapon: The Grill that Delivers
For brisket, you need a grill that can deliver low and slow heat. A charcoal grill is ideal, as it imparts a smoky flavor that's simply unbeatable. But you can also use a gas grill or a smoker. The key is to be able to maintain a steady temperature between 225°F and 250°F (107°C-121°C).
I'm a die-hard charcoal grill enthusiast, but if you're new to grilling, a gas grill might be a more forgiving option. Just make sure you can adjust the heat to achieve the desired temperature.
Fueling the Fire: Choosing the Right Charcoal
If you're using a charcoal grill, opt for good-quality lump charcoal. It burns cleaner, produces less ash, and provides a more consistent burn. I like to mix in wood chunks like hickory or mesquite to add a deeper layer of flavor. But remember, this is a matter of personal preference.
Don't forget to use a charcoal chimney to get those coals blazing hot. You want a bed of hot coals on one side of the grill and a cooler side, where you'll place the brisket.
Setting Up the Grill: Creating a Two-Zone Fire
Once your coals are glowing, create a two-zone fire. This means having a section of hot coals on one side of the grill and a section without coals on the other. This setup allows you to sear the brisket initially over the hot coals and then cook it slowly over indirect heat.
A Tip for Even Cooking: The Power of a Water Pan
A simple tip for achieving even cooking is to use a water pan in the bottom of the grill. This creates a moist environment and helps regulate the temperature. Just fill the pan with a couple of inches of water and place it beneath the brisket.
(Part 4) The Art of Low and Slow: Unveiling the Magic of Patience
This is where the real magic happens. The low and slow method is the key to unlocking that melt-in-your-mouth tenderness that brisket is famous for. It's a dance of patience and precision, but the rewards are simply divine.
The Initial Sear: A Symphony of Flavor
Start by searing the brisket over the hottest part of the grill. This creates a flavorful crust, locks in the juices, and sets the stage for a truly remarkable culinary experience. Aim for about 5 minutes per side, making sure to get all the edges. Once the brisket is seared, move it to the cooler side of the grill.
Maintaining the Temperature: A Constant Vigil
The goal is to cook the brisket at a consistent temperature, ideally around 225°F (107°C) - 250°F (121°C). Use a meat thermometer to monitor the temperature regularly, adjusting the vents on your grill to maintain the desired heat. You may need to add more coals or adjust the airflow as needed.
The Patience Game: Embracing the Slow and Steady Approach
Now, here's where you need to practice patience. Cooking brisket takes time, usually 8-12 hours or even longer. Don't be tempted to rush the process. The slow and steady approach is essential to achieve the desired level of tenderness and flavor.
The Importance of Moisture: Keeping the Brisket Moist
Keeping the brisket moist is crucial. You can achieve this by wrapping it in butcher paper or foil after a few hours of cooking. This creates a steamy environment that helps tenderize the meat. The exact time to wrap varies depending on the size of the brisket and the temperature, but it's usually around the 6-8 hour mark.
Alternatively, you can use a spray bottle to mist the brisket with water or apple cider vinegar every hour or so to prevent it from drying out.
The Stall: Understanding the Natural Plateau
Don't panic if the brisket hits a plateau in temperature. This is known as the "stall" and is a normal part of the cooking process. The stall usually occurs around 160°F - 170°F (71°C - 77°C), as the meat releases moisture. Just continue cooking slowly, and the stall will eventually pass.
(Part 5) The Tell-Tale Signs of Doneness: Recognizing a Culinary Masterpiece
Knowing when your brisket is cooked to perfection is an art form, but there are some tell-tale signs to look for.
internal temperature: The Most Reliable Indicator
The most reliable indicator of doneness is the internal temperature. The brisket should reach an internal temperature of 190°F - 205°F (88°C - 96°C) for the flat and 203°F - 205°F (95°C - 96°C) for the point. Use a meat thermometer to check the temperature in the thickest part of the brisket.
The Probe Test: A Simple Method for Assessing Tenderness
Another method is the probe test. Insert a meat thermometer into the brisket. If it goes in easily and the meat feels tender, it's probably done.
Visual Clues: The Transformation of a Brisket
As the brisket cooks, you'll notice a change in its appearance. The fat will render down, the meat will shrink, and the bark, or the crust on the outside, will become darker and more caramelized. These visual cues are a testament to the transformation taking place, a sign that the brisket is nearing its peak.
(Part 6) Resting and Slicing: A Final Step Towards Perfection
Your brisket is cooked to perfection, but it's not ready to eat yet. It needs to rest, allowing the juices to redistribute throughout the meat. This is where patience pays off again.
The Importance of Resting: Allowing Juices to Redistribute
Wrap the brisket in butcher paper or foil and let it rest for at least 2 hours, ideally 3-4 hours. During this time, the internal temperature will continue to rise slightly, and the juices will redistribute throughout the meat, making it incredibly tender and juicy.
Slicing It Up: The Art of the Slice
Once the brisket has rested, it's time to slice it. Use a sharp knife to slice against the grain. This ensures that the slices are tender and easy to chew.
For the flat, slice it into thin, even pieces. The point, being more tender, can be sliced into thicker pieces.
The Point vs. the Flat: Two Distinct Textures and Flavors
The flat, being leaner, is typically more tender and slices beautifully. The point, with its marbling, is more flavorful and has a melt-in-your-mouth texture.
(Part 7) Serving Up Your Masterpiece: A Culinary Triumph
You've reached the final stage, the culmination of your culinary journey. It's time to present your brisket masterpiece to the world.
The Sides: A Symphony of Flavor
Brisket is best enjoyed with classic BBQ sides, such as coleslaw, baked beans, potato salad, and cornbread. I'm also a big fan of mac and cheese and a simple green salad to balance out the richness of the brisket.
The Sauces: Adding a Touch of Magic
You can serve the brisket plain or with a drizzle of barbecue sauce. There are so many different types of barbecue sauce, from sweet and smoky to tangy and spicy. I like to experiment with different sauces, depending on the flavor profile of the brisket.
The Presentation: A Feast for the Eyes
Don't forget to present your brisket beautifully. I like to arrange the slices on a platter with a side of barbecue sauce and some of the sides. It makes for a visually appealing presentation.
The Feast: A Celebration of Flavor
Now, it's time to enjoy the fruits of your labor. Gather your loved ones and dig in! Let the flavors and the aroma transport you to barbecue heaven.
(Part 8) The Ultimate Brisket Experience: A Journey of Passion and Skill
The journey to grilling a perfect brisket is a combination of skill, patience, and passion. It's not just about following a recipe but understanding the nuances of the cooking process, embracing the imperfections, and ultimately, creating something special that you can be proud of.
So, fire up the grill, put on your apron, and let's get grilling! You've got this. I believe in you.
FAQs
What kind of wood should I use for brisket?
Hickory, mesquite, and oak are popular choices for brisket, as they impart a smoky flavor that complements the beef. You can also use fruit woods, like apple or cherry, for a sweeter, more nuanced flavor.
How long should I cook a brisket?
The cooking time for brisket depends on the size and the temperature. A 10-12 pound brisket can take 8-12 hours. Always check the internal temperature to ensure it is cooked to perfection.
Can I cook brisket in an oven?
Yes, you can cook brisket in an oven. Set the oven to 225°F (107°C) - 250°F (121°C) and cook for 8-12 hours, wrapped in foil or butcher paper.
What if my brisket is too dry?
If your brisket is too dry, you can try to reheat it in a slow cooker or a dutch oven with some liquid, like beef broth or barbecue sauce. This will help rehydrate the meat and make it more tender.
How can I store leftover brisket?
Refrigerate leftover brisket in an airtight container for up to 3-4 days. You can also freeze it for up to 3 months. To reheat, warm it in the oven, slow cooker, or microwave.
Everyone is watching

How to Cook Frozen Lobster Tails Perfectly: A Step-by-Step Guide
RecipesLobster. Just the word conjures up images of lavish meals, special occasions, and a taste of luxury. But let's...

Pigs in a Blanket Cooking Time: How Long to Bake for Perfect Results
RecipesAh, pigs in a blanket. Just the name conjures up images of those delightful little parcels of crispy pastry en...

Pork Fillet Cooking Time: How Long to Cook It Perfectly
RecipesPork fillet, or tenderloin as it's sometimes called, is a real favourite in our house. It's so versatile, and...

The Ultimate Guide to Cooking Delicious Frankfurters
RecipesLet's face it, we all love a good frankfurter. It's a classic, simple, and always satisfying. But let's be rea...

The Ultimate Guide to Tender, Juicy Pulled Pork
RecipesRight, let's talk pulled pork. It's one of those dishes that just screams "comfort food," doesn't it? I mean...
