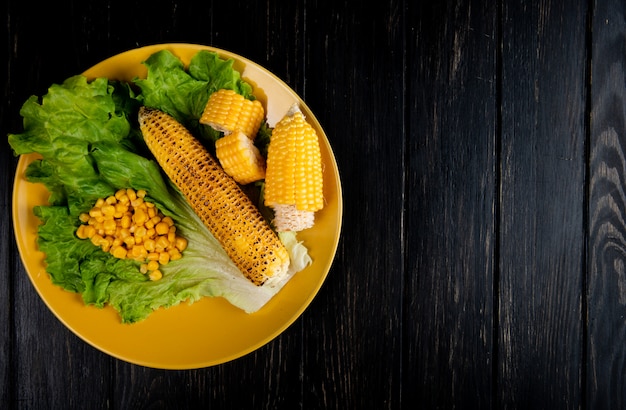
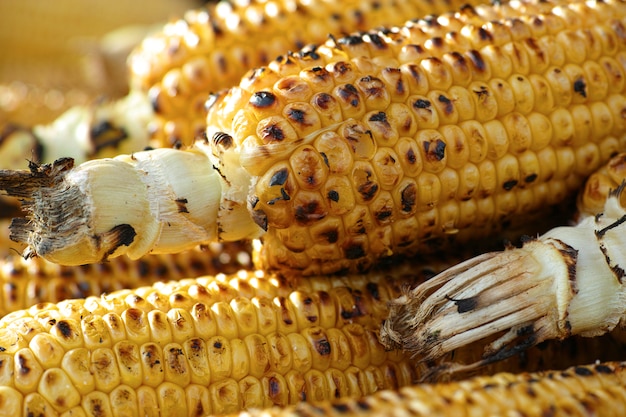
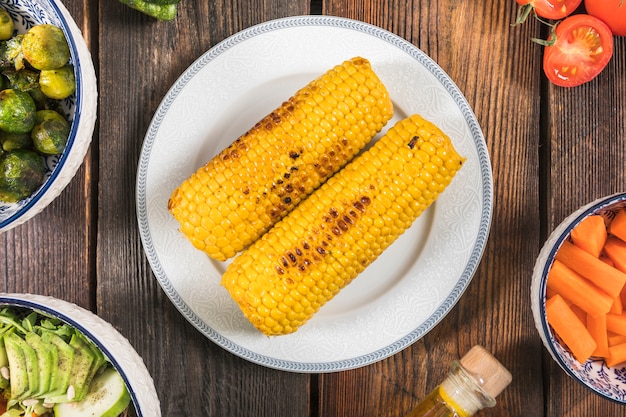
Alright, let's talk corn on the cob, shall we? I mean, who doesn't love that sweet, juicy, corn goodness? It's a real summer classic, isn't it? But getting it just right in the oven can be a bit tricky, especially if you're not used to it.
Trust me, I've been there. There have been times when I've ended up with dry, overcooked corn, and it's a real bummer. But then, there are those times when the corn comes out perfectly, with those lovely golden kernels, and it's absolutely delicious. So, let's dive in and make sure you get the perfect corn every time.
(Part 1) The Basics: Your Corn on the Cob Starter Kit

Before we get started, let's gather our essentials. You'll need:
fresh corn cobs: This is the star of the show, so choose them wisely! Look for plump cobs with fresh, green husks. Don't be afraid to ask your local market or supermarket staff for help in selecting the best ones.
Oven: This is where the magic happens! Make sure it's clean and ready to go.
Baking sheet: A good one to hold those corn cobs securely.
Foil: We'll use this to wrap the cobs for even cooking and moisture retention.
Now, with our supplies gathered, let's get cooking!
(Part 2) Oven Cooking: The Classic Method

This is the tried and true method for oven-baked corn. It's simple, reliable, and always delivers delicious results.
Step 1: Prepping the Corn
First things first, let's get those cobs ready.
Shucking: Grab your corn cob and pull back the husks. Remove the silky threads (those pesky little strands) carefully, making sure not to tear the husks. If you're feeling adventurous, you can leave the husks on for a rustic touch, but I find it easier to shuck them for a more even bake.
Butter and Seasoning: This is where you can get creative. If you fancy, slather those cobs with some butter and season them with salt and pepper. You can also experiment with other seasonings like garlic powder, paprika, or even a pinch of cayenne pepper for a bit of heat.
Step 2: Wrapping the Corn
Now, let's wrap those cobs like a present. This helps create a steamy environment that keeps the corn moist and flavorful.
Foil It Up: Tear off a generous piece of foil, big enough to wrap the entire corn cob. Fold it in half and place your prepped corn cob on one half. Bring the other half up and fold over the cob, making sure to seal it tightly.
Step 3: Baking Time
Let's get those ovens hot!
Preheat: Preheat your oven to 200°C (400°F). This ensures a consistent heat for even cooking.
Bake Away: Pop those foil-wrapped corn cobs onto your baking sheet and slide them into the oven. Bake for about 20 minutes, or until the kernels are tender and slightly golden.
(Part 3) The Key to Perfect Corn: Understanding Cooking Time

Every oven is different, and that's why the cooking time can vary. Here are some factors to keep in mind:
Corn Size: Larger cobs will take a bit longer to cook than smaller ones. The denser the cob, the more time it needs to cook through.
Oven Temperature: Always check your oven's temperature as it can fluctuate. If your oven runs hot or cold, adjust your baking time accordingly.
Thickness of the Husks: Thick husks can take longer for the heat to penetrate. If you're cooking with the husks on, this is an important factor.
How to Know When It's Ready
Tenderness: The best way to check is to gently push a kernel with a fork. If it's tender and juicy, it's done! If it's still firm, give it a few more minutes in the oven.
Golden Colour: The kernels should have a slightly golden color when they're done. This indicates that they've been cooked through and have developed a lovely caramelized flavor.
(Part 4) Spice Up Your Corn: Beyond the Basics
Alright, you've mastered the basics, now let's get adventurous with flavors. Here are some ideas to take your corn to the next level:
Herbs: Add some fresh herbs like parsley, cilantro, or basil to your butter mixture before wrapping the corn. You can also use dried herbs like oregano or thyme if you prefer.
Spice it Up: A dash of cayenne pepper or chili powder can give your corn a bit of a kick. You can also try cumin, paprika, or other spices that you enjoy.
Sweet and Savoury: A drizzle of maple syrup or honey, combined with a pinch of salt, can create a lovely sweet and savory flavor. This is especially nice if you're serving the corn alongside grilled meats or fish.
flavor combinations Chart
Here's a table to inspire your culinary adventures:
| Flavour Profile | Ingredients |
|---|---|
| Classic | Butter, salt, pepper |
| Herby | Butter, parsley, garlic powder, salt, pepper |
| Spicy | Butter, cayenne pepper, paprika, salt, pepper |
| Sweet and Savoury | Butter, maple syrup, salt, pepper |
| Smoky | Butter, smoked paprika, garlic powder, salt, pepper |
(Part 5) Oven Cooking with the Husks On: A Rustic Approach
Some folks prefer to cook the corn with the husks on, and there's something undeniably rustic and authentic about it. Here's how:
Prep: Peel back the husks and remove the silks, but leave the husks attached. You can give the husks a quick rinse to remove any dirt or debris.
Wrap: Wrap the husks tightly around the cob, then secure them with string or a piece of foil. This helps to keep the husks from unraveling during cooking.
Bake: Place the corn on a baking sheet and bake at 200°C (400°F) for about 30 minutes, or until the kernels are tender.
The Difference?
Cooking with the husks on creates a bit of a steamy environment, which helps to keep the corn moist and juicy. It also adds a smoky flavour from the husk, giving the corn a unique, rustic taste.
(Part 6) Avoiding Dry Corn: The Secret to Juicy Perfection
We've all been there, right? Dry corn is a real bummer. Here are some tips to avoid this tragedy and ensure that your corn stays moist and delicious:
Don't Overcook: Keep a close eye on the cooking time. Overcooked corn will be tough and dry, and nobody wants that!
Use Foiling: Wrapping the corn in foil helps to trap moisture and prevents it from drying out. The foil creates a steamy environment that helps to cook the corn evenly and retain its natural juices.
Butter Up: A little bit of butter can help to keep the corn moist and add flavour. Butter acts as a lubricant, helping the kernels to stay tender and juicy.
What To Do If You Overcook
If you've already overcooked the corn, there's still hope! Try adding a little bit of butter or a sprinkle of water to the baking sheet and continuing to bake for a few more minutes. This can help to soften the corn and bring back some of the moisture.
(Part 7) Corn on the Cob: Serving It Up
Alright, you've got your perfectly cooked corn. Now, it's time to serve it up!
Freshly Grilled: I love serving corn on the cob with a side of freshly grilled burgers or sausages. The smokiness from the grill complements the sweet corn beautifully.
Salads: Add corn to your summer salads for a burst of flavour and texture. It adds a refreshing sweetness and a nice crunch to any salad.
Soup: Cooked corn makes a fantastic addition to soups, especially creamy ones. The sweetness of the corn adds a depth of flavor to the soup.
Extra Tips
Butter and Seasonings: Don't forget to butter and season your corn before serving. This is a simple but essential step for enhancing the flavor.
Fresh Herbs: A sprinkle of fresh parsley or cilantro adds a lovely touch. These herbs provide a fresh, bright flavor that complements the corn perfectly.
(Part 8) FAQs: Your Corn-related Queries Answered
Now, let's tackle some common corn-related queries.
1. Can I cook corn on the Cob in the Husks in the Oven?
Absolutely! You can cook corn on the cob in the husks in the oven. This is a great way to achieve a smoky flavor and keep the corn moist. Just wrap the husks tightly around the cob and secure with string or foil. Bake at 200°C (400°F) for about 30 minutes, or until tender.
2. How Long Should I Cook Corn on the Cob in the Oven?
The cooking time for corn on the cob in the oven will vary depending on the size of the corn and your oven. A general guideline is to bake for 20-30 minutes at 200°C (400°F). However, it's always best to check the tenderness of the kernels to ensure they're cooked through.
3. How Do I Know If Corn on the Cob Is Cooked?
The best way to tell if corn on the cob is cooked is to gently push a kernel with a fork. If it's tender and juicy, it's ready! You can also look for a slightly golden color on the kernels, indicating that they've been cooked through and have developed a lovely caramelized flavor.
4. Can I microwave corn on the cob?
You can microwave corn on the cob, but it won't have the same flavor or texture as oven-baked corn. The microwave tends to cook the corn unevenly and can leave it slightly rubbery. If you're in a pinch, you can microwave a corn cob for about 3-4 minutes, or until tender.
5. What's the Best Way to Serve Corn on the Cob?
The best way to serve corn on the cob is fresh off the grill or oven, buttered and seasoned with salt and pepper. This simple method lets the corn's natural sweetness shine through. You can also add fresh herbs, spices, or even a sprinkle of cheese to elevate the flavor.
Everyone is watching

How to Cook Frozen Lobster Tails Perfectly: A Step-by-Step Guide
RecipesLobster. Just the word conjures up images of lavish meals, special occasions, and a taste of luxury. But let's...

Pigs in a Blanket Cooking Time: How Long to Bake for Perfect Results
RecipesAh, pigs in a blanket. Just the name conjures up images of those delightful little parcels of crispy pastry en...

Pork Fillet Cooking Time: How Long to Cook It Perfectly
RecipesPork fillet, or tenderloin as it's sometimes called, is a real favourite in our house. It's so versatile, and...

The Ultimate Guide to Cooking Delicious Frankfurters
RecipesLet's face it, we all love a good frankfurter. It's a classic, simple, and always satisfying. But let's be rea...

Wolf Meat Recipes: A Guide to Cooking Wild Game
RecipesLet's be honest, you don't see wolf meat at your local butcher shop every day. It's a bit of a wild card, but ...
